When you visit a website on your computer, such as iDownloadBlog or Google, you’re using domain name system (DNS) protocol to exchange information between your computer and the server providing you with that website.
Depending on the DNS server you’re using on your Mac or iOS device; you might not be experiencing the best speeds and web securities that you could be.
In this piece, we’ll tell you why you may want to consider switching to a new DNS and show you how to use a custom DNS on your Mac, iPhone, or iPad.
Why consider changing your DNS
Although many reputable internet service providers (ISPs) provide a quality DNS server with their service, not all do. Some people simply get the cruddy end of the stick, and it may be in your best interest to consider a third-party DNS server to improve your web browsing experience.
Different DNS servers have different levels of security, different speeds, and even different abilities.
For example, there are some DNS servers, like Google’s public DNS server, which offers unlimited data usage, high speeds, and even security from known malicious or phishing sites and denial of service (DoS) attacks. I’ve even seen some DNS servers that are capable of filtering ads out of websites you visit for performance boosts, so there is definitely a potential for improving your DNS server based on the features you need.
Not everyone will have to change their DNS server – Verizon FiOS users, for example, will have a DNS server out of the box that is plenty fast enough to handle the speedy internet services provided by Verizon, although using a third-party DNS server, such as the Google public DNS server or Cloudflare DNS, comes down to mere choice.
So now that you have a general idea of why you might want to change your DNS server, let’s show you how it’s done.
How to change your DNS settings on your Mac
On macOS Ventura:
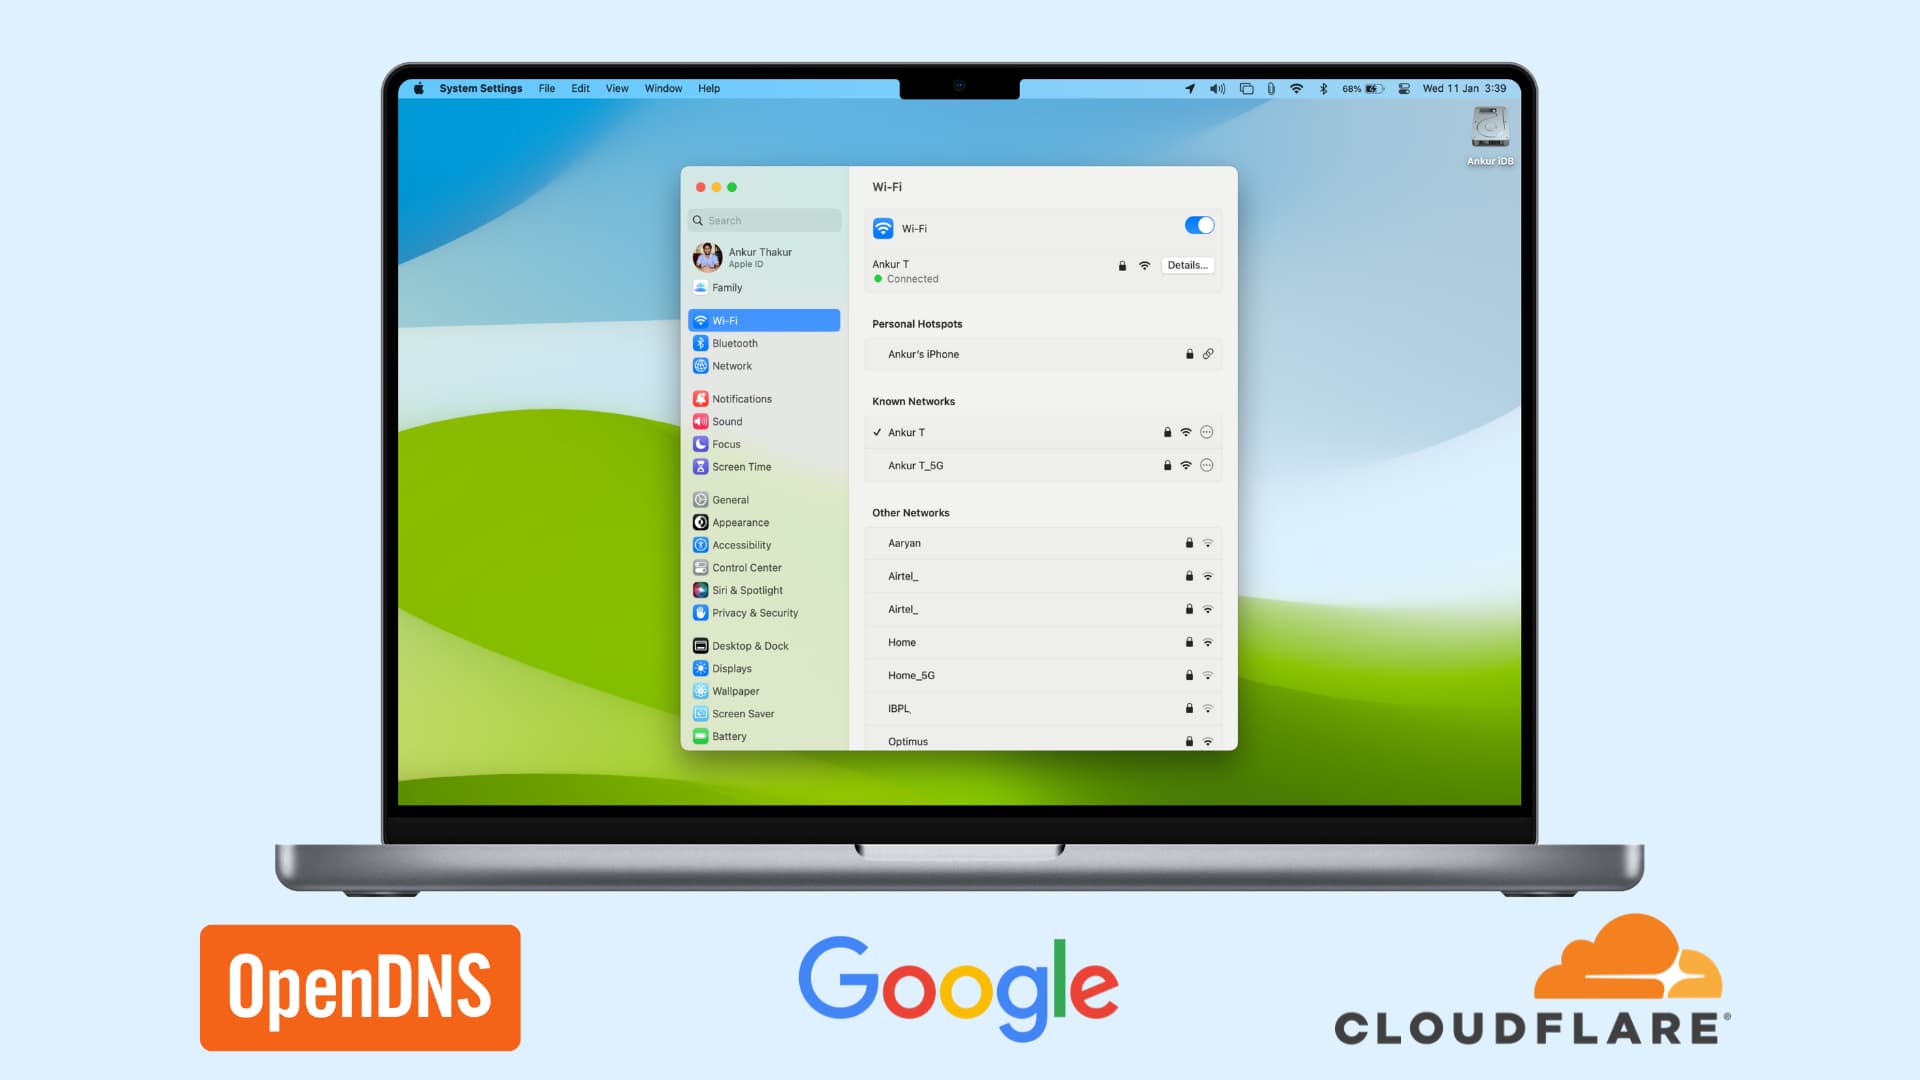
1) Click the Apple icon and choose System Settings.
2) Select Wi-Fi on the left sidebar.
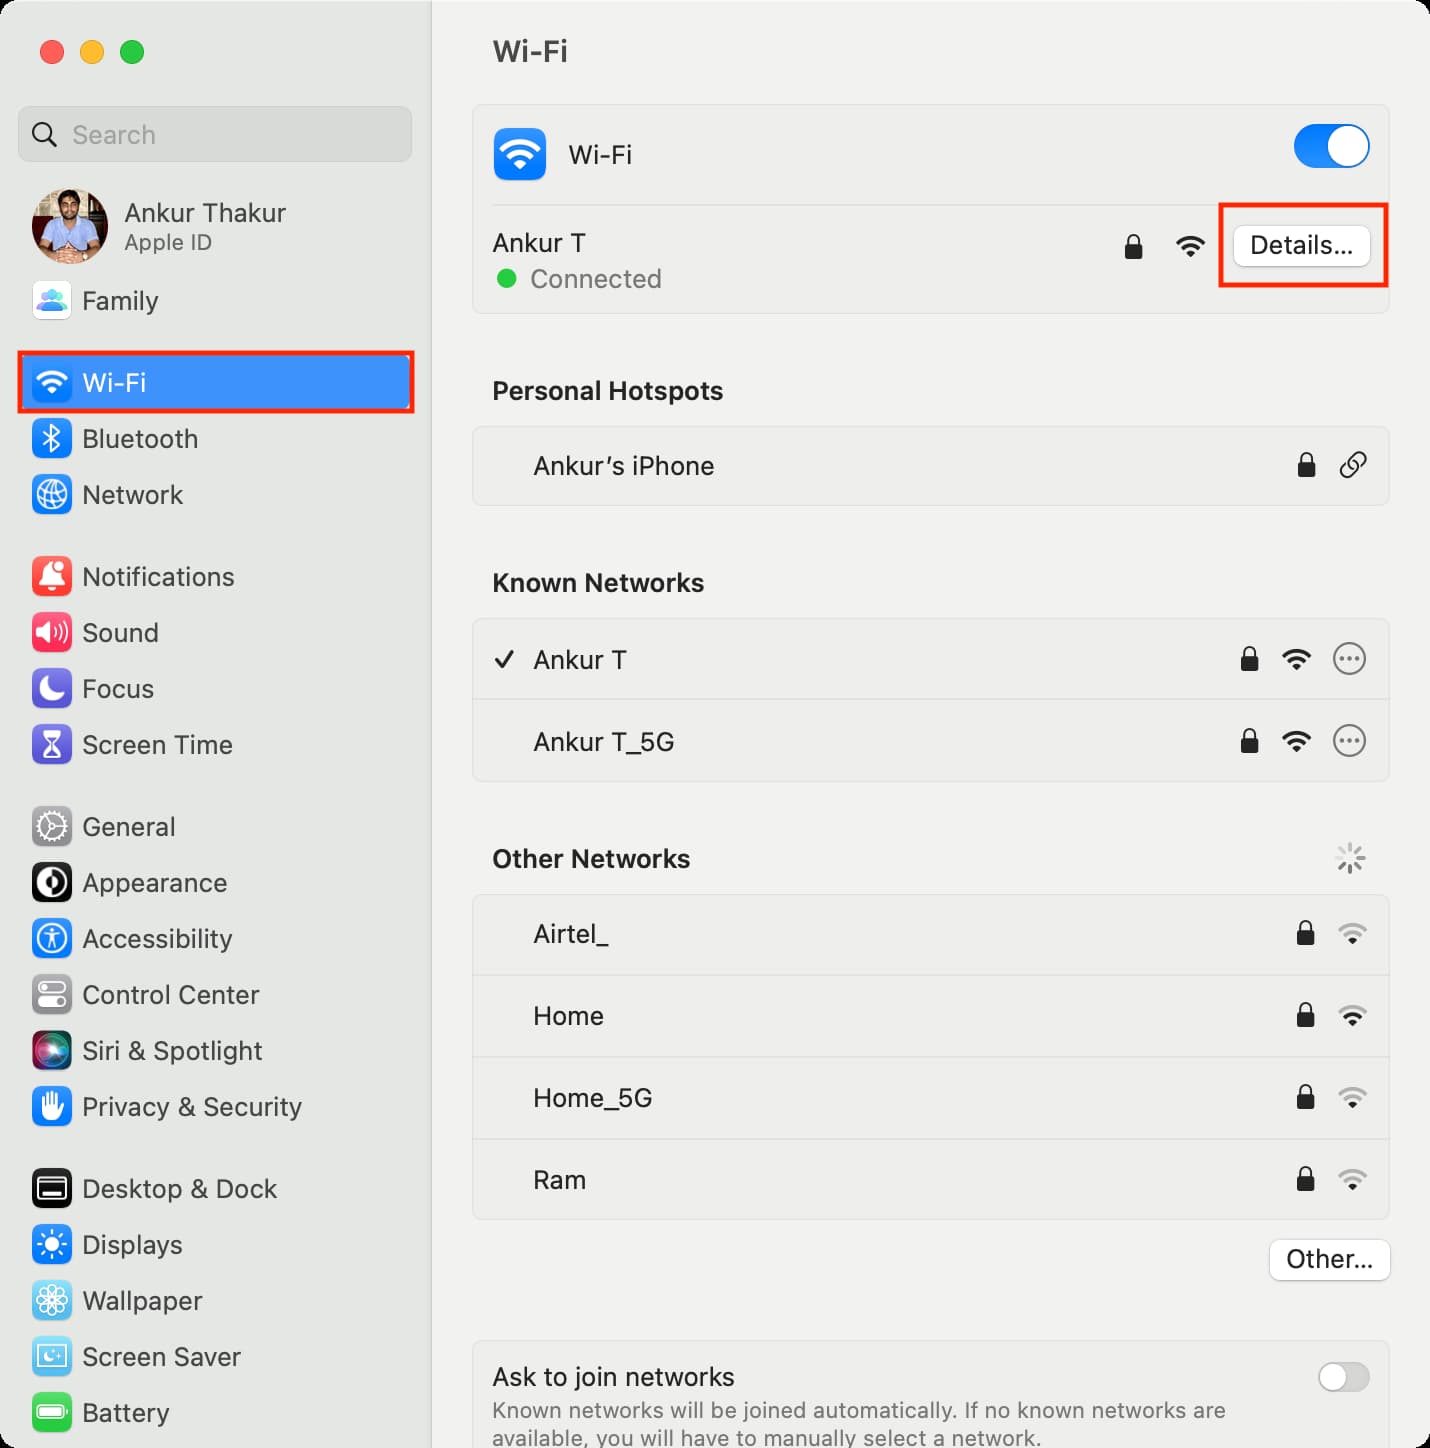
3) Click Details next to the connected Wi-Fi network. If you click Details and nothing happens, Force Quit System Settings and reopen it or restart your Mac.
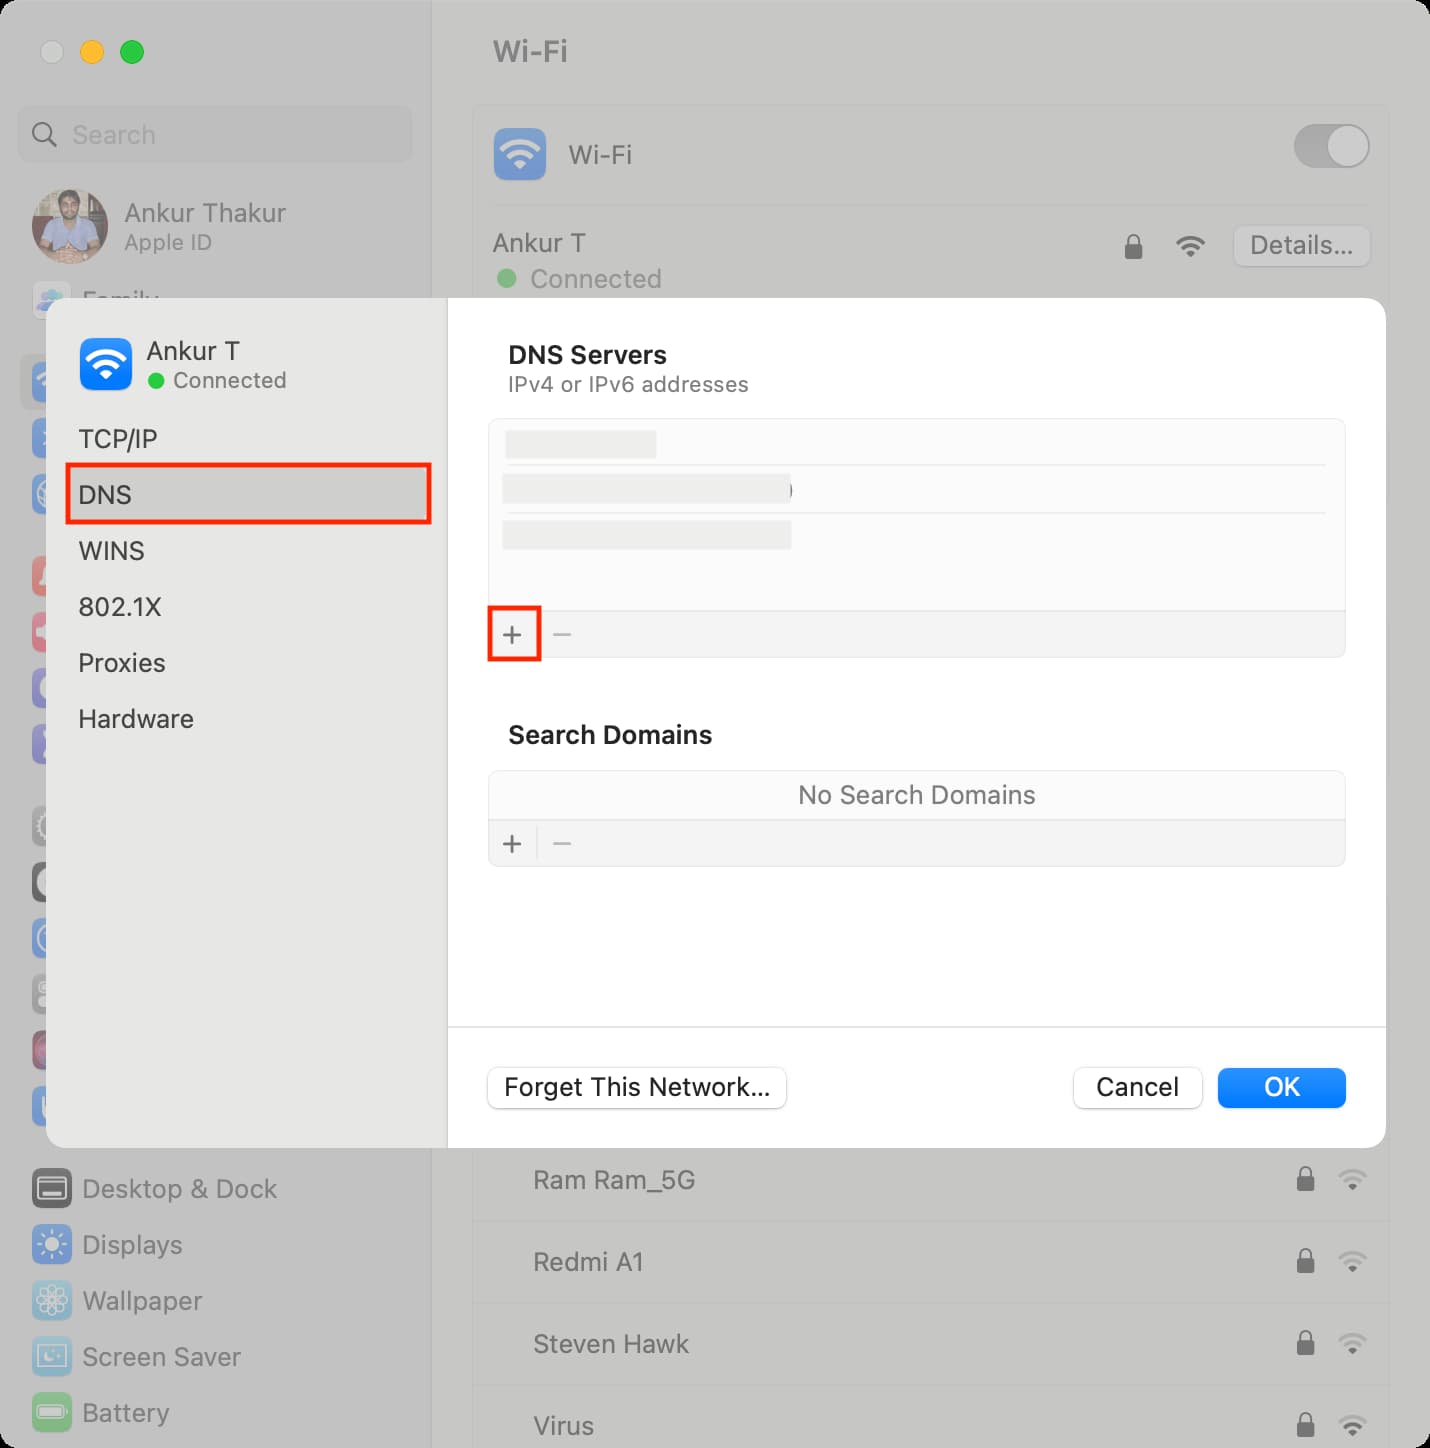
4) Select DNS from the left side.
5) Click the plus button (+).
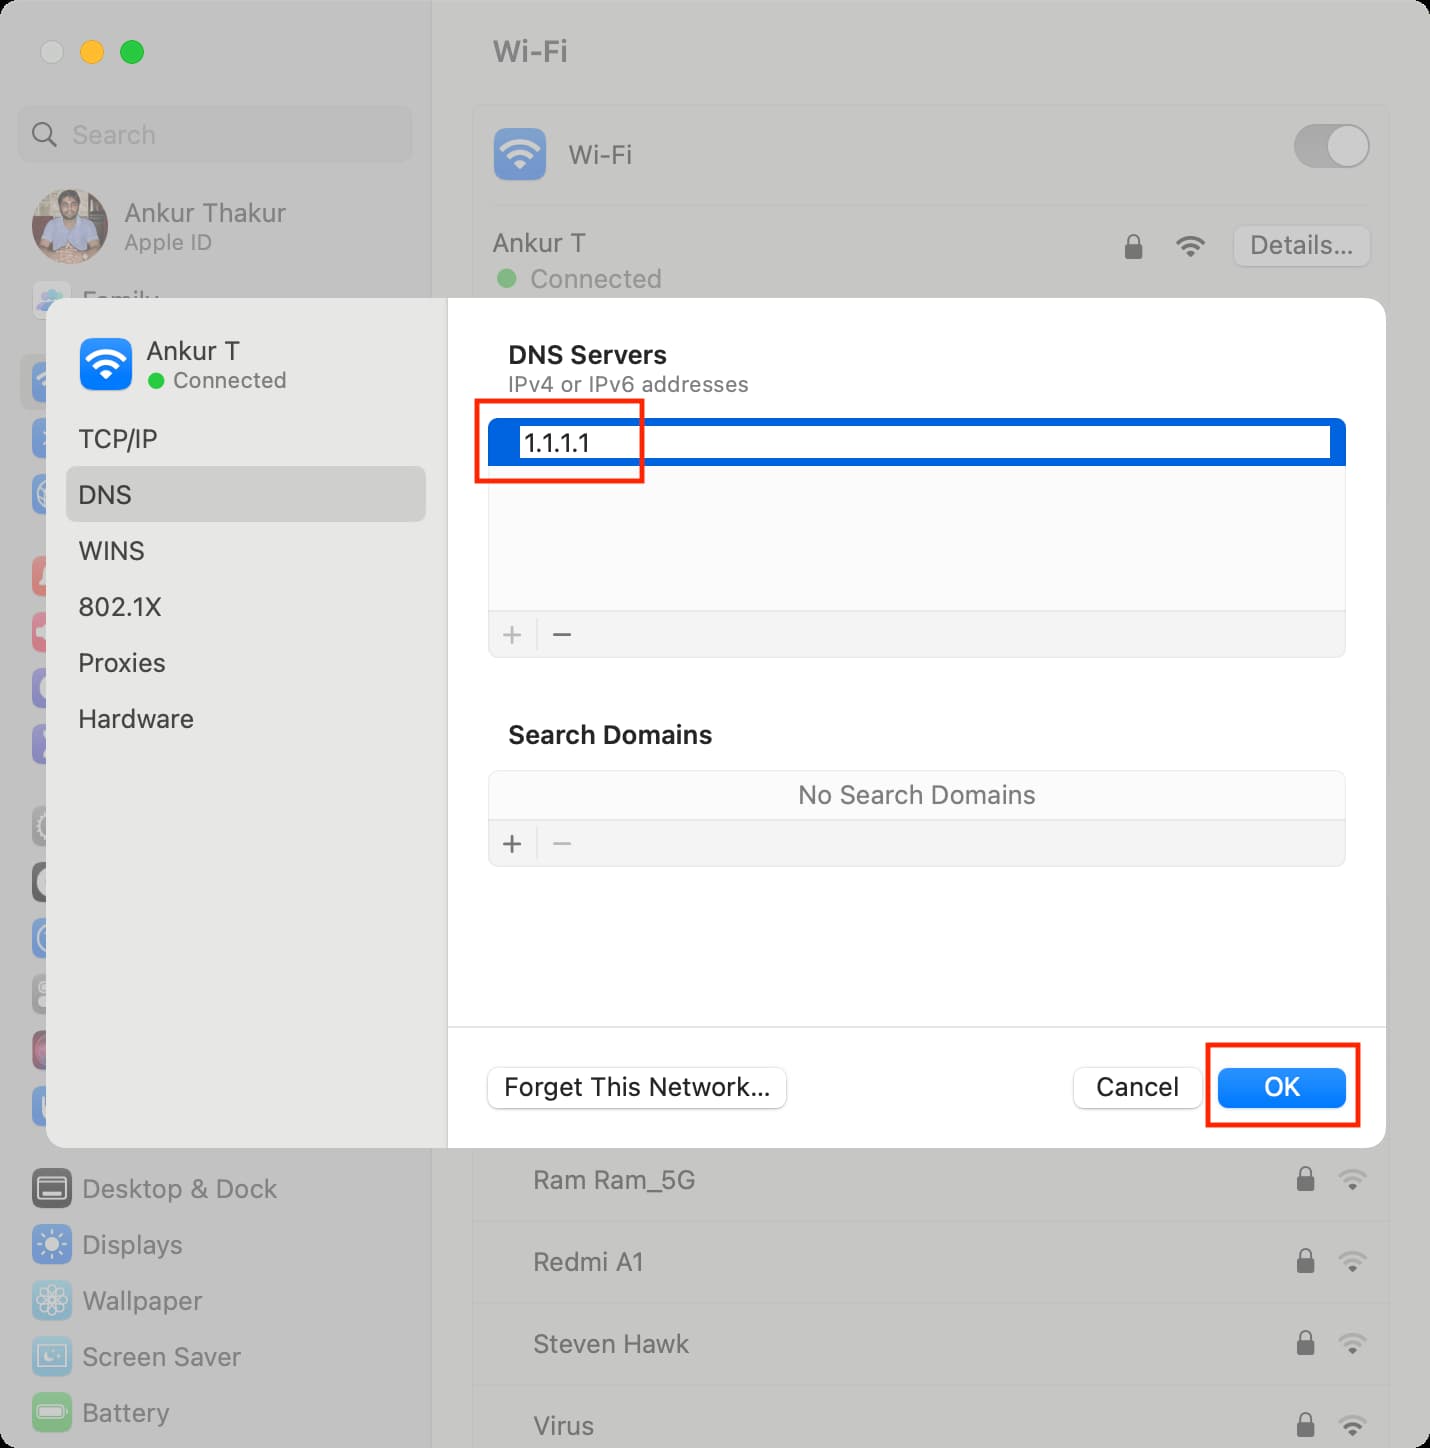
6) Type the IP address or domain name of the DNS server you want to use. For example, you can use Google’s public DNS server, which is 8.8.8.8 or 8.8.4.4. As an alternative, you can also use OpenDNS’s public servers (208.67.222.222 and 208.67.220.220) or Cloudflare’s server (1.1.1.1).
7) Finally, click OK.
On macOS Monterey and earlier:
1) Launch System Preferences on your Mac and open the Network preferences pane.

2) In the next interface, select Wi-Fi and click on the Advanced button at the bottom of the interface.

3) A drop-down interface will appear. From here, open the DNS tab and then click on the + button under the DNS Servers list.
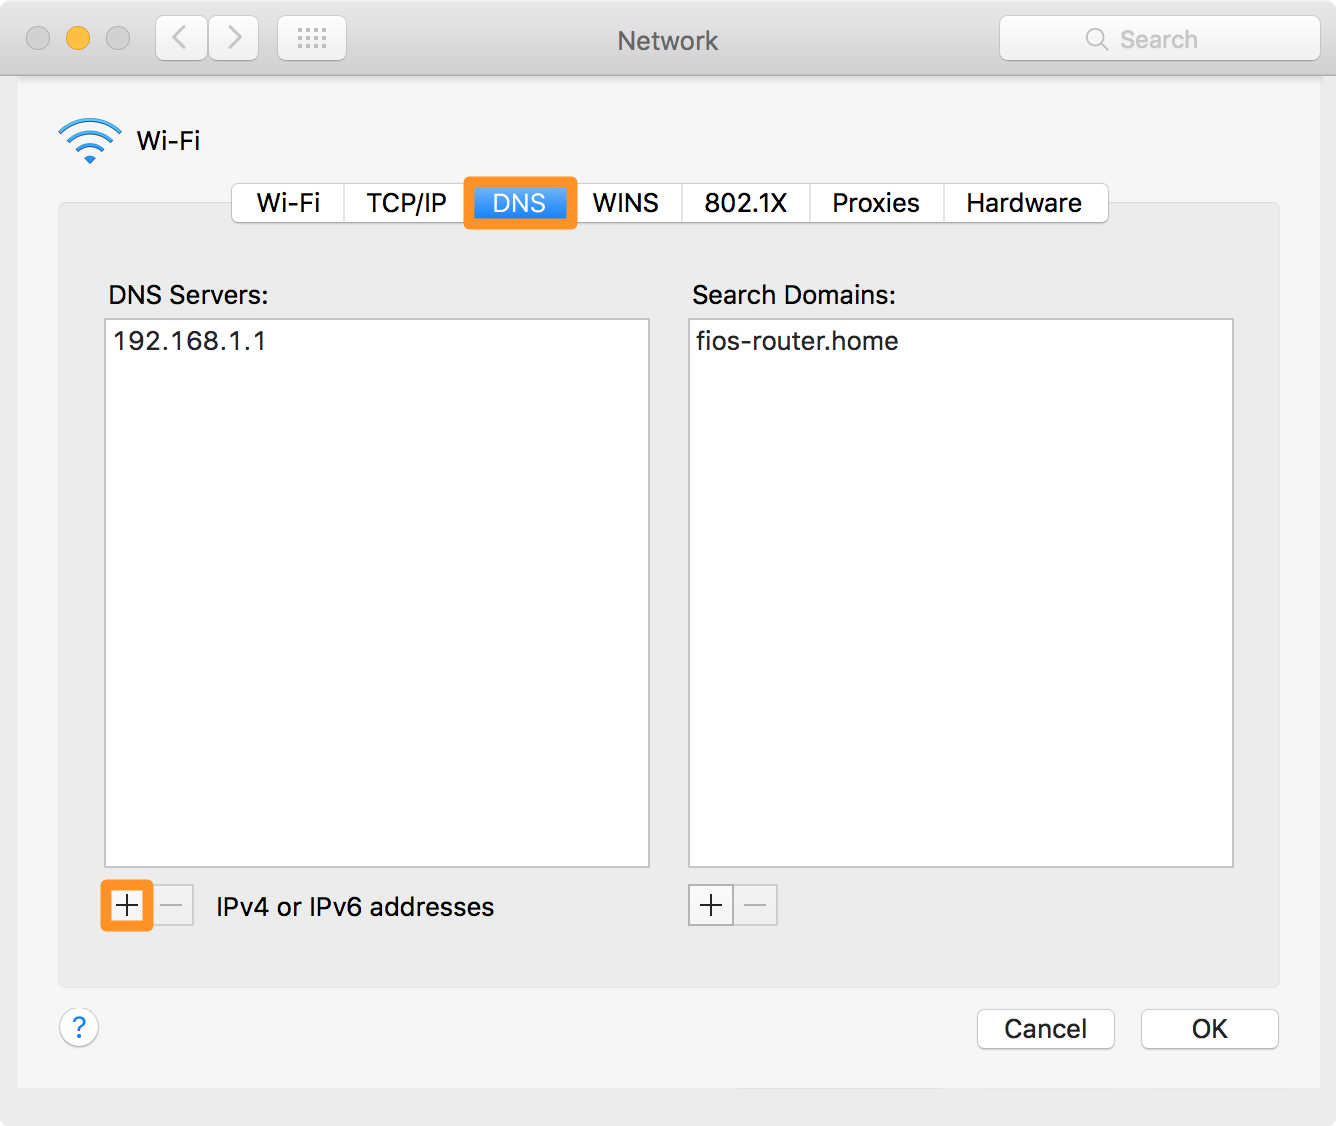
4) After clicking the + button, you’ll begin typing the IP address or domain name of the DNS server you want to use. For our example, we’ll be using Google’s public DNS server, which is 8.8.8.8 or 8.8.4.4. As an alternative, you can also use OpenDNS’s public servers (208.67.222.222 and 208.67.220.220) or Cloudflare’s 1.1.1.1
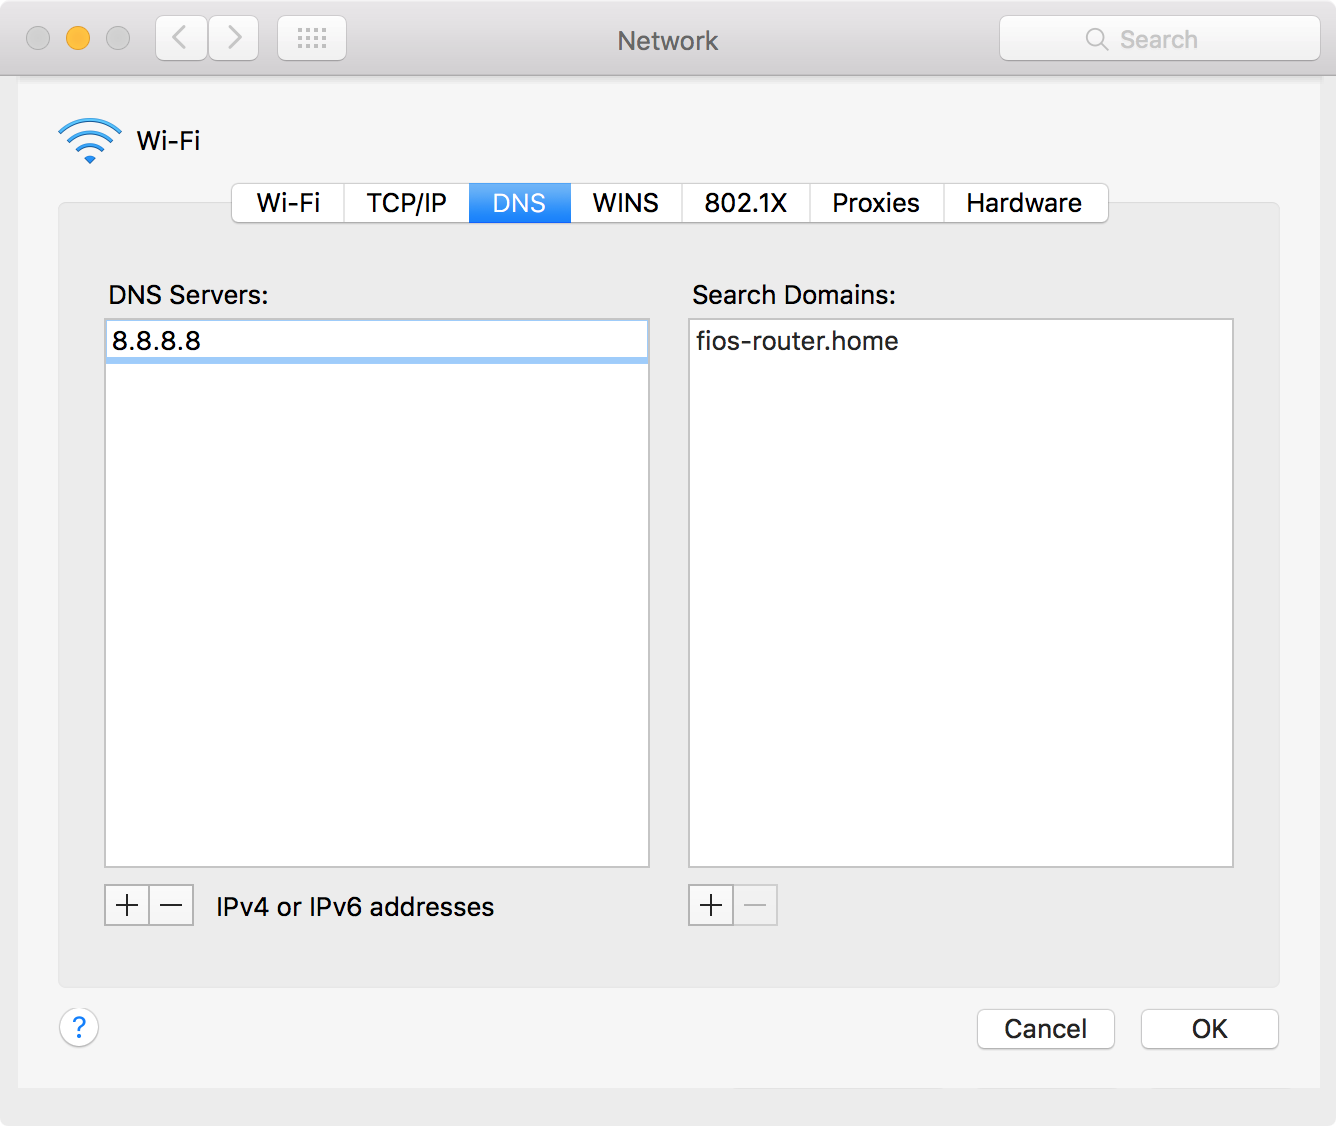
5) Once satisfied with the entry, press the return key on your keyboard, then click the OK button, and then click the Apply button to save your changes.
How to change your DNS settings on your iPhone or iPad
You can download 1.1.1.1 by Cloudflare on your iPhone, iPad, and Mac and use it. The step is effortless. Besides that, you can also manually change your iPhone’s DNS by following these steps:
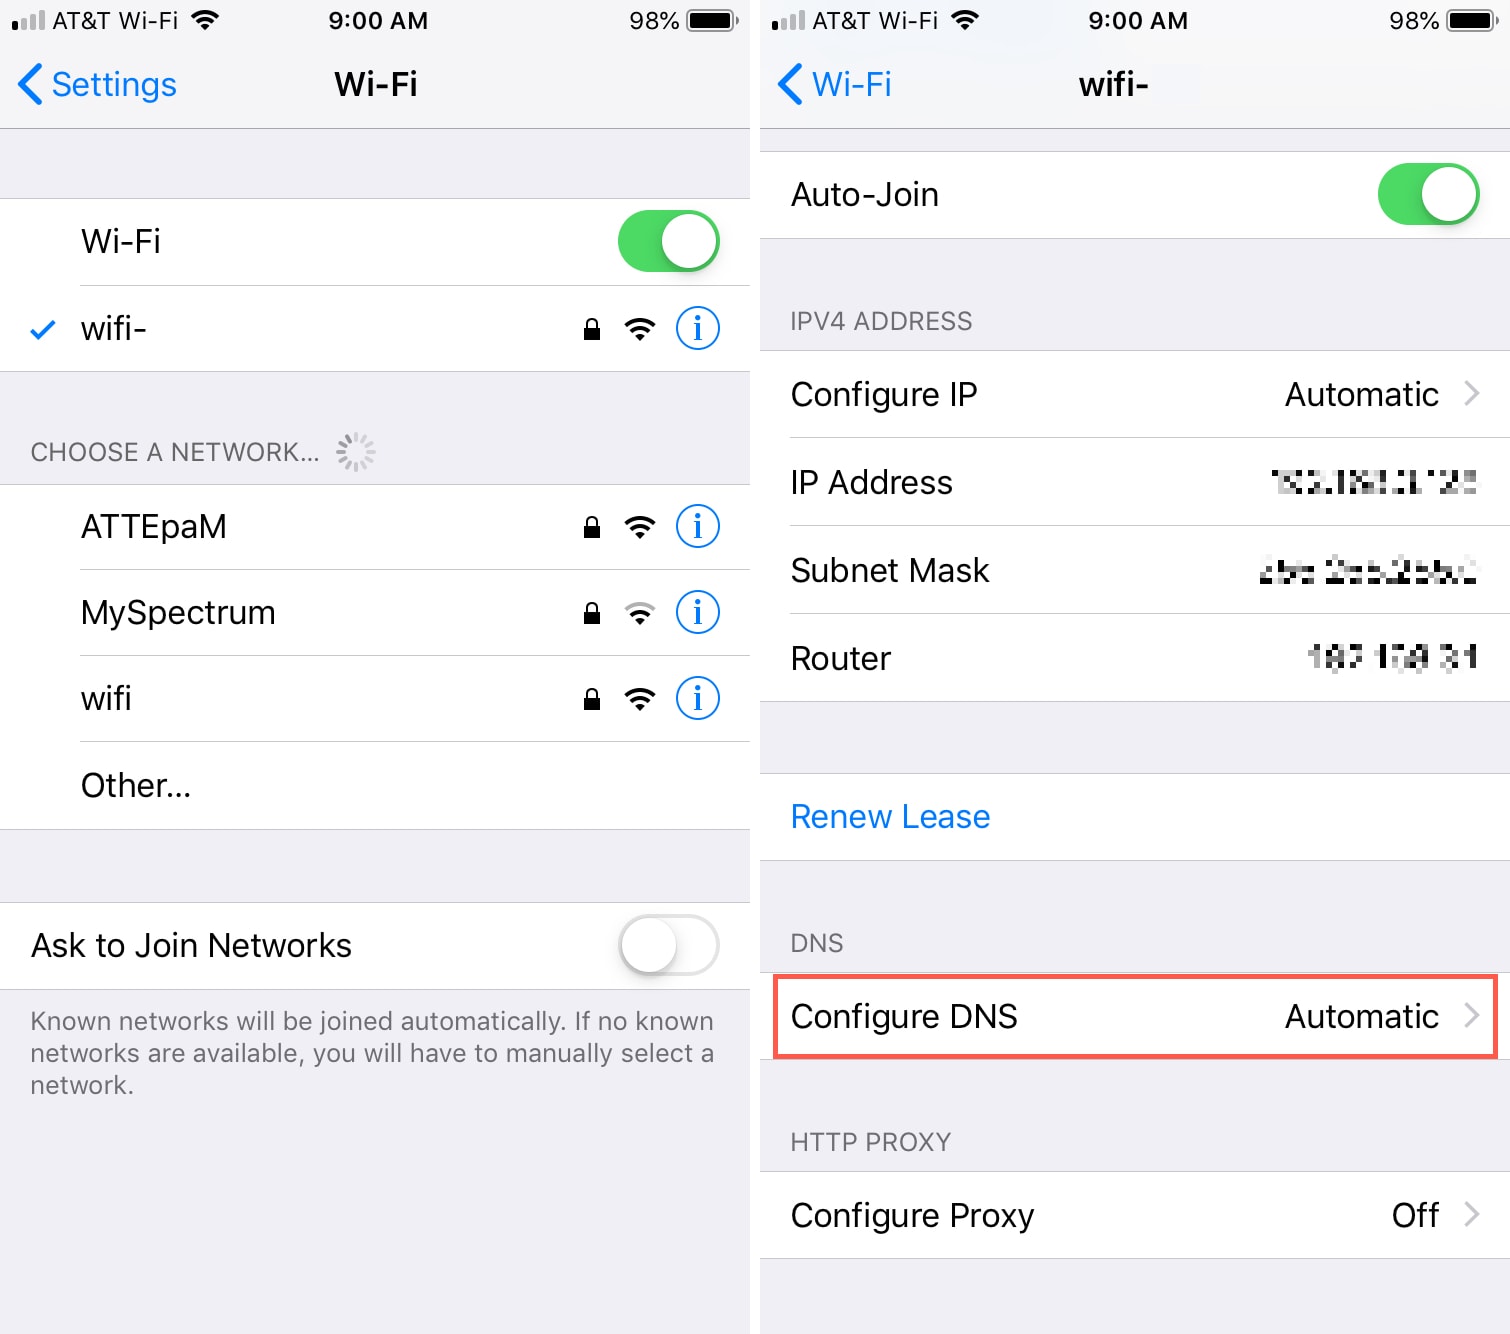
1) Launch the Settings app and tap on your Wi-Fi preferences pane to open your Wi-Fi settings.
2) To the right of the Wi-Fi network you’re connected to and tap the blue info button ⓘ to show more advanced settings.
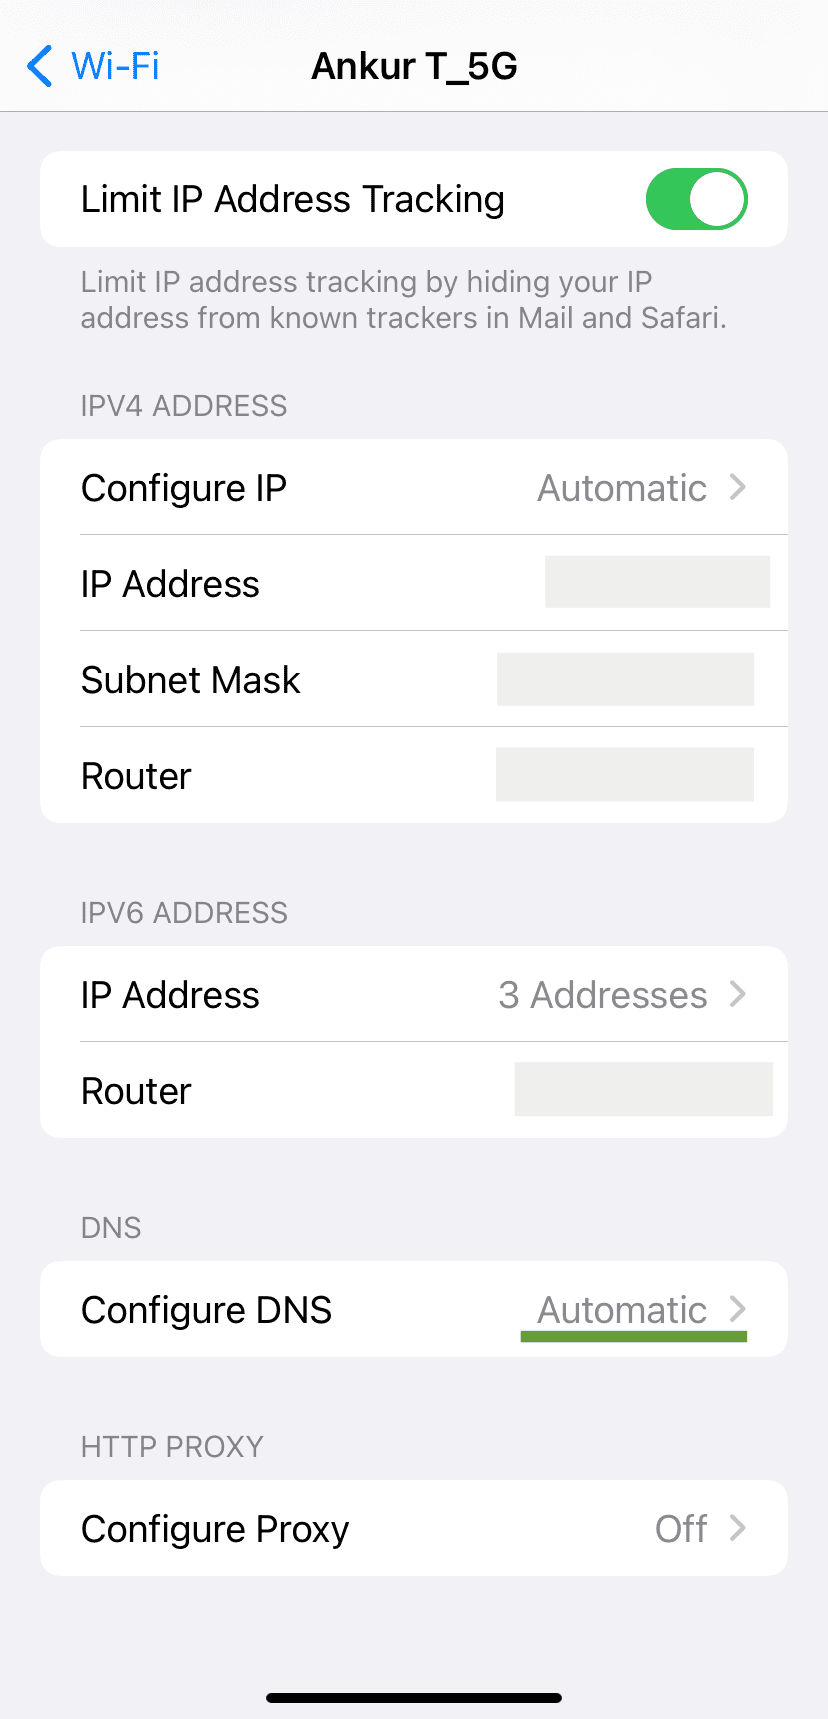
3) Tap Configure DNS.
4) Select Manual.
Tip: Take a screenshot of the existing DNS addresses for future use.
5) Tap Add Server and enter the DNS server address you want. In our case, we’ll be using Google’s public DNS server, which has an IP address of 8.8.8.8 or 8.8.4.4. Once again, we can also use OpenDNS’s public servers (208.67.222.222 and 208.67.220.220) or Cloudflare’s 1.1.1.1
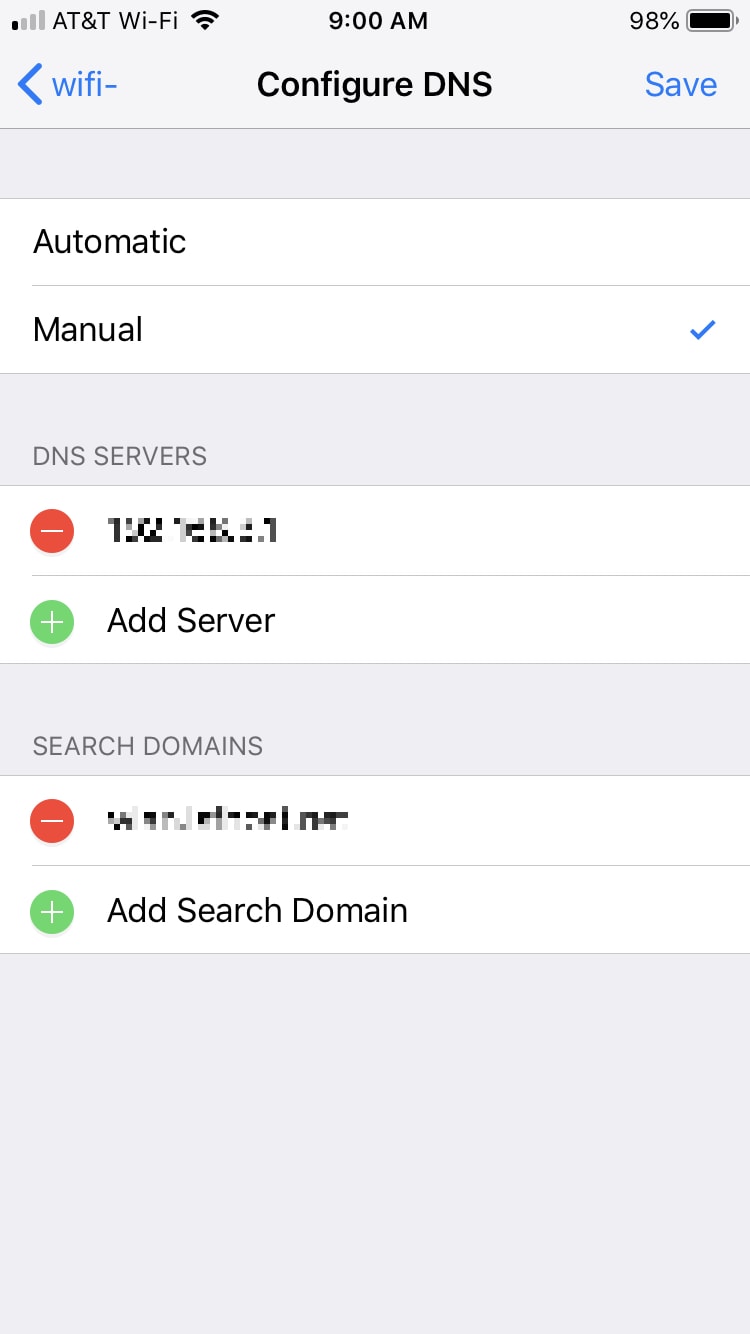
6) Tap Save, and your Wi-Fi connection will reset after successfully connecting with the new DNS server.
Congratulations! You’ve just changed your DNS server on your iOS device.
Now what
You can also change your DNS server settings right from your router, which makes it so every device that uses that router to access the internet will use your selected DNS server. This is a better long-term solution because every device, and not just the one you configure, will get to take advantage of the DNS server without having to be configured individually. Unfortunately, because all routers have different variances of settings interfaces, we’ve opted to show you the method that’s going to be easier for you to follow only on your Mac or iOS device.
A custom DNS server may have either a positive or a negative impact on your internet performance; it’s all dependent on the DNS server you’ve chosen. Google’s public DNS server has a very good up-time reputation and excellent speed of service, so you really can’t go wrong with it. Google even says their DNS server includes securities that may be beneficial to your web browsing if safety is a concern of yours.
Although we can vouch for the reliability of Google’s public DNS server, which we’ve been using for years, there are countless alternatives out there, and you’ll have to do your own research to find out which one to go with for your own needs.
If you come across a website that doesn’t load properly after the DNS server setting change, you can always try removing your DNS server settings by opening the above interface again, clicking on the DNS server you added, and clicking on the – button to delete it. Then, just click OK, Apply to save your changes once again, and try to visit the site again to see if the problem persists. Your Mac will automatically grab a DNS server from your ISP if you don’t add one manually.
Keep in mind that changing a DNS server in this manner only changes the DNS server for that particular network in general. This means that if you select a DNS server to use on your home Wi-Fi network, then it will only be used when you’re connected to that Wi-Fi network. If you connect to a different network, wired or wireless, your DNS settings will go back to their defaults again until you re-connect to your home network. With this in mind, you’ll have to configure your DNS settings separately for each network you connect to.
Changing your DNS server can have a positive impact on your internet speed, privacy, and security, but it can also have a negative impact if you don’t use a reputable DNS server. Configure these options with care and try not to use any sketchy DNS servers that could pose a risk to your privacy.
Switch back to the default, original DNS
On Mac, follow the above steps and select the custom-added address. Now, hit the delete key on your Mac’s keyboard and click OK. This should default to the original DNS.
On iPhone or iPad, follow the above steps and select Automatic > Save. If it fails the first time, try again until you see Automatic next to the Configure DNS box.
Besides that, if you took a screenshot of your original DNS, you can enter that manually.
What DNS server settings are you using?
Check out next: