In this tutorial, I will show you how to jailbreak your iPhone or iPad running iOS 8.3 using TaiG 2.0. This jailbreak is super easy to do, and takes minimal effort if the instructions are followed closely.
Watch our full video walkthrough inside, as I take you through the step-by-step jailbreak process for iOS 8.3.
Note: This tool is Windows only for now, so you’ll either need a Windows computer, you can use our iOS 8.3 jailbreak for Mac tutorial via a virtual machine. I used a virtual machine for this tutorial (VMWare Fusion, and it was super easy.
You’ll also most likely need to downgrade to iTunes 12.1 so that you won’t get stuck at the 20% progress level during the jailbreak. I’ve outlined the full fix in this post. Downgrading iTunes shouldn’t take long at all.
Step 1: Download and extract TaiG 2.0 from our downloads page
Step 2: Disable Find My iPhone and Passcode lock on your device
Step 3: Connect your device to your computer
Step 4: Run the TaiG 2.0 tool and it should detect your device
Step 5: Uncheck the 3K assistant, but keep Cydia checked
Step 6: Click Start
Step 7: Wait until the jailbreak completes. If you see storage full errors, just ignore those
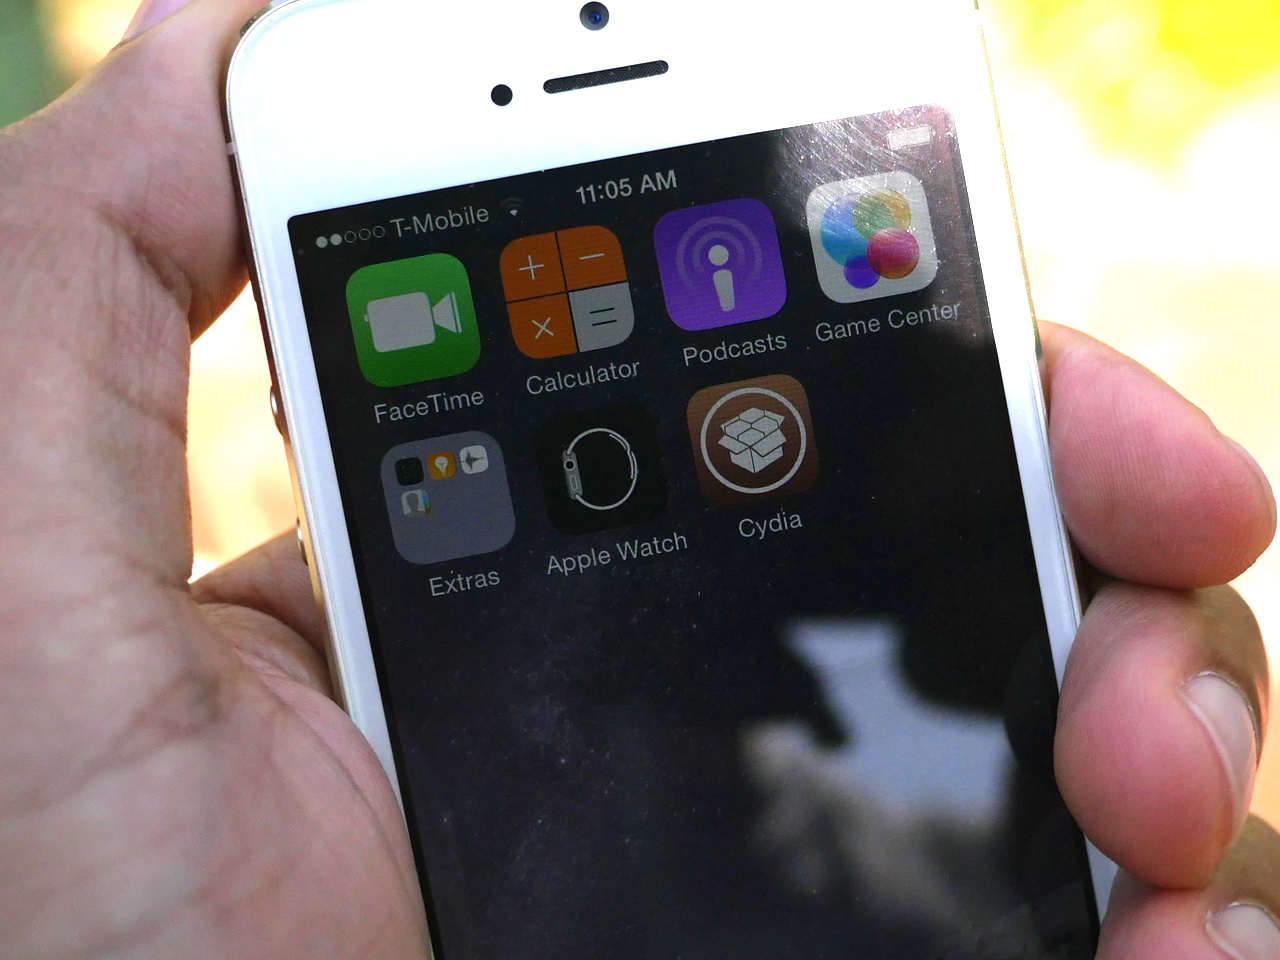
Step 8: Once the jailbreak completes, find the Cydia app on your Home screen and launch it
That’s all there is to it. This jailbreak works with iOS 8.1.3 through iOS 8.3.
As @i0n1c noted, a kernel patch (on CS_RESTRICT) is the simple fix for Substrate on iOS 8.3; @taig_jailbreak should have an update out soon.
— Jay Freeman (saurik) (@saurik) June 23, 2015
Keep in mind that Cydia Substrate hasn’t been updated yet, but Saurik is currently working on an update, and it should be available soon.
What do you think? Are you happy to have an iOS 8.3 jailbreak? Sound off in the comments with your thoughts.
See also: