Learn how to reveal the hidden path bar on your Mac to see the location of a selected file or folder near the bottom of Finder windows.
How to show and use the Finder Path Bar on Mac

Stay up-to-date on the latest Mac news, and tutorials. Get expert tips and tricks to optimize your Mac’s performance and learn about the latest Apple products and software updates. Discover the best Mac apps and accessories to enhance your user experience.
Learn how to reveal the hidden path bar on your Mac to see the location of a selected file or folder near the bottom of Finder windows.

Learn how to show the full file path in the title bar of the Finder windows on your Mac so you can always see your current location within the folder you're navigating.

Learn how to preview several selected photos or files at once in Mac’s Quick Look so you can see them all at the same time and supercharge your workflow.

Since last year's iOS 8.3 software update iOS devices have had the ability to stop asking for a password when downloading free applications from the App Store. Soon after, that feature found its way into iTunes and iBooks for Mac.
As electronic books are no longer managed through iTunes, disabling password prompts for iBooks Store downloads is now handled in iBooks for Mac. In this post, you will learn how to disable Apple ID password prompts when downloading free electronic books from Apple's iBooks Store, and we'll also show you how you can manage password settings for paid items.
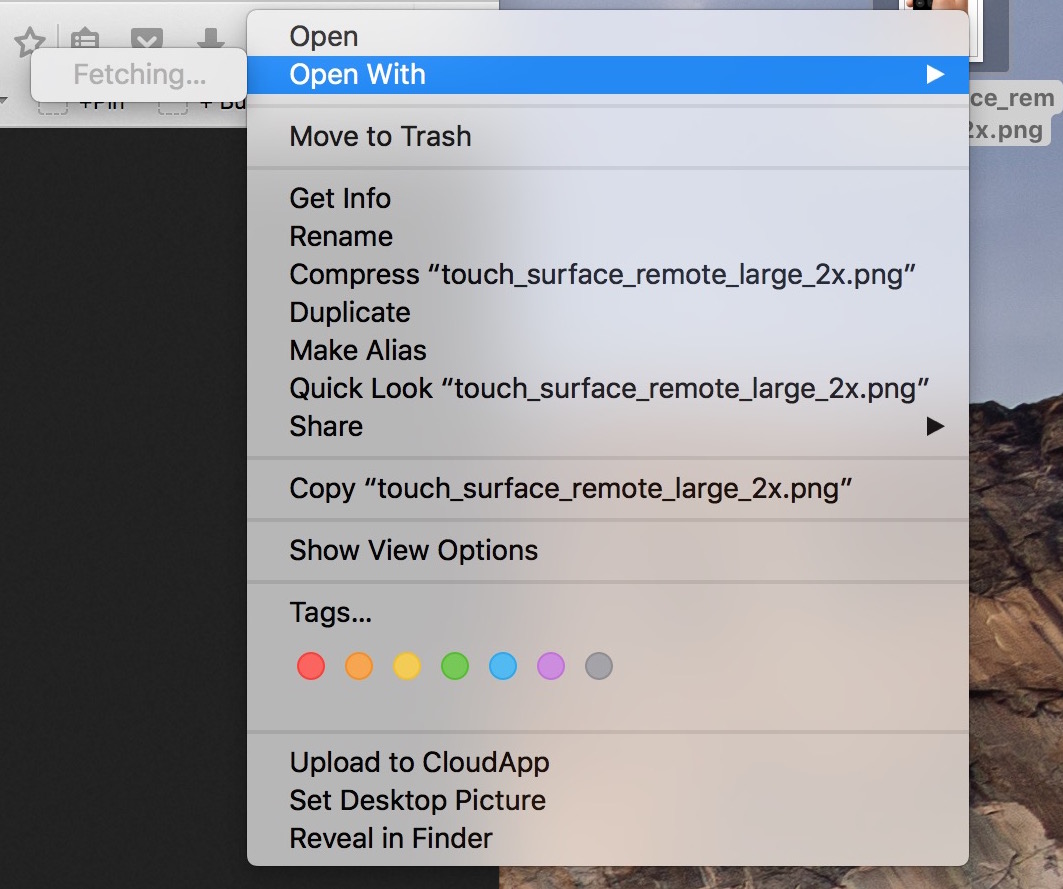
In my mind, computers are always supposed to work the way they should. And because they are computers, I shouldn't have to wait for them to process basic tasks. That's all in my mind of course, because in reality, things don't always go the way they should.
A perfect example of that is the Open With menu you get when right clicking on a file. Sometimes, for no apparent reason, my iMac will spend several seconds "fetching" the applications that can be used to open that specific file type.
Like with most things computer-related, the fix is pretty simple.

Learn how to delete documents and data saved by iOS and macOS apps in your iCloud account to free up space and remove unnecessary files.

Learn how to turn off Siri-suggested events in Apple's built-in Mail and Calendar apps on an iPhone, iPad, and Mac to remove unwanted entries from your schedule.

I had this issue for a while on my MacBook Air where there would constantly be a progress bar below the LaunchPad icon. Typically, this progress bar means something is downloading, but after checking, I couldn't find anything being installed on my Mac, so I figured the problem had to be deeper than that. In this post, I will share with you a few things you can try if you are facing the same issue.
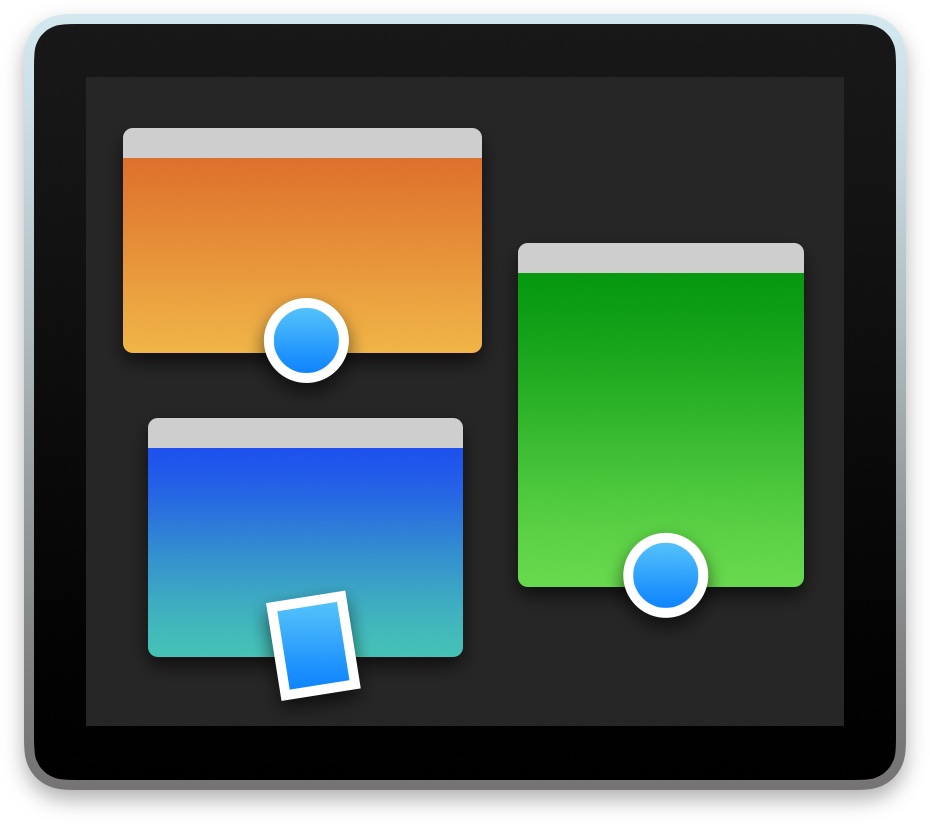
macOS has a nifty little productivity boost that makes it both easy and fun to run two apps side-by-side in your Mac's native full-screen mode.
This can be indispensable when focusing on specific tasks at hand while disregarding everything else, like online research and taking notes, or blogging and writing, or reading news while keeping tabs on your Twitter feed and so forth.
This mode, called Split View, is normally activated by dragging an app to either side of the screen by its window's upper left green button, and then choosing another app to fit the other half of the screen.
But the multi-step process is often a tad confusing for novice users, especially those accustomed to Windows 7's effortless window snapping. Thankfully, your Mac supports creating Split Views right within Mission Control, which in macOS has been tidied up and made clearer and more obvious.
In this tutorial, you'll learn how to go, and exit, Split View just by dragging app windows inside your Mac's Mission Control.

Learn how to turn off suggestions for unsaved contacts on your iPhone, iPad, or Mac that Siri has found in Mail and other apps on your device.

Learn how to discover the meaning of any emoji on your iPhone, iPad, and Mac instead of guessing what specific emoticons are meant to express.
Although not apparently obvious, Apple's Reminders app on iPhone, iPod touch, iPad, Mac and iCloud.com lets you share to-dos and checklists with friends and family.
Sharing a reminder list with, say, your girlfriend (or wife) is particularly convenient as you’ll both be able to add, delete and check off items as completed, and all changes will instantly appearing on everyone's devices thanks to seamless iCloud syncing.
This isn't just great for grocery lists, shared to-dos and interactive lists among family members, but for business, too. For example, you could share a to-do list with team members to keep everyone apprised of what needs to be done on any particular day.
In this post, we're going to show how easy it is to create a list in Reminders and invite others to participate across iOS, macOS, and the web.