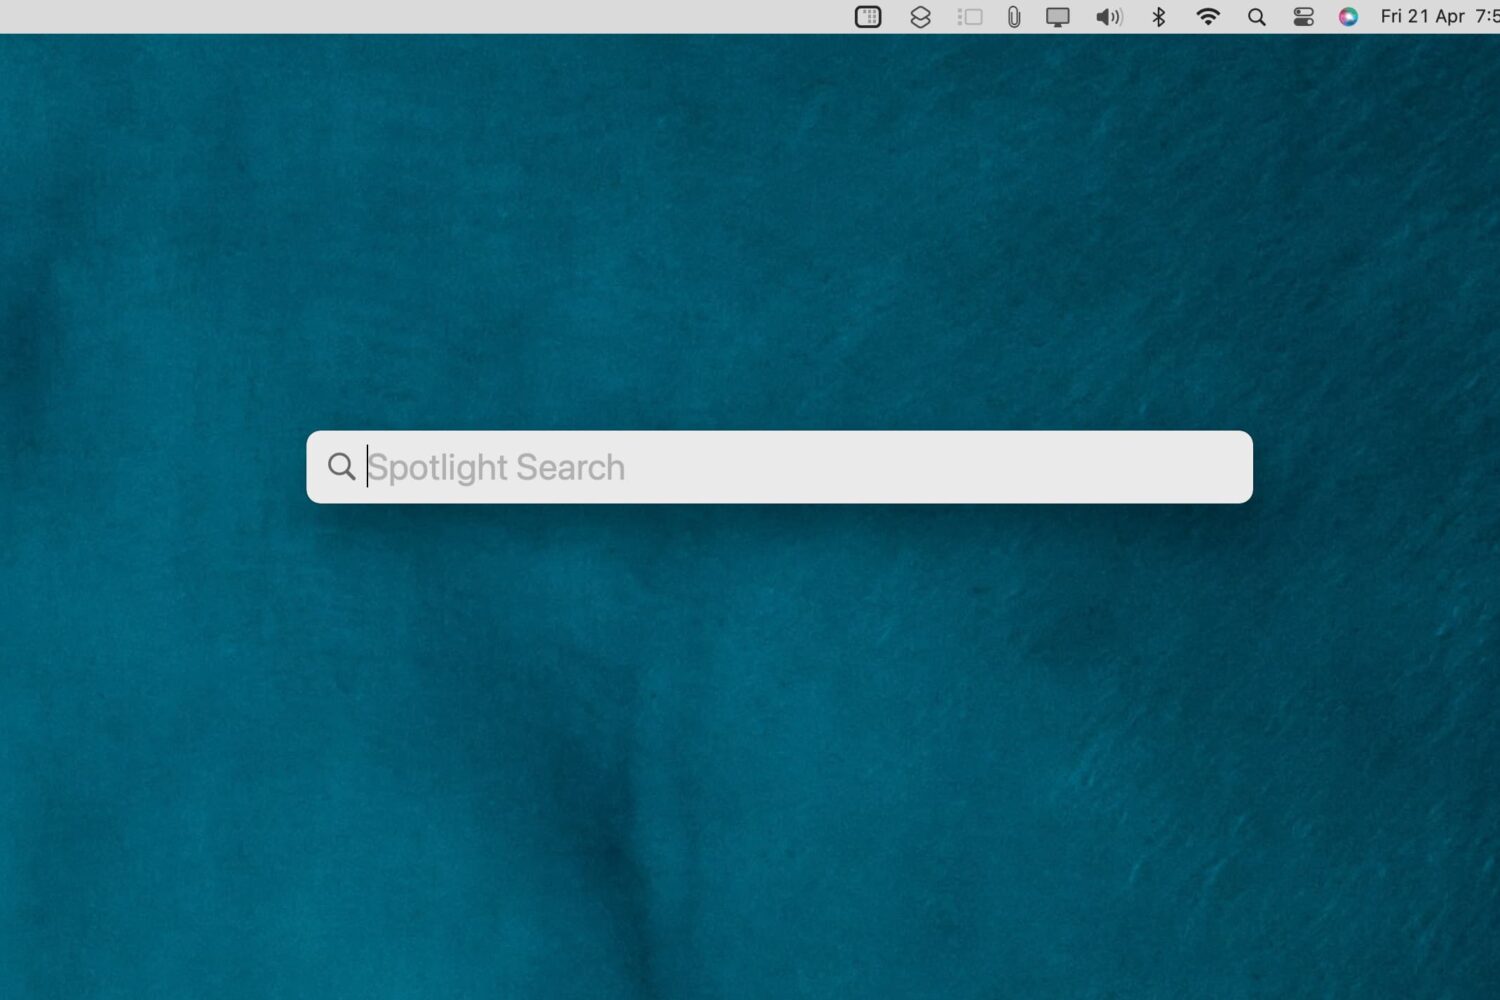
Check out these 3 ways to remove the Spotlight Search icon from the top menu bar on your Mac and keep your desktop clutter-free.
How to hide the Spotlight Search icon from your Mac’s menu bar
Stay up-to-date on the latest Mac news, and tutorials. Get expert tips and tricks to optimize your Mac’s performance and learn about the latest Apple products and software updates. Discover the best Mac apps and accessories to enhance your user experience.
Check out these 3 ways to remove the Spotlight Search icon from the top menu bar on your Mac and keep your desktop clutter-free.

In this tutorial, we share eight useful tips for getting the most out of Mac’s built-in controls for resizing, minimizing, maximizing, and moving app windows around.
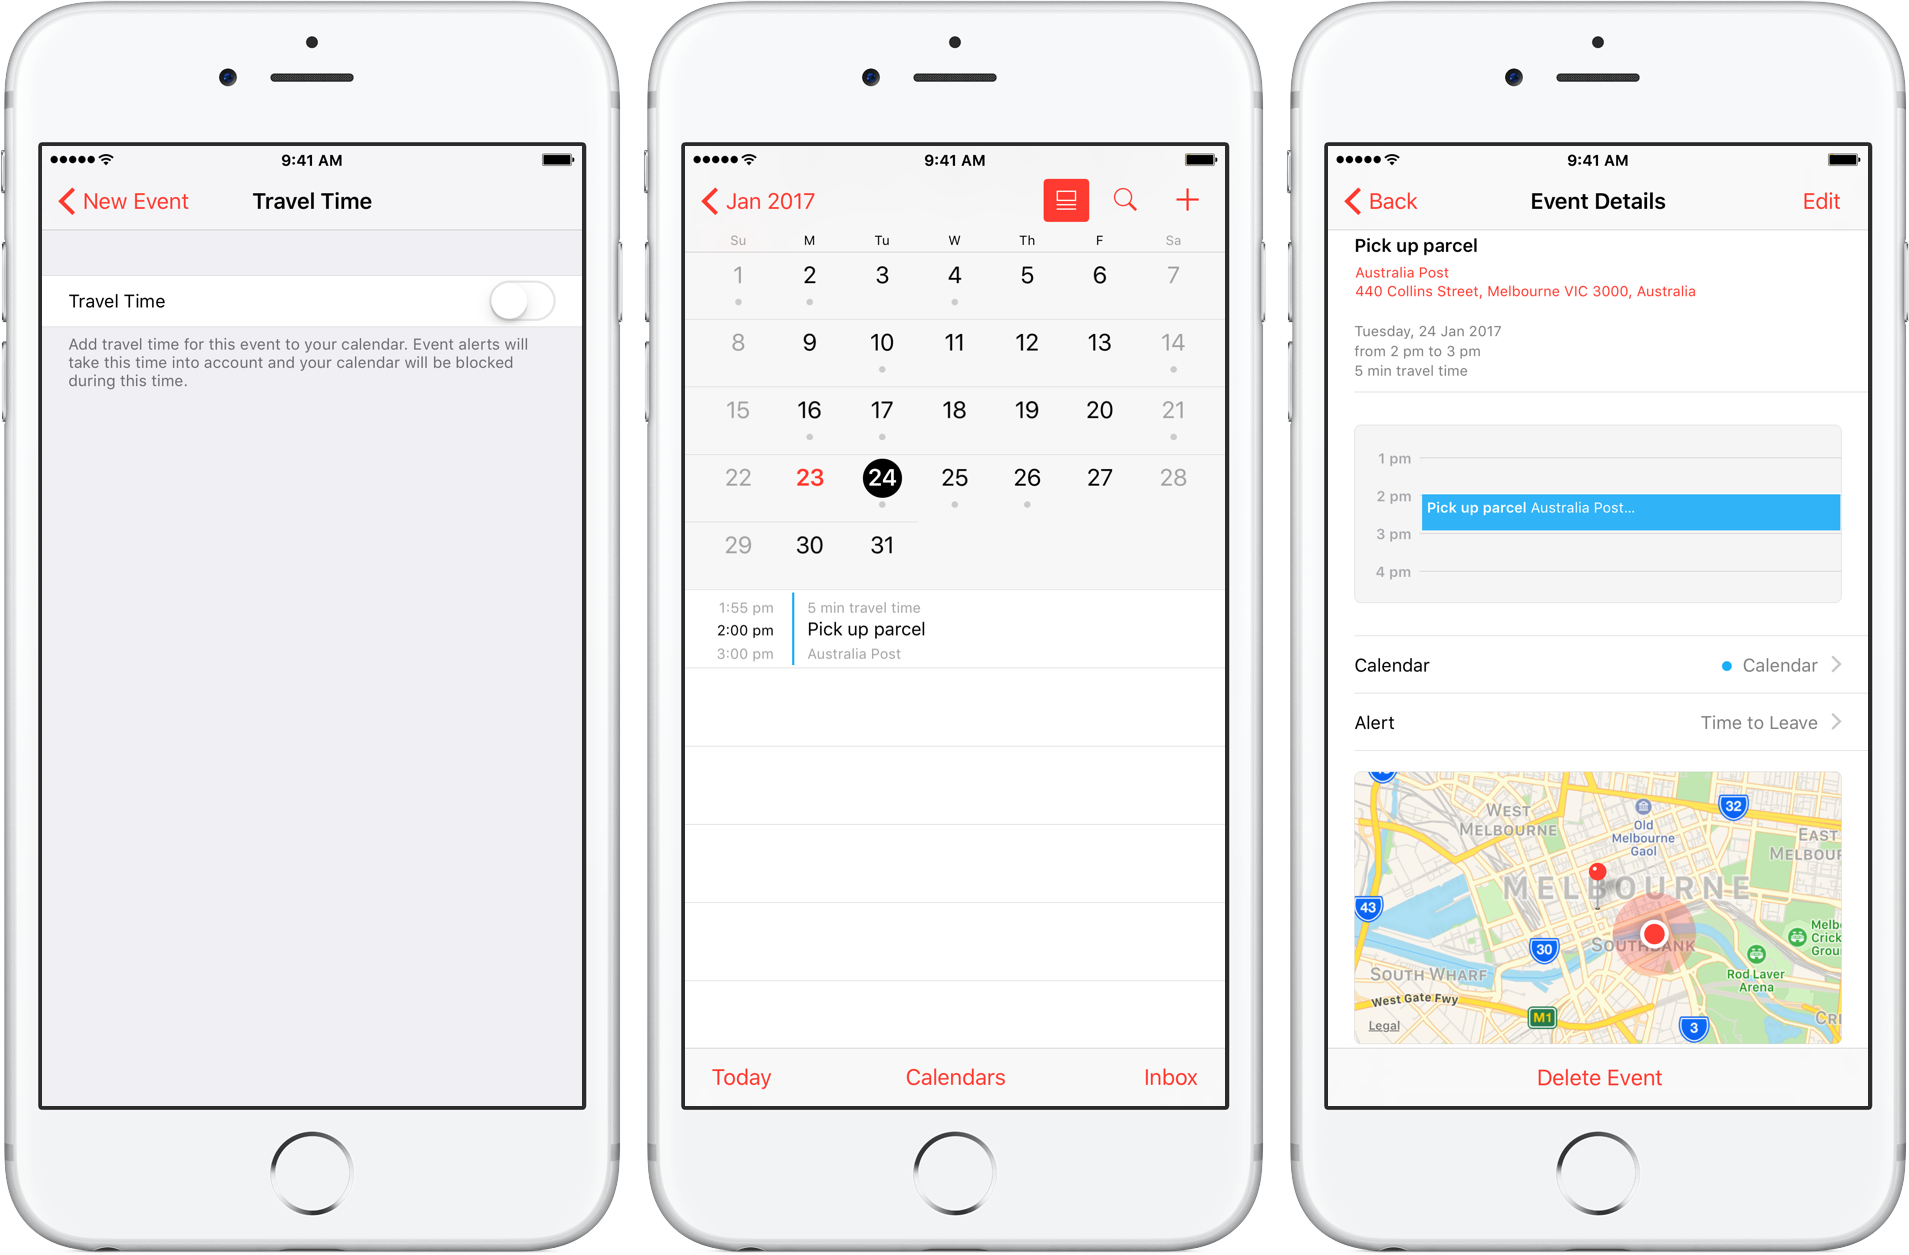
Travel Time is a nifty addition to Apple’s Calendar app, capable of precisely estimating the duration of your upcoming trip based on parameters such as milage and traffic. Used properly, it can notably ease some of your daily scheduling woes, but paradoxically, a large contingent of regular Calendar users still routinely overlook the feature.
Formerly introduced as frequent locations and traffic conditions widgets, the service has only slowly gained traction amongst users. Travel Time today however has come of age and is now neatly integrated into one of the most popular productivity applications both on iOS and macOS. So if you didn’t get the memo on the virtues of Travel Time in Calendar, here’s what you need to know.

If you only have a small SSD in your Mac or Hackintosh, then storage space can be at a premium. For most users, by far the largest thing saved on their boot drive is the User folder, which contains their user account. If your user folder is filling up your SSD and you want to keep that high-speed storage for the operating system and applications, then this guide is for you.
It is possible to move your entire user account onto another drive, completely separate from your macOS boot drive. This will free up space on the boot drive and allow large media folders like Music, Movies, and Downloads to reside on a larger capacity drive.
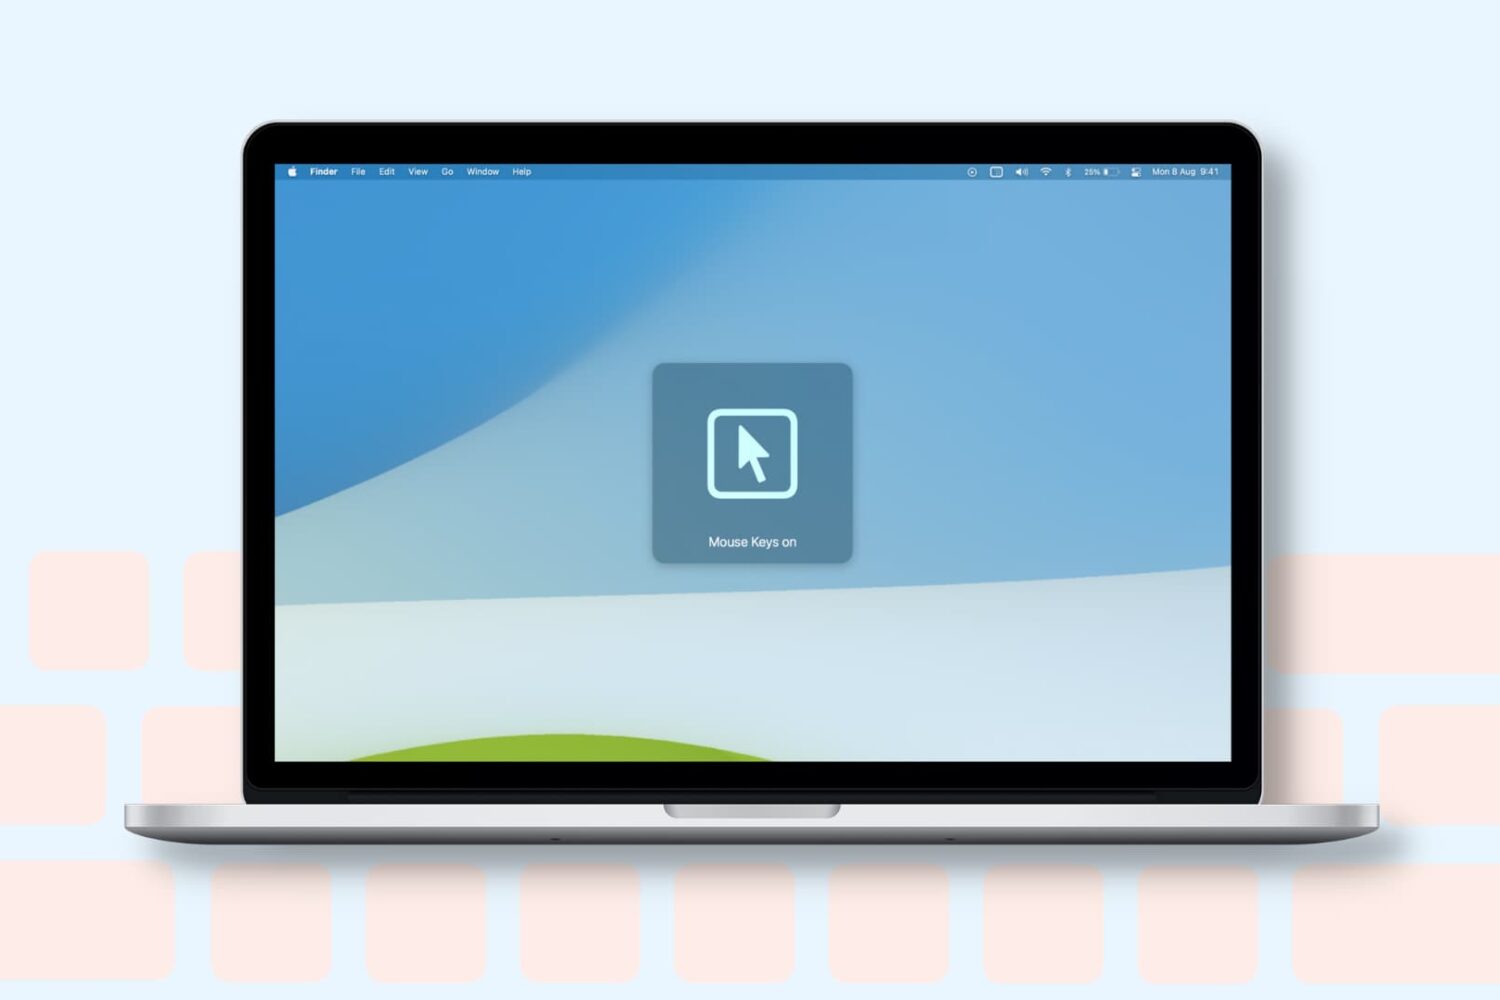
Learn how to turn on the Mouse Keys feature on your Mac to control the mouse pointer with the keyboard or numeric keypad.
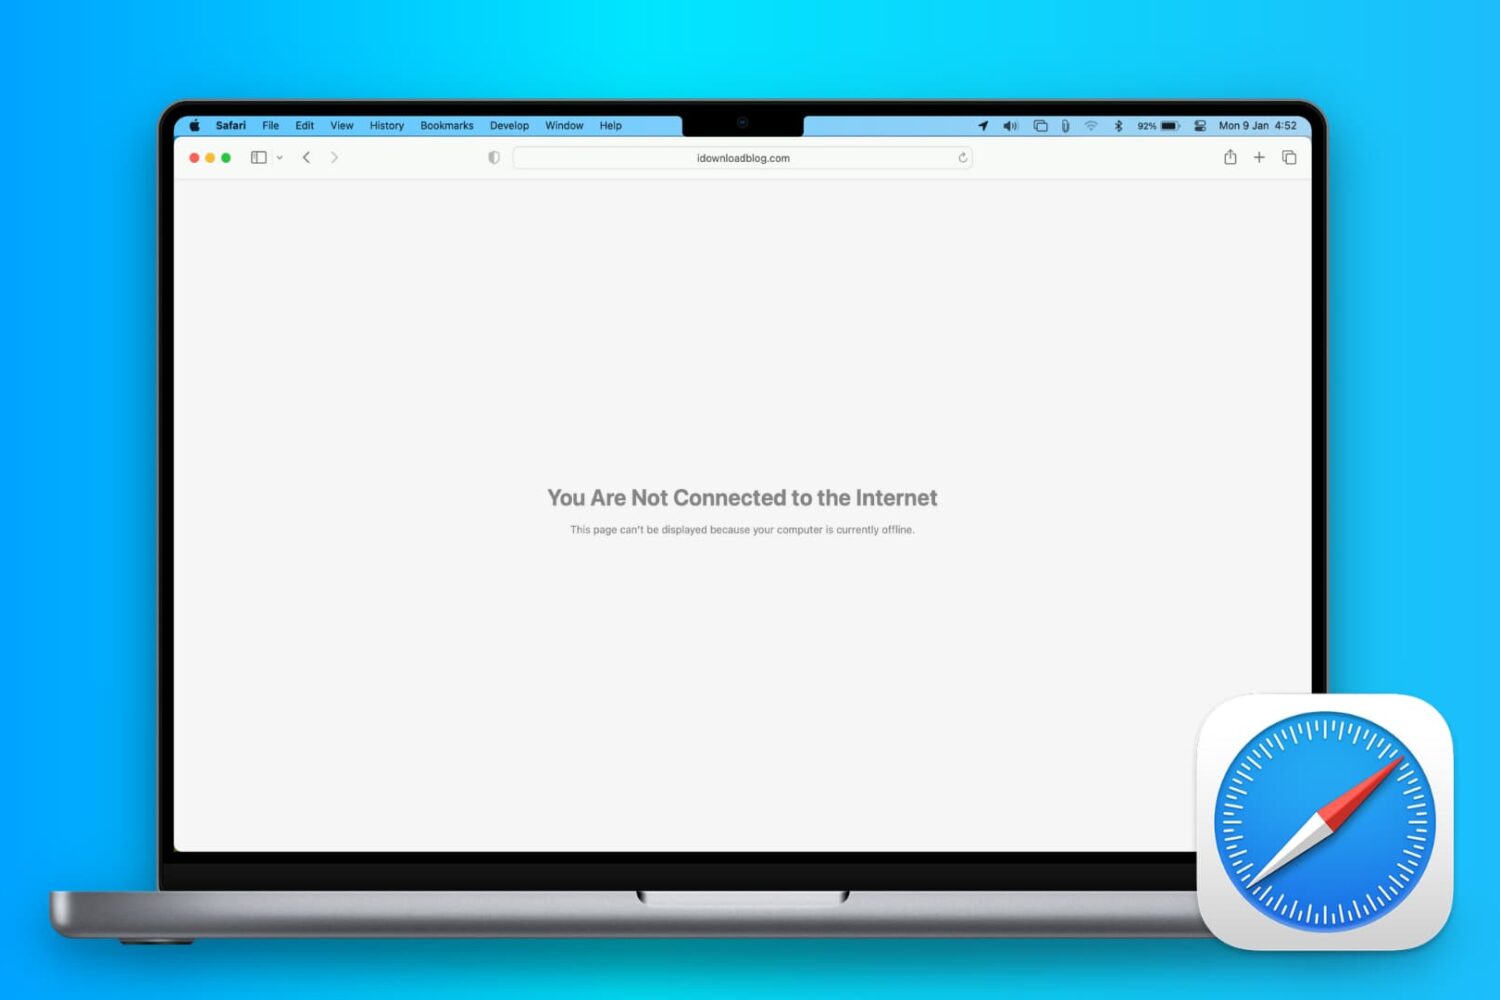
In this comprehensive troubleshooting guide, we list 24 solutions to fix all or specific websites not loading in Safari on your iPhone, iPad, and Mac.
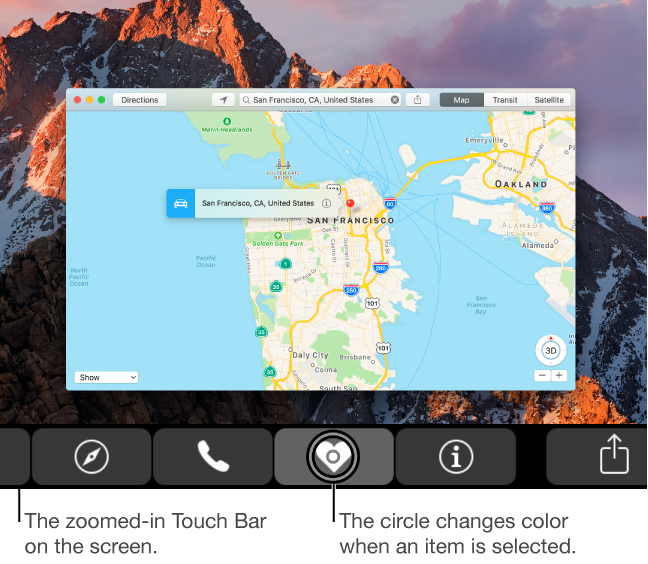
Visually impaired users who own Apple's MacBook Pro with Touch Bar may be pleased to learn that macOS provides a set of specialized Accessibility features that help people who are blind or have low vision enjoy the compelling features of Touch Bar. If you have difficulty seeing items in your Touch Bar, turning this feature on renders a larger Touch Bar on the main display. Other users should check out Touch Bar zoom, too.
In this tutorial, you'll learn how to turn Touch Bar zoom on, increase or decrease the zoom level, select or split-tap an item on Touch Bar and use other specialized gestures.
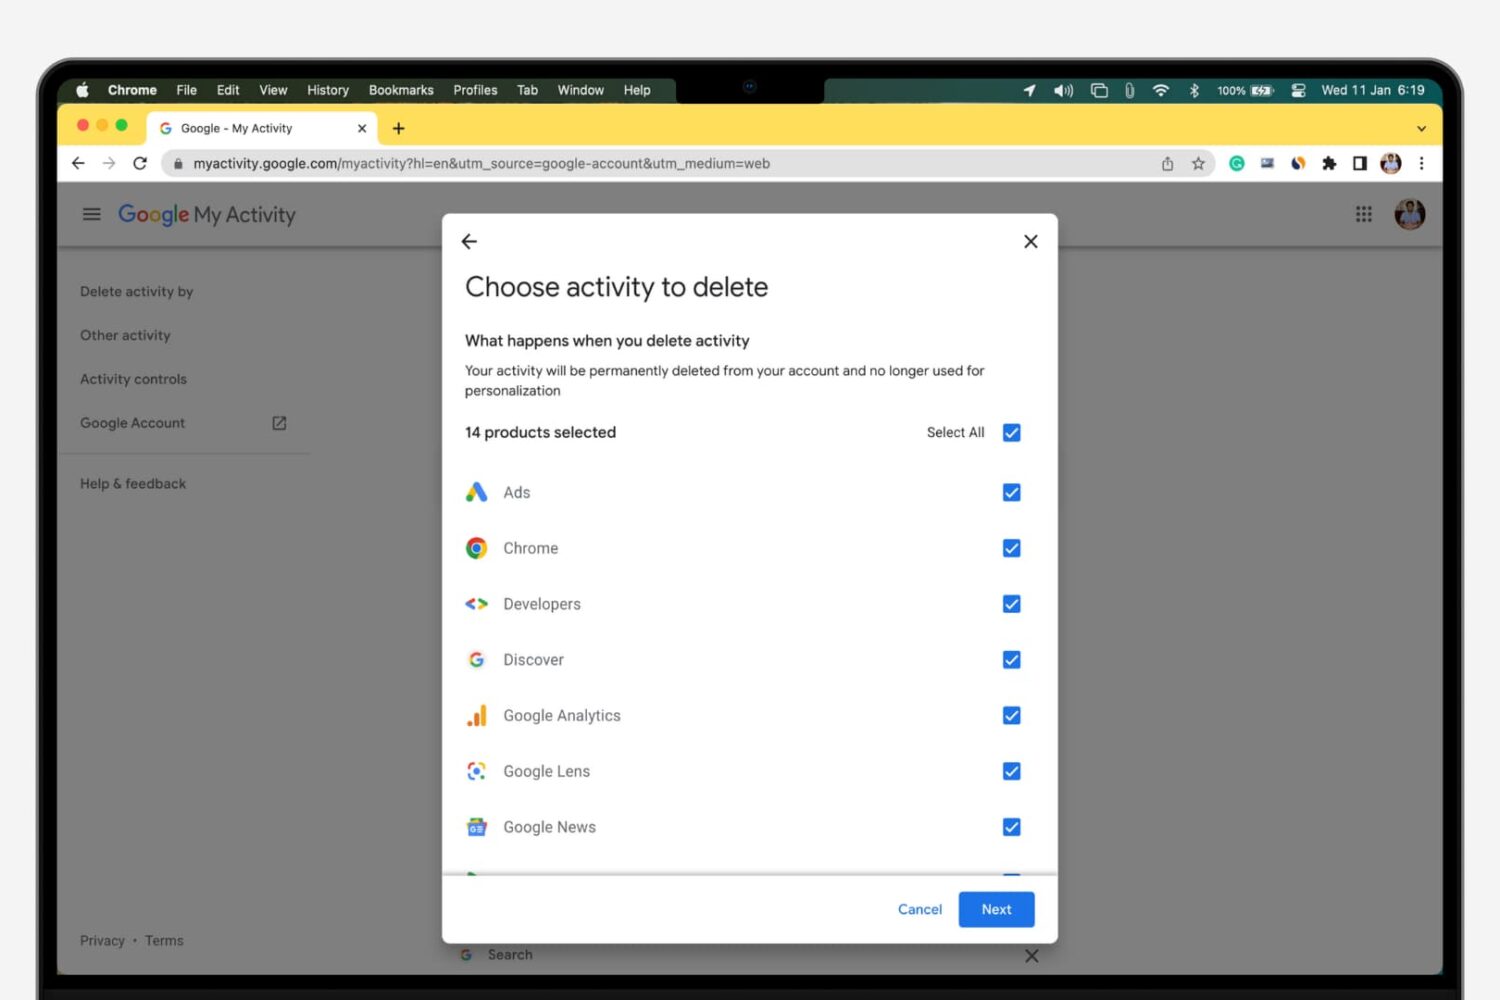
Whenever you make a Google search while being logged in to any service from the company, your search is saved to your Google account’s activity. This is designed to help improve your search experience by increasing the amount of relevant results you'll see.
In this tutorial, we’ll show you how to view and delete your Google search query history, a step you can take to increase your privacy by preventing others from seeing what you’ve searched for.
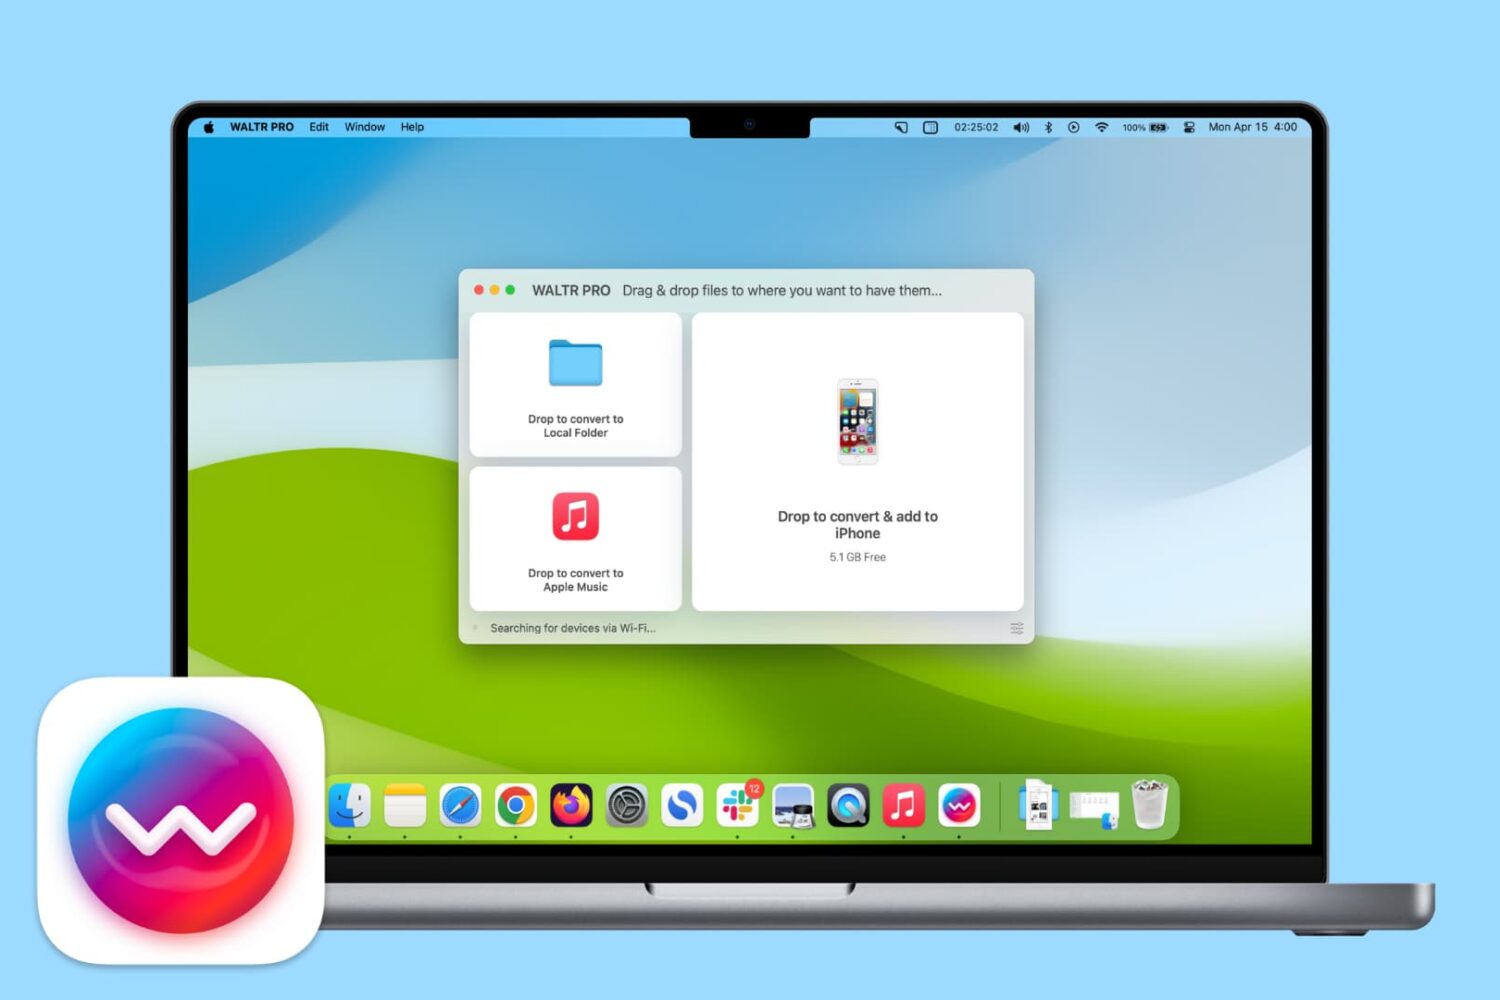
Learn how you can use the WALTR PRO app on your Mac or Windows PC to convert and add songs to the Music app on your iPhone or iPad with ease.

Learn how to turn off inertial scrolling in macOS so that your Mac stops scrolling immediately when you lift your finger instead of gradually.
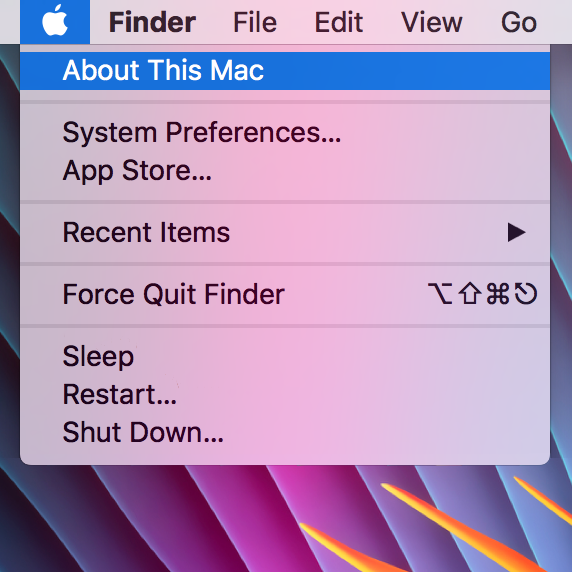
The "About This Mac" window contains information relating to your computer specifications and OS version, and is useful for quickly checking any of those details. However, it's a little impersonal, and often (on a Hackintosh), incorrect. If, like me, you enjoy customising your machine to your own personal taste then this guide should help somewhat, by jazzing up the "About This Mac" section.

Venturing into the depths of iTunes is no longer an activity for the faint-hearted, as Apple’s gold mine is famously becoming more convoluted with every update. It is by no means impossible to keep up with the changes, but staying on top of every small cosmetic shift does pose a decent challenge today.
As somebody very fond of the spoken word on iTunes, I can attest that this general rule holds true for audiobooks as well. So as I was fiddling around with some old school CDs the other day and trying to move audio files within my iTunes library to the Audiobooks tab, I noticed my old methods were already outdated again. If you’re not up to speed on iTunes, here’s a refresher on how to get your talking book to properly identify as Audiobooks inside the application, followed by an encore for CD enthusiasts with regard to joining tracks during import.