Guide

How to jailbreak iOS 7.0.6 using Evasi0n

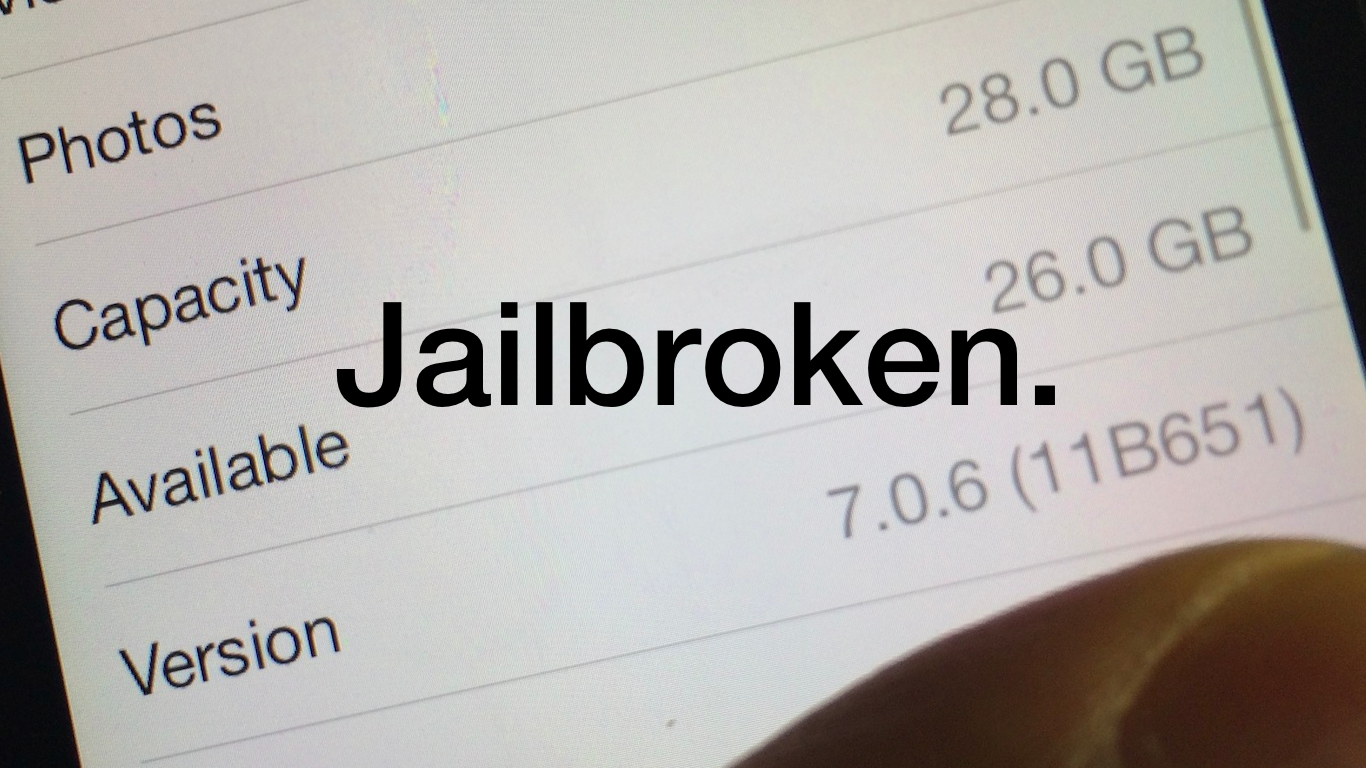
iOS 7.0.6 was just released earlier today, and it contains a fairly serious SSL bug fix that everyone should upgrade to. Unfortunately, the latest build of Evasion7, build 1.0.5, is not yet compatible with iOS 7.0.6. But don't worry, we have you covered. We've uploaded a custom Hex-edited version of Evasi0n7 1.0.5 with the proper build numbers so that you can easily jailbreak iOS 7.0.6 after updating. Check out our full video tutorial after the jump for the proof.

Update: the evad3rs have released evasi0n7 1.0.6 with support for iOS 7.0.6, so the hex-edited file is no longer needed, you can download the proper Evasi0n 7 1.0.6 file from our downloads page. Note that the steps described in this post still work. Just make sure to download the latest official version of evasi0n7.

Having issues with Cydia Substrate? Try this

I woke up this morning to a pleasant surprise: Mobile Substrate had been updated to support iOS 7 on ARM64 CPUs, making it compatible with all of the latest Apple devices like the iPhone 5s, iPad Air, and iPad mini with Retina Display. As you can imagine, I rushed to the office without even brushing my teeth (I know, gross) and installed the new Cydia Substrate package that appeared on Cydia.

Unfortunately for me, none of the tweaks and apps that I had installed began to work after Cydia Substrate was updated. I think it may, and I'm just grasping at straws here, have to do with the fact that I was impatient, and already had a bunch of stuff installed that didn't work in the first place. To fix this issue, I took a fairly logical approach; I completely uninstalled Substrate and reinstalled it from scratch. Have a look inside for more details.

Getting stuck with Evasi0n 7 at Configuring System 2/2? Try this

I'm a bit embarrassed to admit it, but I never got around to posting a Windows jailbreak video tutorial for Evasi0n 7. Usually, I'm on such a tutorial like white on rice, and I take pride in helping our faithful readers through the entire jailbreak process, regardless of their platform of choice. This time, however, things were a bit different.

Although we were able to post our Mac video tutorial in a short turnaround time, the Windows video tutorial was nowhere to be found. Why? Well, to be frank, it's because I couldn't get it working.

I could start the jailbreak perfectly fine, and I never ran into any error messages, but I just could not for the life of me get past the Configuring System 2/2 step during Evasi0n's jailbreak process. It's like everything would just come to a screeching halt as soon as it got to this step.

As you've probably figured out by now, I was finally able to work past this issue. The headline kind of gives it away, but the solution isn't something I can take credit for at all. The solution is actually thanks, at least in part, to someone very close to Saurik. Check inside for my explanation and video walkthrough showcasing how to jailbreak iOS 7 on Windows.

How to make most tweaks and apps work with iOS 7 on pre-A7 devices

Are you jailbroken on iOS 7? Are the apps and tweaks installed via Cydia not showing up on your device? If you're running into this problem, you're not alone. I've received numerous questions about this problem over the last few days; so many, that I thought it would good to make a post and video on it for those that need help.

The short answer to the question is Mobile Substrate. Most of the apps and tweaks that you install from Cydia rely on Mobile Substrate, and Mobile Substrate has not been updated for the latest iOS 7 jailbreak as of yet. An update has been promised to come soon, but Saurik, its developer, is no doubt inundated with about a thousand and one different tasks related to the just released jailbreak.

Let's give Saurik the time he needs to get a properly updated working release of Mobile Substrate in our hands. In the meantime, if you're running a non-64-bit device, you can take the following steps to make your favorite apps and tweaks work.

How to fix Cydia “failed to fetch” errors by removing the UltraSn0w repo

One of the more common error messages that new Cydia users will come across is the error that says Failed to fetch [...] HTTP/1.1 404 Not Found. This is a typical 404 message that you get when you visit a webpage location that no longer exists. Normally, this wouldn't be a big deal, but it causes an error message to appear in Cydia each time you refresh your list of packages and it attempts to pull data from the non-existent UltraSn0w repo.

You'll receive an error that states: Some index files failed to download, they have been ignored, or old ones used instead. Yeah, so no big deal, but it's still a huge annoyance, because this interrupts the stream of refreshing the list of Cydia packages. The fact is that you'll probably never need to use UltraSn0w, and even if you did, you can always add the repo back to Cydia manually.

iH8sn0w and winocm release “drama free” untethered jailbreak for iOS 6.1.3-6.1.5

If you have an older device running older firmware, you may have felt left out of yesterday's iOS 7 jailbreak festivities. But, worry not, because there is a release that just dropped in Cydia that allows you to enjoy an untethered jailbreak on your iPhone 4, iPod touch 4th generation, and iPhone 3GS if you're running iOS 6.1.3 through 6.1.5.

The untethered jailbreak, which is called p0sixspwn in Cydia, is a package that allows you to convert a tethered jailbreak into an untethered one. This means that if you're currently jailbroken on one of the aforementioned devices using a tool like redSn0w or sn0wbreeze, you can finally reboot your device without having to perform a tethered boot. Have a look inside for the step-by-step guide.

How to record direct feed footage from iOS to a Mac or PC

Lots of people have asked me how I go about recording footage directly from the iPad, iPhone, or iPod touch. The process is one that is simple and straightforward with the help of a couple of hardware and software tools.

From time to time I will record footage directly from an iOS device, while at other times, I like to record the screen using an external camera so that you can see my hands as I work with the device. Depending on the circumstances, I've been known to switch up my methods for doing so.

The bottom line is that there are times in which you should definitely go the direct feed route as opposed to recording the screen externally. As the saying goes, there are many ways to skin a cat, but the method that I've been using has been working quite well for me. Have a look inside as I spill the details on what makes a successful iOS device recording setup.

How to control your Nest thermostat from the menu bar

I wouldn’t call myself a Nest Learning Thermostat early adopter, but I did acquire one fairly early in the game, and I haven’t looked back. The Nest, as you’re likely well aware of, is the new-aged thermostat from iPod designer Tony Fadell. The Nest allows users to control the thermostat from anywhere in the world using a web browser, or by using an iOS app for the iPad or iPhone.

Mac users have sort of been left out in the cold; pun intended. Desktop users have basically been relegated to using the web browser in order to control the Nest, as there is no official Nest app available for OS X. The good news is that developer Joseph Workman has taken the initiative to wrap the Nest’s web interface into a handy utility called Climate, and it runs in the Mac’s menu bar. This makes it so that you can quickly access the Nest’s temperature controls and other features from anywhere on your Mac.

We’ve taken the initiative to create a video walkthrough in order to showcase to you how Climate works, and why it’s so beneficial to Mac users. Jump past the break to see all the details.

Shiori: my favorite Pinboard utility for the Mac

In episode 002 of Let’s Talk iOS we talked about Pinboard, and why it’s such a useful service for saving bookmarks. I won’t get too much into the specifics about Pinboard on this post, so I urge you to listen to that episode if you haven’t already. The episode does a good job of explaining the methodology behind Pinboard, pricing, etc.

What I do want to talk about is an awesome Pinboard utility called Shiori. A free download for OS X, Shiori is a Pinboard utility that allows you to quickly add new bookmarks to your Pinboard account and just as quickly search all of the contents of your account.

Shiori runs in the menu bar, and both its add and search functions can be accessed by a pair of useful keyboard shortcuts. Have a look inside as we go hands on with Shiori on video. If you’re at all interested in saving bookmarks for the longterm, then I’m positive you’ll find Shiori useful.

How to downgrade iOS 7 to iOS 6.1.3

Apple makes it sound like a life or death scenario when developers decide to install iOS 7 beta on a test device. In fact, it's always done so with its beta releases. In the notes for iOS 7, Apple states that "Devices updated to iOS beta can not be restored to earlier versions of iOS."

The thing is, that simply isn't true. I've always been able to successfully downgrade my firmware in the past for a beta test device, and I've confirmed that the process still works perfectly fine on iOS 7. In fact, it's extremely easy to downgrade your firmware from iOS 7 to iOS 6.1.3; it doesn't even require any special tricks or techniques like some downgrades do. Check inside as I walk you through the extremely simple step-by-step process for downgrading iOS 7 back to iOS 6.1.3.

How to stop Google Chrome’s annoying keychain access request messages

Have you ever had Google Chrome on OS X present a pop up message that states: Google Chrome wants to use your confidential information stored in the...blah, blah, blah...in your keychain?

Even if you select Always Allow, Deny, or Allow, the message continues to pop up each time you visit specific sites. I tried disabling password syncing in Chrome's settings, clearing all saved passwords, etc., all to no avail. Basically, I got to the point where If I saw that message one more time, I was going to rip my hair out!

But I solved the issue, and it was actually easier, and more obvious than I expected. If you're having the same problem, which apparently many Chrome users on the Mac are, then take a look inside for the fix...