Scan documents, receipts, business cards, letters, and billing statements using the Google Drive app on your iPhone or iPad to save digital copies of these items to the cloud and ensure they are available on all your devices.
If you’ve tried scanning documents with Apple’s Notes app or the Files app, you already know what to expect. Just point your iPhone or iPad’s camera at documents like receipts, letters, billing statements, and the like to scan and save them as searchable PDFs. This feature is also available in the Google Drive app for iOS and Android. Here are the exact steps if you need detailed instructions.
Scan documents with the Google Drive app
1) Open the Drive app on your iPhone or iPad and tap the scan button. You can also tap the plus icon (+) and then choose Scan document.
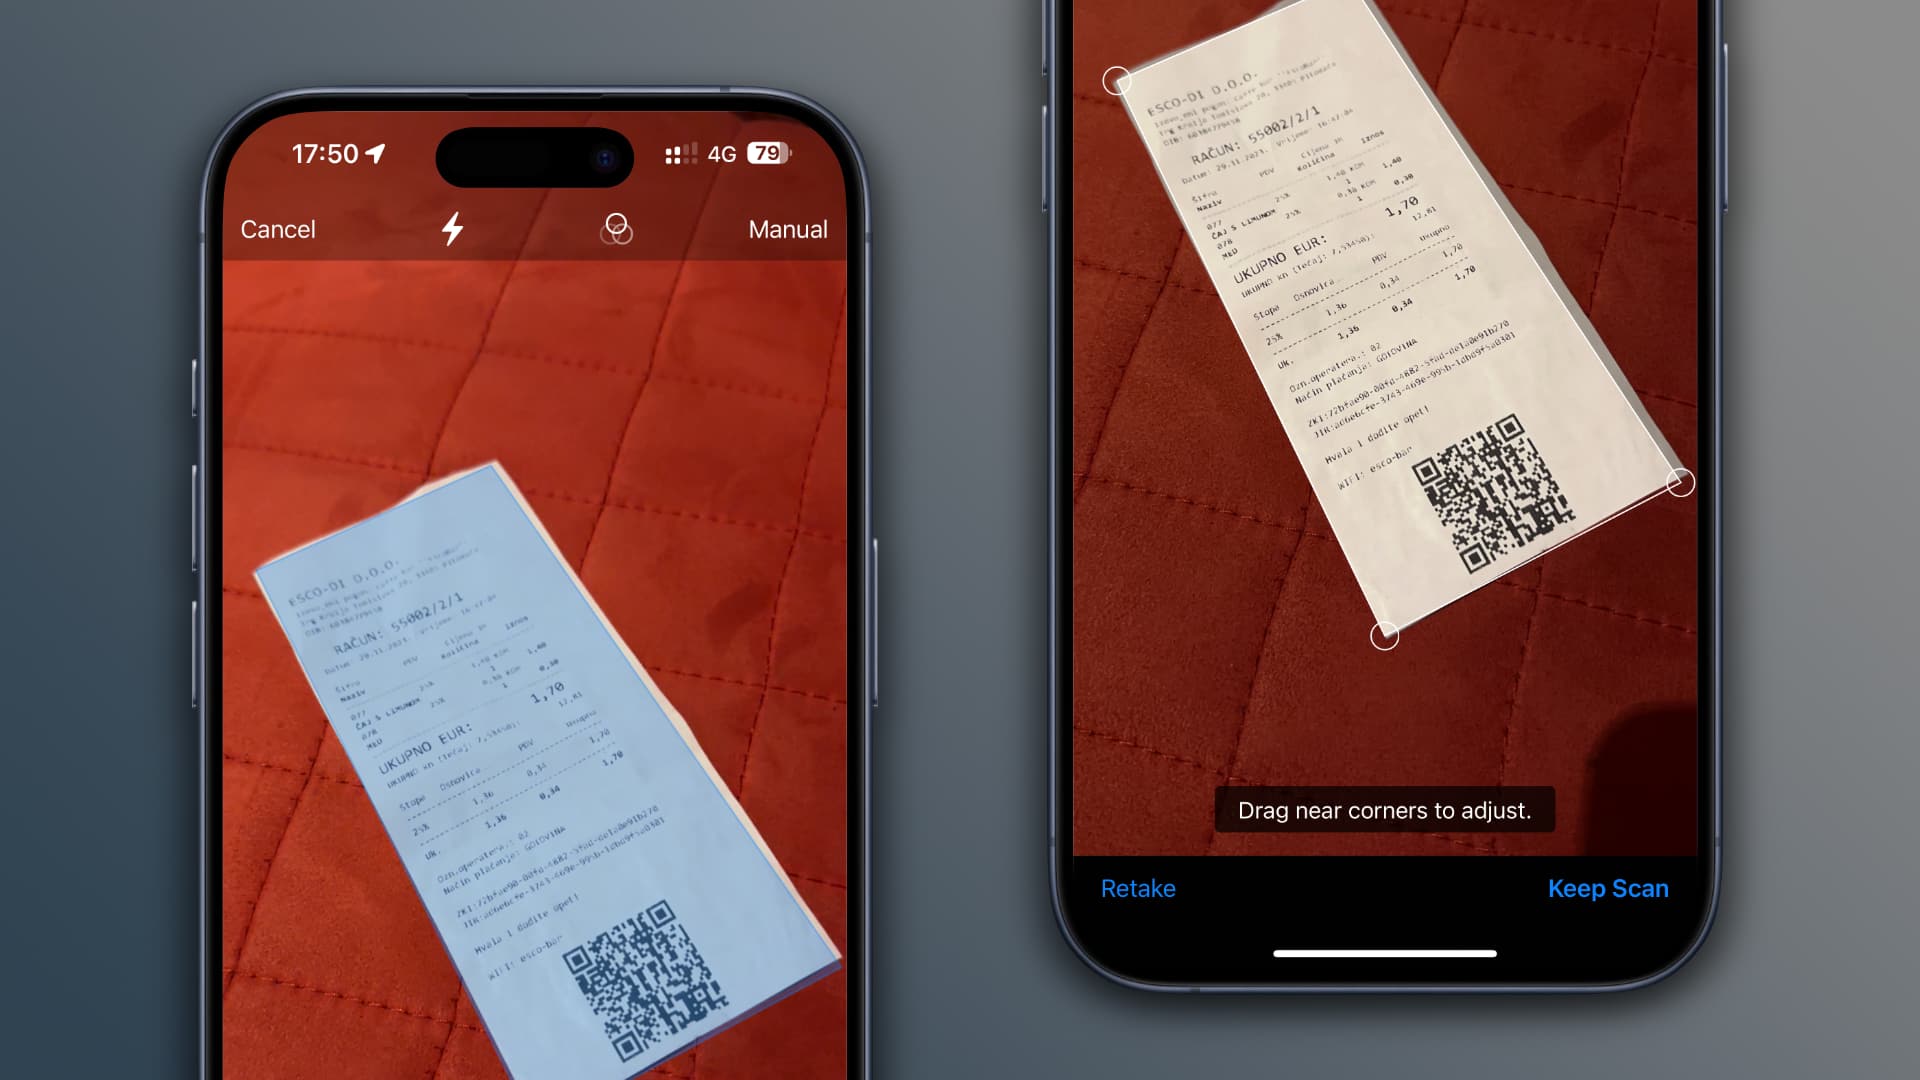
2) Point your device properly over the receipt or document you want to scan. You’ll see a blue outline where the picture will be cropped, but don’t sweat over framing. Thanks to computer vision, you don’t have to align your shot, as the app will magically fix the perspective, remove all glare, and straighten the scan.

3) The app will automatically take the picture and get itself ready for the next scan. But if you only have one page or receipt to scan, move your iPhone away from the document after the first automatic scan. Note that you can also manually tap the shutter button to scan (more on it later).
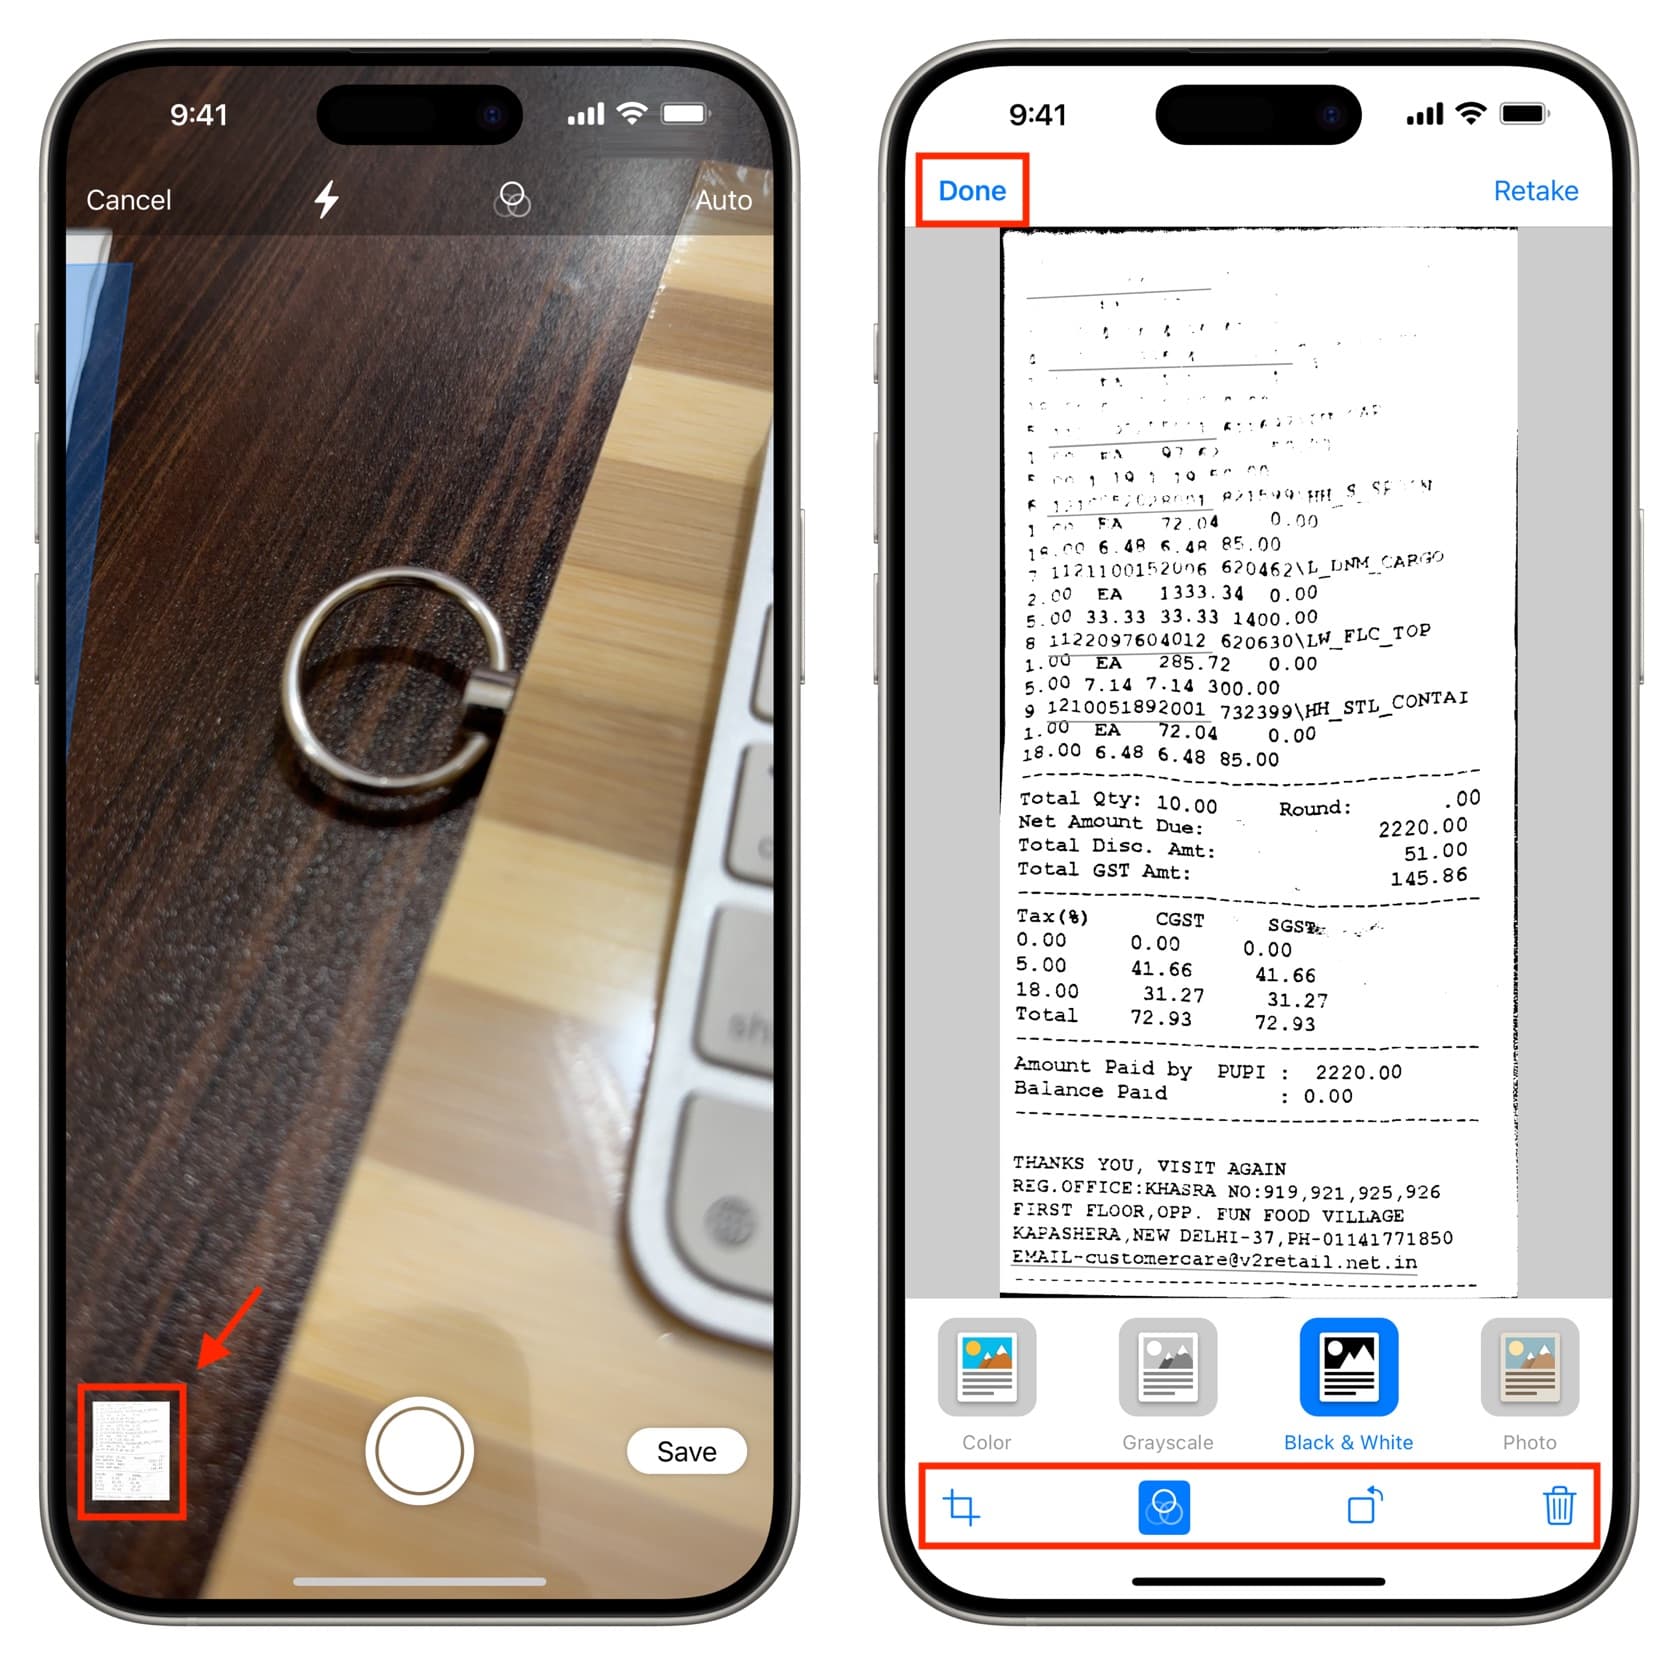
4) Once you finish scanning, you can tap the Save button. But you should know that you can also edit your scans to make them even perfect. Options at your disposal include the ability to use image filters to get rid of finger stains or make color documents clearer by turning them grayscale, black and white, etc.
To do that, tap the scanned thumbnails icon from the bottom left. Now, you can crop the scan to edit out unwanted portions from all four sides, add a filter (color, grayscale, black & white, and photo), rotate the scan, or delete it if you don’t want to save it. Once you finish, tap Done.
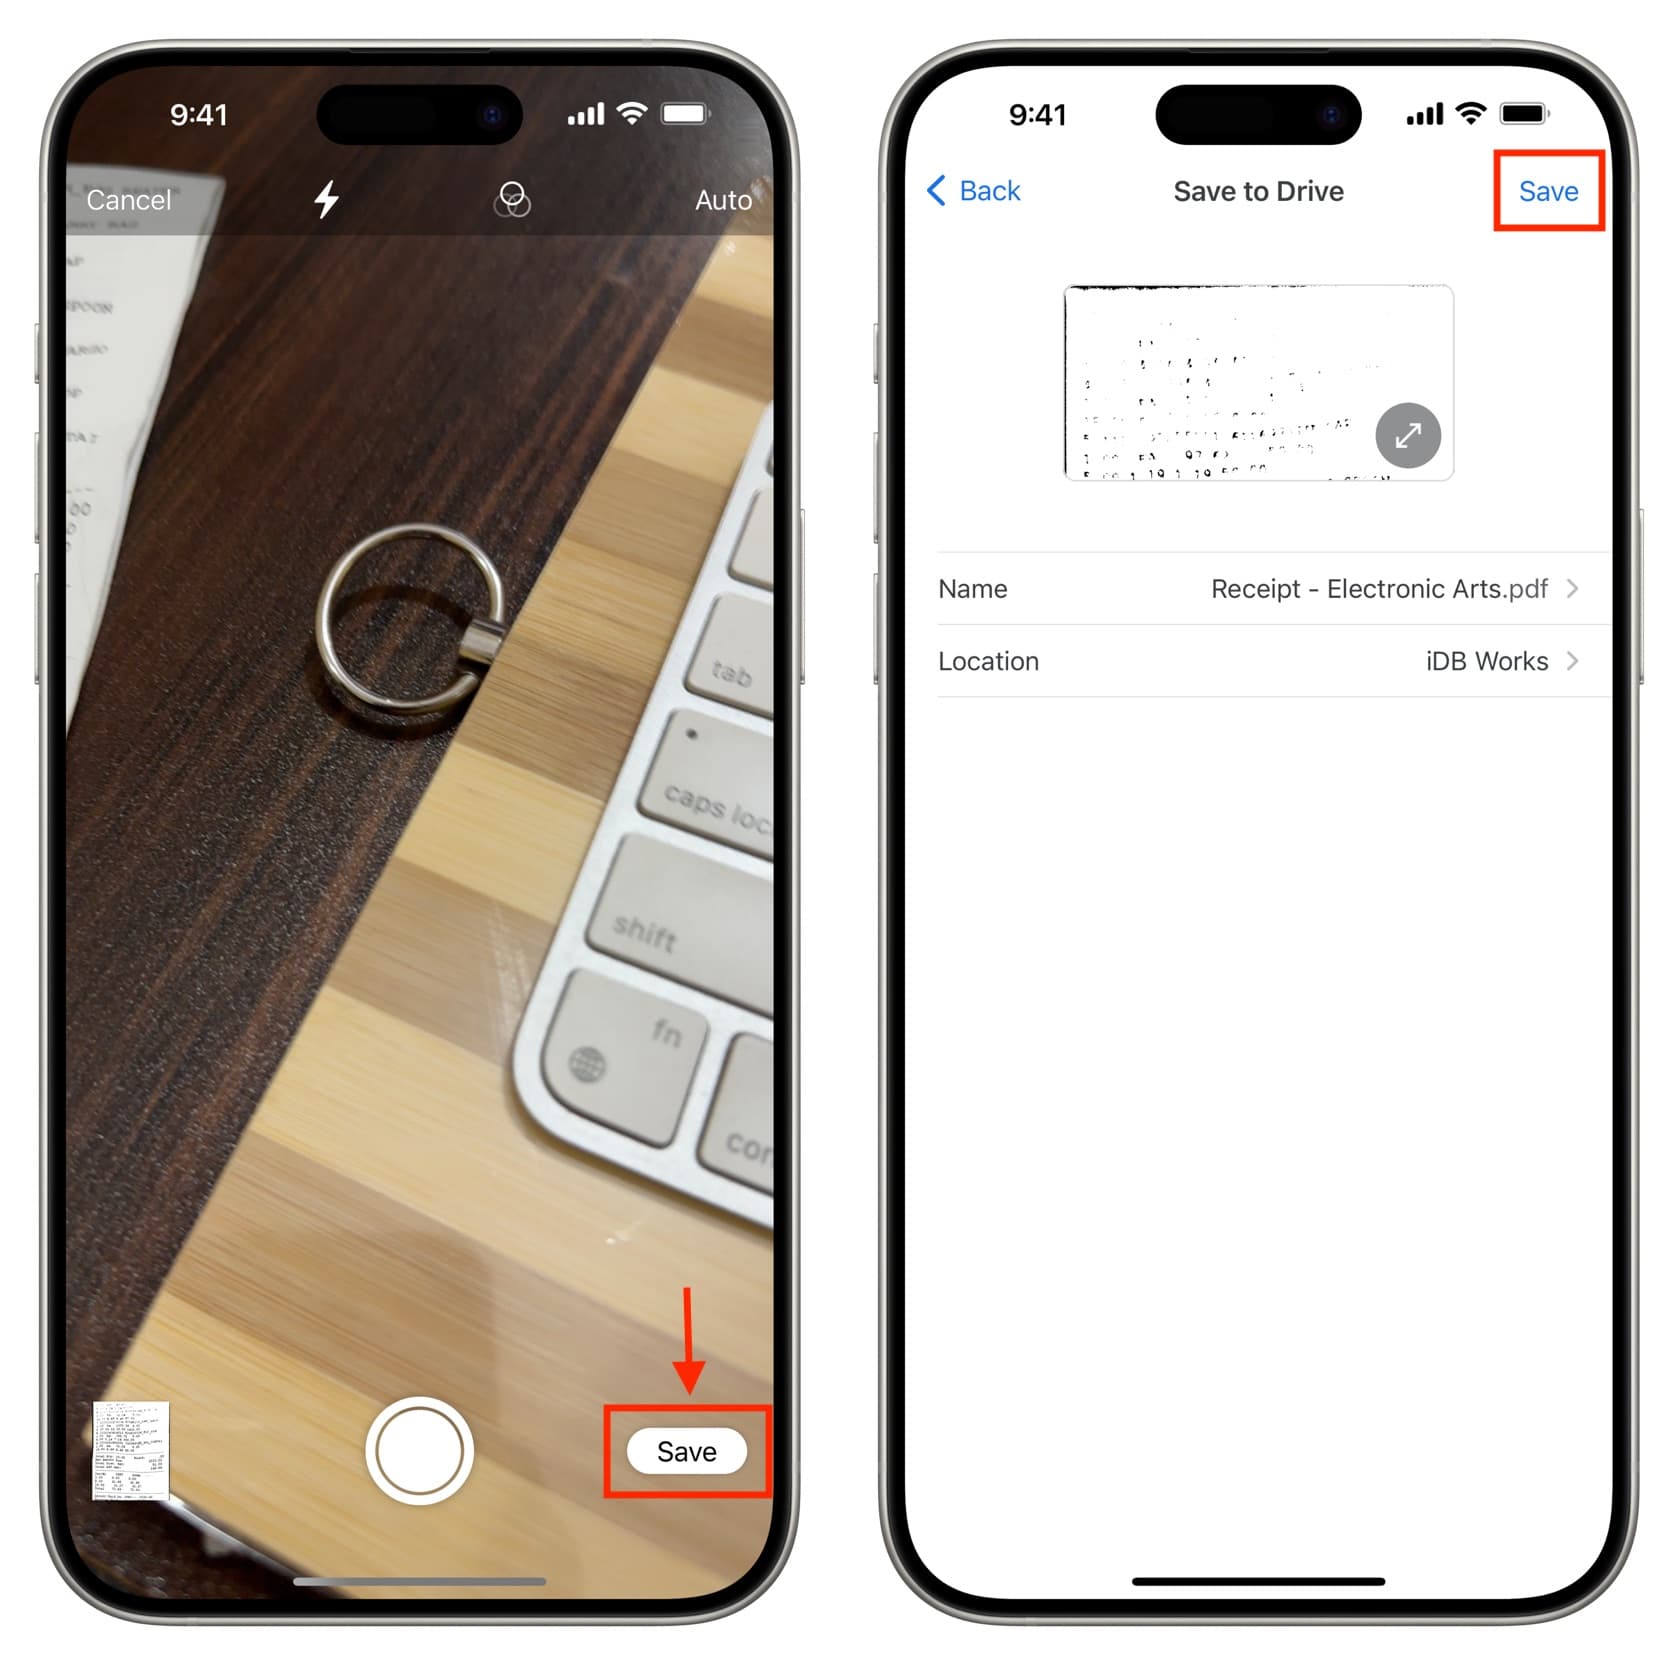
5) After editing, you will return to the scan screen. Tap Save from here.
6) Next, you can change the file name that Google has given it and also pick a location. Lastly, hit Save to save the scans as a PDF file.
Turn off the automatic scan feature in Google Drive
If you don’t want the Drive app to take the scans automatically when you position your iPhone over a document and would rather frame your shot manually by tapping the shutter button when ready, you can do that after following these steps.
1) Open the Drive app and tap the scan button.
2) Tap Auto from the top to change it to Manual.
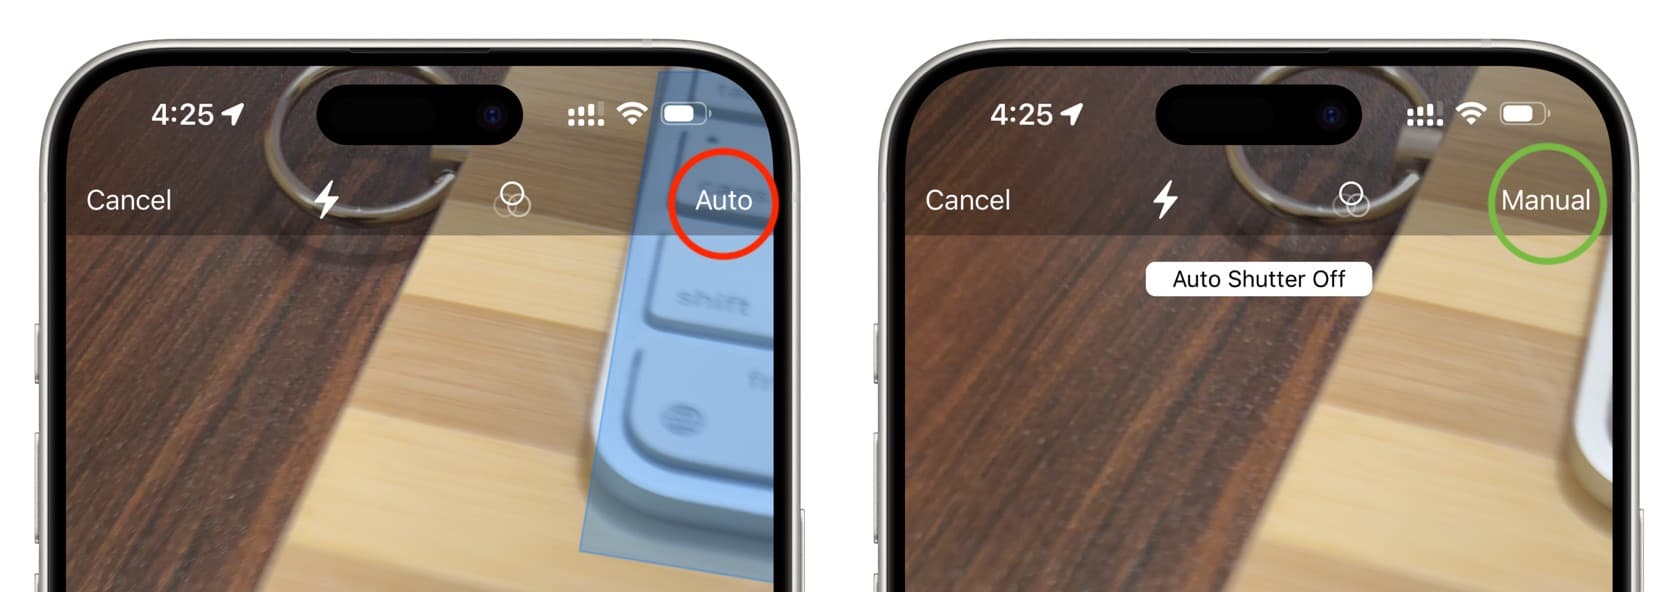
From now on, the app won’t take automatic scans, and you’ll have all the time in the world to frame your shot and capture it as you desire.
What to do if you don’t see the scan button in the Google Drive app
- Update the Drive app from the App Store.
- Delete and reinstall the app. Your files won’t be lost as they are saved on Google’s server. Just remember to log in with your Google account to access your files.
- Restart your iPhone.
- In case everything fails, you can scan using the built-in Apple Files app, the Apple Notes app, or use third-party alternatives like Microsoft Lens.
Also, check out: How to transfer content from Google Drive, Dropbox, OneDrive, etc. to iCloud Drive