Learn how to export images and videos from the Apple Photos app to a folder on your Mac in their original file format and resolution.
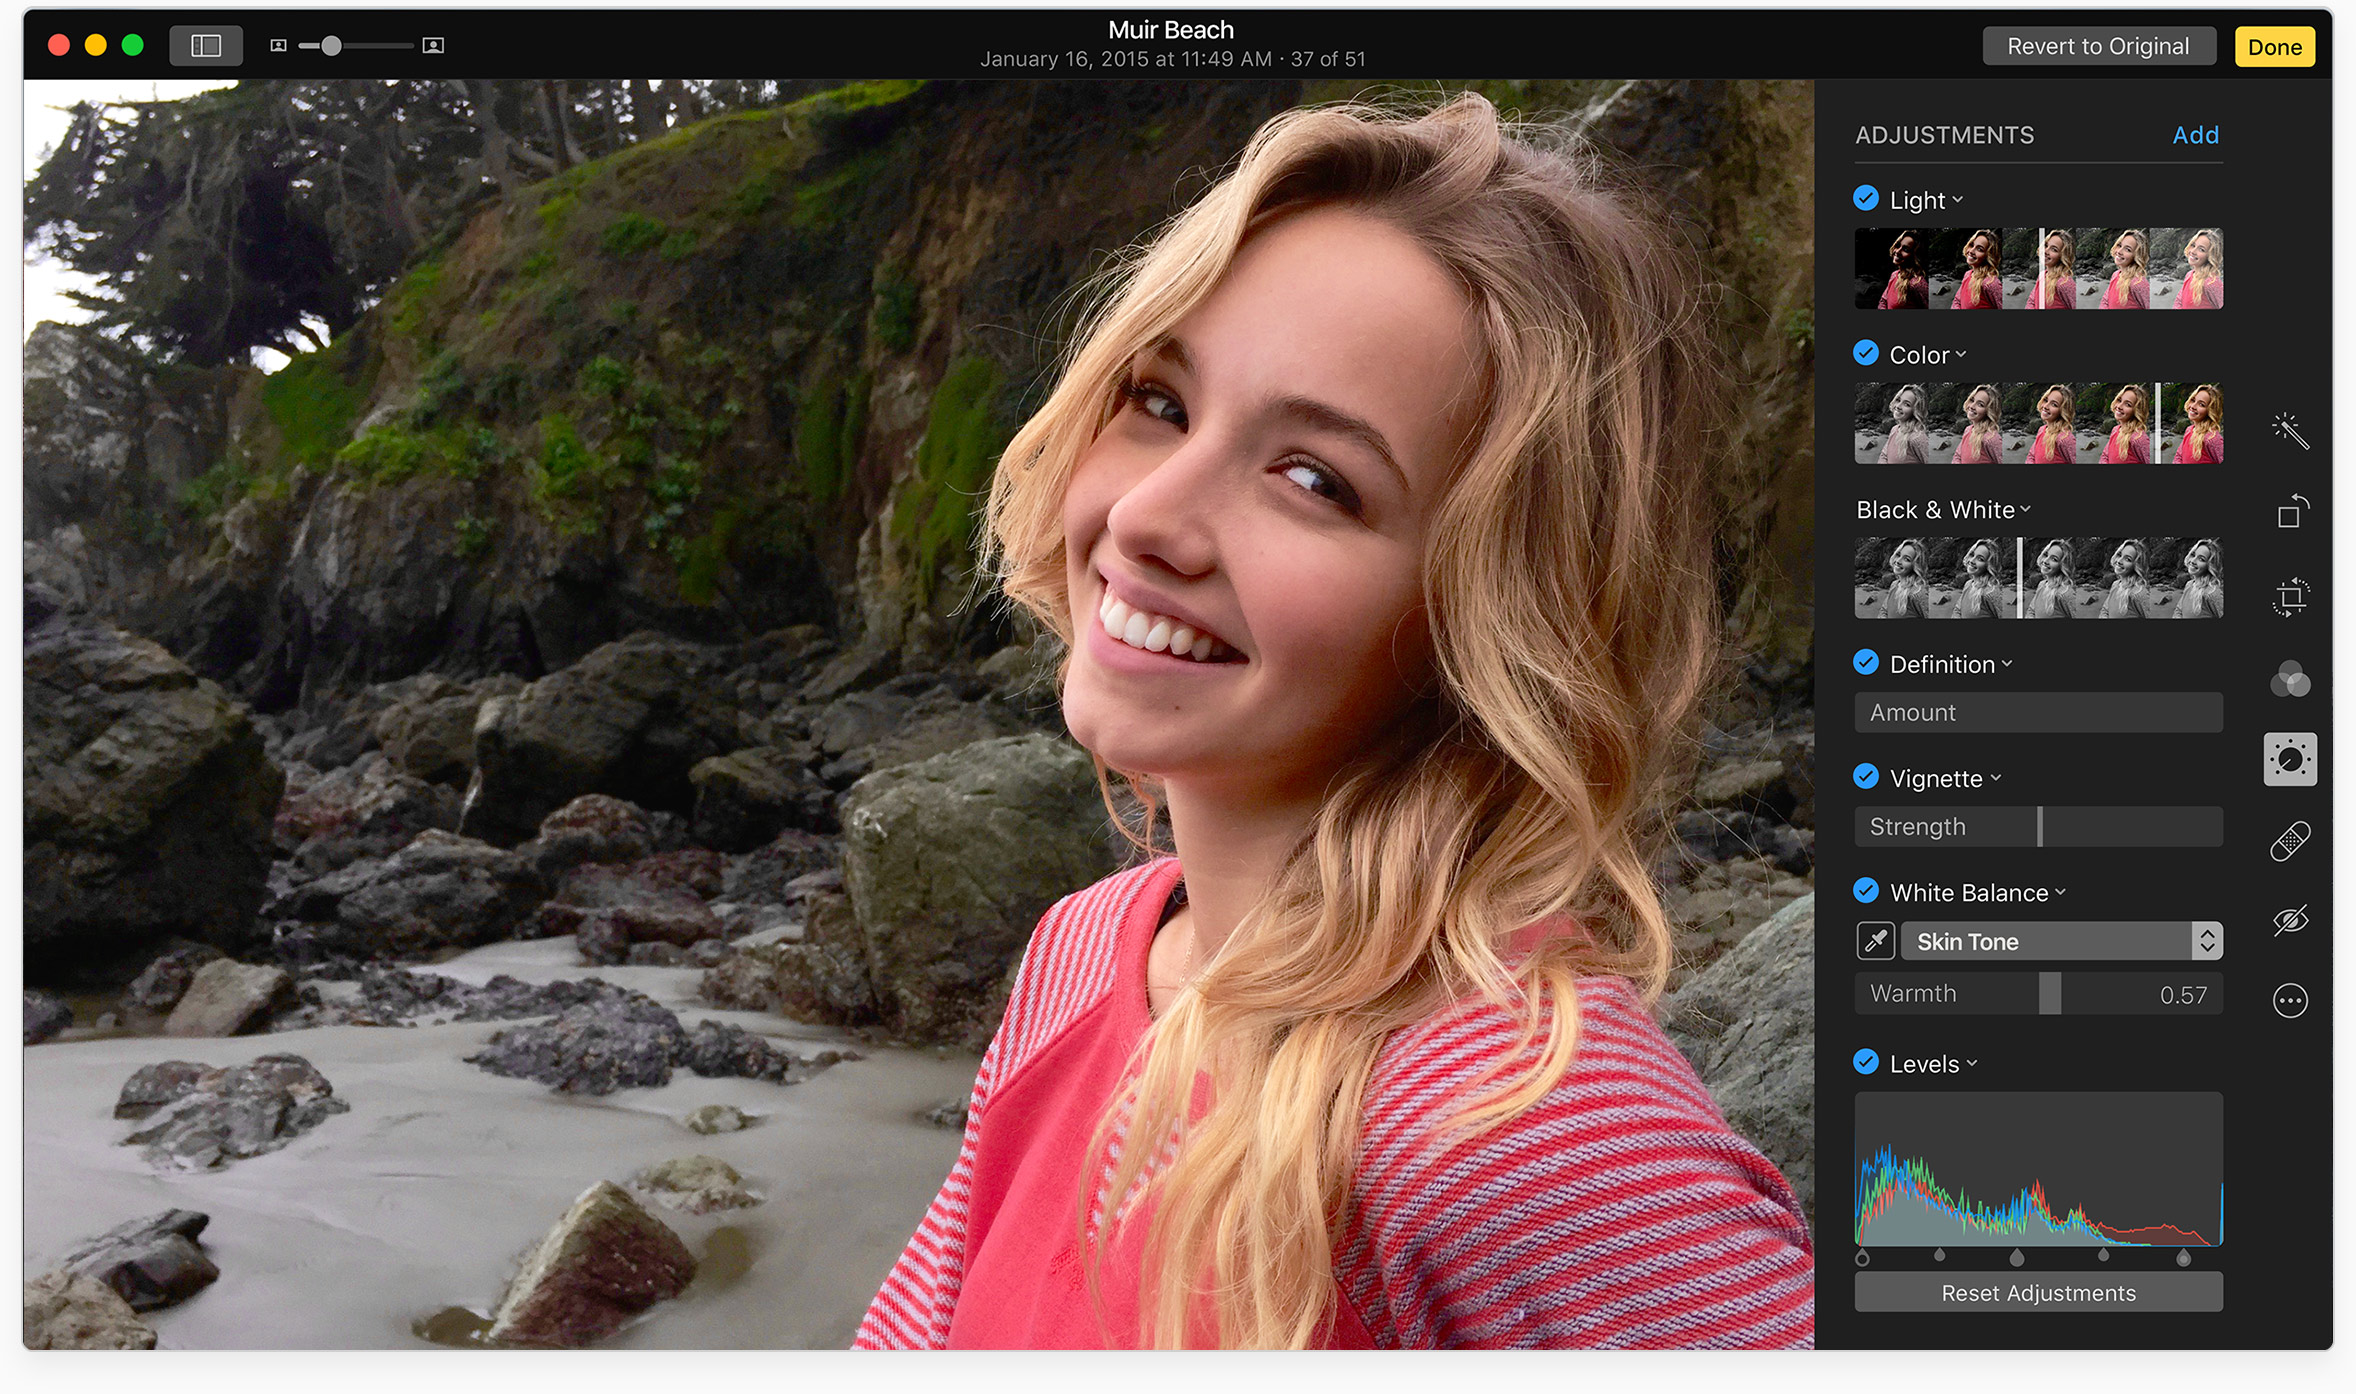
Exporting lets you work with images in apps like Adobe Photoshop or Pixelmator that don’t let you directly open items from the Photos app. Because the Photos app keeps everything in a special library file, you cannot browse them using the Finder.
On older macOS versions, dragging an image from Photos saves it in the JPEG format with a smaller resolution. On newer macOS editions, dragging images out of Photos retains the original resolution but recompresses them as JPG files.
In this tutorial, we’ll show you two ways to export images from Photos while preserving the original file format, resolution, and other parameters.
Save images using the export command
- Open the Photos app on your Mac.
- Select one or more images.
- Click File > Export from the top menu bar and choose ‘Export Unmodified Original For n Photo.’
- Click the Export button, choose the location to save the originals, then click Export Originals.

You can optionally adjust some options prior to exporting. For example:
- You can set the file naming method by clicking the File Name menu on the export screen. You can name files using their titles from Photos, or original filenames, or use sequentially numbered file names. For the latter, you can change the file name part before the count (for example, Image 001, Image 002, and so on).
- To export images from several different moments into a sub-folder, click the Subfolder Format menu and choose Moment Name. Selecting None will instead export everything without creating sub-folders.
- If you tick the box next to Export IPTC as XMP, things like metadata, keywords, and your edits will be exported separately in a sidecar file (XMP extension).
Tip: You can also select the photos and videos and press the Option + Command + E keys together to get directly to the export screen.
Drag and drop images with a modifier key
Another way to export images from Photos for Mac is drag and drop.
Hold the Option key while dragging images from Photos to the Finder to export the original. Without the modifier key, dragging and dropping exports a recompressed JPEG version of the image as it appears in Photos, meaning with all your edits, shown on the screenshot below on the left, instead of the original version, shown on the right.
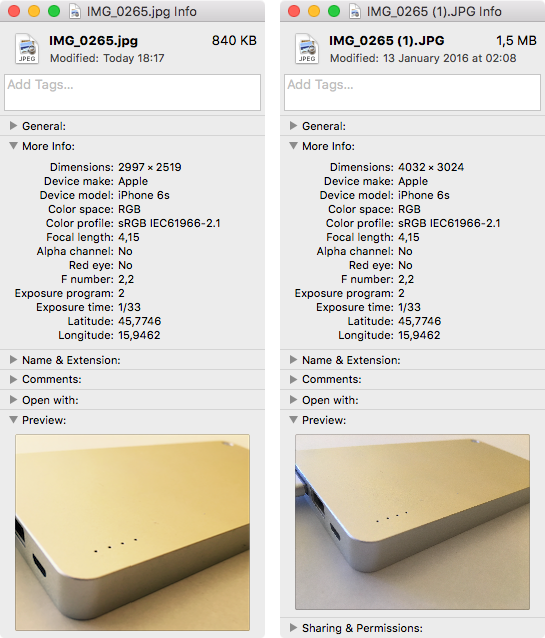
Both methods (the export command and dragging while holding the Option key) preserve the original format in which the image was imported into Photos without downscaling, recompression, or your edits such as cropping or filters.
Also, check out: