Learn how to install beta firmware on your AirPods to test upcoming iOS 26 features like remote shutter and HD audio recording in the Camera app.
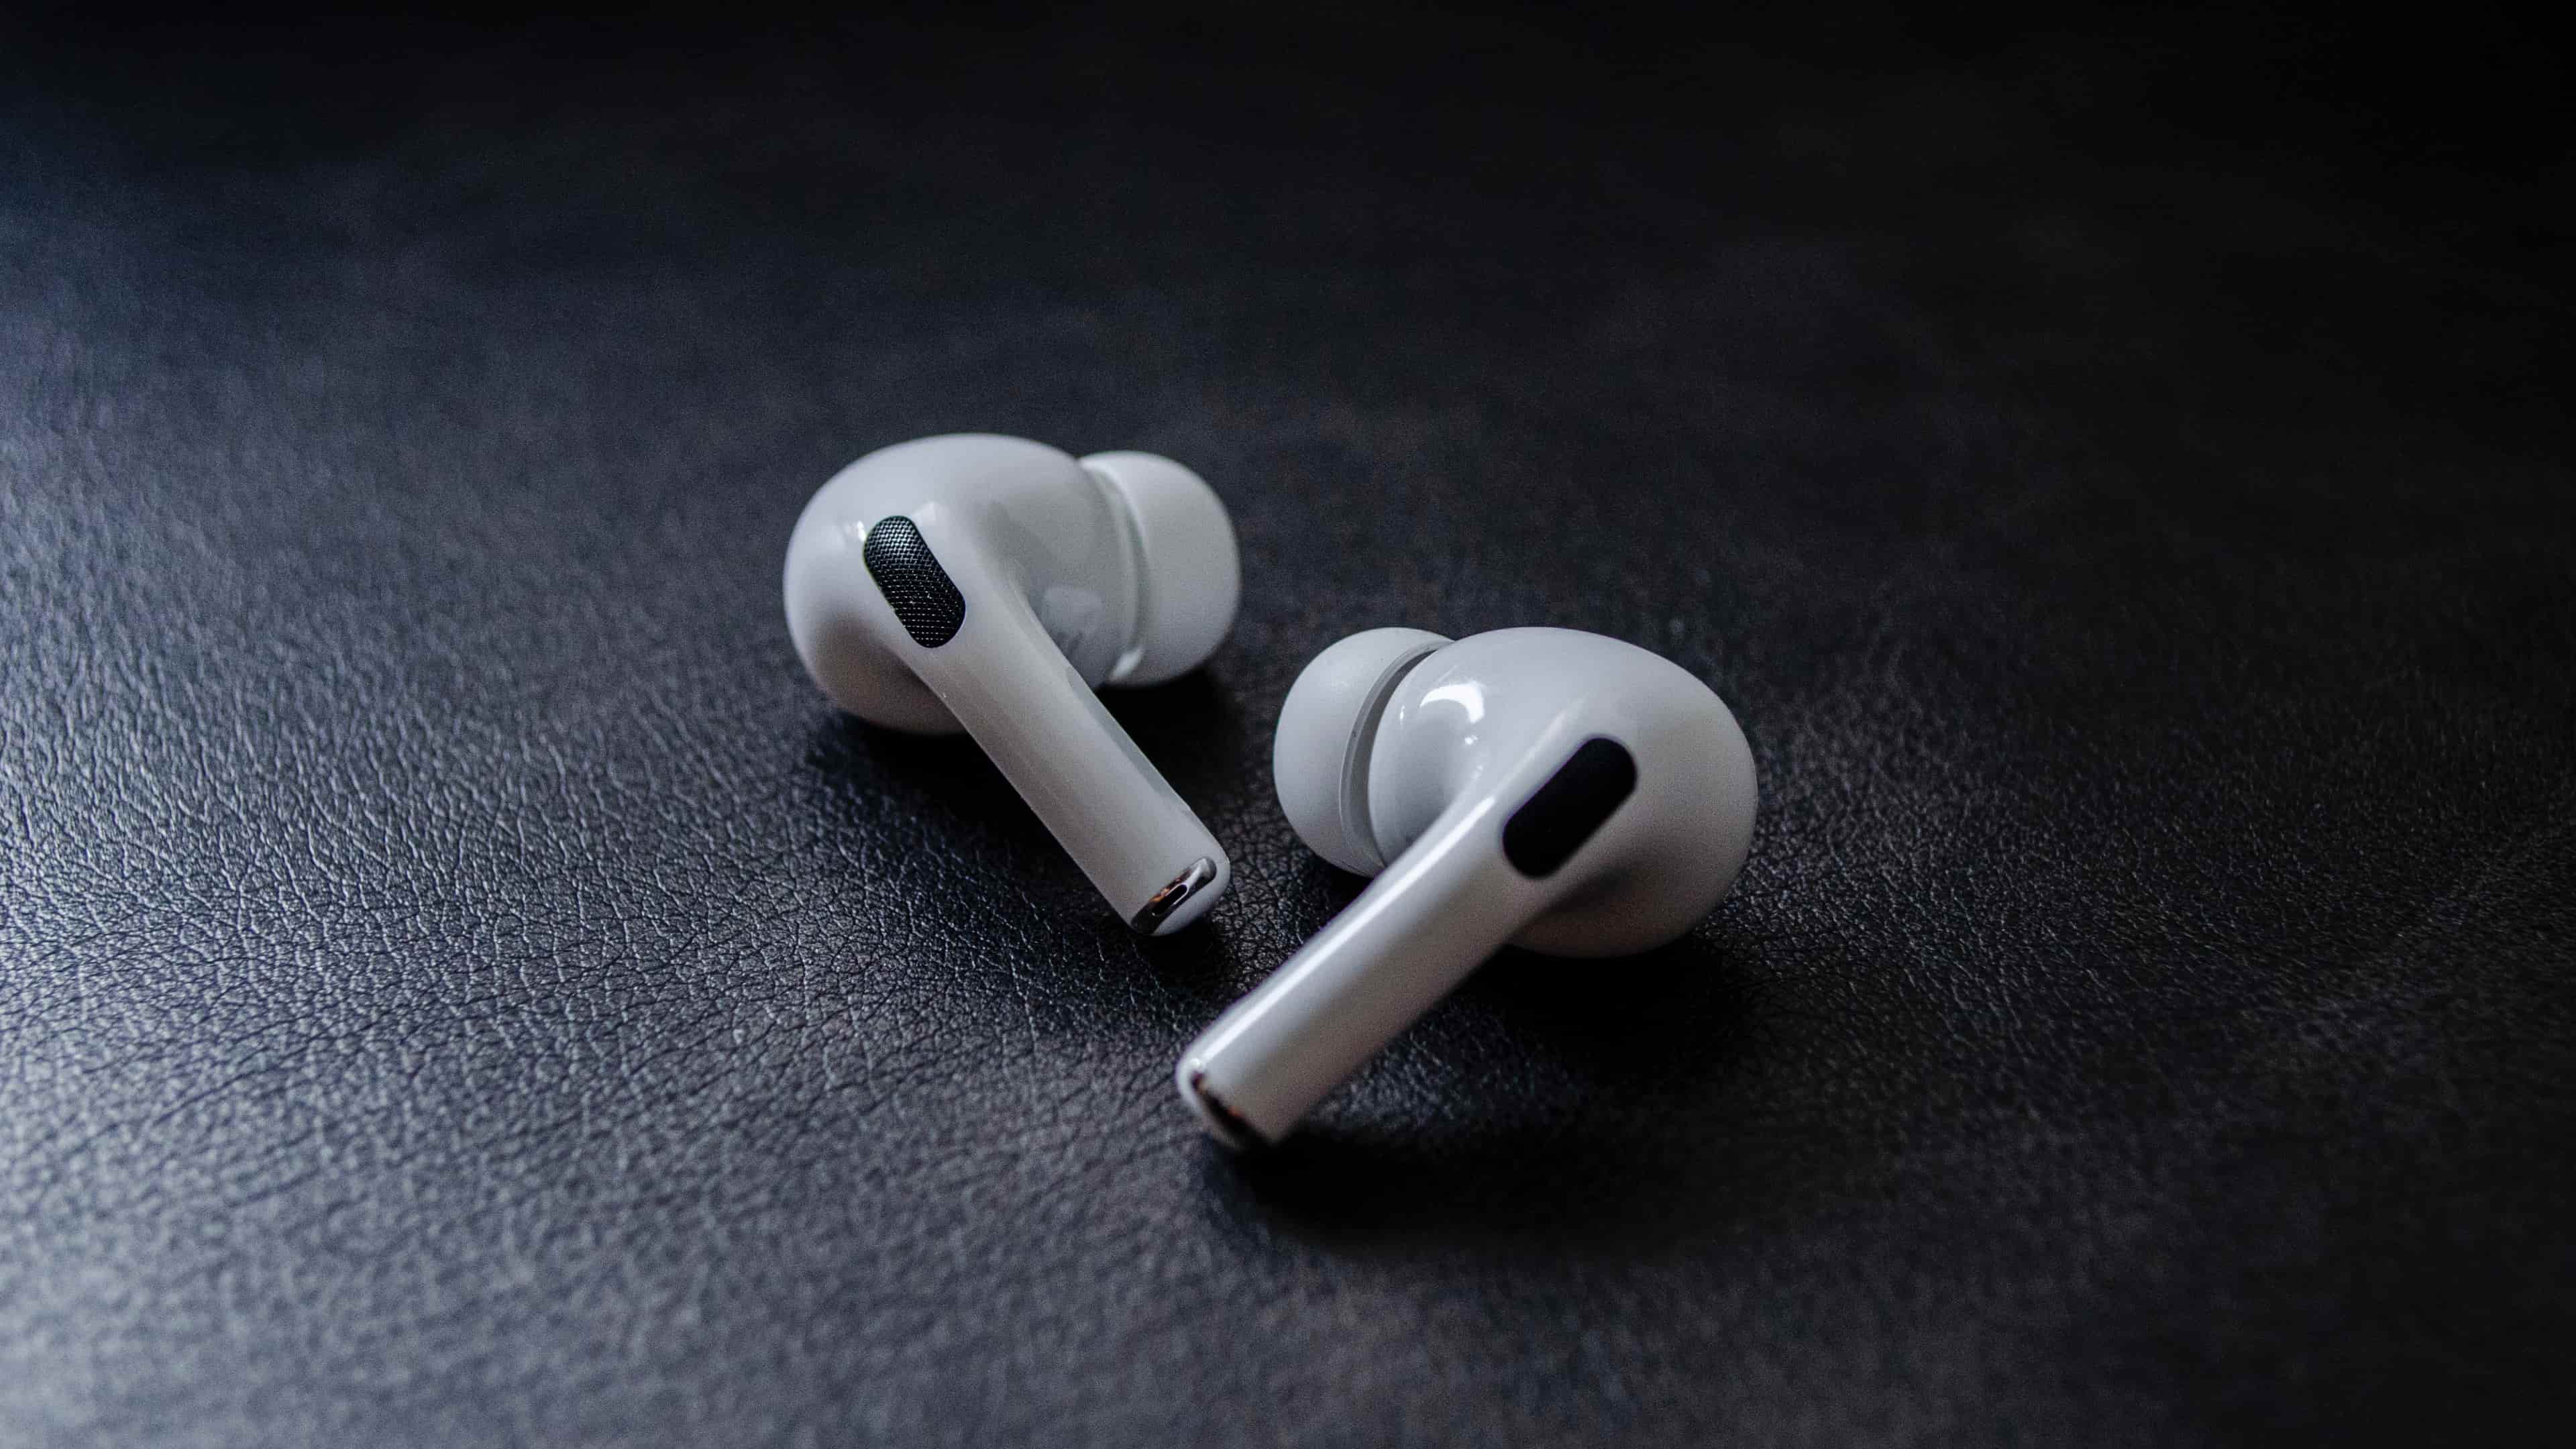
If you don’t mind occasional bugs and, at times, unstable performance, you can install prerelease software on your AirPods to test upcoming features before they’re publicly released to mere mortals. Follow the sep-by-step instructions right ahead to opt into the AirPods beta program.
The new method to get AirPods beta updates
iOS 26 brings a simpler enrollment process for AirPods betas. Connect your AirPods after updating your iPhone to iOS 26, then open the Settings app and select your earbuds below your Apple account at the top. Scroll to the bottom and choose AirPods Beta Updates, then turn on AirPods Beta Updates at the top.

The latest beta firmware will automatically download and install when your AirPods are in their charging case which must be plugged into power. Also, your iPhone use be nearby and connected to Wi-Fi for the firmware to download and install. To switch to the stable software, follow the above steps but turn off the AirPods Beta Updates switch.
The Xcode method to get AirPods beta updates
If you’re on an earlier iOS, iPadOS or macOS version, you’ll need to download Xcode from the Apple Developer website in order to authorize your iPhone for software development, which will permit you to install AirPods beta firmware. Keep in mind that the AirPods beta software program is unavailable for the original AirPods. If you own a HomePod speaker, you can also install the HomePod beta firmware to test the latest features.
Step 1. Download the Xcode beta
In your browser, visit developer.apple.com/download/applications and provide the same Apple ID credentials you use on your iPhone to sign in.

You’ll be greeted with a list of downloadable betas. Click the blue link below Xcode beta to download the installer. You won’t have to do anything in Xcode, but it’s required to reveal the hidden Developer Mode menu on your iPhone.
Step 2. Install the Xcode beta on your Mac
Open the Downloads folder in the Finder and double-click the XIP archive to expand it. Be patient because this is a multi-gigabyte archive, so unpacking takes time.

Next, move a file named Xcode-beta.app to your Applications folder.

Step 3. Launch Xcode beta
Double-click the Xcode beta app from the Applications folder to launch the app. You’ll need to accept the licensing agreement to continue.

If asked to select additional components, choose macOS 15.0 and hit Install.
Step 4. Plug your iPhone and authorize it
With Xcode beta open, connect your iPhone to your Mac with the USB cable. If a Trust This Computer prompt appears, enter your passcode to give permission to access data and files on this iPhone.

Step 5. Wait for the Developer Mode menu to appear
Go to Settings > Privacy & Security on your iPhone and scroll down to check if Developer Mode has appeared underneath the Security heading. It may take up to a minute or more for this option to appear.

Step 6. Put your iPhone in Developer Mode
Go to Settings > Privacy & Security > Developer Mode and toggle the Developer Mode switch at the top of the screen, then choose Restart.

If you see a message while rebooting asking to confirm turning on Developer Mode, swipe up from the bottom edge of the display, choose Enable, and enter your passcode.
Step 7. Turn on AirPods beta firmware
With Developer Mode turned on, open the Settings app and scroll down to the Apps section at the very bottom. Here, you should see a new Developer option. Select it and hit the Prerelease Beta Firmware option near the bottom, then turn on the switch next to your AirPods. You’ll see some terms and conditions, so hit Agree to give legal consent.

Step 8. Be patient as AirPods beta auto-installs
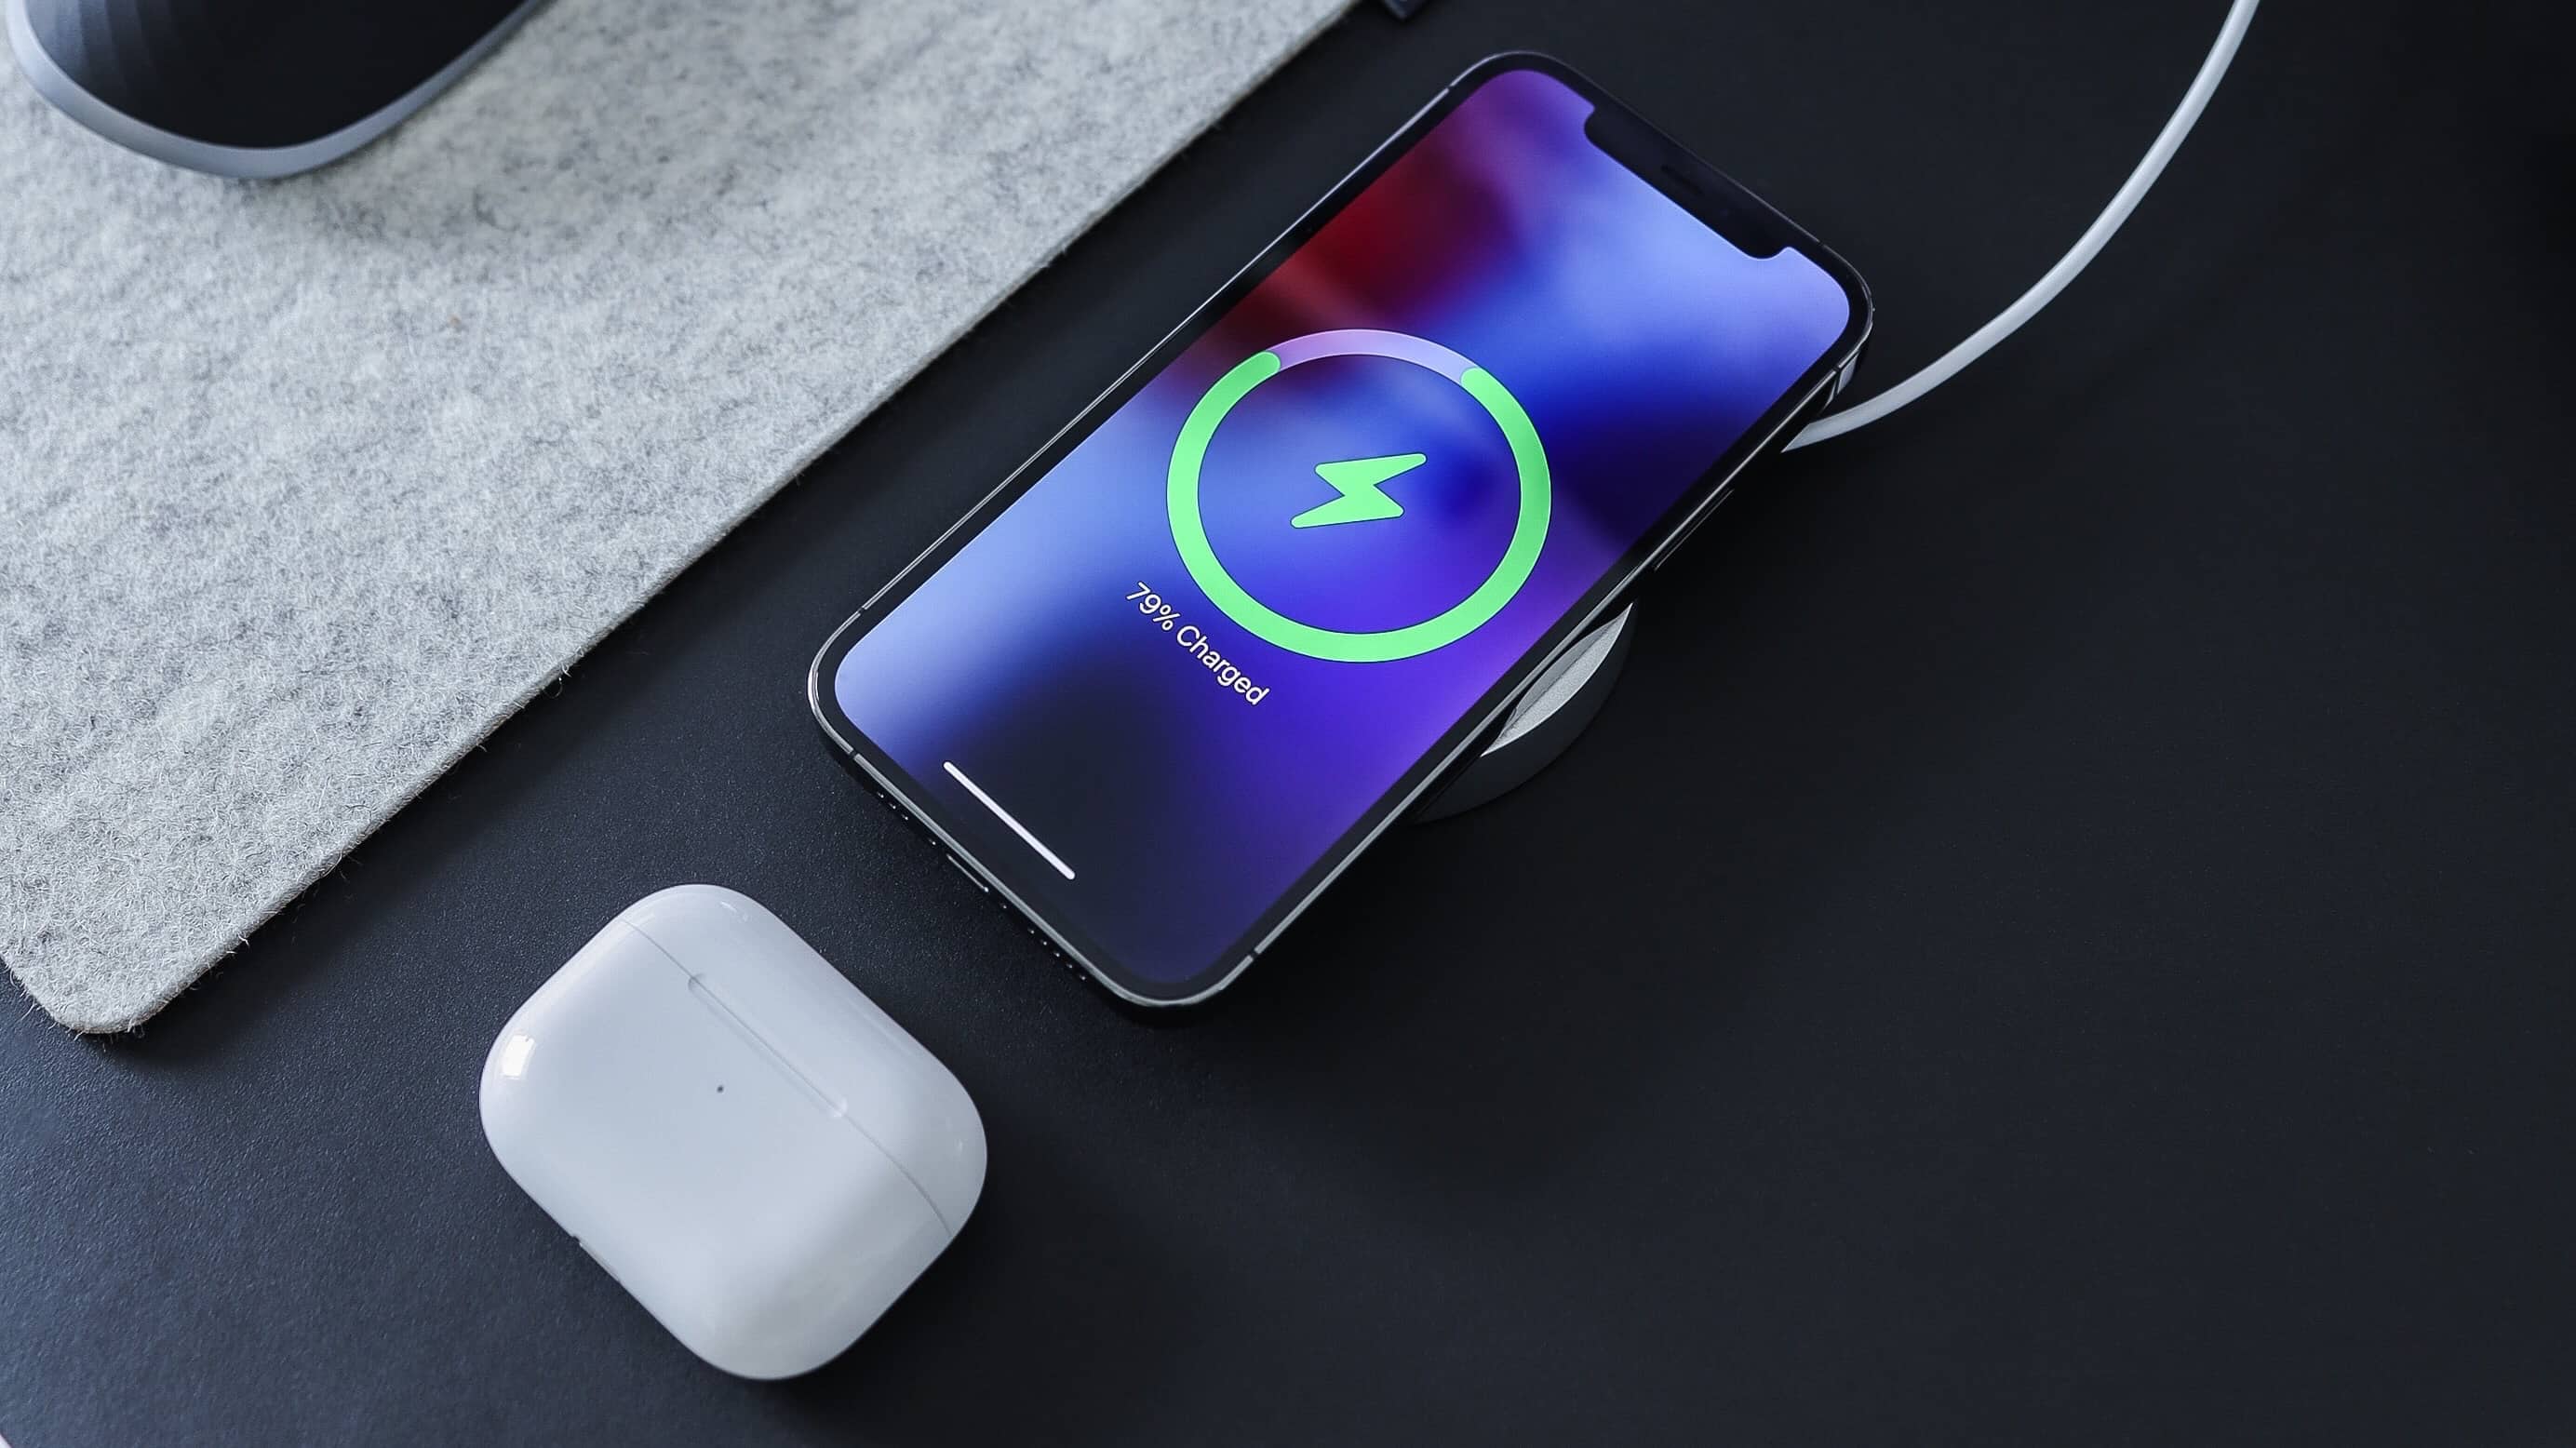
There’s no way to force AirPods software updates. Instead, your iPhone will install beta firmware when your AirPods are charged, in their charging case, and nearby. With both your iPhone and AirPods charging overnight and the phone connected to Wi-Fi, a firmware update should install by the morning.
Step 9. Check your AirPods software version
There’s no outward-facing interface to indicate the software on your AirPods is being updated, but you can always check the AirPods firmware number to check whether they run stable or prerelease software. With the AirPods in your ear, select them at the top of the Settings app or in Settings > Bluetooth, and touch Version in the About section to view individual software versions for the earbuds and their charging case.

Turn off AirPods beta software updates: To stop receiving AirPods betas, follow the instructions in step 7 but turn off the switch next to your AirPods. Doing so won’t instantly remove beta software from your AirPods. Instead, you must wait until the next stable version is released to overwrites the beta on your AirPods.

Still no manual AirPods updates
Unfortunately, Apple still doesn’t allow manual AirPods updates. As we explained in our guide, AirPods get the latest firmware automatically, in the background, when specific conditions are met. As a rule of thumb, the iPhone must have an internet connection to download the firmware in the first place. And both your iPhone and AirPods must be charging for the firmware to eventually install when iOS decides so.
Also, check out: How to pick up and decline calls on AirPods using head gestures