Learn how to check the download and upload speed on your Mac and what’s considered a good Internet speed for everyday tasks.
There are times when you might want to know your Mac’s download and upload speeds. This is particularly true when you’re trying to stream a video, make a video call, download files, or play online games, and the experience is subpar.
What’s the meaning of “download speed” and “upload speed”
In simple words, download speed means the speed at which you can get (download) content from the Internet. This is useful while streaming (where you’re getting the video file from the servers), updating software, downloading files, and so on.
Upload speed means the speed at which you can send (upload) data from your device to the Internet. This is useful when saving files to Google Drive, iCloud, Dropbox, sending emails, and such.
In most cases, like video calling, gaming, etc., your device uses both, that is, it downloads and uploads data.
Factors that impact your Internet speeds
Many things affect your Internet speed. Some of the most prominent ones are:
- Your Internet plan
- Number of people connected to the same network, either Wi-Fi or directly connected
- Number of simultaneous streams on the device
- Using a VPN can reduce the speed
- The website’s server. Some websites deliberately limit download speeds, while some websites on a cheaper web hosting plan can only offer slow browsing and downloads
- How far you are from the Wi-Fi router
- Your device’s capabilities
Check your Internet speed on Mac
Here are six quick ways to see your Wi-Fi, Ethernet, or Personal Hotspot speed on Mac. Make sure you’re connected to the said network you want to test and use one of the methods you like.
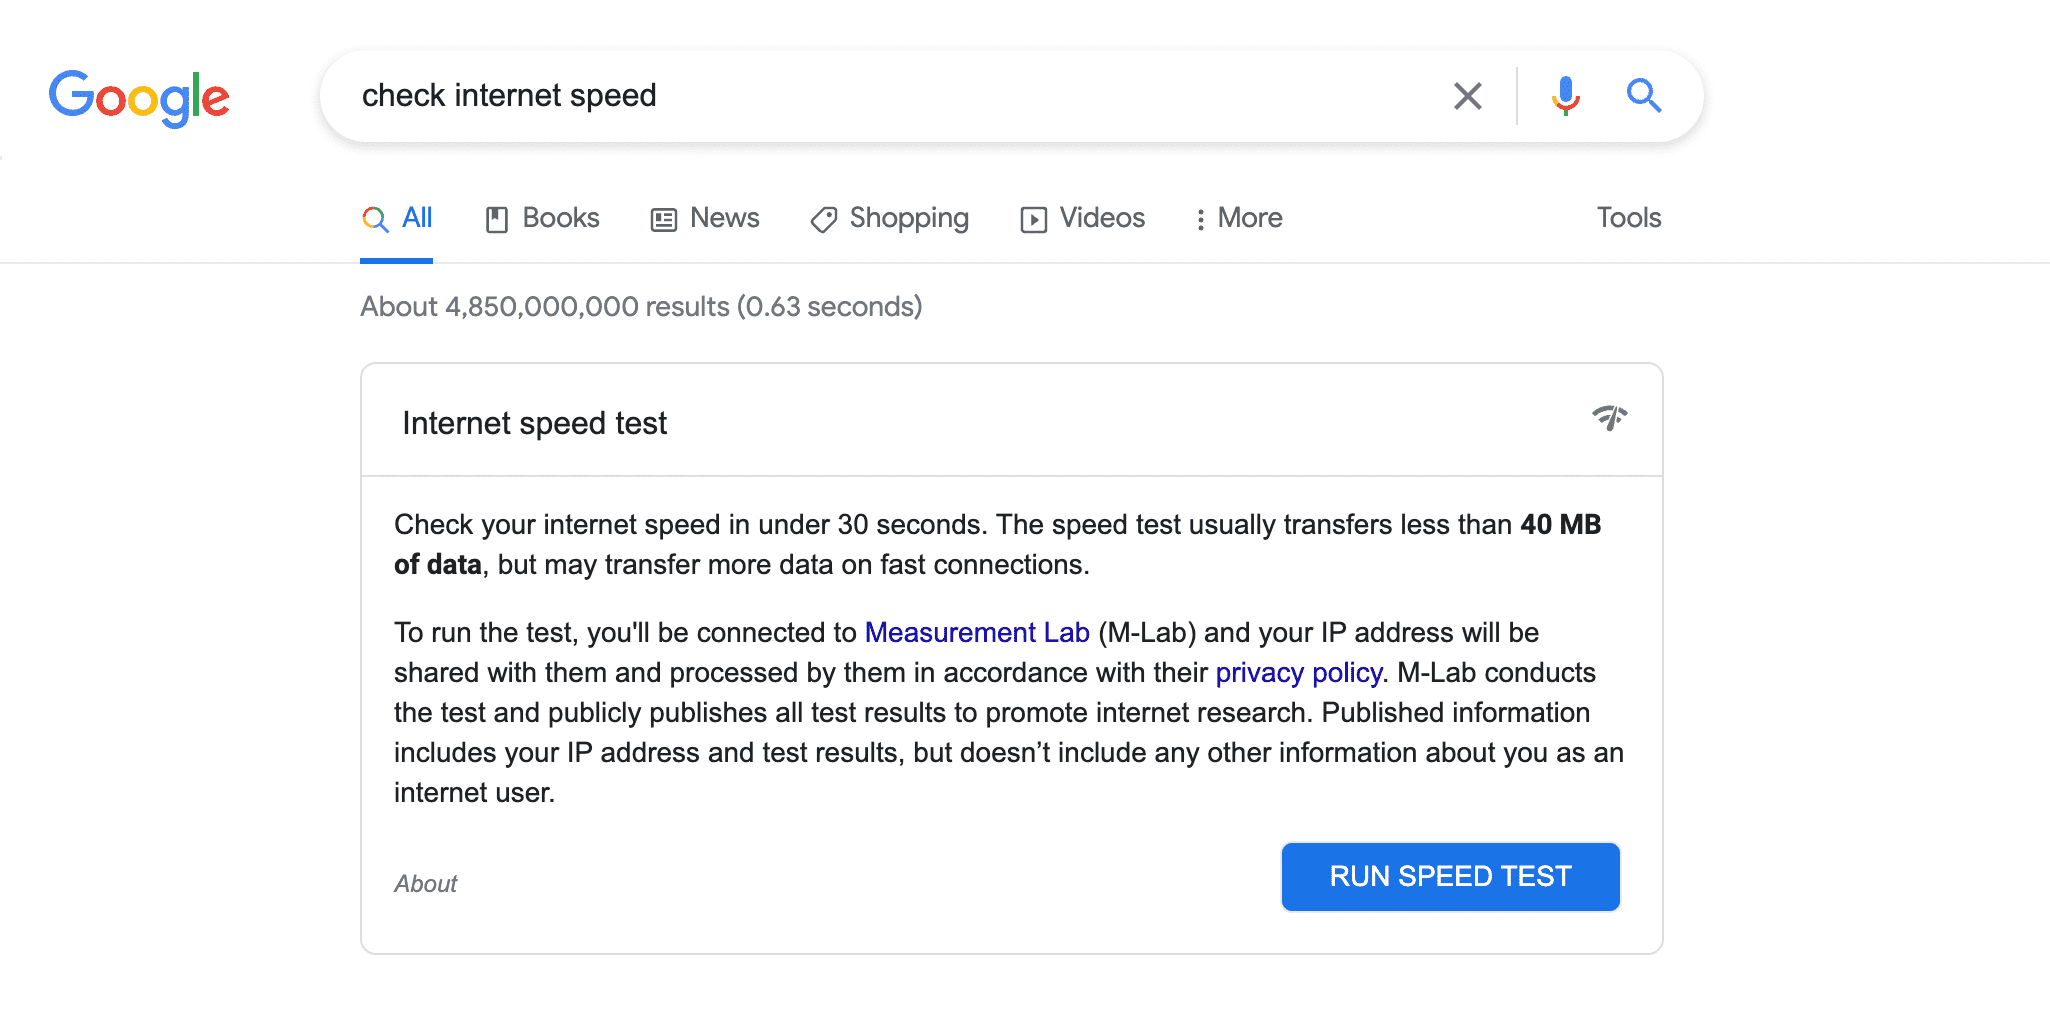
1. Google
- Go to Google and search for “check Internet speed.”
- Click Run Speed Test.
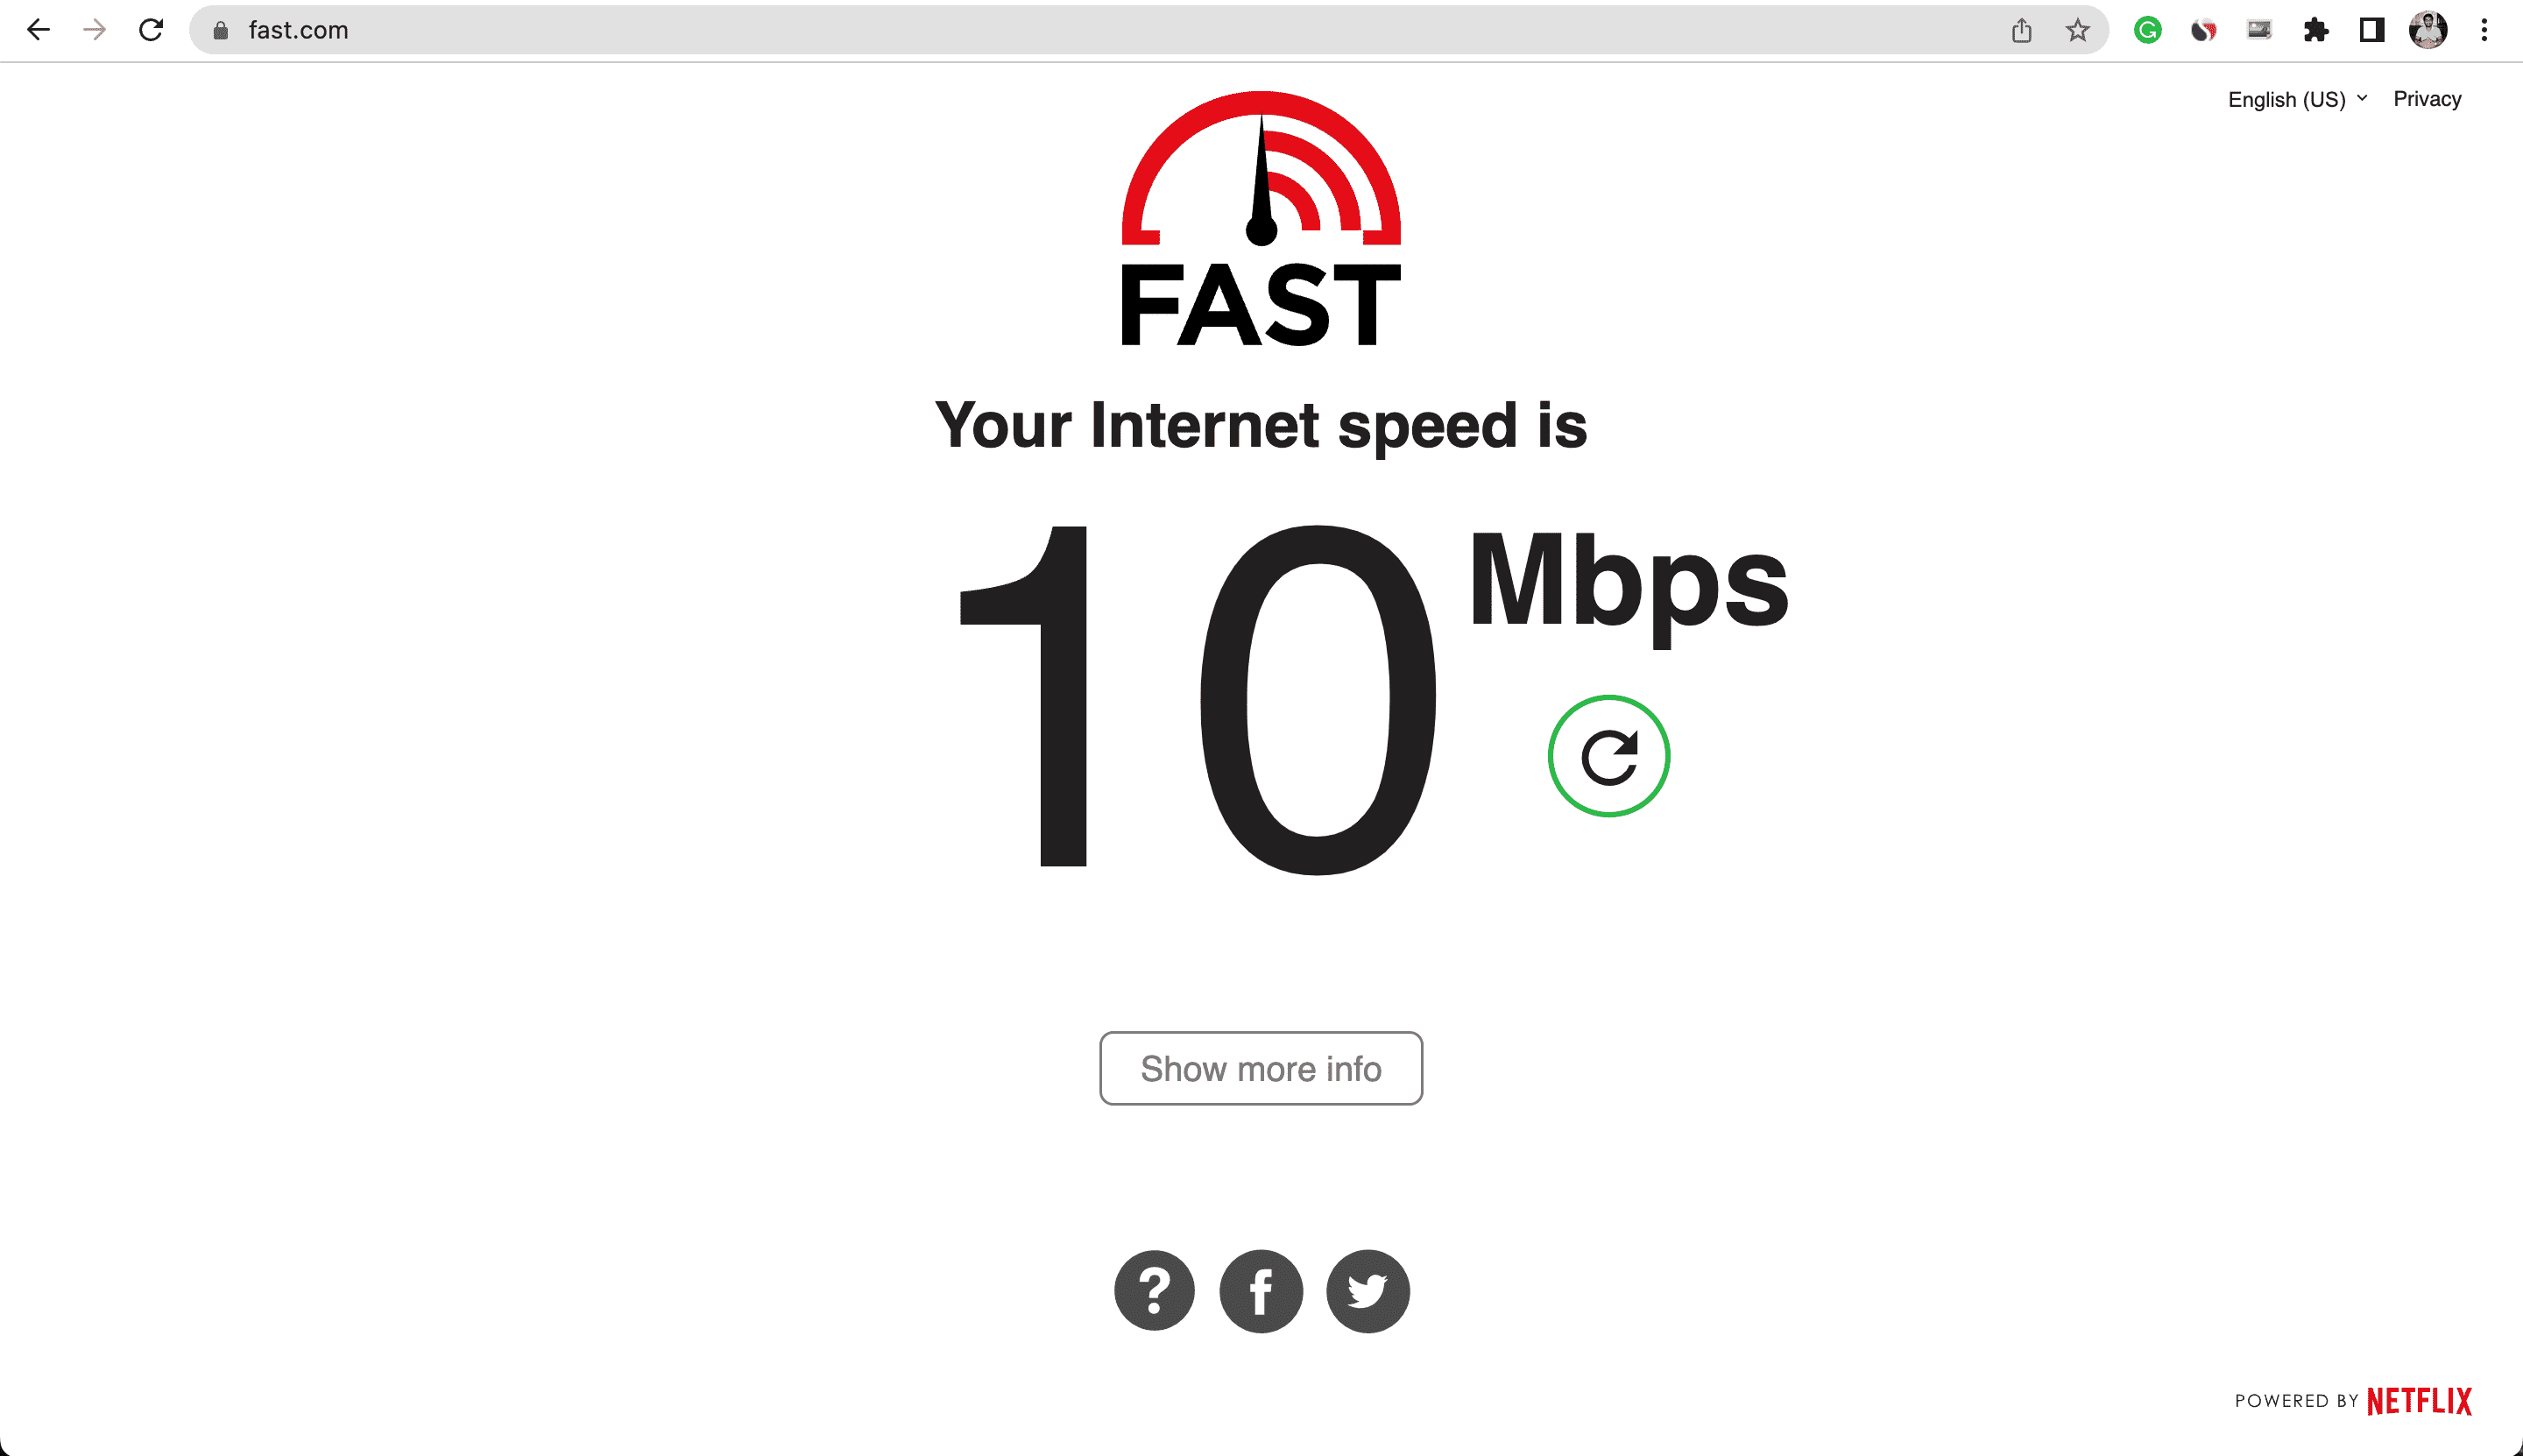
2. Fast.com
- Go to Fast.com, which is a service by Netflix.
- It will instantly start checking your download speed. Click Show more info to see your upload speed.
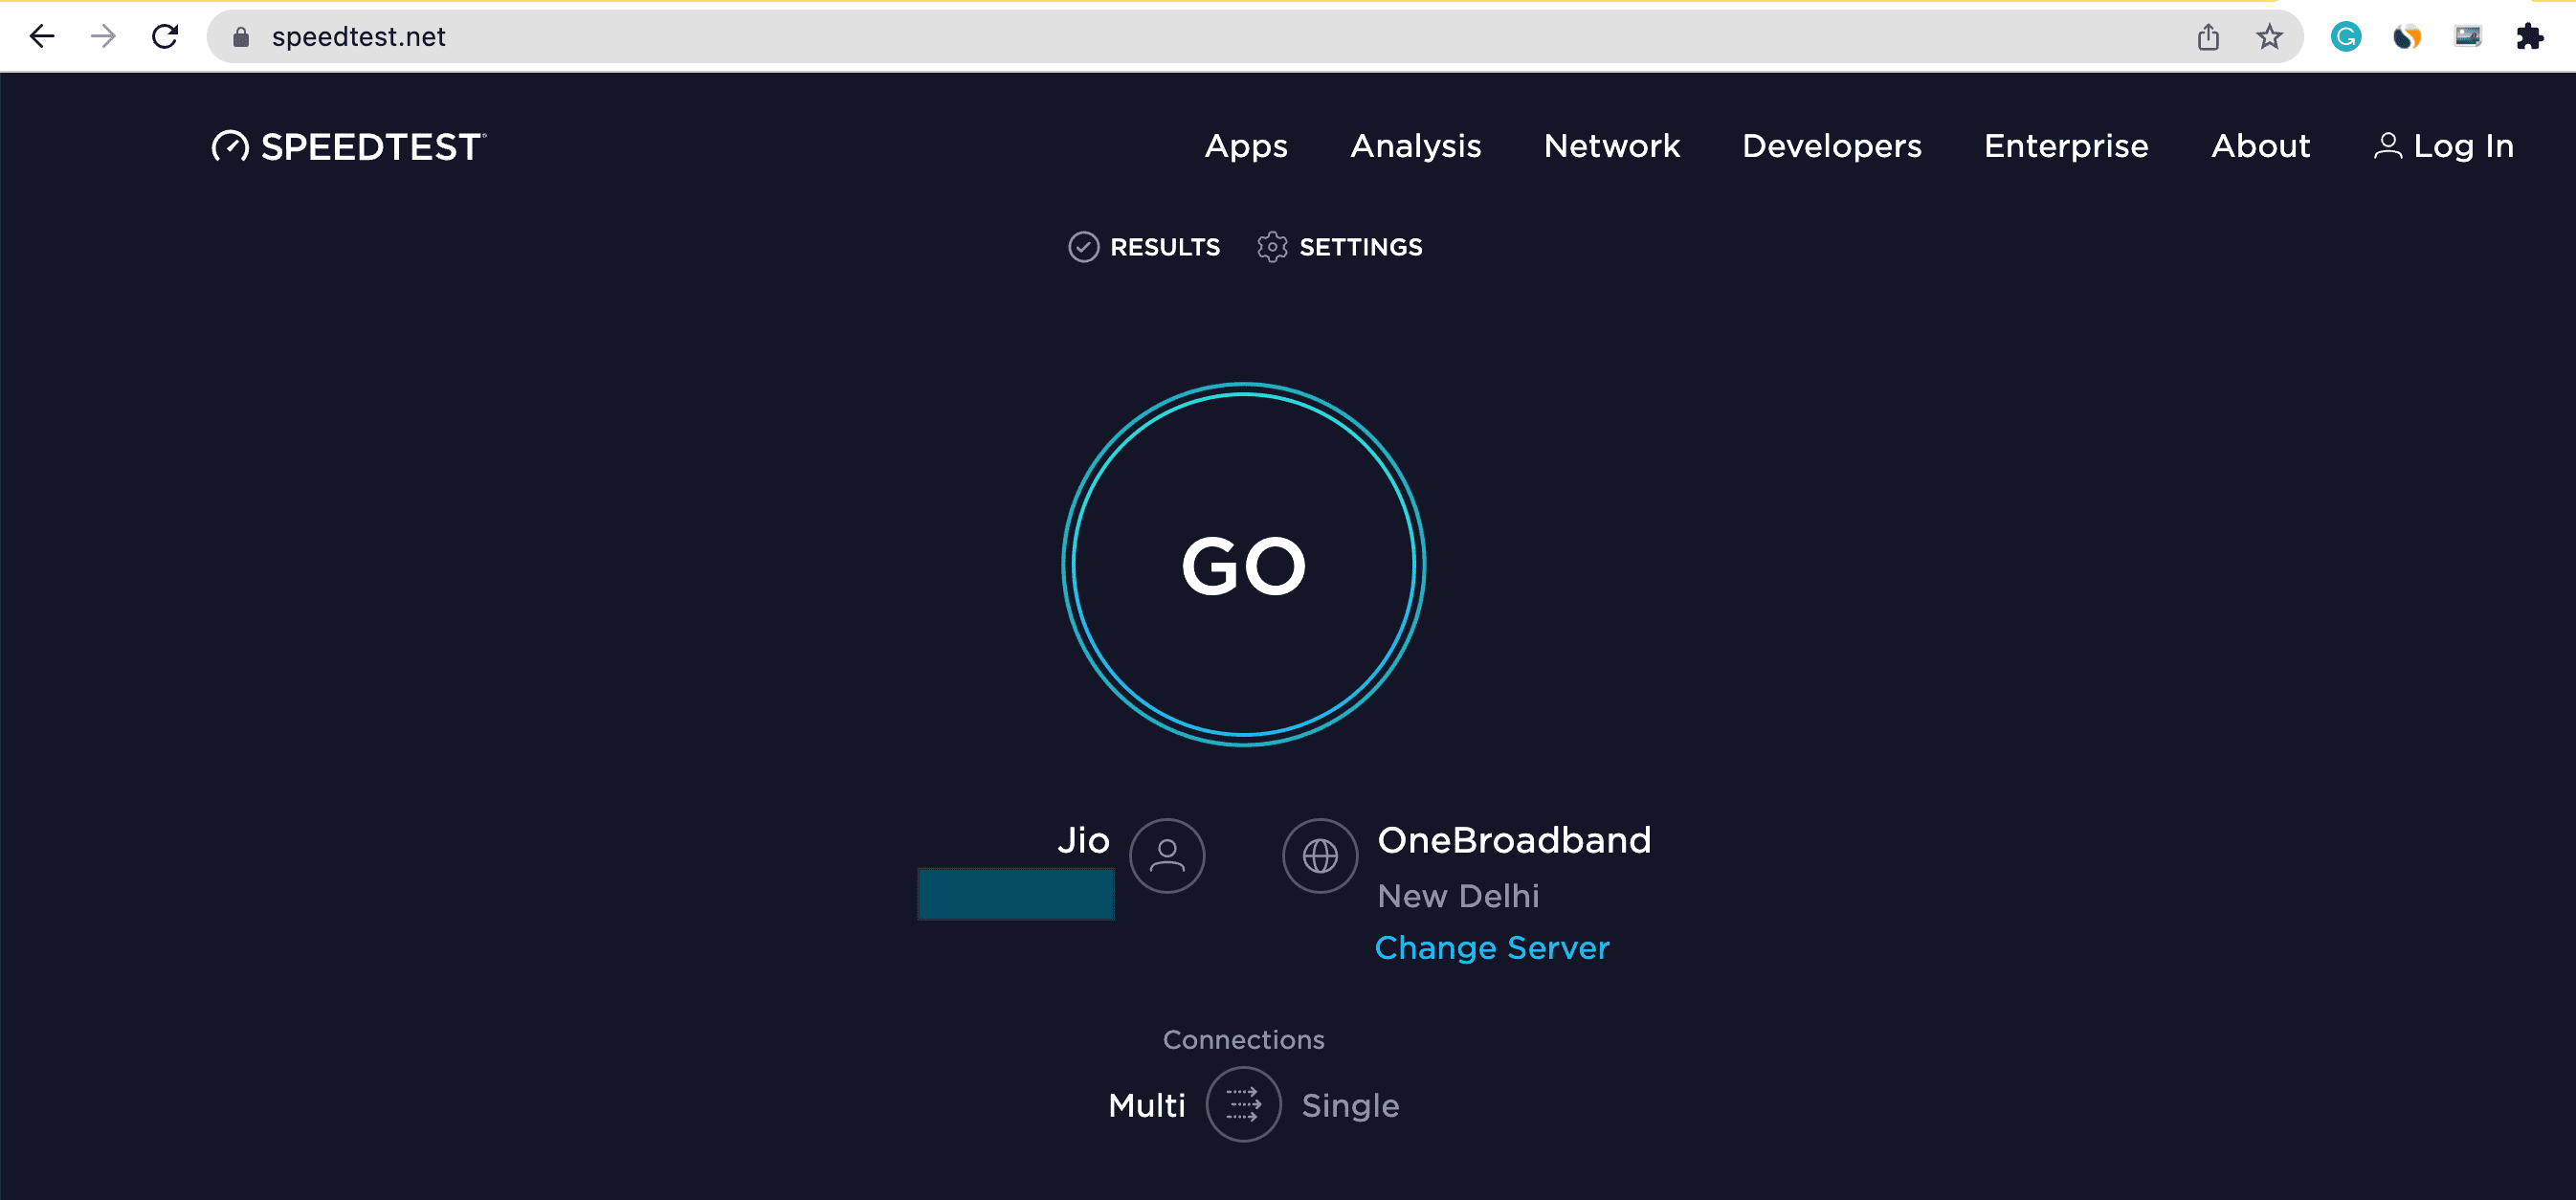
3. Speedtest.net
- Visit Speedtest.net and click Go.
- In a moment, you’ll see your ping, download, and upload speeds.
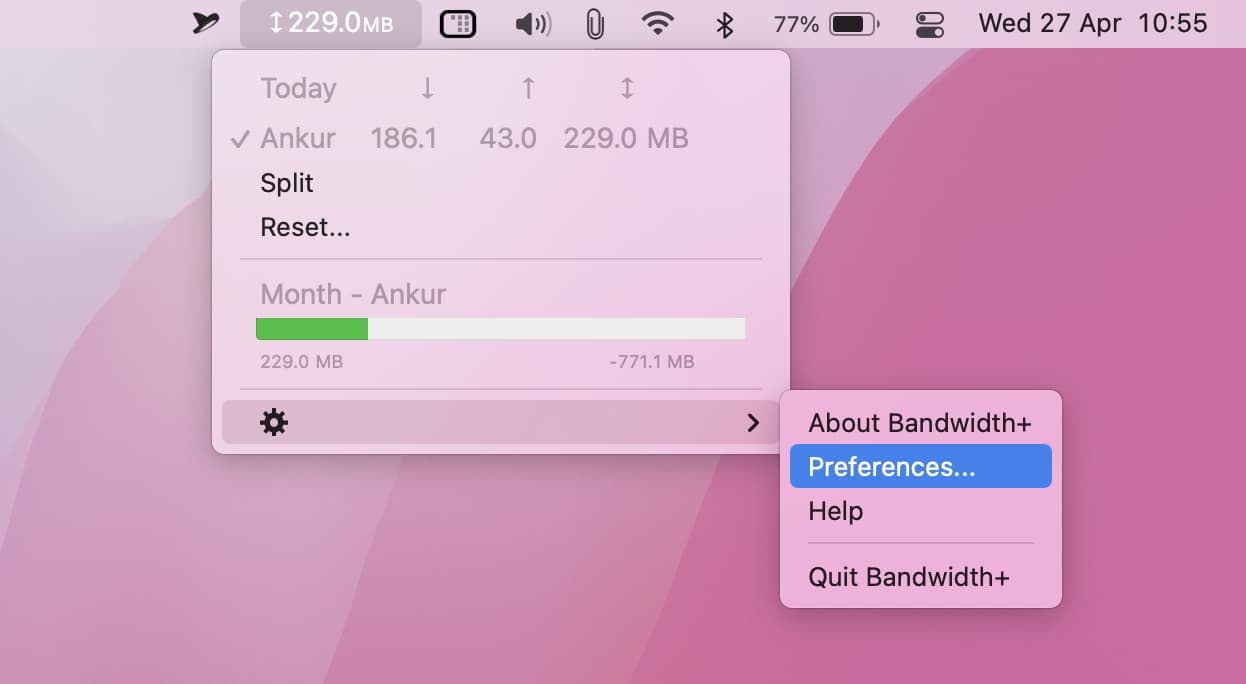
4. Bandwidth+ app
I have been using the Bandwidth Plus app for several years now. It sits in your macOS menu bar and constantly gives a reading.
- Get Bandwidth+ network usage tracker for free from Mac’s App Store.
- Open the app, and it will show an icon in the menu bar displaying your total upload and download. This is useful if you’re on a limited Wi-Fi plan or have connected your Mac to Personal Hotspot, as it lets you keep track of how much data you have used.
- To see the Internet speed, click the Bandwidth+ icon in the menu bar > gear icon > Preferences.
- Check the box for Speed (bits/second).
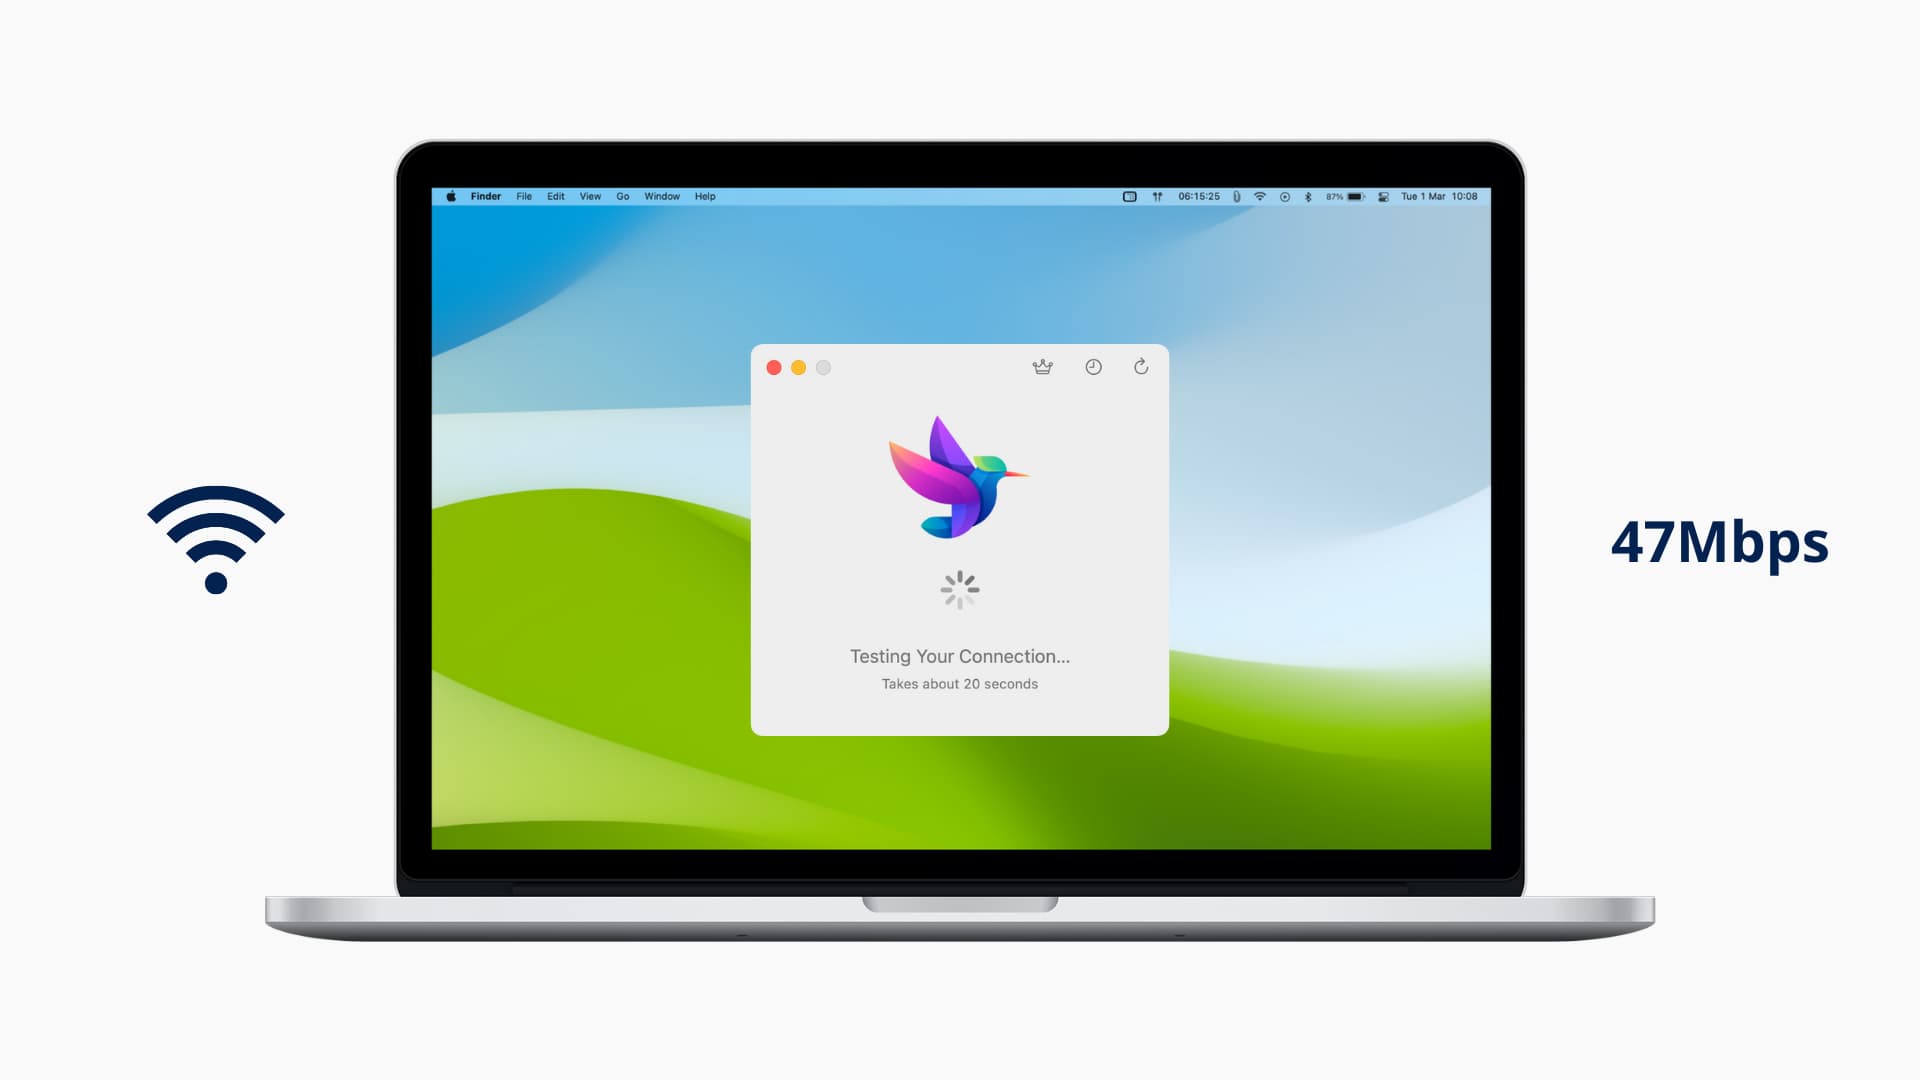
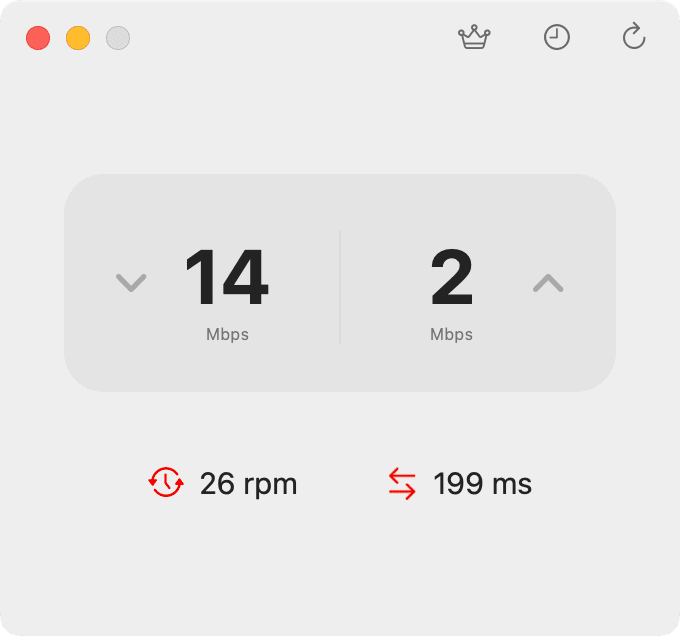
5. Speediness
Speediness is a free Mac app that shows your Internet download and upload speeds in about 20 seconds. Get the app from the macOS App Store, open it, and allow it a moment to calculate your Wi-Fi speed.
6. Terminal
You can use the built-in Terminal app to see your Mac’s Internet speed. Make sure you’re on macOS Monterey or later and follow these steps:
- Open Terminal.
- Type or copy-paste
networkQualityand press the return / enter key. You’ll see the current download capacity and current upload capacity, which is your Internet speed.

What’s considered good Internet speed
For an individual user, 25Mbps is good for everyday browsing and streaming. But if you live in a house with 4 to 5 people, it would be wise to go for a 100Mbps plan. This will ensure that different members can stream and work at the same time, and smart devices and appliances that need the Internet can function properly.
As per the Federal Communications Commission (FCC), 25Mbps down and 3Mbps up is considered high-speed Internet broadband. However, most service providers start their home plans at 100Mbps or more, which is excellent.
Whatever network speed you have, the more is always better while downloading. For instance, if you’re updating your Mac, the macOS file size can be around 15 GB. In this case, a 100Mbps connection will significantly reduce download time compared to your everyday 25Mbps connection.
Here are some of the minimum recommended Internet speeds required for a decent user experience.
For everyday use
A 1Mbps to 5Mbps connection is good for email, web browsing, and social media.
For video calls
2Mbps to 10Mbps will take care of your one-to-one and group video calls on most platforms. That being said, here are the official numbers for some of the most popular services:
- Zoom: 4Mbps (down/up)
- FaceTime: Apple doesn’t quote the exact requirement speed for FaceTime, but just says “fast Internet.” I asked Apple Support, and all I got was, “As it turns out, there are no recommended speeds to use FaceTime.” But we can safely assume that it is about the same as Zoom.
For audio streaming
You won’t have much trouble with audio streaming apps like Spotify, Apple Music, YouTube Music, and so forth if you have at least 1Mbps Internet speed. However, it’s good to have a higher speed so that you can quickly search for music, start streaming instantly, load album art, and download songs offline.
For video streaming
If your Internet speed is between 5 to 25Mbps, you should face no buffering issues while watching videos on Netflix, Disney+, YouTube, Hulu, etc. However, it’s always great to have higher speeds for multiple streams. Here are the official numbers:
- Standard Definition (SD): 1Mbps
- 720p HD: 3Mbps
- 1080p HD: 5Mbps
- 4K/Ultra HD (UHD): 15Mbps
Hulu:
- Hulu’s streaming library preview: 3Mpbs
- Live streams: 8Mbps
- 4K content: 16Mps
- SD 360p: 0.7Mbps
- SD 480p: 1.1Mbps
- HD 720p: 2.5Mbps
- HD 1080p: 5Mbps
- 4K: 20Mbps
Disney+ and ESPN+:
- High Definition: 5Mbps
- 4K UHD: 25Mbps
For gaming
- Casual gaming: 3 to 6Mbps (with ping less than 20 milliseconds)
- Competitive gaming: At least 25Mbps
- Competitive gaming and tournaments: 50Mbps/10Mbps (down/up)
- Ultimate gaming experience: 300Mbps and above
Summary of good Internet speed
- 25Mbps: Good for 1-2 people for casual browsing, video calls, small downloads, and streaming HD or 4K content.
- 100Mbps: Good for 3-4 people for browsing, video calls, big downloads, online gaming, and up to 4K streaming.
- 200Mbps to 500Mbps: Excellent for 5 or more people.
- 1000Mbps or more (Gigabit speed): Perfect for a team, office, or group, and great for huge downloads, large uploads, multiple 4K streams, competitive gaming, and more.
If you’re uncertain, go to “how much Internet speed do I need” and take their basic quiz for home or business.
Related information
See Wi-Fi Tx Rate in the menu bar: Hold the Option key and click the Wi-Fi icon in the menu bar to see RSSI (signal strength), Noise, and Tx Rate (the speed to the router).

If the RSSI reading is closer to zero, that means your Wi-Fi signal is strong. For instance, if it’s about -30 to -35 (minus thirty-five), that means you’re close to the Wi-Fi router. This is a great number, signifying a strong Wi-Fi signal. If it’s around -50, that’s a good signal; anything in -60s is fairly ok, and if the RSSI number is around -70 or -80, that equates to poor Wi-Fi signal strength.
See Wi-Fi Transmit Rate in System Information: Hold the Option key and click the Apple icon in the top left corner, followed by System Information. Now, select Wi-Fi from the Network section.

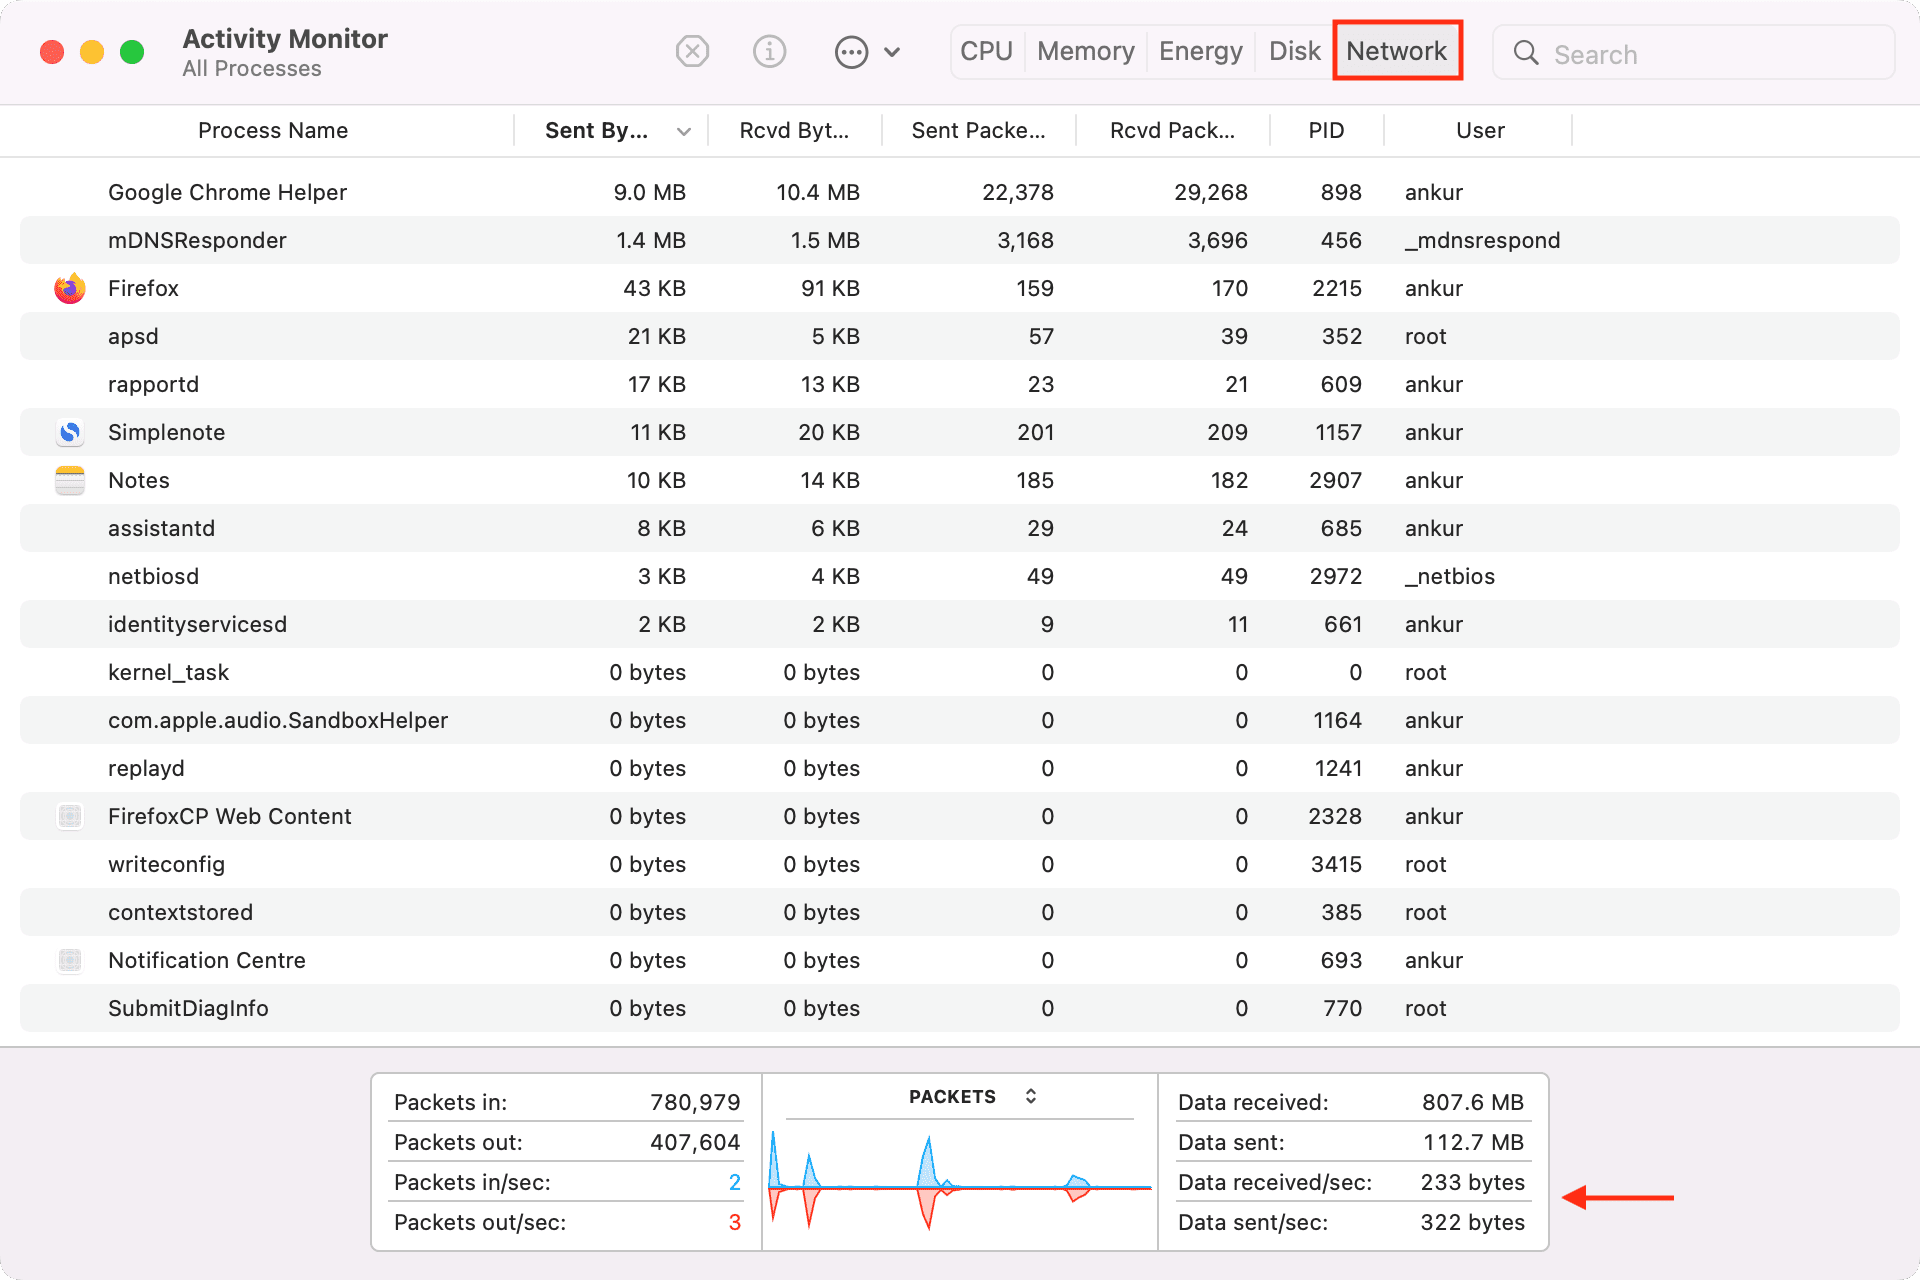
See throughput in Activity Monitor: As per Apple Support, this is “the amount of information moved over time and is also called throughput.” To see this, open Activity Monitor > Network.
On a related note: