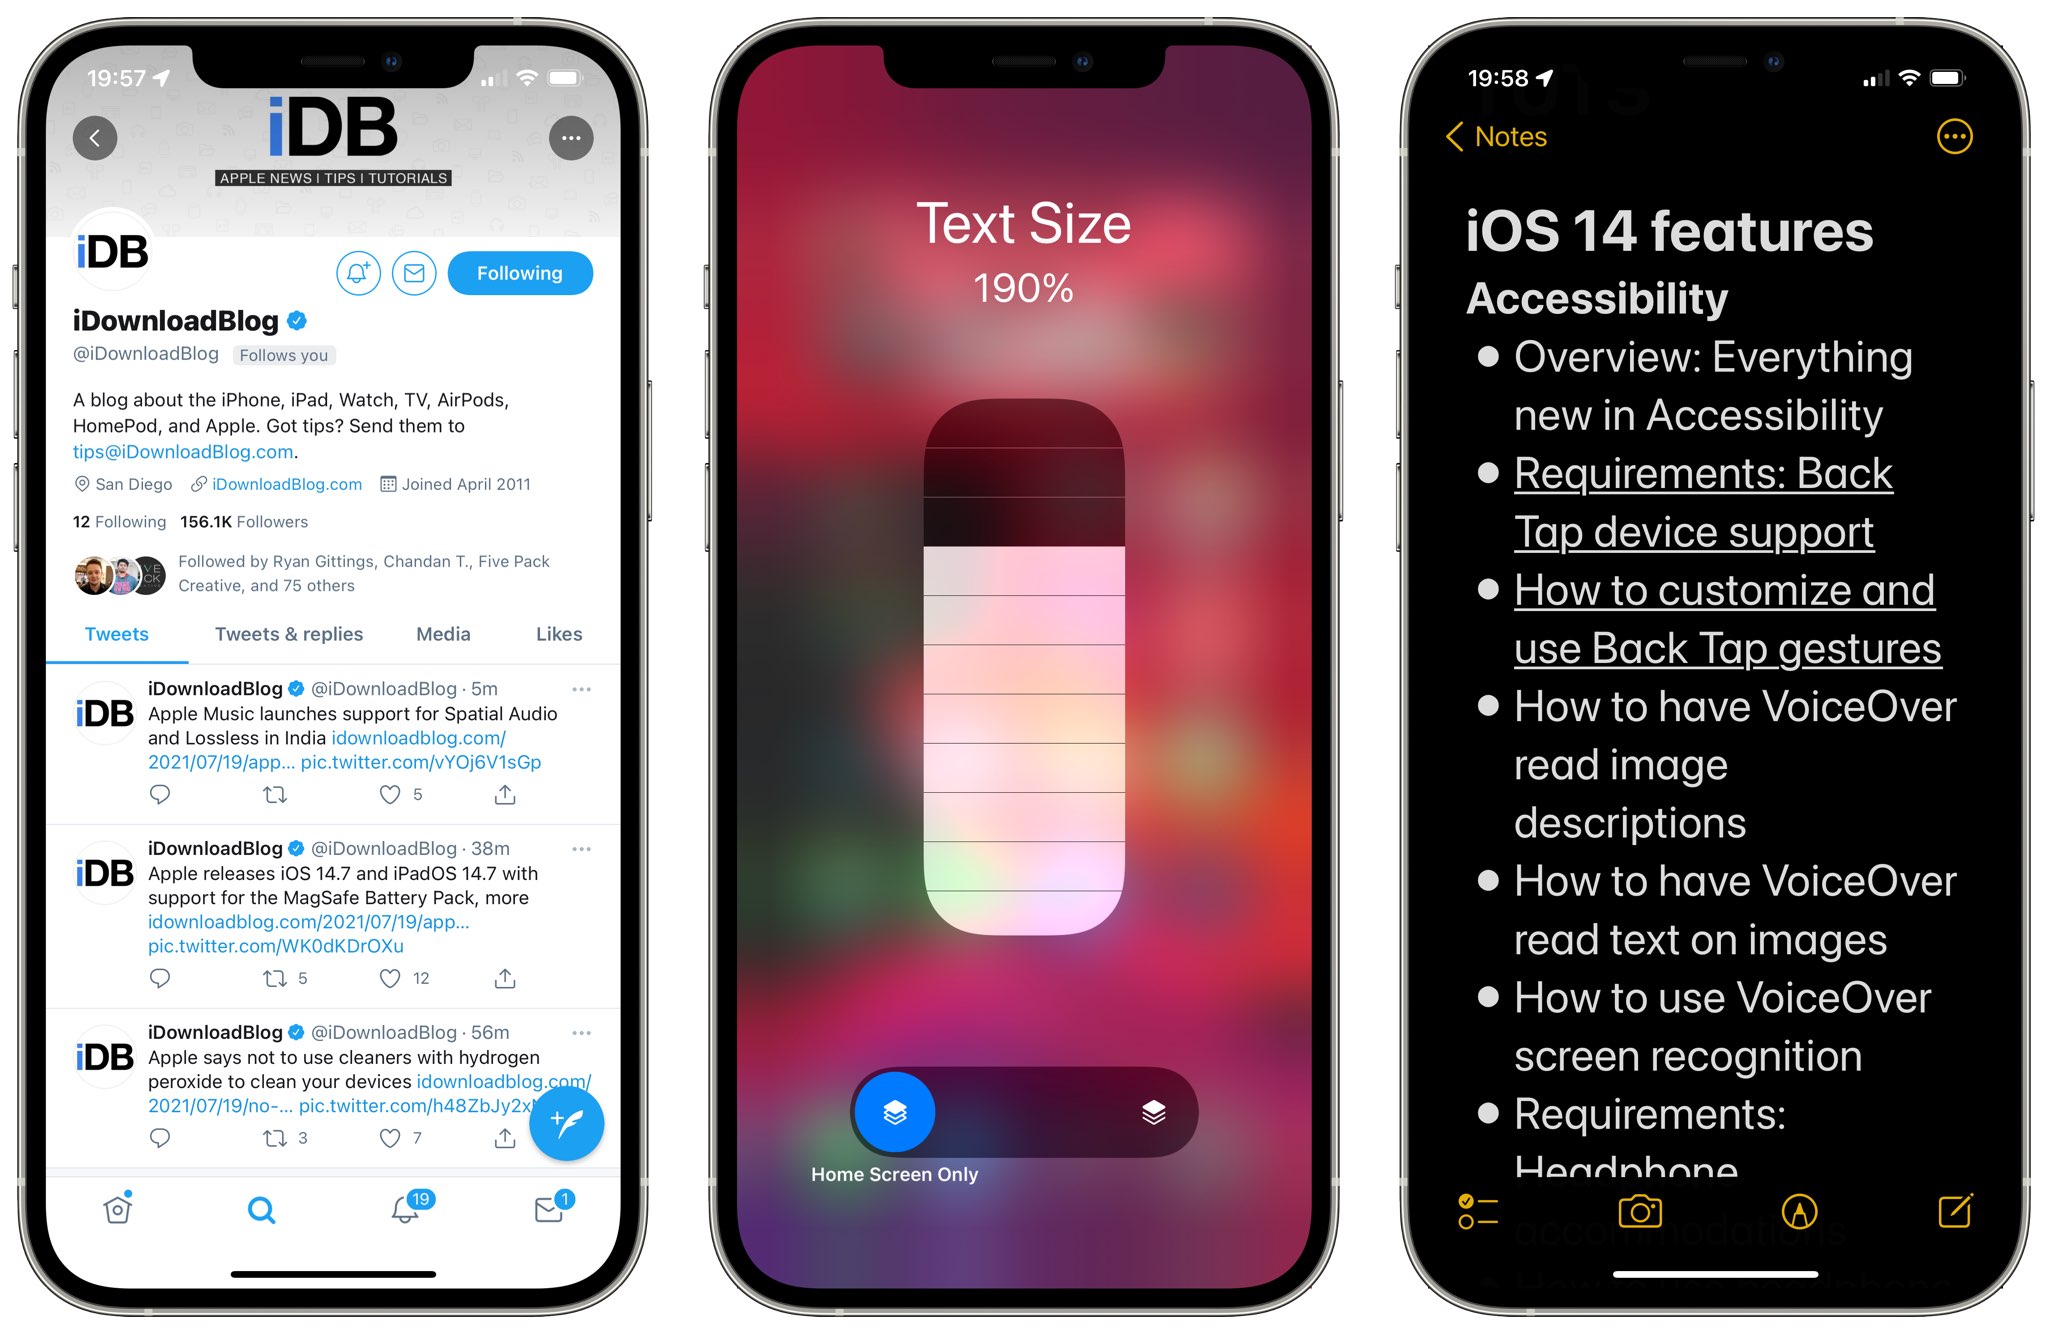
Changing iPhone text size used to be a global setting, but new controls that Apple added with the iOS 15 update allow you to adjust font size separately for each app installed on the system.
iOS 15 brings support for per-app font sizes
Before iOS 15 and iPadOS 15, you couldn’t adjust the size of the text separately for each app.
Instead, you had to change text size globally in Settings → Display & Brightness → Text Size, as explained in our tutorial. Doing so would affect text size in all the apps found on your device such as Messages, Mail, Notes and so forth. But not all apps want to use the same font size.
A list-heavy app like Messages might look better with a slightly bigger font. On the other hand, apps such as Microsoft Outlook and Apple Notes will usually look a lot better and be more useful when set to use a slightly smaller font so you can fit more content on a single screen.
You can even change the font size for the Home screen icons without affecting other apps.

This is possible because Apple is now using per-app font sizes. All you need is iOS 15 software installed on your iPhone or iPod touch. On iPads, you must update to iPadOS 15.0 or later.
Follow along with us as we show you how to increase or decrease text size for a specific app.
How to change iPhone text size for each app
First, you must turn on “Text Size” for your Control Center. With the app you wish to adjust open, enter Control Center and use the control to adjust the font size for that particular app.
Follow these steps to turn on the Text Size slider in your iPhone’s Control Center:
- Open Settings on your iPhone or iPad.
- Choose “Control Center” from the root list.
- Hit “+” next to the item labeled “Text Size” to add it to Control Center.
With the Text Size slider added to your Control Center, use it to change the font size for the currently active app or all your apps, depending on the toggle at the bottom of the slider.
Follow these steps to learn how to use the Text Size slider in Control Center.
- Open the desired app on your iPhone or iPad.
- Pull down the Control Center from the top-right corner of the screen.
- Hit that Text Size control (the icon resembles the letters “Aa”) in Control Center.
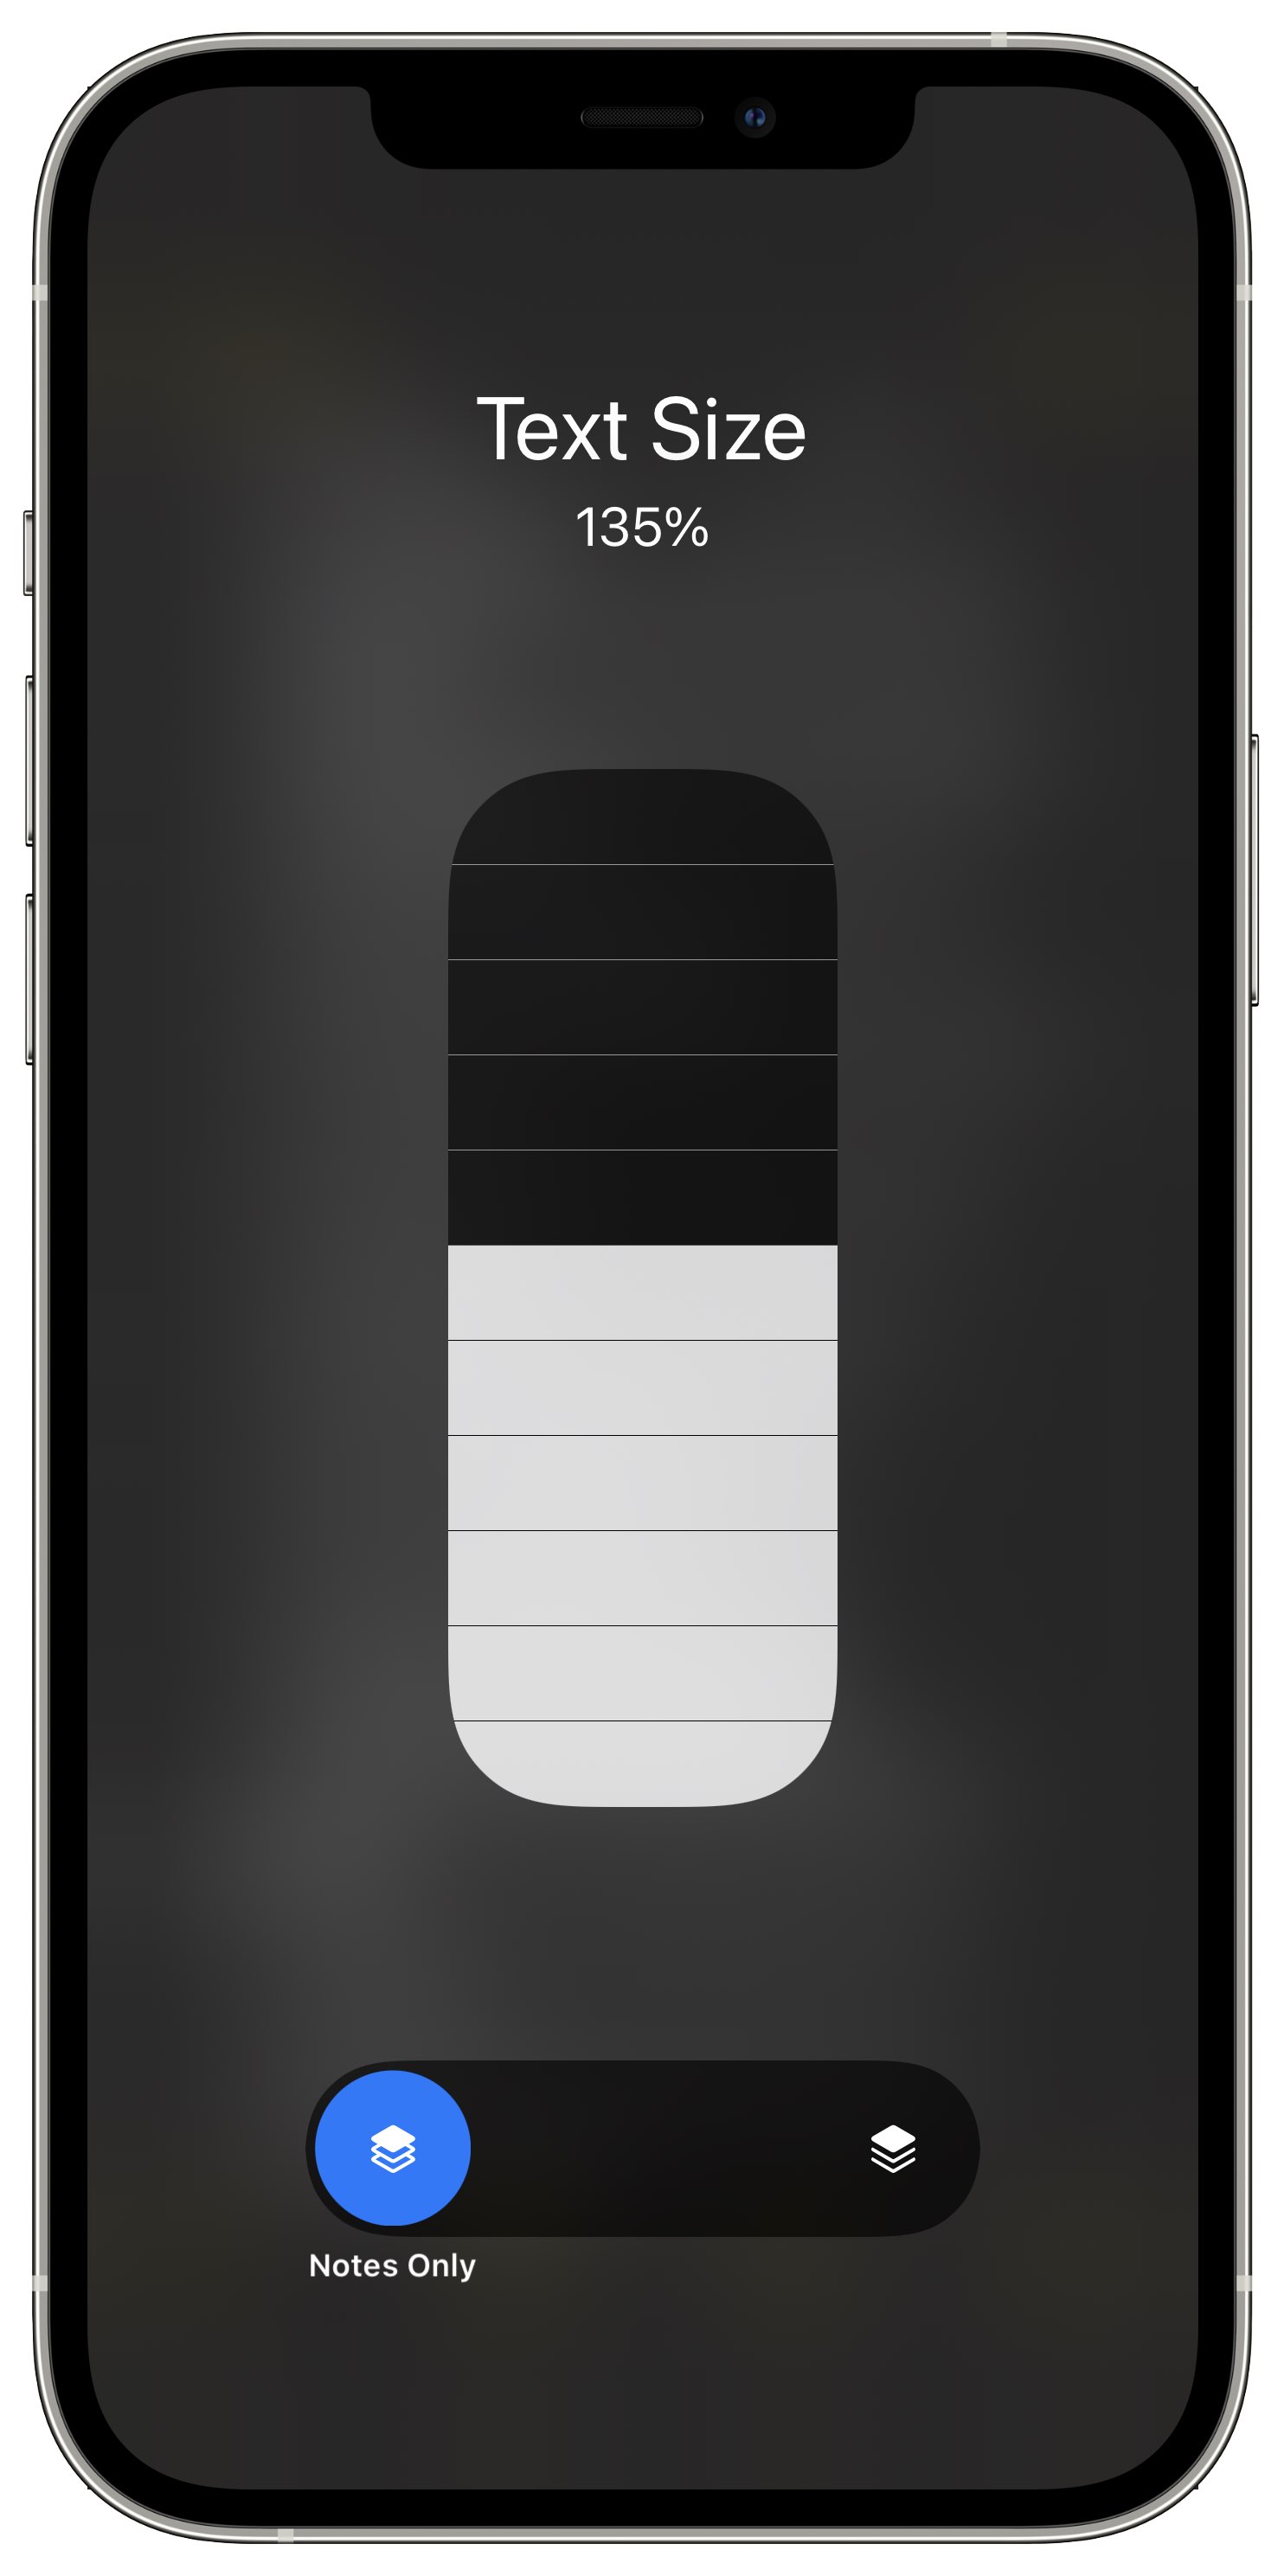
- Move the toggle at the bottom of the Text Size slider to the left.
- Drag the vertical slider up or down to increase or decrease text size for that app.
When moved to the left, the toggle shows you the name of the app you’re trying to customize.

For example, if you’re attempting to adjust the font size for the native Notes app, the left side of the toggle will read “Notes Only.” Conversely, moving the toggle to the right will say “All Apps” and that’s exactly what it does—adjusting the Text Size slider with the toggle moved to the right will prompt all apps installed on the device to use that font size.
Like before, you can find the same global font size control in Settings → Display and Brightness → Text Size, with even larger sizes found in Settings → Accessibility → Display and Text Size → Larger Text (turn on the option labeled “Larger Accessibility Sizes”).
And that’s how you adjust the font size in an app without affecting the whole system!