We recently published a guide on how to install the all new macOS 12 developer beta on your Mac. Now, if you aren’t happy with the upgrade and have come across problems, you probably want to downgrade. As a beta, you may face issues with third-party apps, stability issues, and so on. The new macOS 12 brings several new features and improvements, but isn’t a major leap in terms of user interface.
If you’d rather go back to before the developer beta days, then here’s how you can downgrade macOS 12 beta to macOS Big Sur.
Also see: How to create a macOS installer on an external drive
How to downgrade macOS 12 beta to macOS Big Sur
Before we get on with the downgrade process, there are a couple of things you should do. Firstly, we hope you took a backup before upgrading to the beta. You can restore from a Time Machine backup after you’ve removed macOS 12 beta from your Mac.
Now, to downgrade macOS 12 beta to macOS Big Sur, you’ll first need to erase the drive where the beta is installed. If you installed it on a partition, then you can simply delete the partition and your Mac will boot into macOS Big Sur.
If you did a fresh install of macOS 12 beta on the main drive of your Mac, then you’re going to have to follow the guide below.
Erase macOS 12 Monterey beta
We’d recommend that you have a bootable USB installer for macOS ready before you erase the macOS 12 beta. You’ll find instructions on how to create a bootable drive in our guide to clean install macOS Big Sur.
Once again, this method is for those who did a fresh install of macOS 12 beta on their Mac. Here’s what you need to do.
1) Click on the Apple logo in the Menu bar and select Restart.
2) Now press and hold Command + R until the Utilities menu pops-up.
3) Select Startup Security Utility, enter your firmware password, and enable ‘Allow booting from external media’.
Now, restart and head back into the Utilities menu by following Step 2.
1) In Utilities, select Disk Utility, click Continue, and choose the Startup Disk (most likely named Macintosh HD)
2) Click Erase at the top of the page and choose your format. Enter a new name for your Mac drive or go with Macintosh HD. Newer Macs use APFS, while older systems run on HFS+(MacOS Journaled).
3) Once again, click the Erase button and wait for the process to finish.
Reinstall macOS Big Sur
To perform a clean install of macOS Big Sur, you’ll need to use the bootable USB drive you created. Here’s what you need to do.
1) Plug in the bootable USB drive, wait for it to boot, and click on the Apple logo in the Menu bar. Make sure you’re connected to the internet.
2) Click Shutdown.
3) If you’re using an Apple Silicon Mac, then press and hold the Power button till the Startup Options window appears. On an Intel Mac, press and hold the Option key right after you turn it on.
4) From the next menu, choose your Startup Disk, which is the bootable USB pen drive.
5) Click on Continue or press the Return key.
The macOS Big Sur update will now start installing like a standard update. Simply follow the instructions, choose a language, agree to the software terms, provide iCloud details, and so on.
Restore from a Time Machine backup
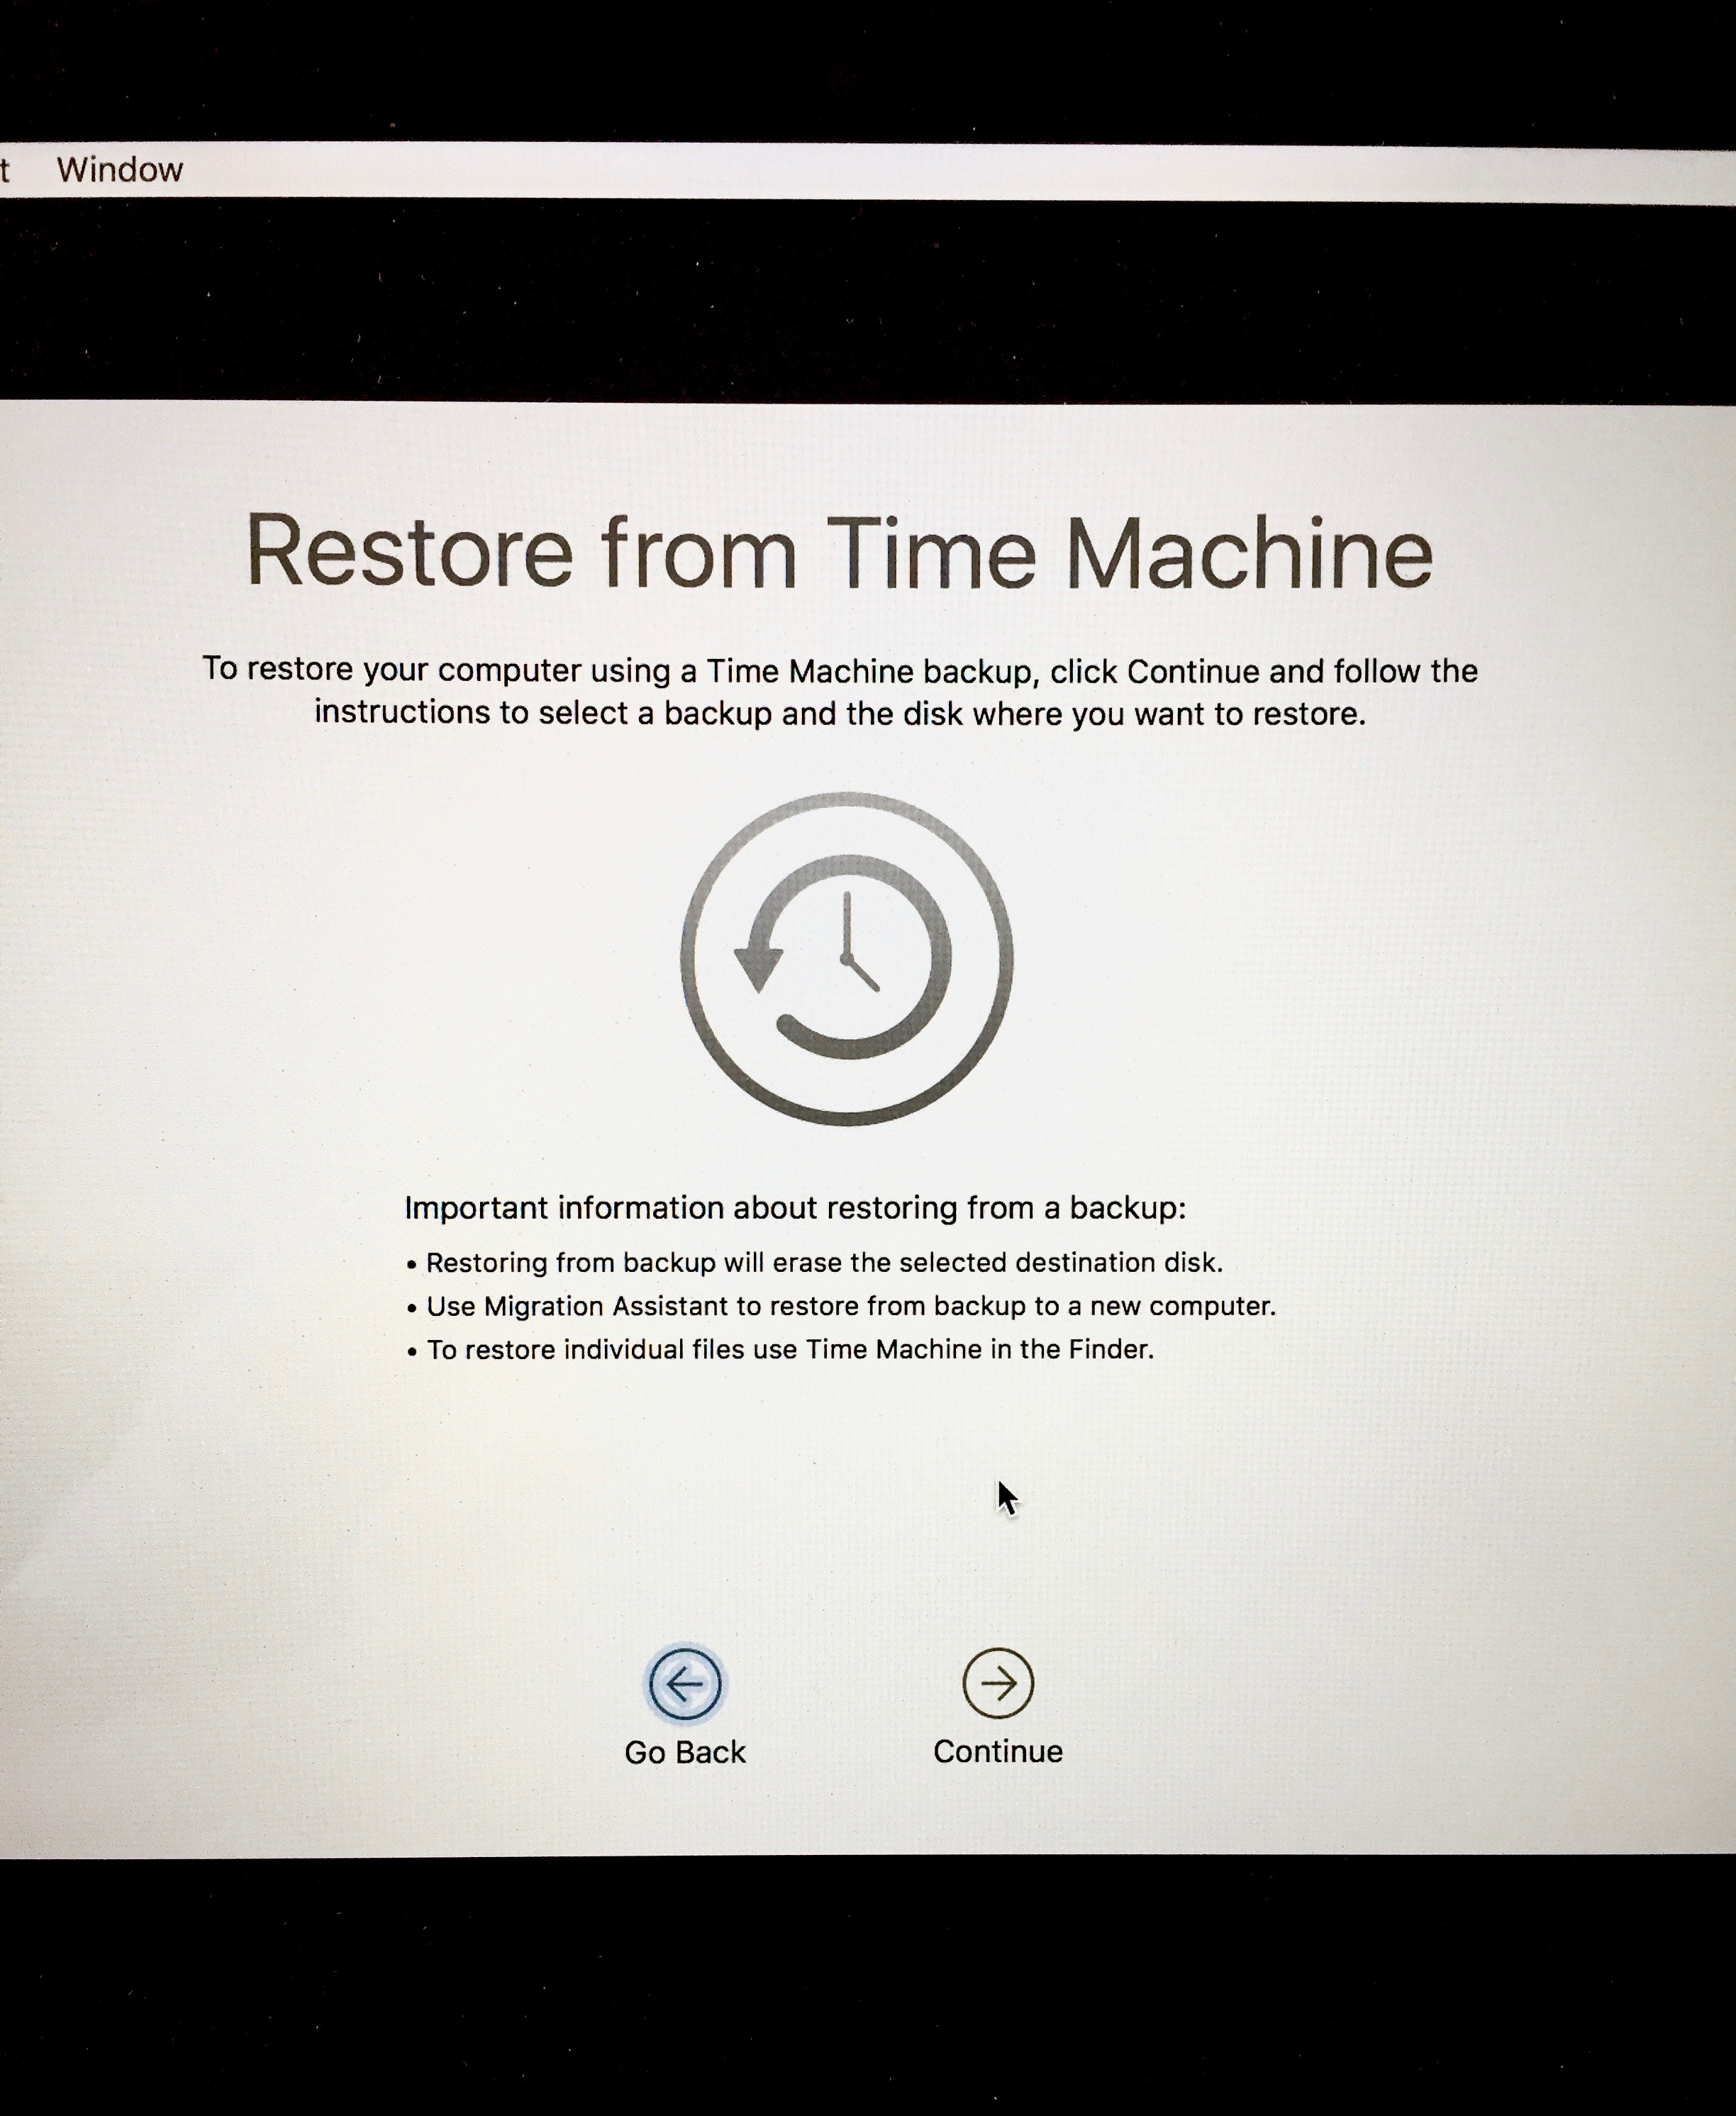
If you’d taken a backup on macOS Big Sur before you installed the macOS 12 beta, then you can get your Settings back by restoring from a Time Machine backup. Here’s how to do that.
1) Connect the Time Machine backup hard drive and make sure you’re connected to the internet.
2) Click on the Apple icon in the Menu Bar and hit Restart.
3) Press and hold the Command + R keys till the Utilities window shows up.
4) Select Restore from Time Machine Backup and click Continue.
5) Click Continue again to choose the Backup source. You’ll need to select Continue again after selecting the most recent backup of macOS Big Sur.
Wait for the process to finish, and you should have all your original settings back to how it was before.
Wrapping up
As you can see, the downgrade process from macOS 12 Monterey to macOS Big Sur can be time consuming. It’s always best to install beta software on a spare device or on a partition within your Mac drive. If you did a clean install of the beta, then you’ll have to erase the drive, and reinstall macOS Big Sur from scratch. A backup will also come in handy, as you can simply revert back to your previous settings instead of setting up your Mac all over again. We hope this guide helped you downgrade to macOS Big Sur.