If you’re getting used to your Raspberry Pi OS desktop, you may not be fond of the way the display appears. In this tutorial, we’ll show you how to change the screen resolution on Raspberry Pi OS.
New to Raspberry Pi? Start here first:
Screen resolution on Raspberry Pi OS
You see what your current screen resolution is and change it quite easily on Raspberry Pi OS. Just follow these steps.
1) Open the Applications Menu by clicking the Raspberry Pi icon on the top left of the Task Bar.
2) Move down to Preferences and select Screen Configuration in the pop-out menu.
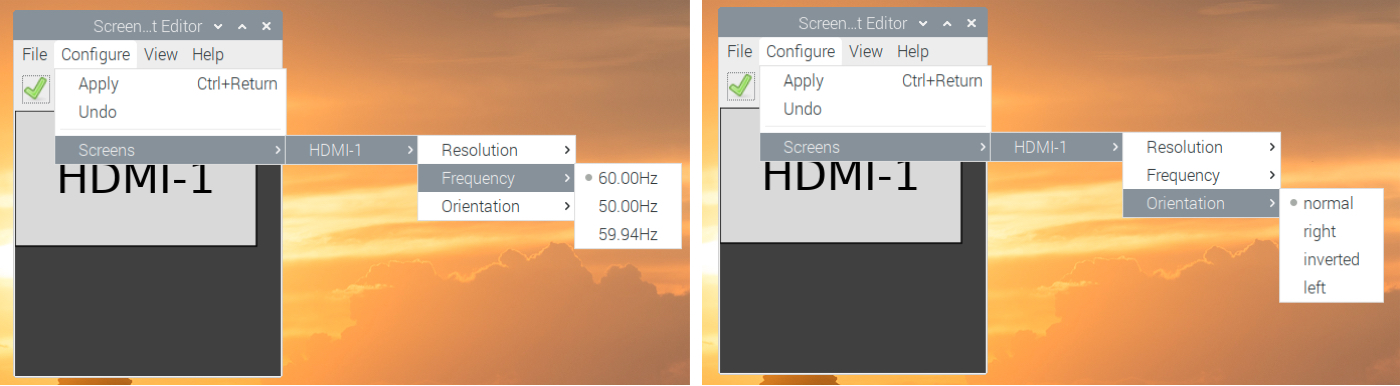
3) Click the Configure tab. Go down to Screens which will prompt a subsequent pop-out for your display name(s).
4) From there, move to Resolution and then choose the size you want to use from the list.

5) You’ll see a preview of the new display in the Screen Configuration editor. If you want to apply it, click the green checkmark.
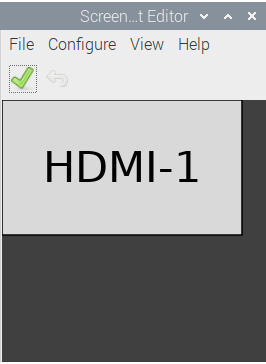
Your screen will refresh with the resolution you picked.
Frequency and orientation
If you want to adjust the Frequency or Orientation for your display, you can do it in the same spot.
1) In Screen Configuration > Configure > Screens, hover your cursor over the display name you want to change.
2) Pick Frequency to select the timing or Orientation to change it from normal to right, left, or inverted.
3) Click the green checkmark to apply any changes.
Wrapping it up
This may seem like a really simple task to undertake on Raspberry Pi OS, but if you’re a beginner and still becoming familiar with the system, it’s an essential setting to know about.
Do you have any tips for our new Raspberry Pi users? If so, share them below or you can ping us on Twitter!