If you recently purchased your first Raspberry Pi and are ready to get started, we’re here to help!
Depending on the Raspberry Pi you bought, the steps for setup can vary which includes using a kit. For instance, you may have simply purchased a board without any extras or you might have bought a kit with heat sinks and a cooling fan. So, feel free to skip any steps in our tutorial that don’t apply.
Setting up your Raspberry Pi
Install the Raspberry Pi inside the case
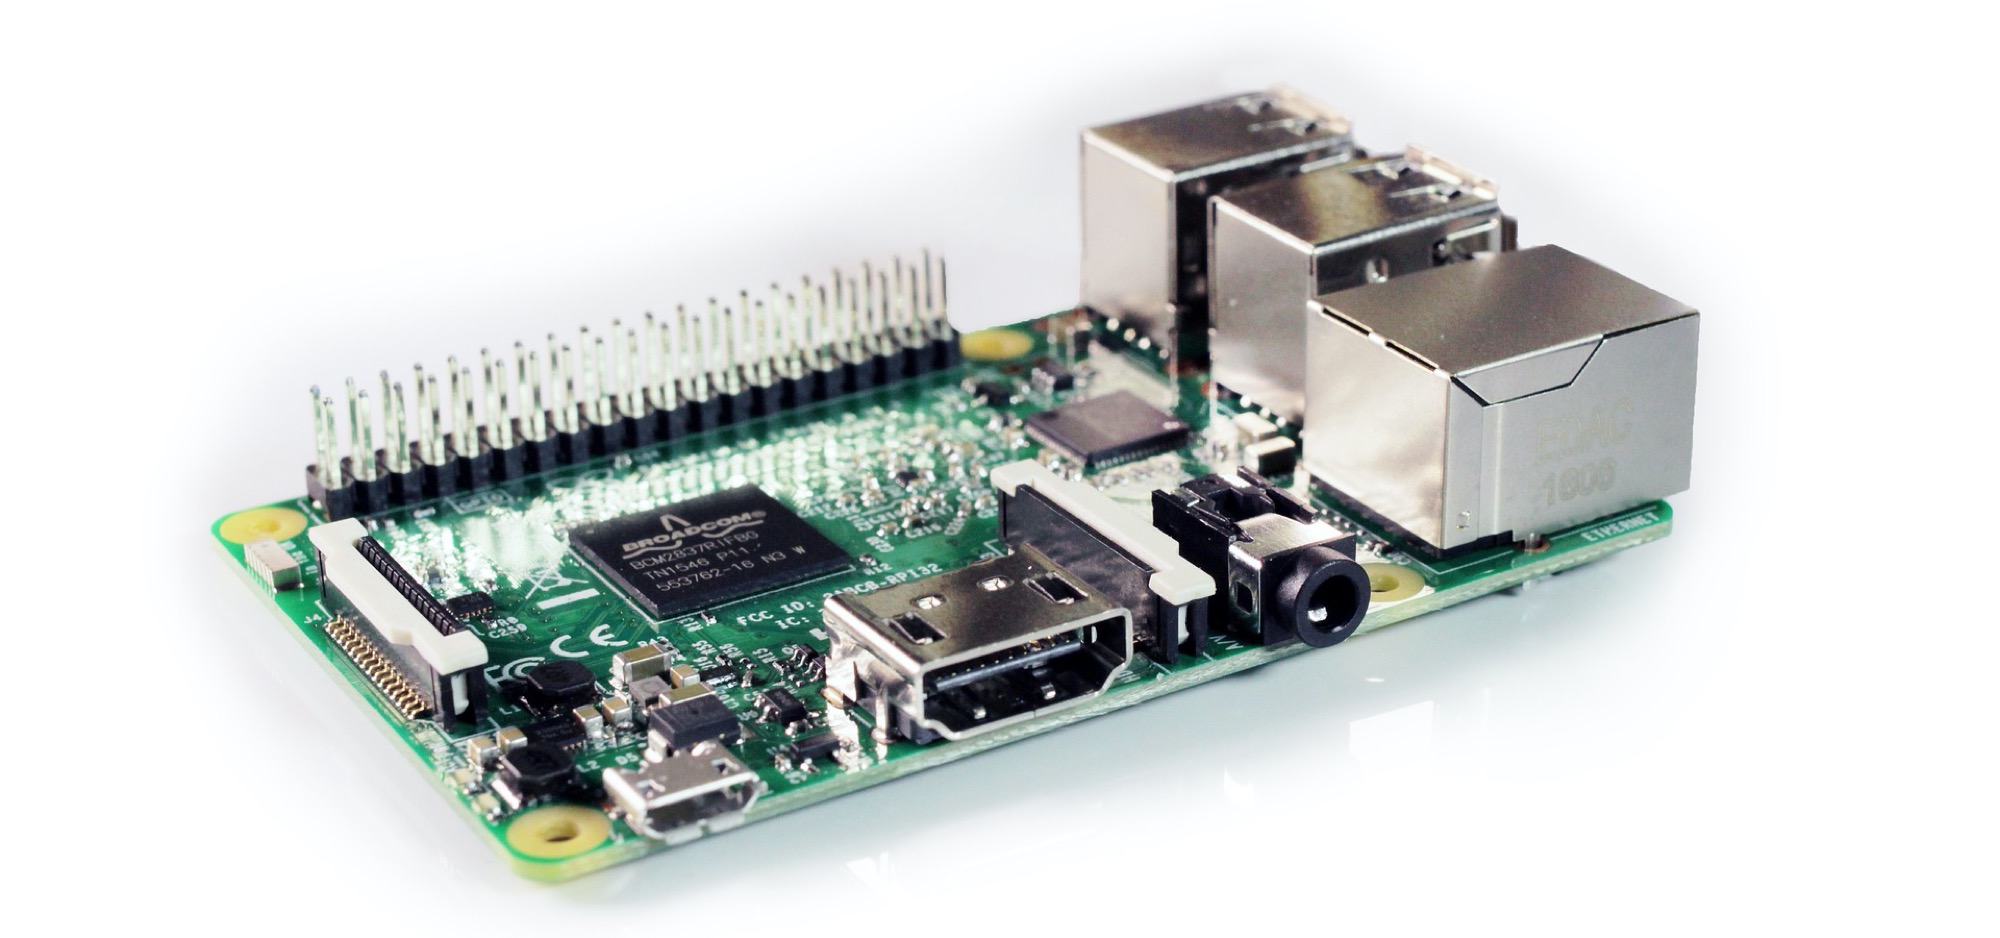
It may seem so simple, but if you’ve never worked with a Raspberry Pi before, it can be a little intimidating at first. So starting from scratch, here’s how to install your Pi in its case using heat sinks and a cooling fan. Note: This setup uses the CanaKit Raspberry Pi 4 Model B.
Before you start, be sure to take any necessary anti-static precautions!
1) Take the lid off of the case and then hold your finger on the inside bottom and lift the surrounding piece. This CanaKit’s case has three pieces.
2) Place your Raspberry Pi board inside the case and note that the markings for the ports match with the bottom of the case. Slide the side with the ports under the two tabs at the top and press gently. For a super helpful visual, check out this video from RaspberryPi.org.
3) If you have heat sinks that you would like to use to keep your Raspberry Pi cooler, these are easy to install. Peel the backing off the large square heat sink and place on the Broadcom CPU square, the rectangle heat sink on the SDRAM chip, and the tiny one on the USB 3.0 Controller.
4) If you have a cooling fan you’d like to use, install this next on the GPIO pins. Connect the red wire with pin 4 and the black with pin 6. If you prefer the fan run at a lower speed, you can connect the red wire to pin 1 instead. Pin 4 is 5V while Pin 1 is only 3.3V. Next, pop the fan itself onto the inside of the case lid.

Screenshot of GPIO header pin board from CanaKit
This wraps up installing your Raspberry Pi inside its case with heat sinks and a cooling fan. You may choose to simply use the board without these and they are not required by any means. The case simply keeps your Raspberry Pi safe. And if you plan to do high-performance tasks with it, consider using the heat sinks and cooling fan.
Insert your microSD card with NOOBS
You’ll use a microSD card with NOOBS to boot up your Raspberry Pi and perform the setup. NOOBS (New Out Of Box Software) is an operating system installation manager for RPi.
If you bought a kit that came with a microSD card pre-installed with NOOBS, then you’re one step ahead. So go ahead and put that card into the microSD card slot at the bottom of the board. The card can only go in one way and should slide in smoothly, so don’t force it.
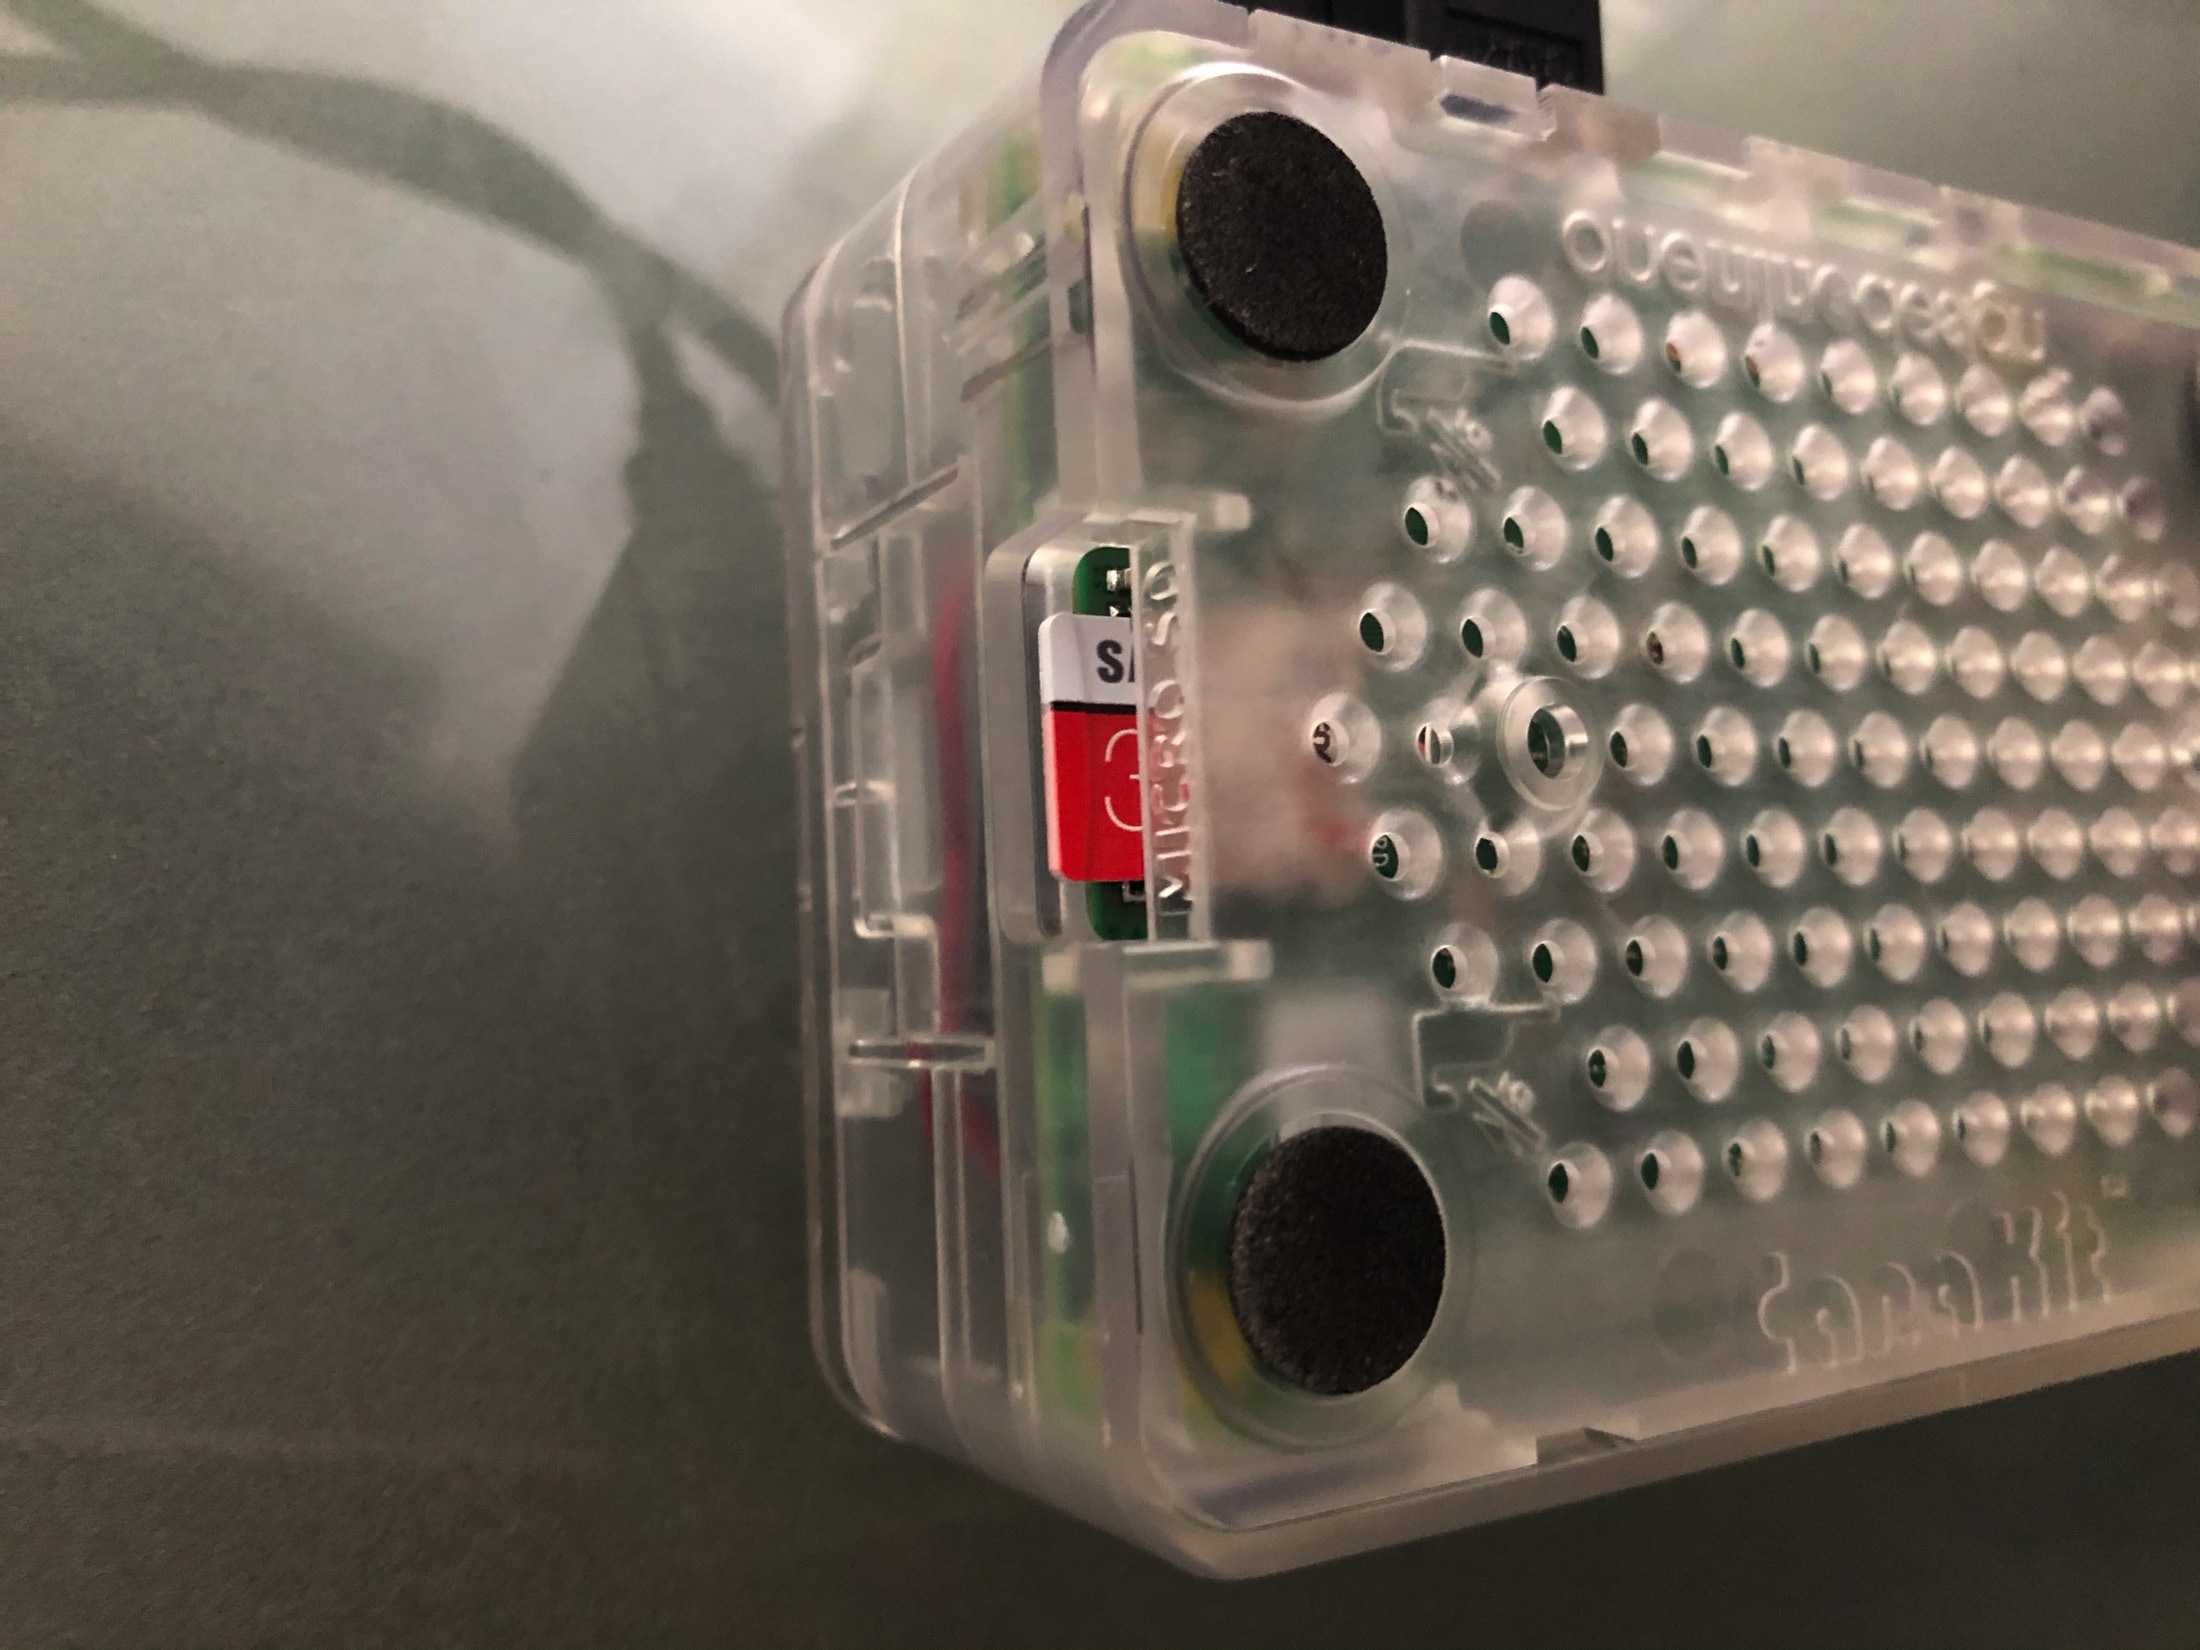
If you do not have a microSD with NOOBS pre-installed, you can take care of it yourself assuming you have a microSD on hand. Use your computer to make sure the card is formatted correctly and then install NOOBS.
Use these references:
- To format a 32 GB card (or smaller) on Windows, go to www.canakit.com/tools/sdformatter.
- To format a 64 GB card (or larger on Windows), go to www.canakit.com/tools/fat32format.
- To format a card on Mac or Linux, you can use your computer’s built-in tools (like Disk Utility on Mac).
To download the latest version of NOOBS, head to www.canakit.com/downloads/noobs.
Connect your peripherals and power
In order to provide your Raspberry Pi with input and see it as you do, connect your keyboard, mouse, and display next.
Use the USB ports for your wired keyboard and mouse.
Use the main HDMI port for your monitor or TV. Note: If you are using a Raspberry Pi 4, you’ll need a micro HDMI cable and connect it to the main micro HDMI port. Again, you may receive a cable with the kit you purchased.
Use the 3A USB-C port for your power adapter. If you purchase a kit with an on/off switch, connect that to your power adapter cord first and then plug the switch into the 3A USB-C port.
Install the operating system
Once you connect the power adapter, your Raspberry Pi should boot right up! You’ll see a menu on your display. If you plan to use Raspberry Pi OS, choose that option in the menu and hit Install. The installation process will take a few minutes and you’ll see a message when it finishes. Click OK to restart your Raspberry Pi.
If you want to use a different operating system:
Ethernet: Connect an ethernet cable using the corresponding port. Then, access the system on your network.
Wi-Fi: Click Wifi networks and select a connection from the list of those detected. Then choose your operating system.
Set up your Raspberry Pi with Raspberry Pi OS
If you decide to use Raspberry Pi OS (previously called Raspbian), you’ll follow the on screen prompts to set it up after your Raspberry Pi reboots as described above. The wizard will walk you through the following steps.
Set your locale: Choose your country, language, and time zone. Optionally, you can check the boxes for Use English language and Use US keyboard.
Change the password: By default, the password is “raspberry” but you should change it to a secure one that you’ll remember or can jot down for safe keeping.
Check the display: Mark the box if you see a black border around the desktop on the screen.
Select a wireless network: When connections are detected, select your Wi-Fi from the list and enter the password if necessary. You can Skip this step if you prefer.
Update the software: Check for software updates or hit Skip if you’d rather do it later. It’s recommended to see if there’s an update for the software right off the bat so that you have the most recent version.
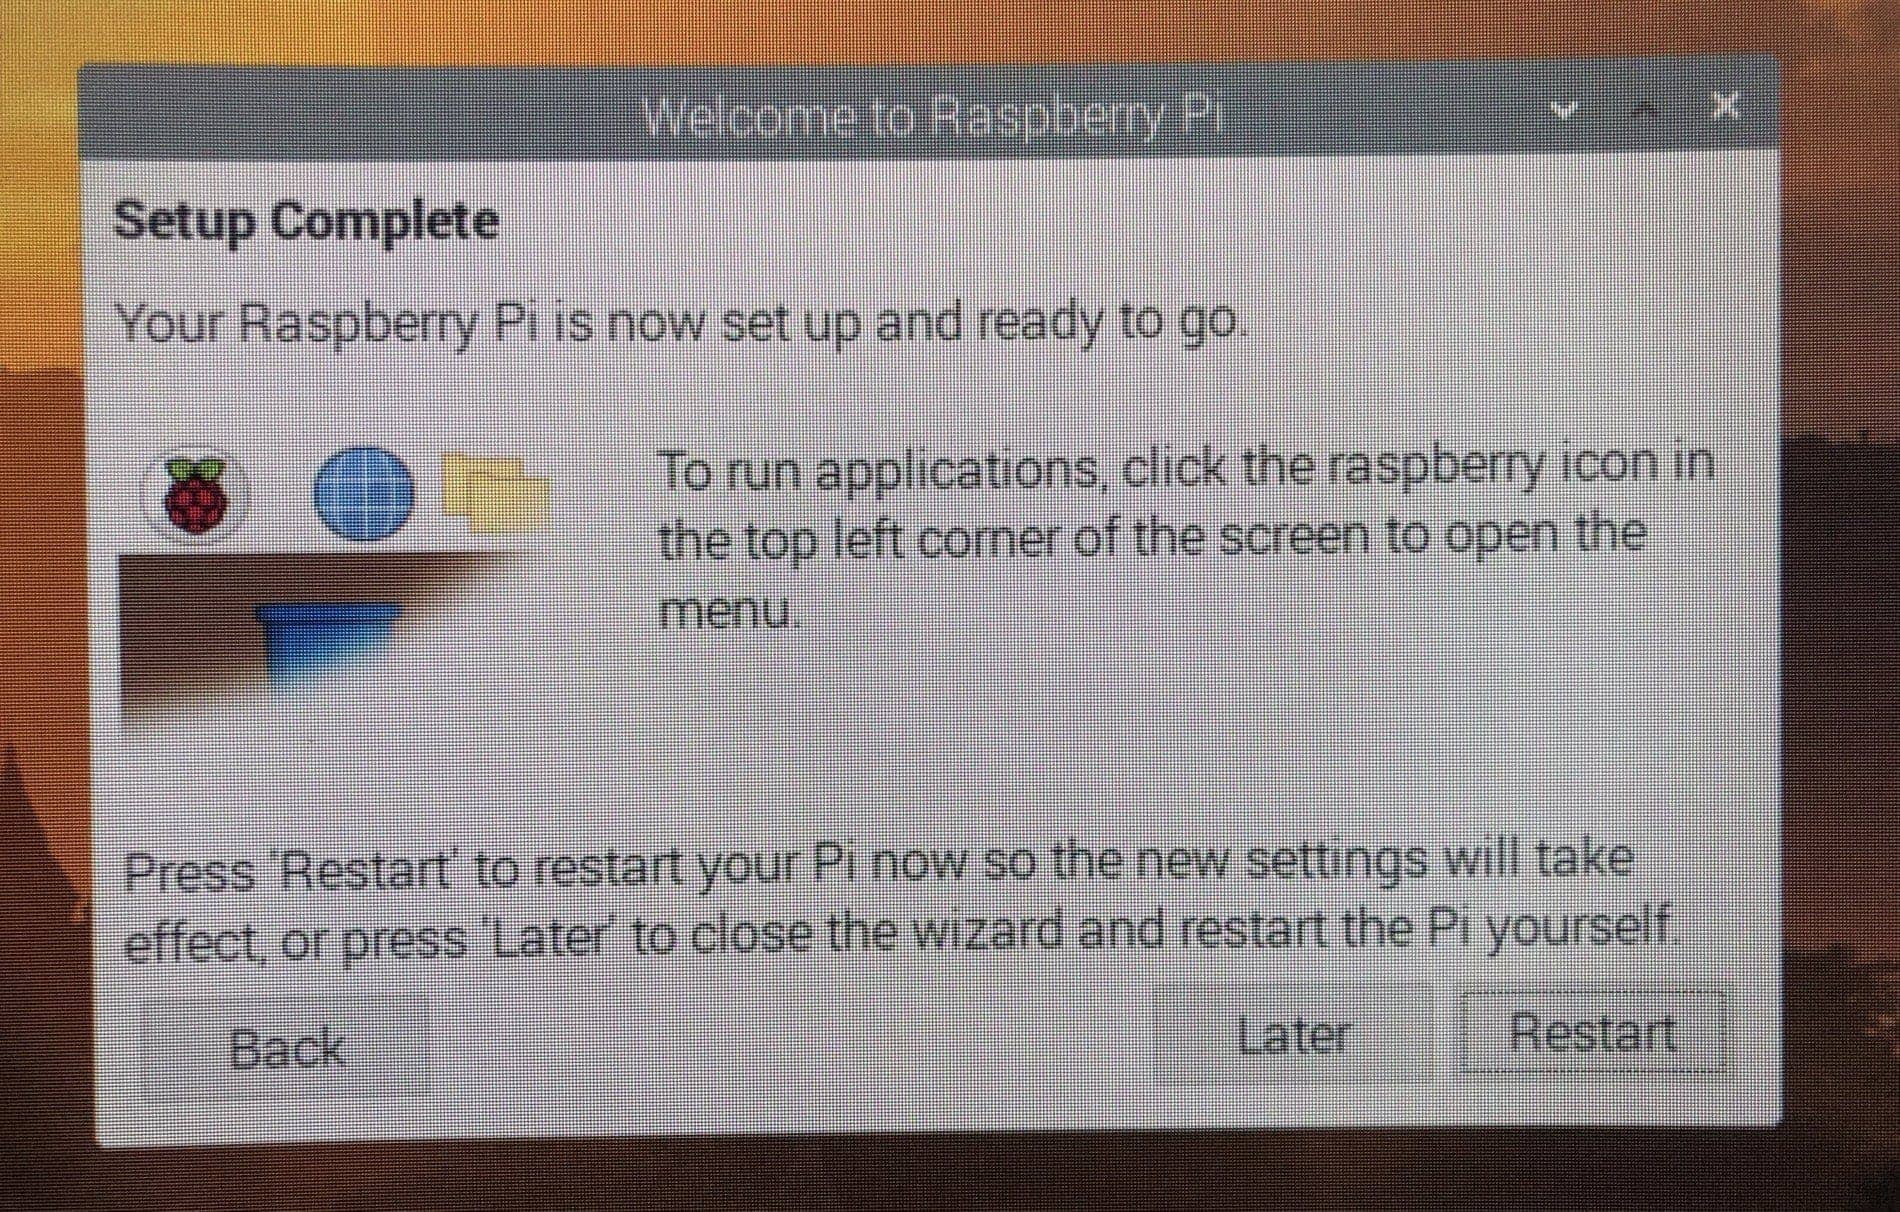
When complete, you’ll see a Setup Complete message. You can click Restart (recommended) or Later.
And that’s all there is to setting up your Raspberry Pi!
Stay tuned for more tips and how-tos for Raspberry Pi. And feel free to share your own tips or tricks for beginners below!