Check out this simple tip that can easily improve the audio quality of your Bluetooth headphones when connected to your Mac.
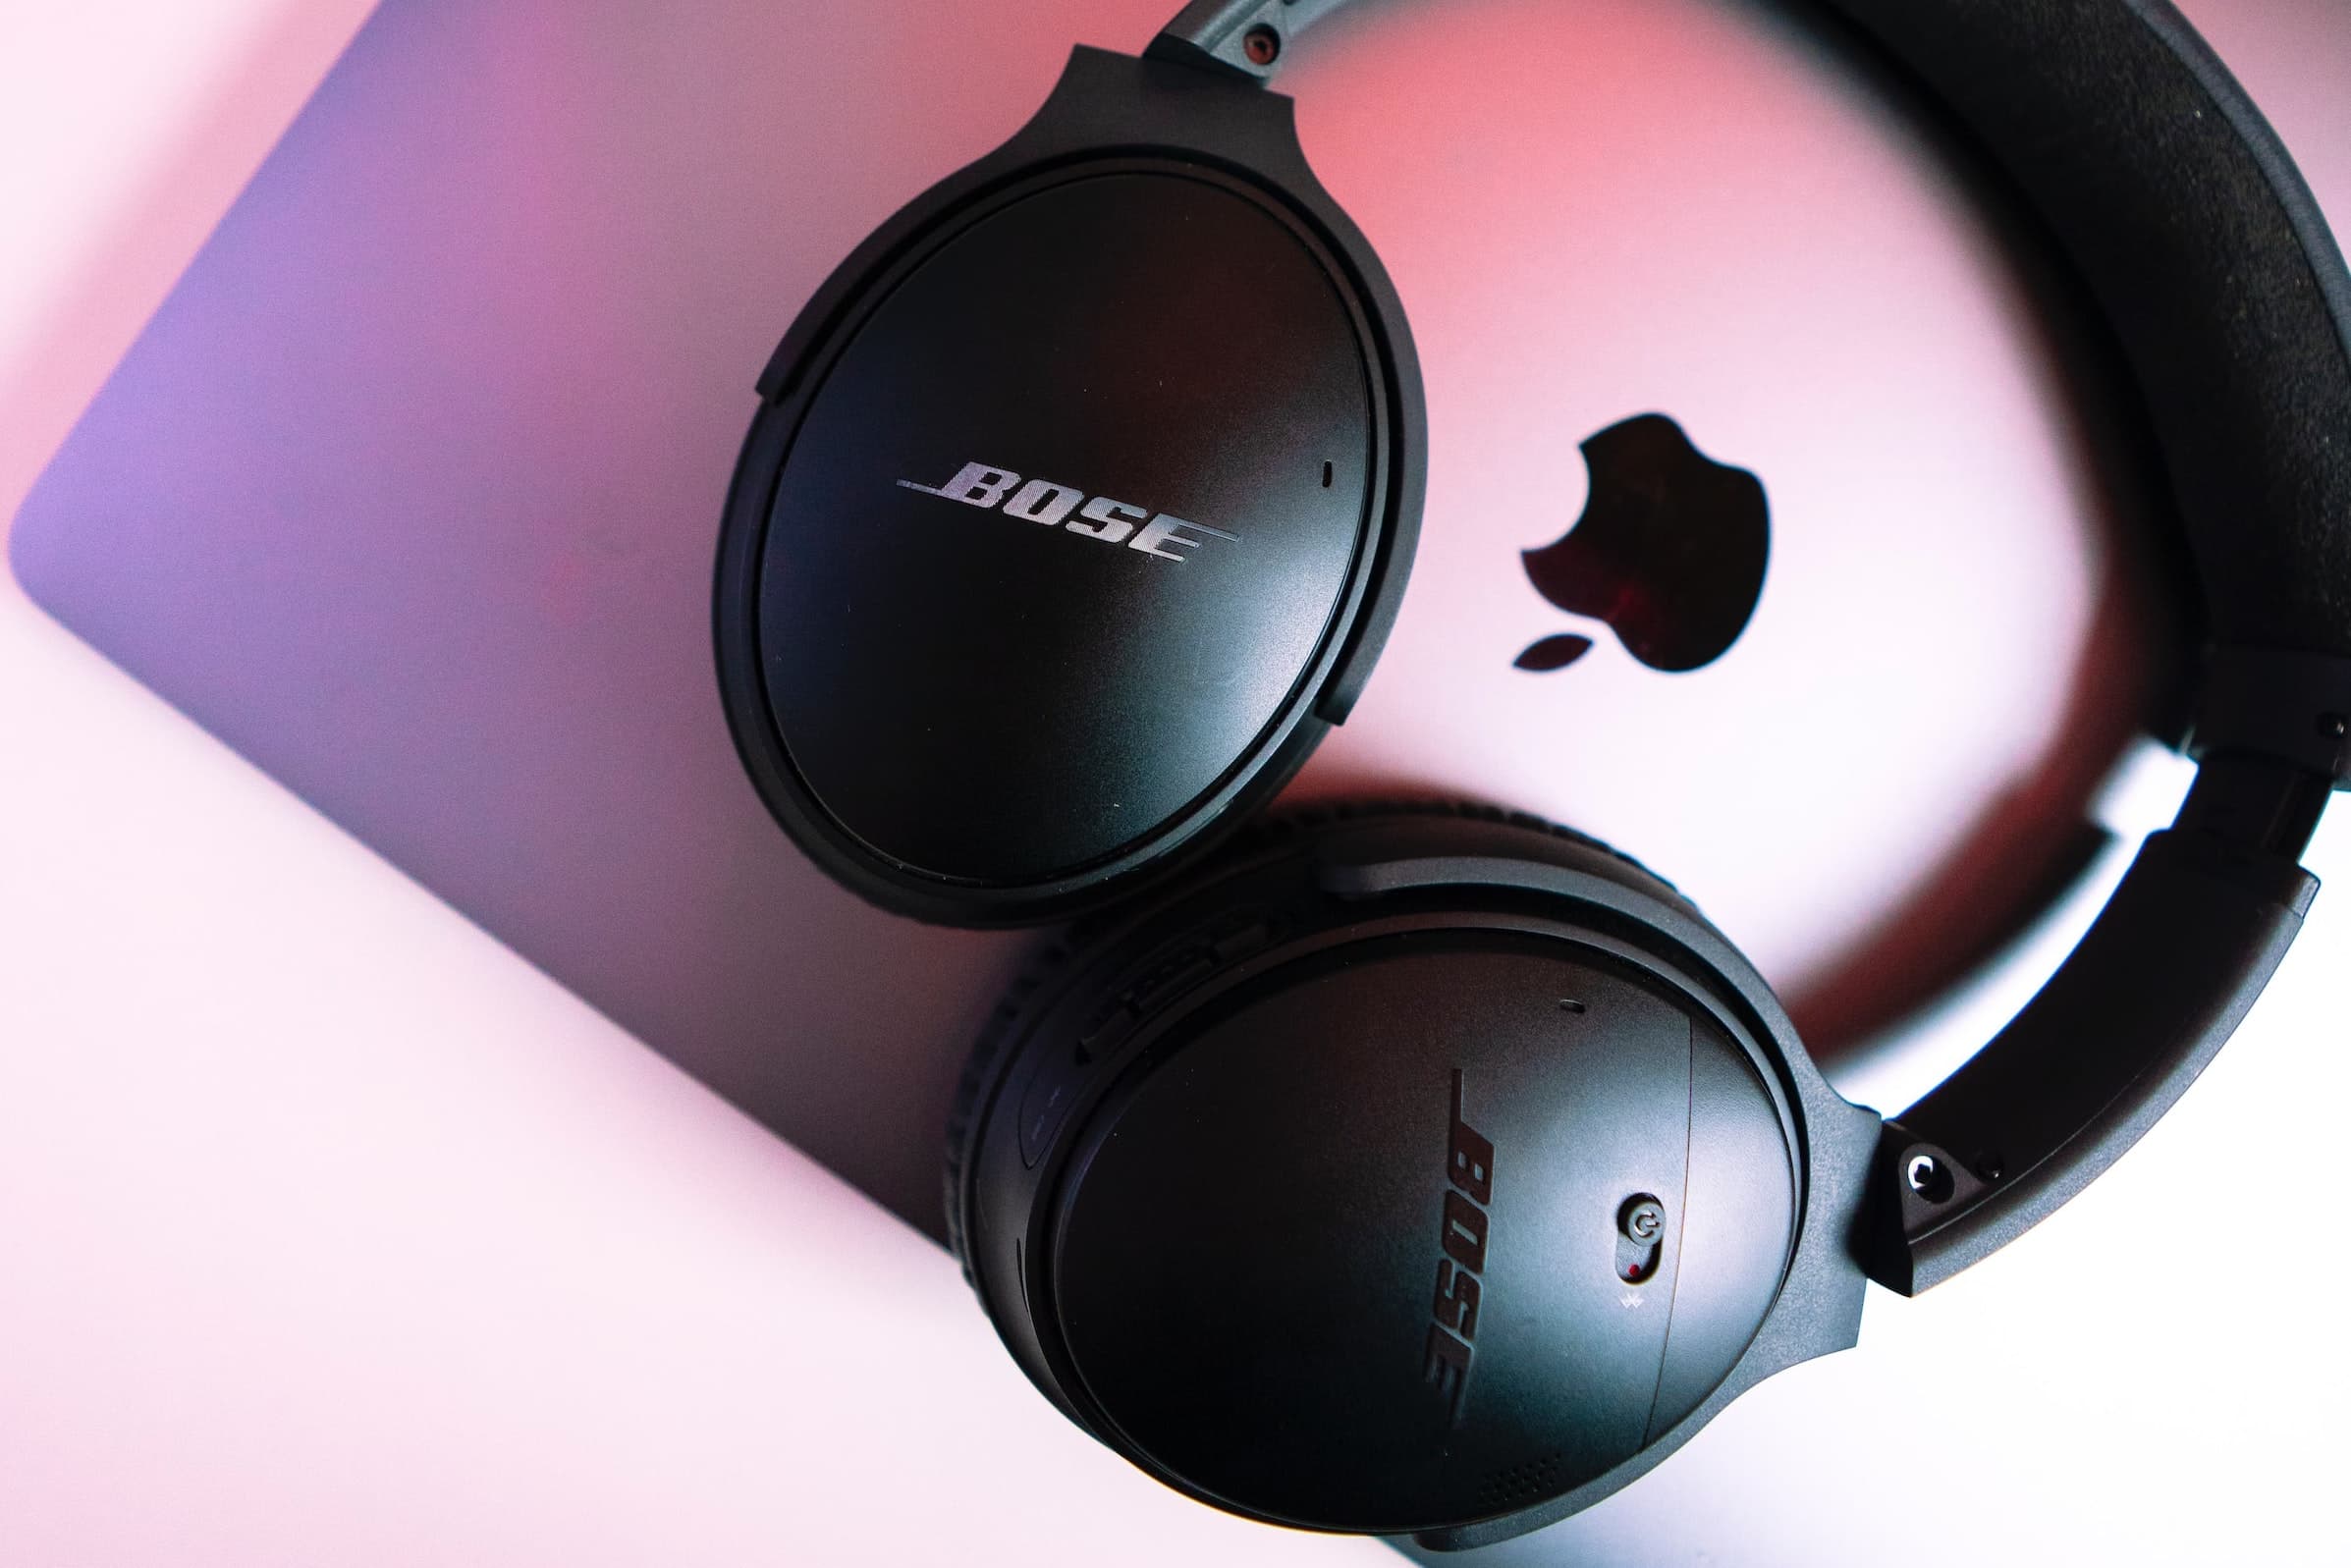
Bluetooth audio on Mac can be finicky, as macOS uses a standard audio codec for all kinds of headphones. This can make the audio sound bad on some Bluetooth headphones. Most headphones come with support for advanced audio codecs such as AAC and aptX; however, they will end up using the SBC codec when connected to a Mac.
We’re not sure why this happens, but some headphones do switch to AAC codec with modern Macs, and we’ll show you how you can force macOS to use AAC or aptX codecs with supported Bluetooth headphones. This will ensure that you get the best Bluetooth audio on your Mac.
How to enable aptX and AAC codecs on Mac
Both AAC and aptX codecs are available on macOS, but may not be enabled by default. There are two ways to force-enable these codecs on macOS. You can either download the Bluetooth Explorer app to make the changes or use a set of simple Terminal commands. We explain both methods.
Method 1: Use the Bluetooth Explorer app
1) Go to developer.apple.com, click Account, and sign in using your Apple Account. If you don’t sign in, the link in step 2 will remain inaccessible.
2) Use this link to download the Additional Tools for Xcode 11.4 from Apple’s Developer Downloads website.
If the link does not work for you, search for additional tools (developer.apple.com/download/all/?q=Additional%20Tools) on Apple’s developer website. After that, scroll down to “Additional Tools for Xcode 11.4” and click the download link. You’ll have to download this old file because the Bluetooth Explorer app is no longer available in Additional Tools for Xcode 12 and later.

3) Double-click the downloaded .dmg file to open its contents. Look for Bluetooth Explorer in the Hardware folder.
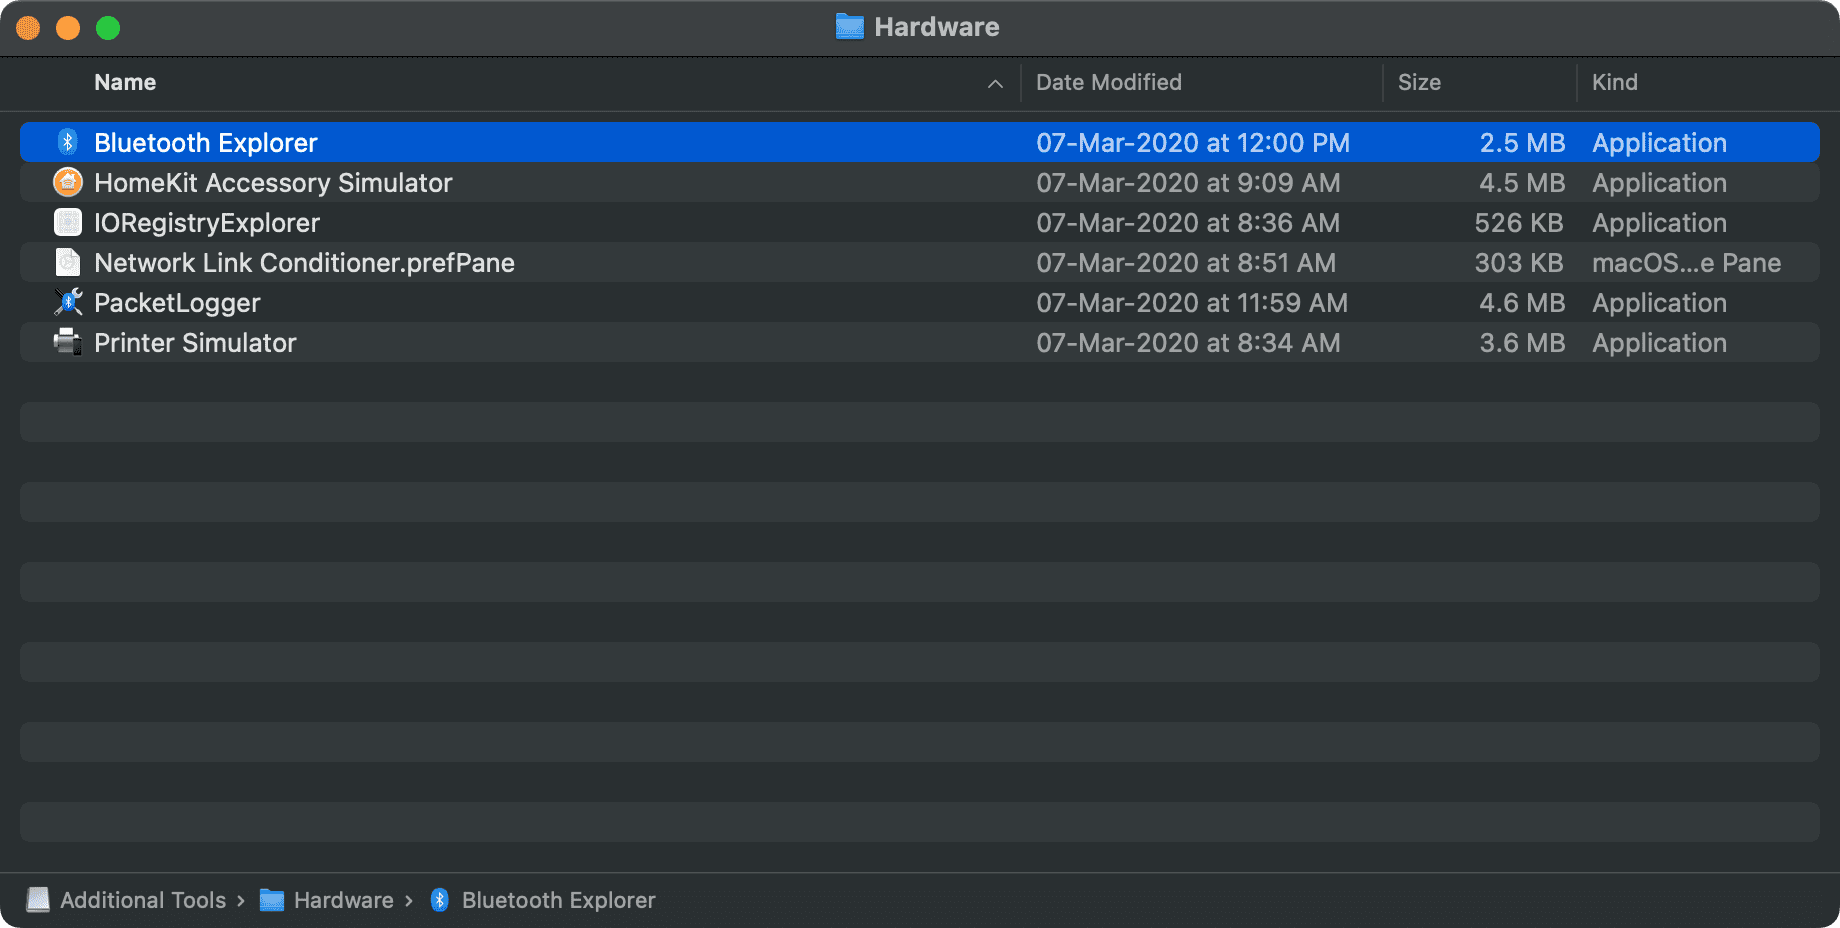
4) Move Bluetooth Explorer to the Applications folder on your Mac.
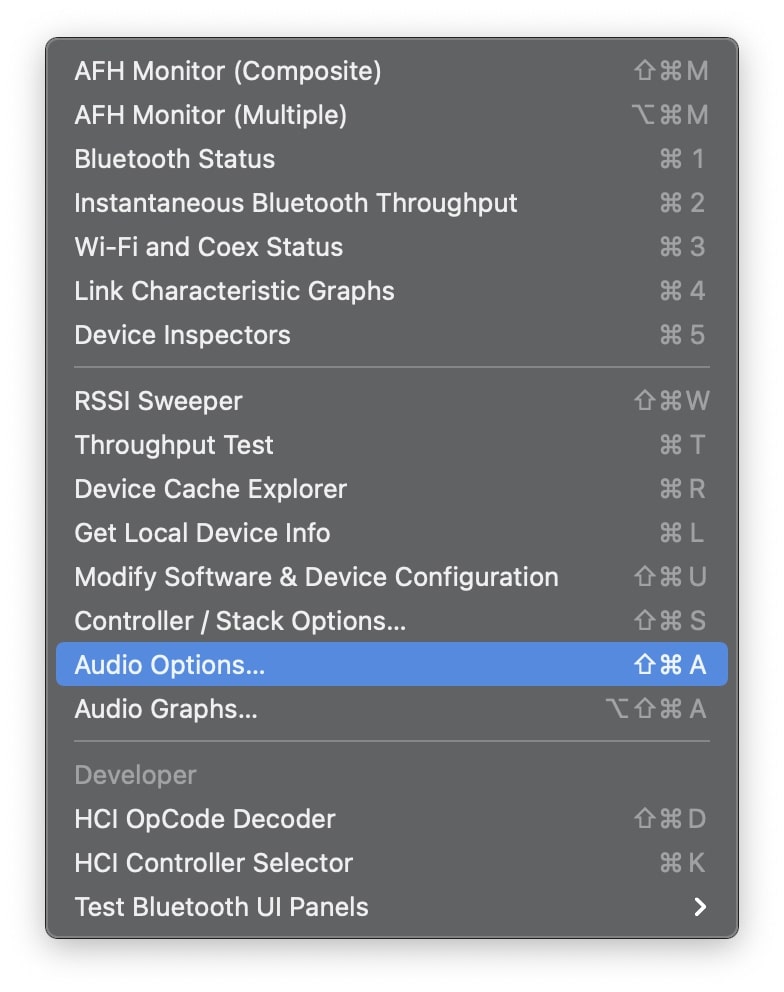
5) Launch the app (it won’t show a window on the screen), click Tools from the top menu bar, and select Audio Options.
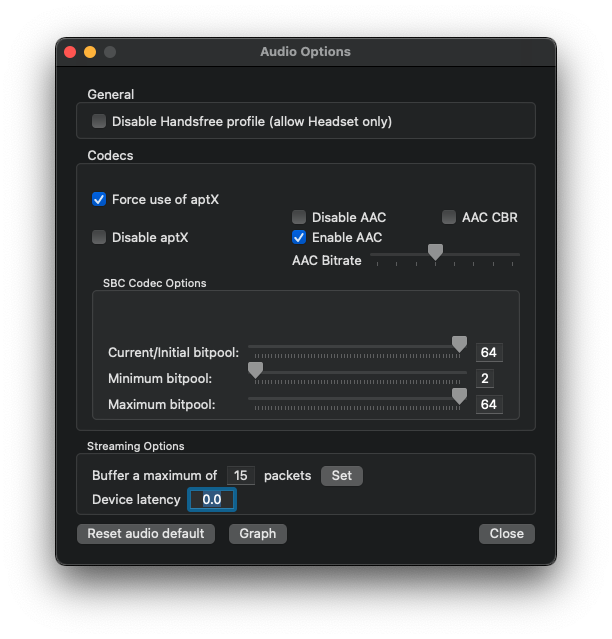
6) Check the boxes that say Force use of aptX and Enable AAC. Click Close.
To check if this has worked, toggle your Mac’s Bluetooth off and on, connect your Bluetooth headphones, and start playing a song. Now, in Bluetooth Explorer, click Tools in the menu bar and select Audio Graph. Check the bottom of the graph to check what codec is being used. If your headphones support aptX, then you should see that macOS is now using the aptX codec.
Method 2: Use Terminal
If the above method doesn’t work, then you can simply input the following commands in Terminal to enable aptX and AAC on Mac.
1) Launch Terminal on Mac.
2) To enable aptX, type in the following command:
sudo defaults write bluetoothaudiod "Enable AptX codec" -bool true
3) To enable AAC, type the following:
sudo defaults write bluetoothaudiod "Enable AAC codec" -bool true
4) To verify that the changes have been made, enter the following command in Terminal:
sudo defaults read bluetoothaudiod
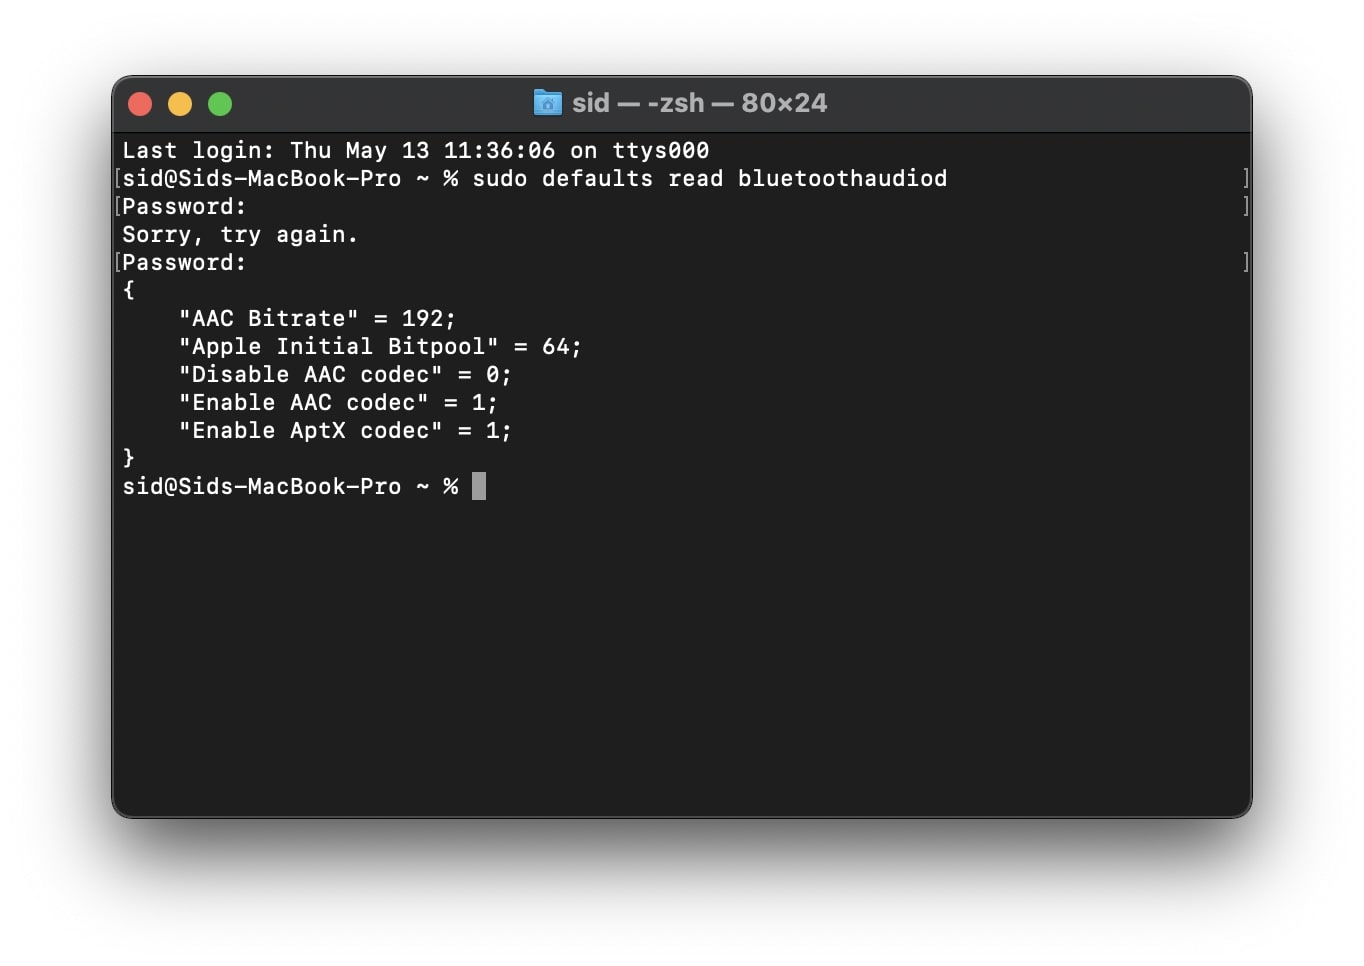
You should see that the aptX and AAC codec values are now 1. Once again, toggle Bluetooth off and on and connect your headphones. You can check the codec being used via Bluetooth Explorer’s Audio Graph when playing an audio track.
If you want to turn it off, use the same command for the respective codec, but replace the word true with false. For example, if you no longer want to use the aptX codec, the command will be:
sudo defaults write bluetoothaudiod "Enable AptX codec" -bool false
Using the right codec on Bluetooth headphones will not only improve the audio quality but also reduce lag. It’s easy to enable the aptX and AAC codecs on your Mac, and you can use either method on most versions of macOS. We’ve even tested this on Apple silicon Macs.
On a related note: