Learn how to use the Hover Typing and Hover Text accessibility features on Mac to see a huge version of text under the pointer when you’re typing or navigating around macOS.

If you have trouble seeing your Mac’s screen, you have some handy built-in features to make your experience more comfortable:
- First of all, you can increase the system-wide font size or for specific apps like Finder, Mail, Notes, and more.
- If you have trouble browsing the web, you can make text bigger in Safari for all web pages.
- You also have the ability to use Zoom on your Mac and enlarge the user interface.
In addition to the above options, there is yet another handy feature that increases the size of the text under the pointer (Hover Text) or when you’re typing (Hover Typing). This ensures your Mac’s screen stays normal but makes the text bigger when you want it to. You’ll understand more about it when you try these features firsthand.
Turn on Hover Text and Hover Typing on Mac
The steps differ slightly based on the macOS version installed on your computer.
1) Open System Settings on your Mac running macOS Tahoe or macOS Sequoia and select Accessibility.
2) Click Hover Text.
3) Turn on Hover Text to enlarge the text under your pointer when you hold the Command key (more on it below).
4) Turn on Hover Typing to see larger text when typing.

macOS Sonoma and macOS Ventura
1) Go to System Settings > Accessibility > Zoom.
2) Turn on Hover Text.

3) To turn on Hover Typing, click the info button ⓘ next to Hover Text. After that, click Text-entry location and choose something other than None.

macOS Monterey, macOS Big Sur, and macOS Catalina
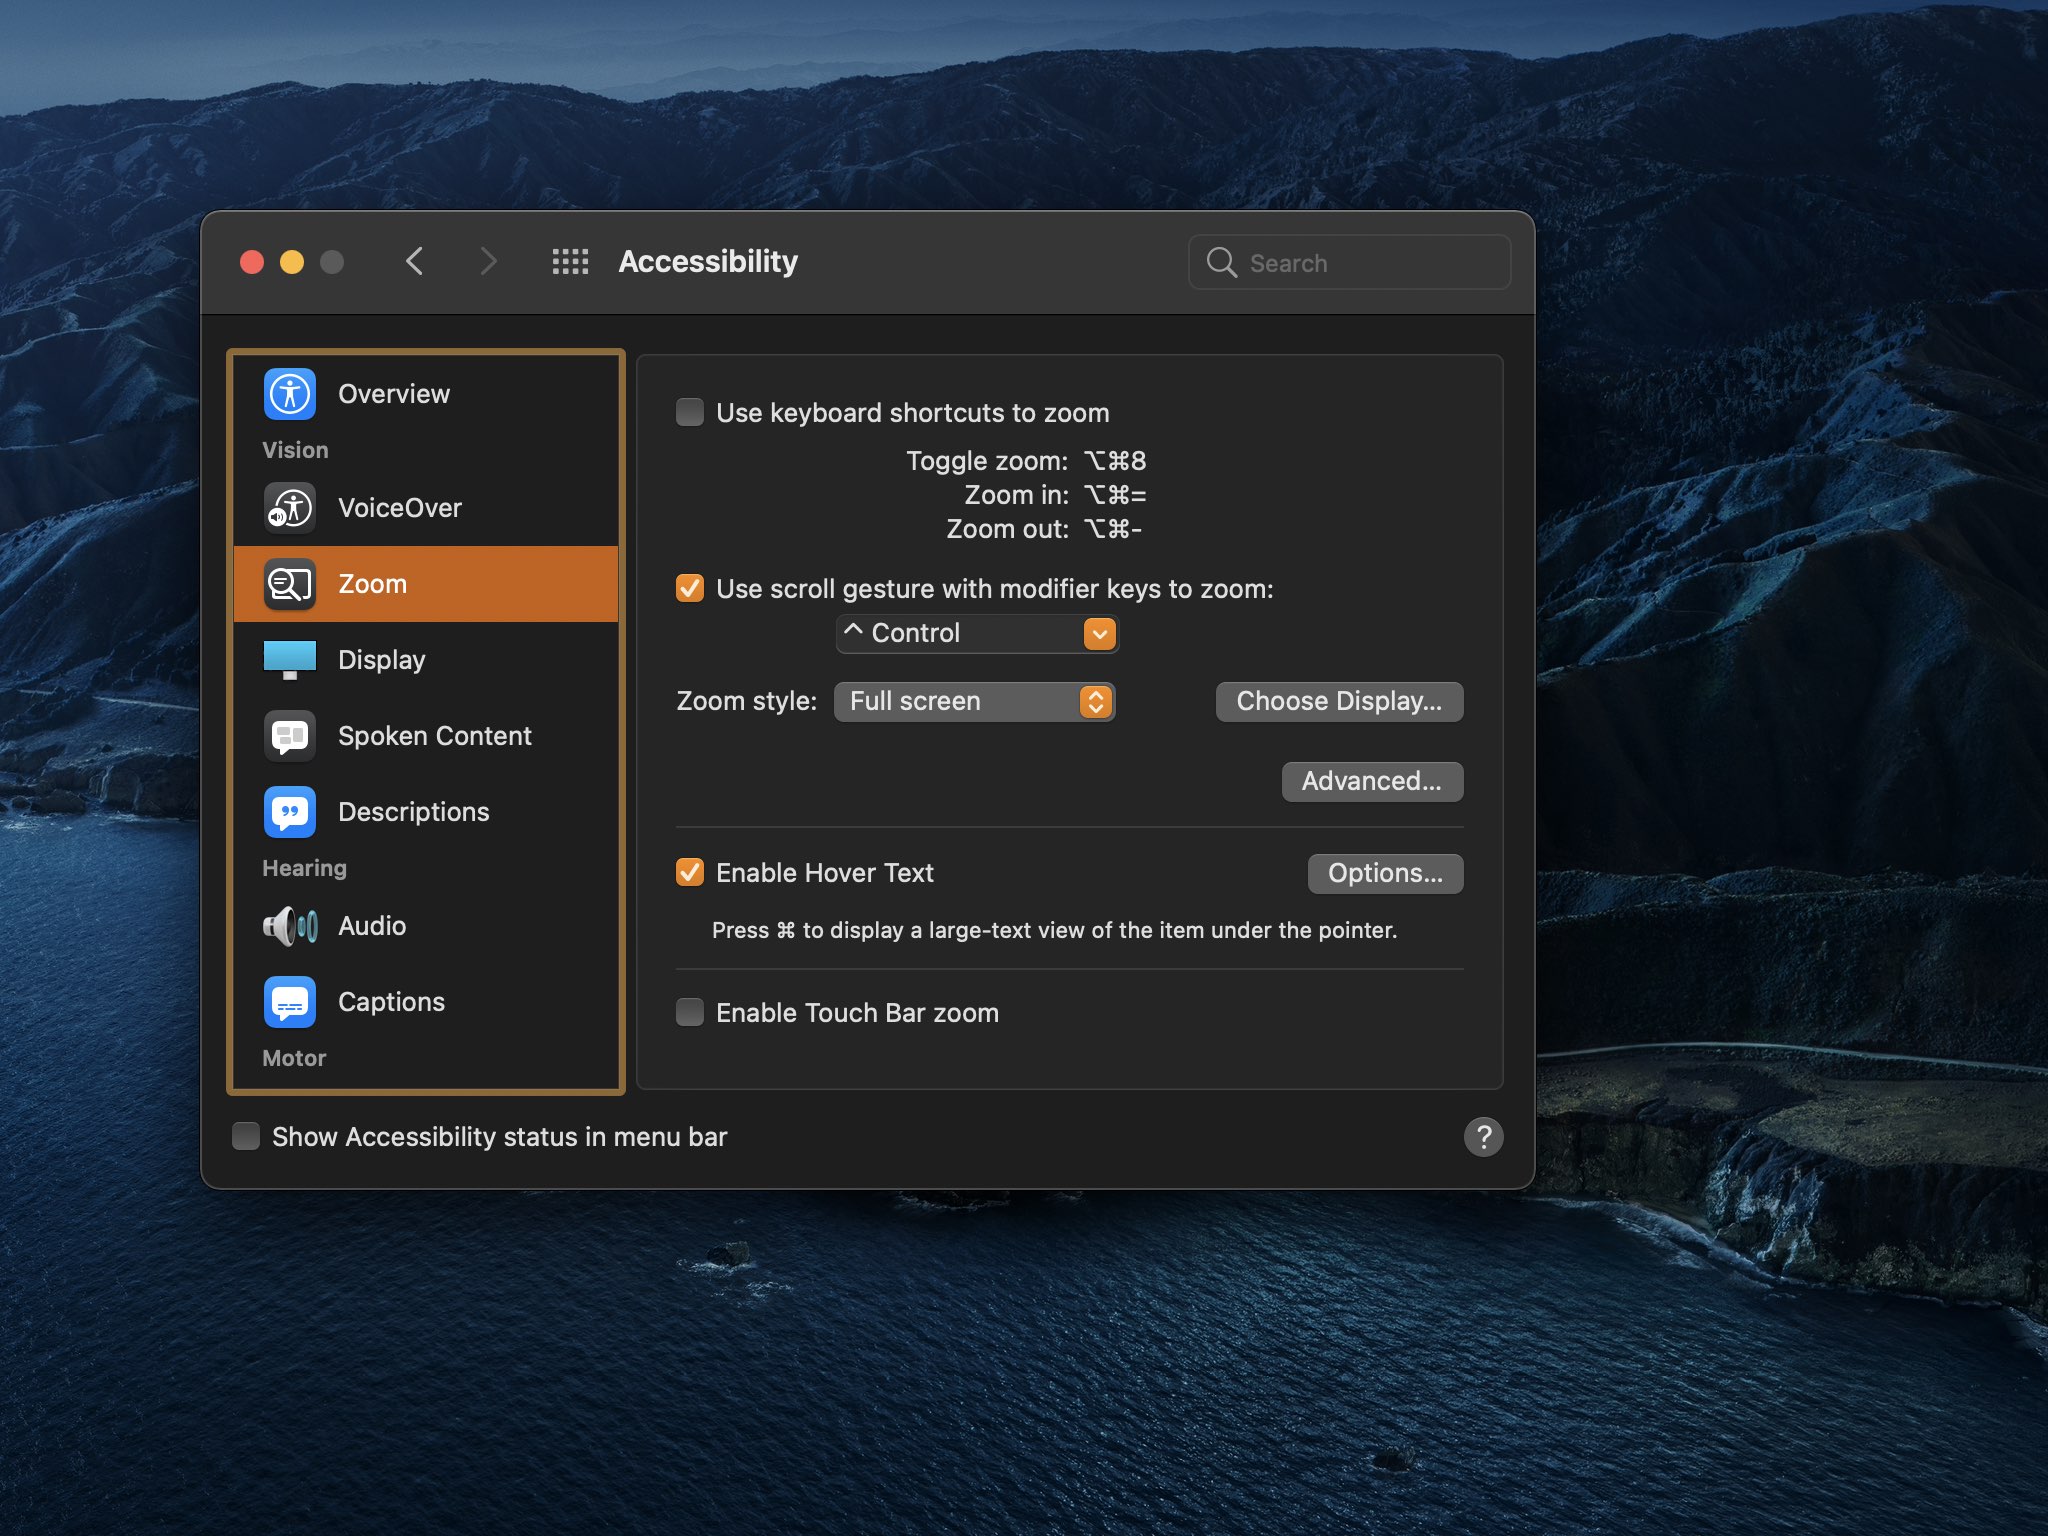
1) Open System Preferences and go to Accessibility > Zoom.
2) Check the box for Enable Hover Text.
3) To turn on Hover Typing, click Options and choose a spot for Text-entry location.
Use Hover Text
1) Press and hold the Command key and take your mouse pointer over a text. You’ll see it show up in huge size.
2) Take the pointer to other spots, and they will also increase in size.

Don’t want to hold the Command key for long?
If you don’t like holding the Command key for long, go to System Settings > Accessibility > Hover Text and click the info icon ⓘ next to Hover Text. Now, turn on the “Triple-press modifier to set activation lock” option and click Done.

After this, you can triple-press the Command key and then just move the pointer around to see text in huge size. You don’t have to keep holding the key.
Remember to triple-press the Command key to unlock Hover Text.
Use Hover Typing
With Hover Typing enabled, start typing in an app like Notes, and you’ll see the huge text as you type.

Customize how Hover Text and Hover Typing looks
1) Go to System Settings > Accessibility > Hover Text and click the info icon ⓘ next to Hover Text or Hover Typing. If you’re on an older version of macOS, follow the steps mentioned earlier to reach this setting.
2) Now, you can tweak the text size, font, modifier key (which is Command by default), text colors, background, border color, and element highlight color. Try out various options to achieve the aesthetic you feel comfortable with. Click Done to save your new changes.

Hover Text can do more!
Hover Text isn’t just a simple zoom restricted to a specific segment of the screen underneath the pointer. In many cases, you get additional helpful information that you normally don’t see.
For instance, if you use Hover Text over the sound icon in the top menu bar, it shows the current volume percentage. Similarly, the Hover Text feature over the Wi-Fi icon shows the connection status (connected or not) and strength (1-3 bars).

In fact, you can explore other menu bar items this way to surface underlying information that you didn’t even know existed.
Whether you have focus issues due to macular hole surgery or suffer from astigmatism or some other condition that affects your eyesight, Hover Text is a great feature to help discern that radio button label printed in small type, text in a very small typeface, etc.
Check out next: The top 40 accessibility features on iPhone and iPad