Learn how to customize the built-in TextEdit app to efficiently create and edit both plain and rich text documents on your Mac.

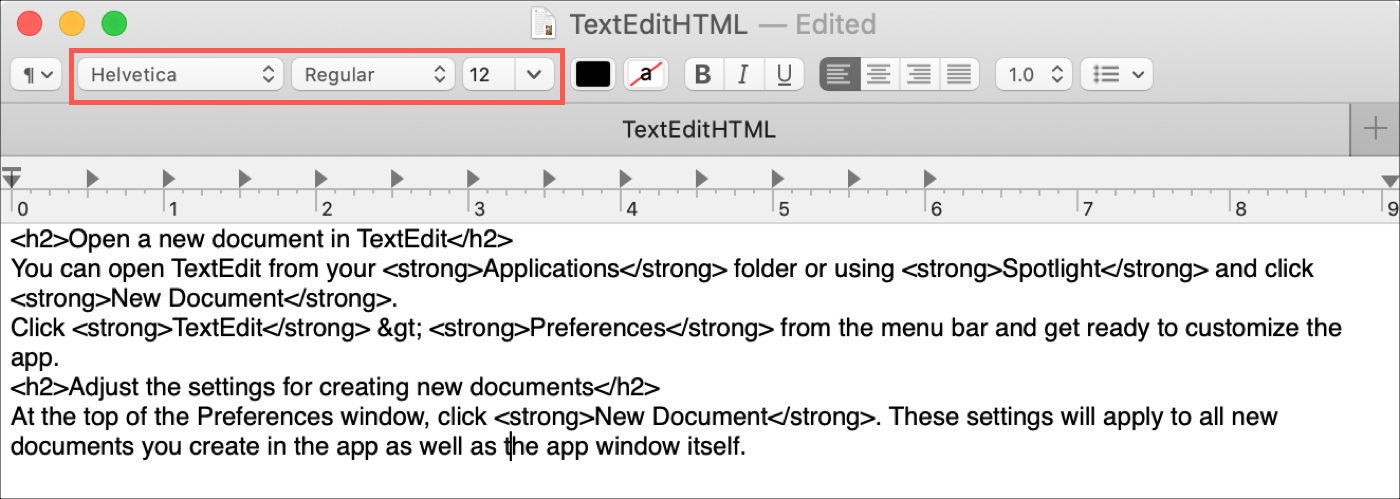
TextEdit in macOS lets you edit HTML files, create raw text documents from scratch, and even annotate images. Instead of scouring the App Store or shelling out money for a dedicated text editor, give TextEdit a chance and learn how to customize the app to your liking by following the step below.
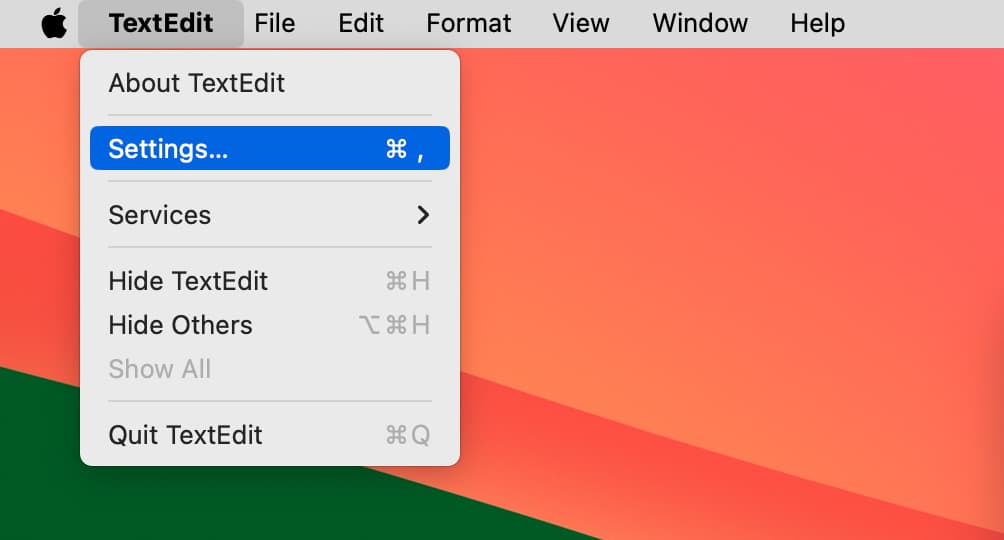
Open a new document in TextEdit
Open TextEdit from the Applications folder and click the New Document button or File > New in the app’s menu bar, then choose Settings or Preferences from the TextEdit menu to customize the app.
Adjust settings for creating new documents
Select the New Document tab at the top to adjust settings applying to all new documents and TextEdit itself. Taking a few moments to adjust these settings to your liking will ensure an efficient editing experience.

Format: Pick from rich or plain text as your default. To have the text wrap within set page margins, tick the Wrap box.
Window Size: Set the width of the TextEdit window in characters and its height in lines in order to ensure the app opens at a fixed size every time.
Font: Hit the Change button to pick fonts and sizes for plain text and rich text documents separately.
Properties: For rich text files, you can customize the Author, Organization, and Copyright properties. Depending on the type of documents, these might be essential to you.
Options: Additional settings here let you configure TextEdit to automatically check and correct spelling as you’re typing, show the ruler, and use smart quotes and dashes. You can also set the app to only correct spelling in rich text documents.
Note: To set the margins, tabs, indents, and paragraph alignment for rich text documents, show the ruler first.
Adjust settings for opening and saving documents
Select the Open and Save tab at the top of the TextEdit settings.

These settings apply to documents you open and save with TextEdit on your Mac:
When Opening a File: Choose how to display HTML and RTF files when opened. If you’re going to edit an HTML file, you’ll want to tick the bo to display HTML content as HTML code rather than formatted text.
When Saving a File: Tick this option to always save documents with the TXT extension.
Plain Text File Encoding: Click these drop-down menus to select the default encoding when opening and saving plain text documents. If you don’t work with documents in a different language, use the Automatic option instead.
HTML Saving Options: The following options are relevant when writing HTML code in TextEdit:
- Document type: Pick an HTML or XHTML option.
- Styling: Pick from embedded, inline, or no CSS.
- Encoding: Choose from the same options as the Plain Text Encoding above.
Other TextEdit tips
- To revert the settings to factory values, click the Restore All Defaults button at the bottom.
- You can override some of TextEdit’s settings on the fly for the current document via the Format menu, which lets you switch between plain and rich text, toggle the ruler, and use the Wrap to Page option.
- You can choose a different font and size for rich text documents in the window toolbar.
Whether or not this is your first time using TextEdit for Mac, you’ll want to customize the default settings to work more efficiently with text.
Do you have any tips for TextEdit that you’d like to share with fellow readers? Perhaps you prefer a different text editor? Let us know in the comments down below!
Other tips for TextEdit: