If you have two HomePods that are paired to create a stereo setup, only one of these HomePods will be used to listen to your voice queries. When saying a command such as “Hey Siri, what time is it in London?”, only that HomePod will be listening to you although the other HomePod might be physically closer to you.
As far as I can tell, there is no way to manually select what HomePod is the dominant one during the initial pairing process, but there is a way to swap which one will actively listen to you once the stereo pair has been created.
How to select which HomePod listens to your commands in a paired setup
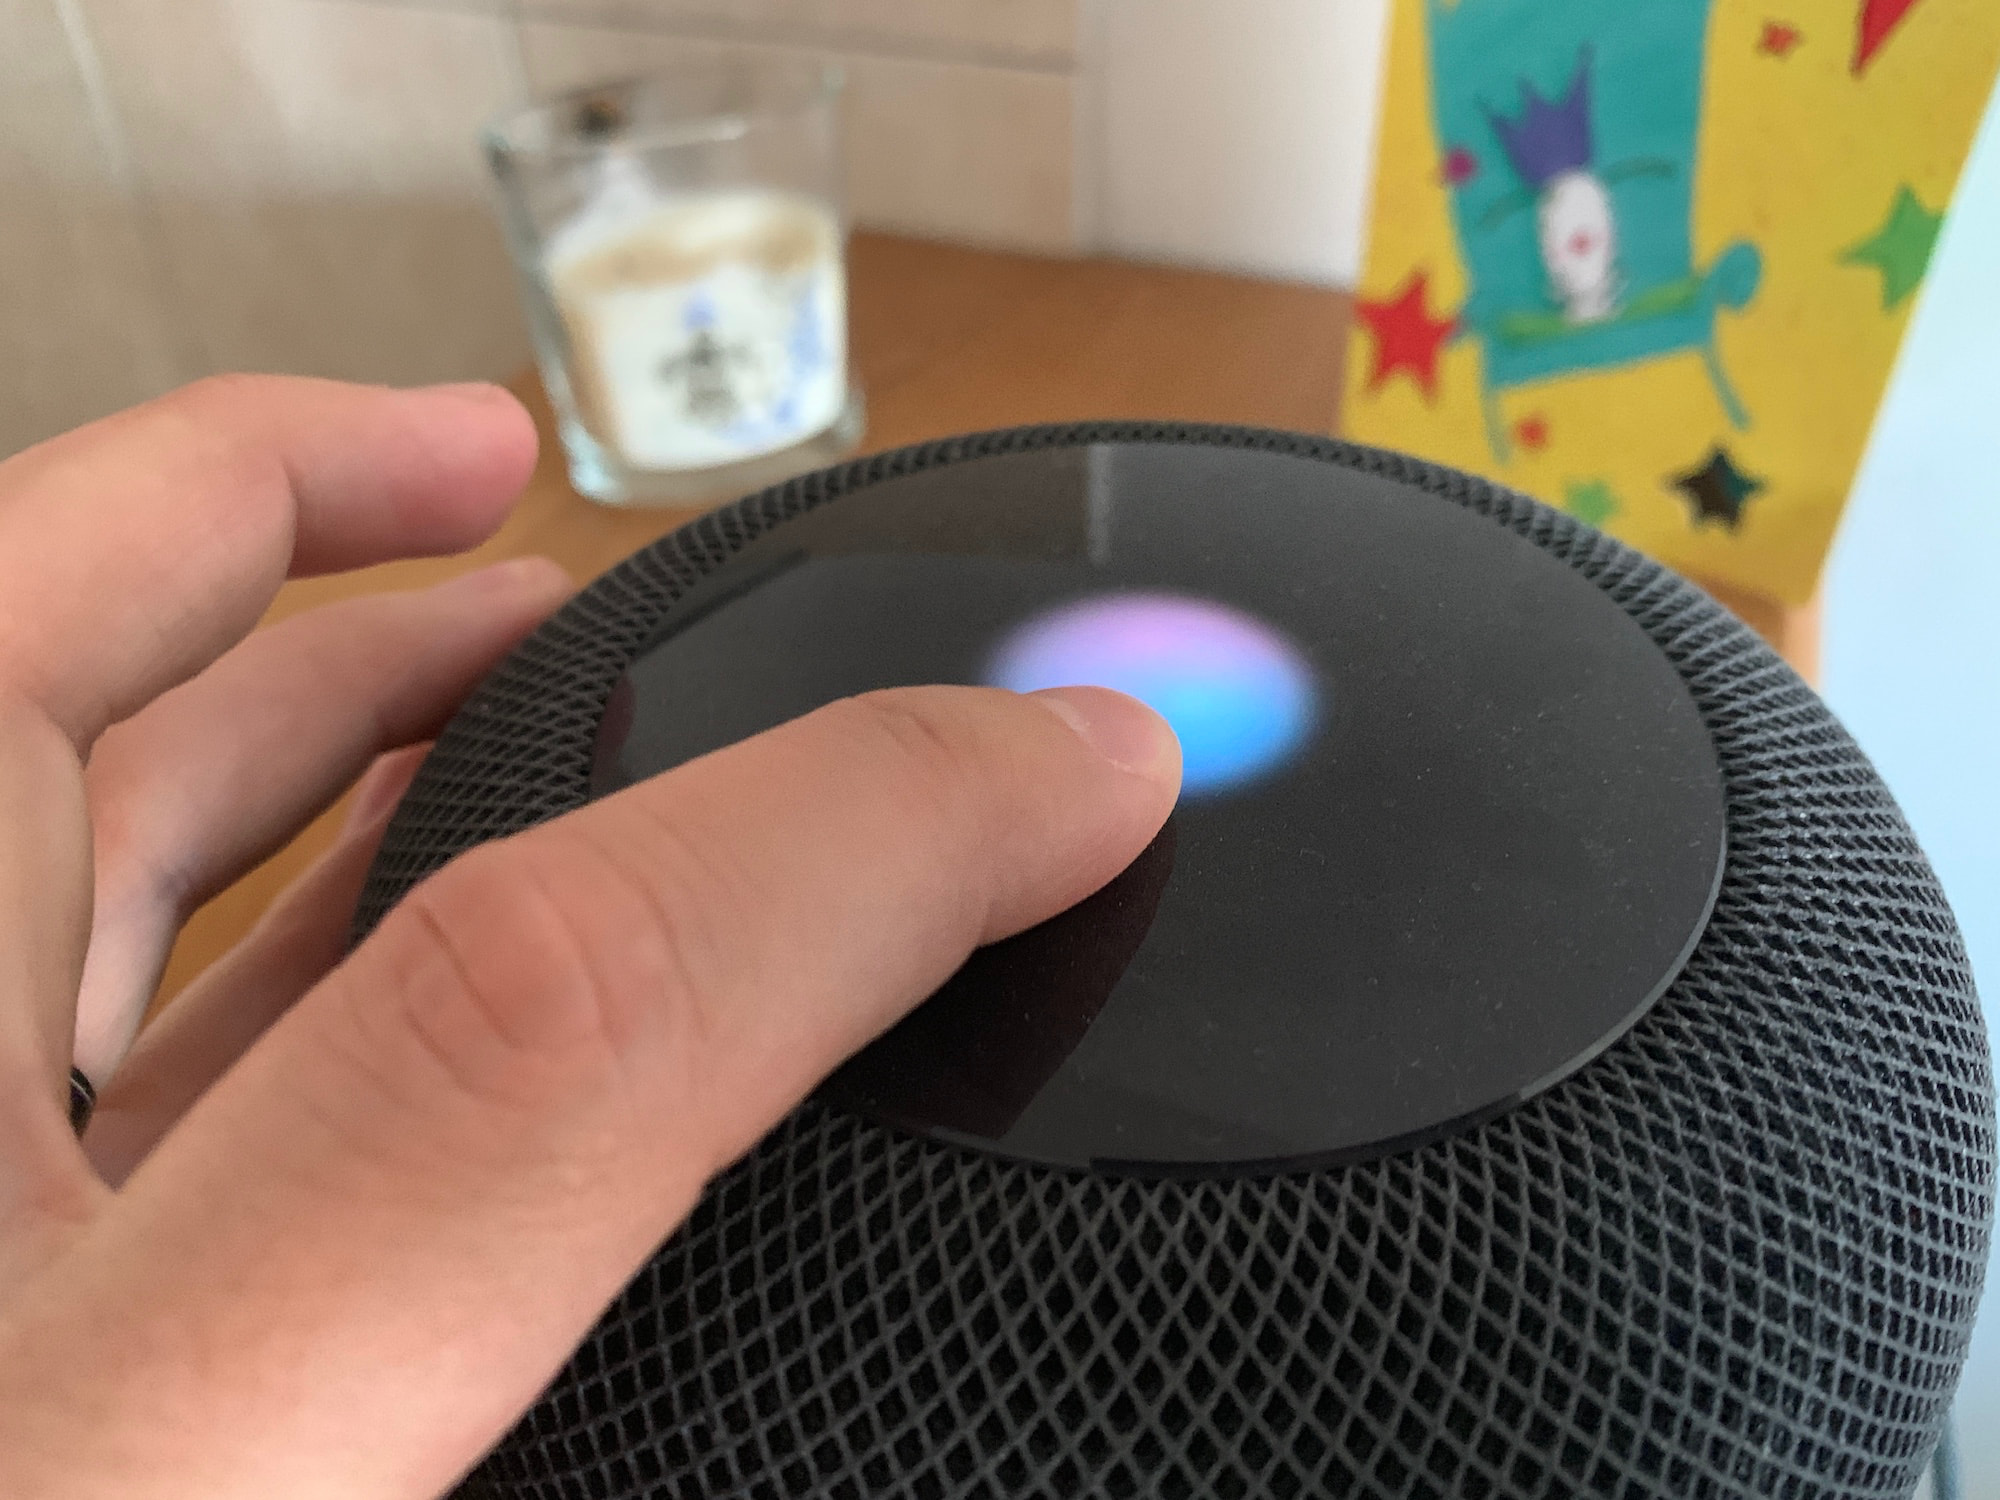
To change which HomePod will actively listen to your queries, simply tap and hold the top of the device you want to make the dominant one, then say a random query such as “what time is it in London?”. Siri will answer your question, and going forward, that HomePod will be the one listening to you when initiating a command with “Hey Siri.”
I must warn that this new setting isn’t necessarily set in stone once enabled. As I have experienced over time, and for some reason unknown to me thus far, HomePods sometimes unexpectedly switch between dominant and secondary device. I’m leaning towards thinking there might be some algorithm that takes into account how close you are to what HomePod when initiating voice commands, and depending on that calculation, the OS could switch what it believes to be the closest HomePod to you in the majority of Siri queries. I could be wrong.
Hat tip to Myke Hurley for motivating me to share this tip. In a recent episode of Connected, Myke wondered how he could swap the dominant HomePod in his paired setup. Having run into this issue myself a while ago, I somehow stumbled onto this solution after a significant amount of time being wasted looking for an answer in the Home app. Turns out all it took was a long press.
This entire tip could have indeed been summed up in one tweet, but given the inexistent amount of instructions around it, I figured this post could act as point of reference for anyone searching for this exact tip in the future.