In this brief tutorial, we’ll show you how to rearrange photo filters within the Instagram app on your iPhone. This process allows you to place your preferred filters at the beginning, and relegate less frequently used ones to the end of the list.
With around 35 filters to choose from, you may find yourself doing a lot of horizontal scrolling to find your favorite filter. When you think of it, it usually makes more sense to have only the filters that you actually use regularly at your disposal.
Maybe a filter at the end of the list, like Inkwell or Hefe, is the one you use the most. In that case, you can change its placement and put it at the beginning of the list next to the Normal filter.
How to reorganize Instagram filters
- Open the Instagram app on your iPhone.
- Tap the plus button in the bottom row, pick an image from the photo library on your device, and tap Next to proceed to the filter selection screen. Don’t worry; we’re not going to post anything; this step is needed only because we must get to Instagram’s filter carousel.
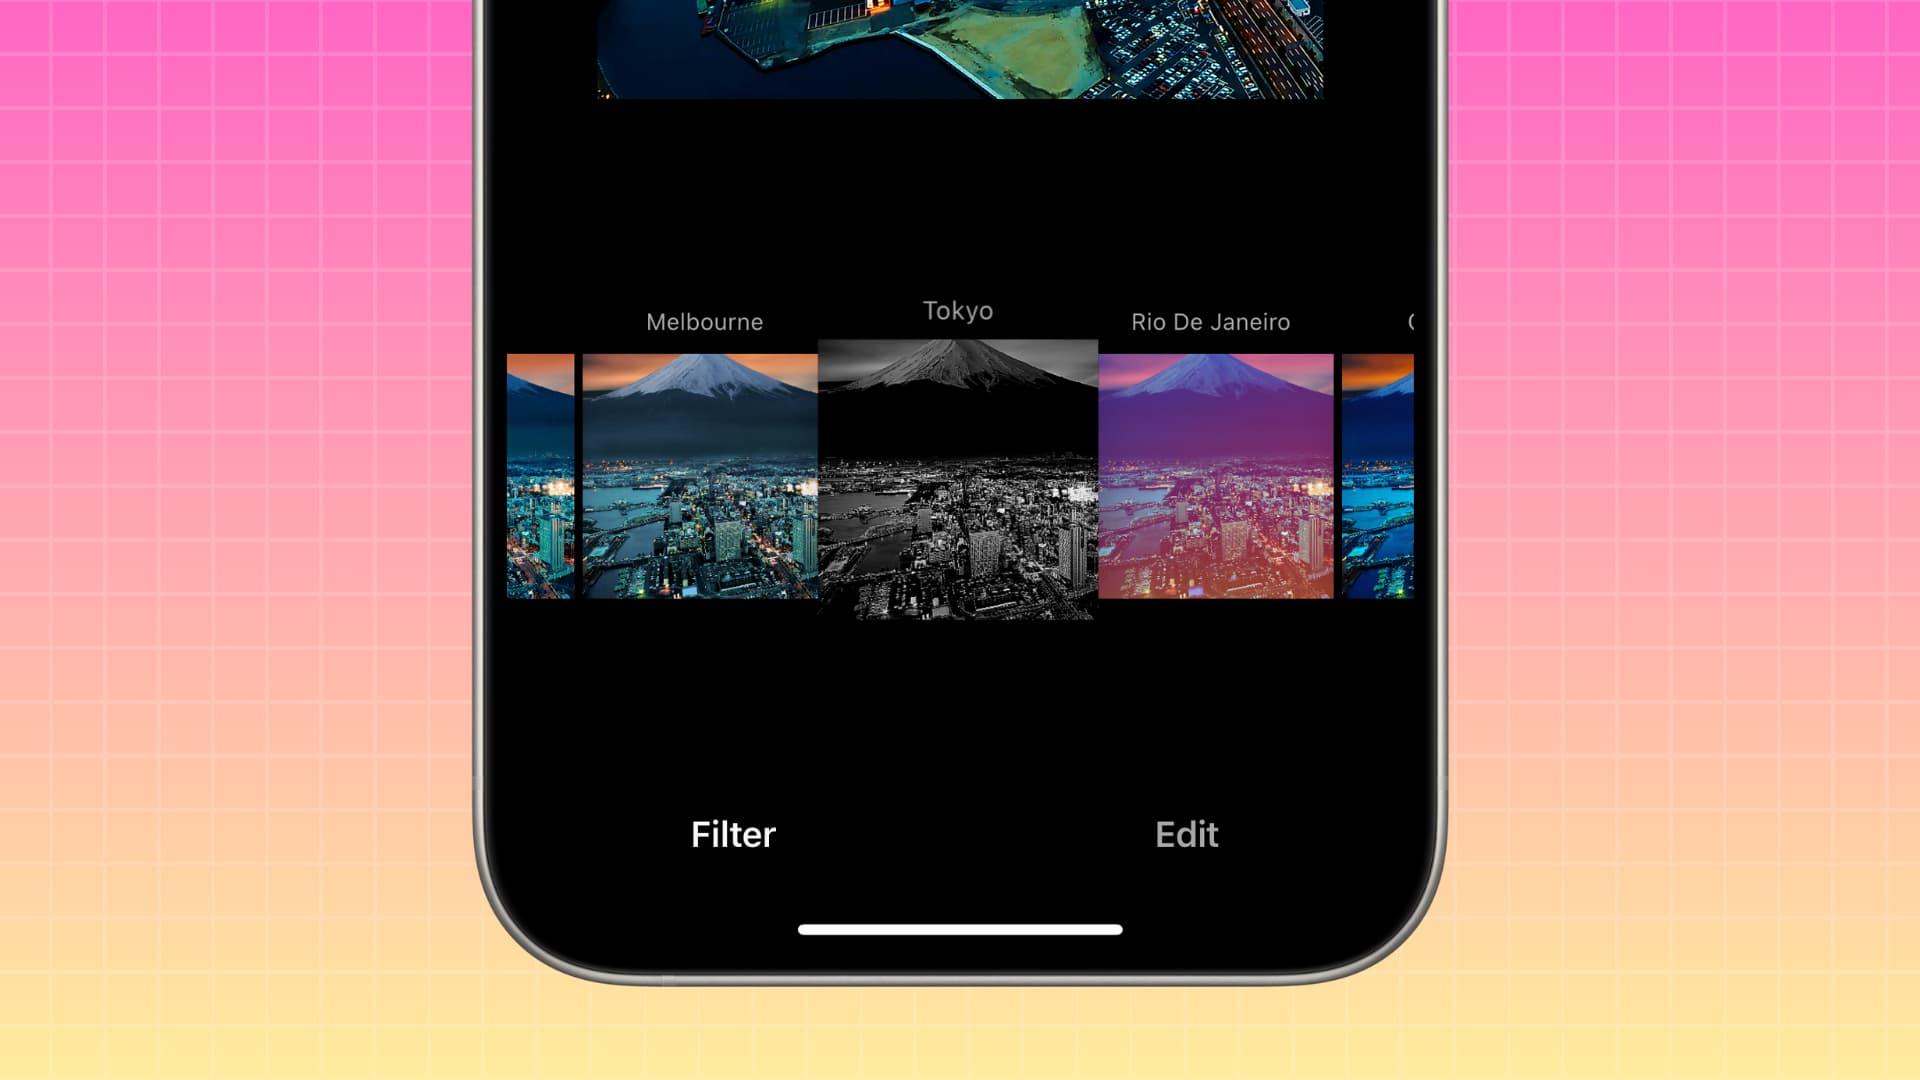
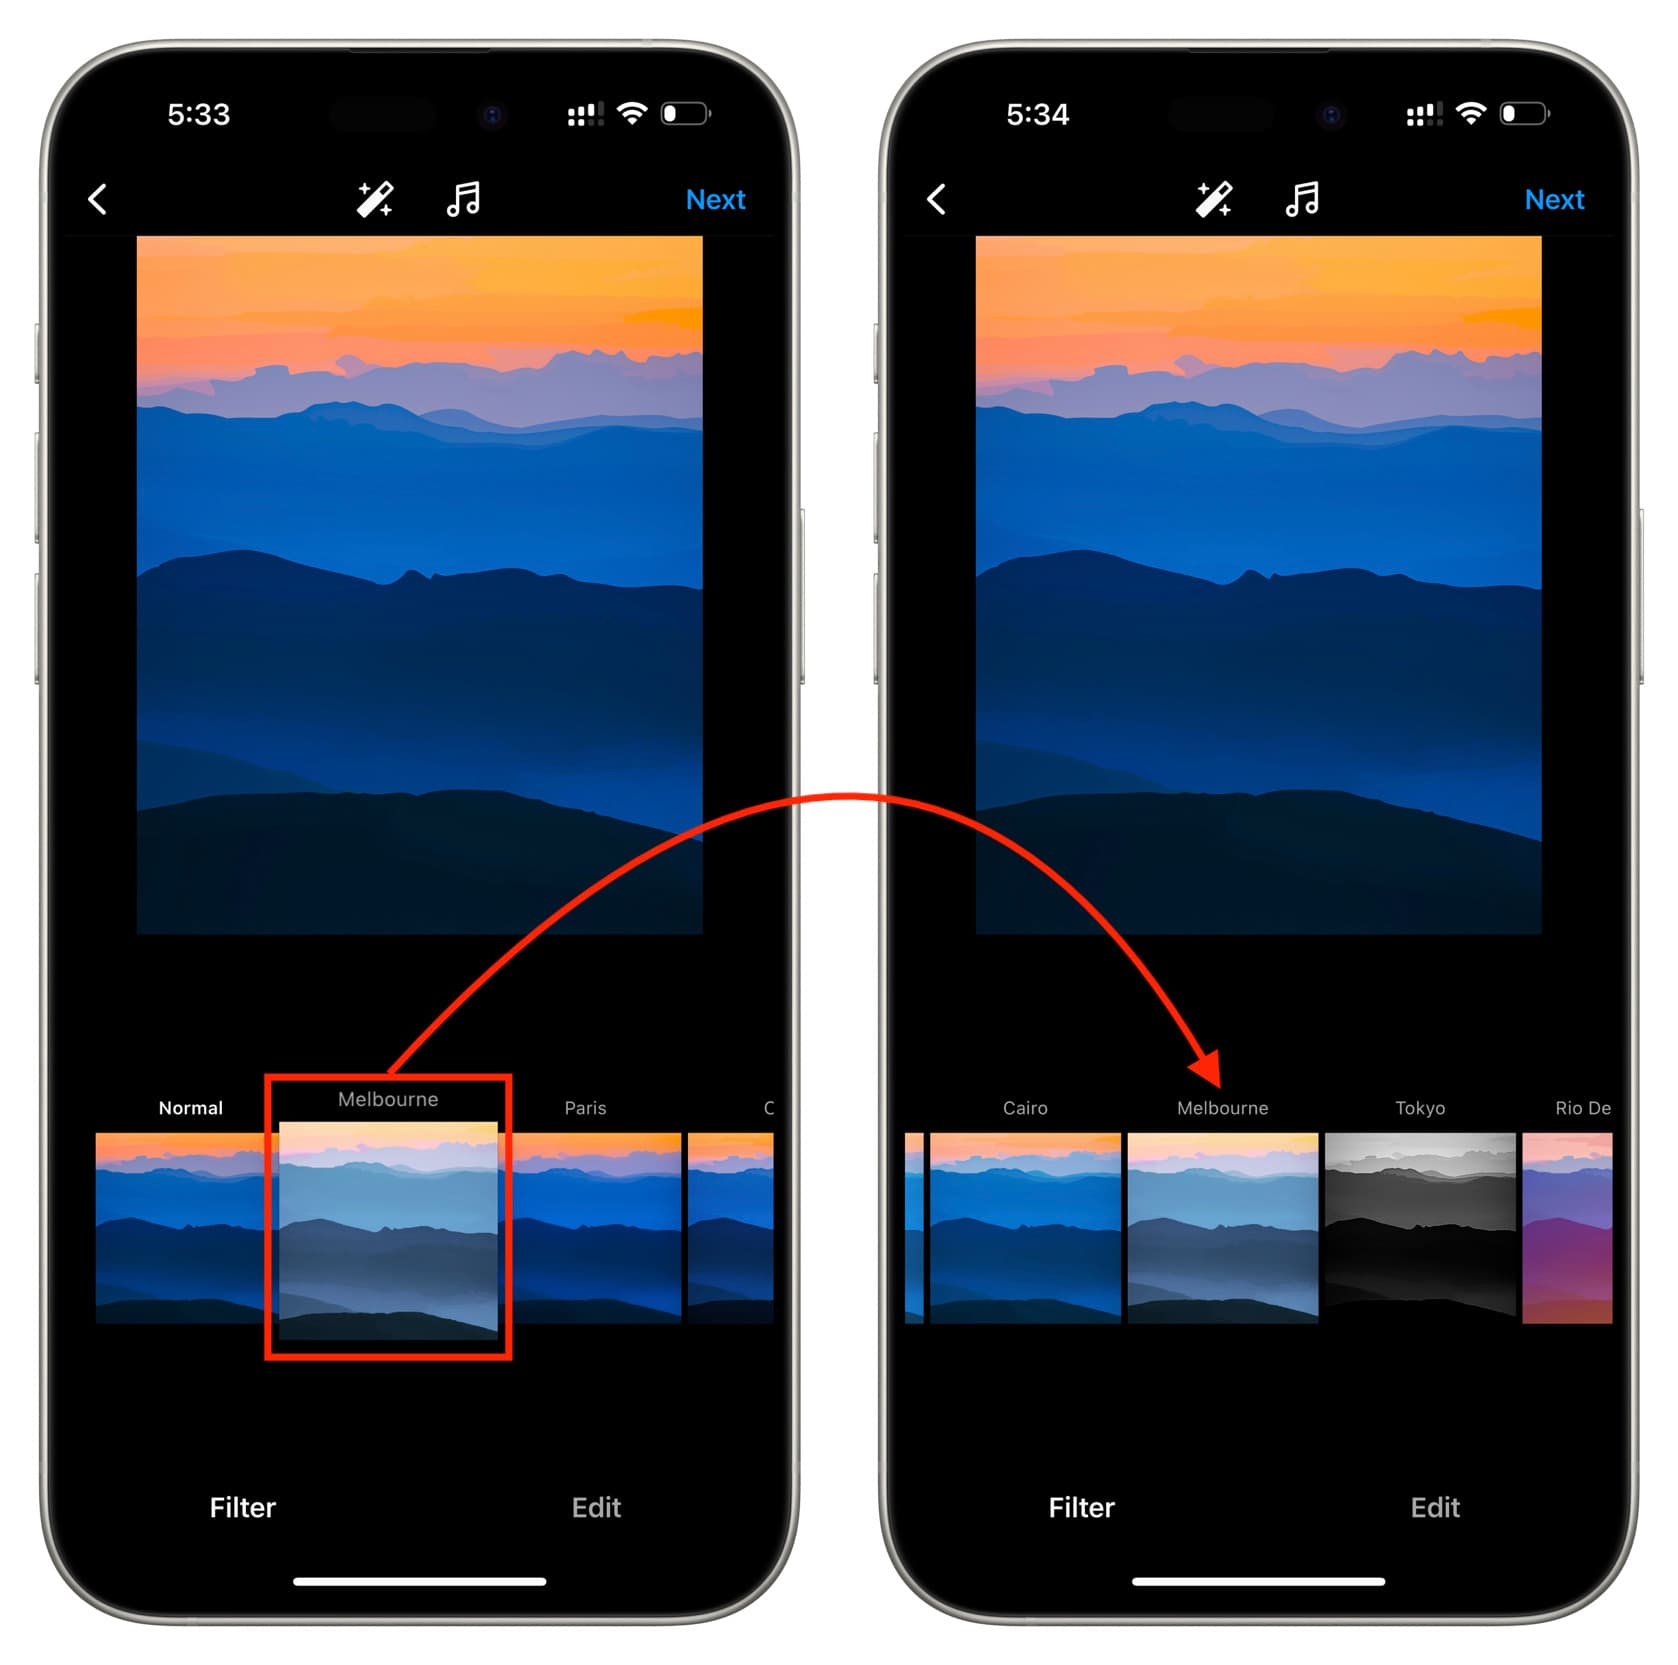
- You will see all the built-in Instagram filters here. As you’ll quickly realize, swiping through dozens of filters can become really tiring. To move a filter to a different position, touch and hold a filter, drag it to a desired position, and let go of your finger.
- We suggest moving your top-used filters to the leftmost position, so they’re immediately available without needing to swipe.
Note: Dragging and dropping Instagram filters to the next spot is not very smooth. It may take a few tries to drag and drop filters and put them in the desired spot. Also, note that you cannot move the Normal filter; it stays fixed at the beginning of the list.
Not satisfied with Instagram’s filters?
In my personal experience, more than half of Instagram’s filters are either dull and boring or too extreme for practical use.
If none of the Instagram image effects suit your needs, you can edit the image inside the iPhone Photos app and then post it to Instagram.
Or, you can use a custom filter in your favorite image-editing app, and then you could simply send an edited photo directly from that app to Instagram using iOS’s multi-purpose Share menu.
Other Instagram tips: