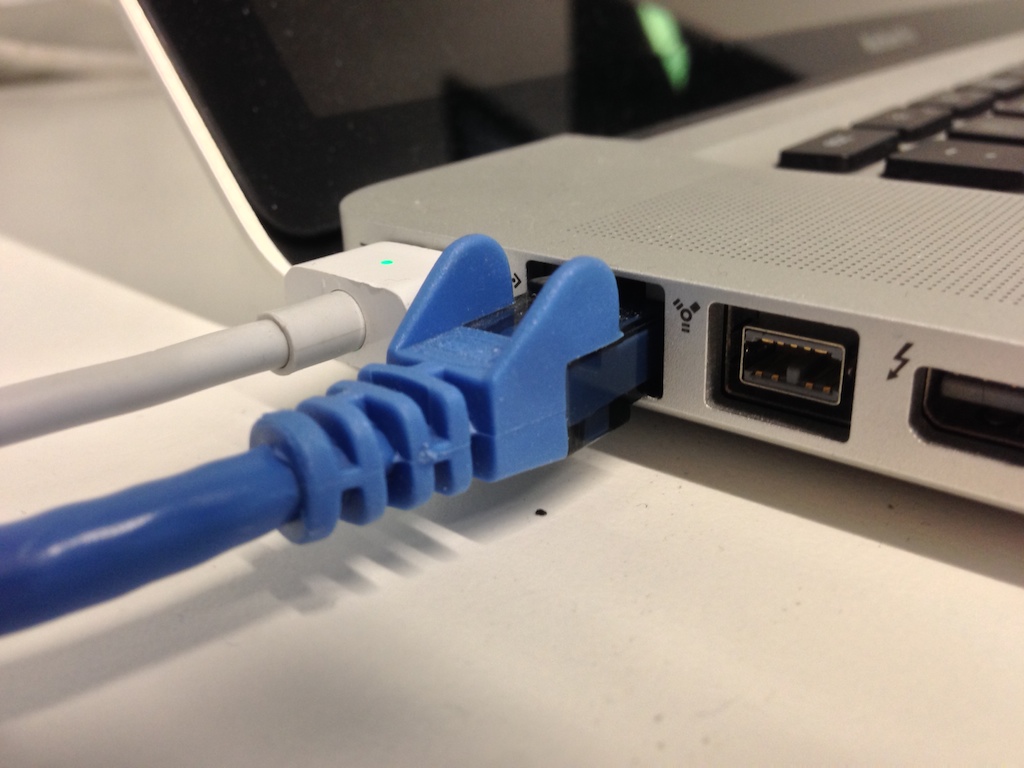
As my colleague Christian reported on Saturday, some Mac models have been plagued by non-working Ethernet ports after installing a new security update outed by Apple. Although a lot of modern Macs don’t even have an Ethernet port, many models still carry it and many people still love using a wired internet connection because it’s faster, more reliable, and more secure than a wireless network.
The security update, known as “031-51913 Incompatible Kernel Extension Configuration Data 3.28.1,” reportedly blacklists the Broadcom BCM5701 driver used by the Ethernet port that comes standard on many Mac machines.
Fortunately, there’s a light at the end of the tunnel for anyone experiencing issues with their Ethernet ports after installing this security update. Apple has issued a support document on Sunday that notes how to fix the problem. In this tutorial, we’ll go over the steps to fix the problem yourself.
How to fix your disabled Ethernet port
Since those of you with a disabled Ethernet port after installing the latest security update will probably want to get it up and running again, Apple has provided a fix for you.
The first thing you need to do is check to see what version of the “Incompatible Kernel Extension Configuration Data” you have installed on your Mac is. Apple says that if you have version 3.28.1 installed, you’ll need to install the updated version, which is 3.28.2, to fix the problem.
There are two ways to do this – 1) connect to a Wi-Fi network to circumvent the Ethernet port altogether so you can install the update that way, or 2) if you rely on Ethernet, and cannot connect to a Wi-Fi network, you’ll have to roll back your most recent update so you can download the latest security update instead.
So with that being said, the first thing you need to do is check to see what version you have. You can do this by:
1) Holding down the Option key and clicking on “System Information” from the Apple menu in the Menu Bar.
2) Opening the “Software” section, and opening the “Installations” section.
3) Clicking “Software Name” in the sorting column to sort the list by alphabetical order.
4) Looking for “Incompatible Kernel Extension Configuration Data” in the list.
If the latest version you see is 3.28.1, then you need to move on to the steps below. On the other hand, if you see version 3.28.2 in your list like you do in the screenshot example below, then you’re already good to go and you have no further actions to take.

How to fix the problem if you CAN connect to Wi-Fi
If you’ve determined that 3.28.1 is the latest version on your system, you can fix the problem by connecting to a Wi-Fi network and downloading the update over the Wi-Fi network instead of via your now-broken Ethernet connection.
Apple notes the following steps to get yourself all up-to-date with this Incompatible Kernel Extension Configuration Data debacle via Wi-Fi:
1) Launch the Terminal app from the Utilities folder found in your Applications folder, or from Spotlight.
2) Copy and paste the following command into Terminal, then press your Return key on your keyboard.
sudo softwareupdate --background
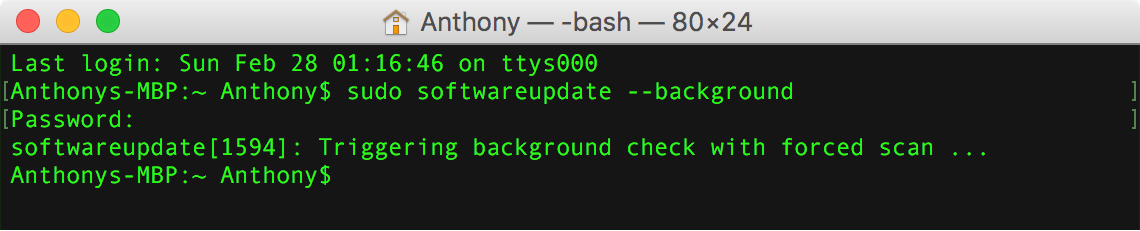
3) Enter your system password when prompted, then press your Return key on your keyboard.
4) Quit the Terminal app and restart your Mac from the Apple menu in your Menu Bar.
That’s all there is to it. Your Mac should now have the updated Incompatible Kernel Extension Configuration Data and your Ethernet port should be up and running again.
How to fix the problem if you CAN’T connect to Wi-Fi
If you have no Wi-Fi network at home, or your computer is too big and heavy to lug around to someone else’s house to connect to Wi-Fi, then you’ll have to take a different approach. This is because with the latest security update, your wired Ethernet connection isn’t going to let you connect to the internet to check for updates.
If you fall into this category, you’ve got a little more work to do. Fortunately, Apple still has a fix for you, and with a little bit of patience, you can get your Mac connected to the internet again. Just follow these steps:
1) Restart your Mac into Recovery Mode, then move on to step 2. If you’re not sure how to do this, we’ve got a great tutorial on how to restart into Recovery Mode.
2) Once you’re in Recovery Mode, you’ll want to select “Disk Utility” from your OS X utility list.
3) Select your main boot drive from the sidebar list in the Disk Utility app – by default, it should be Macintosh HD, unless you’ve changed it.
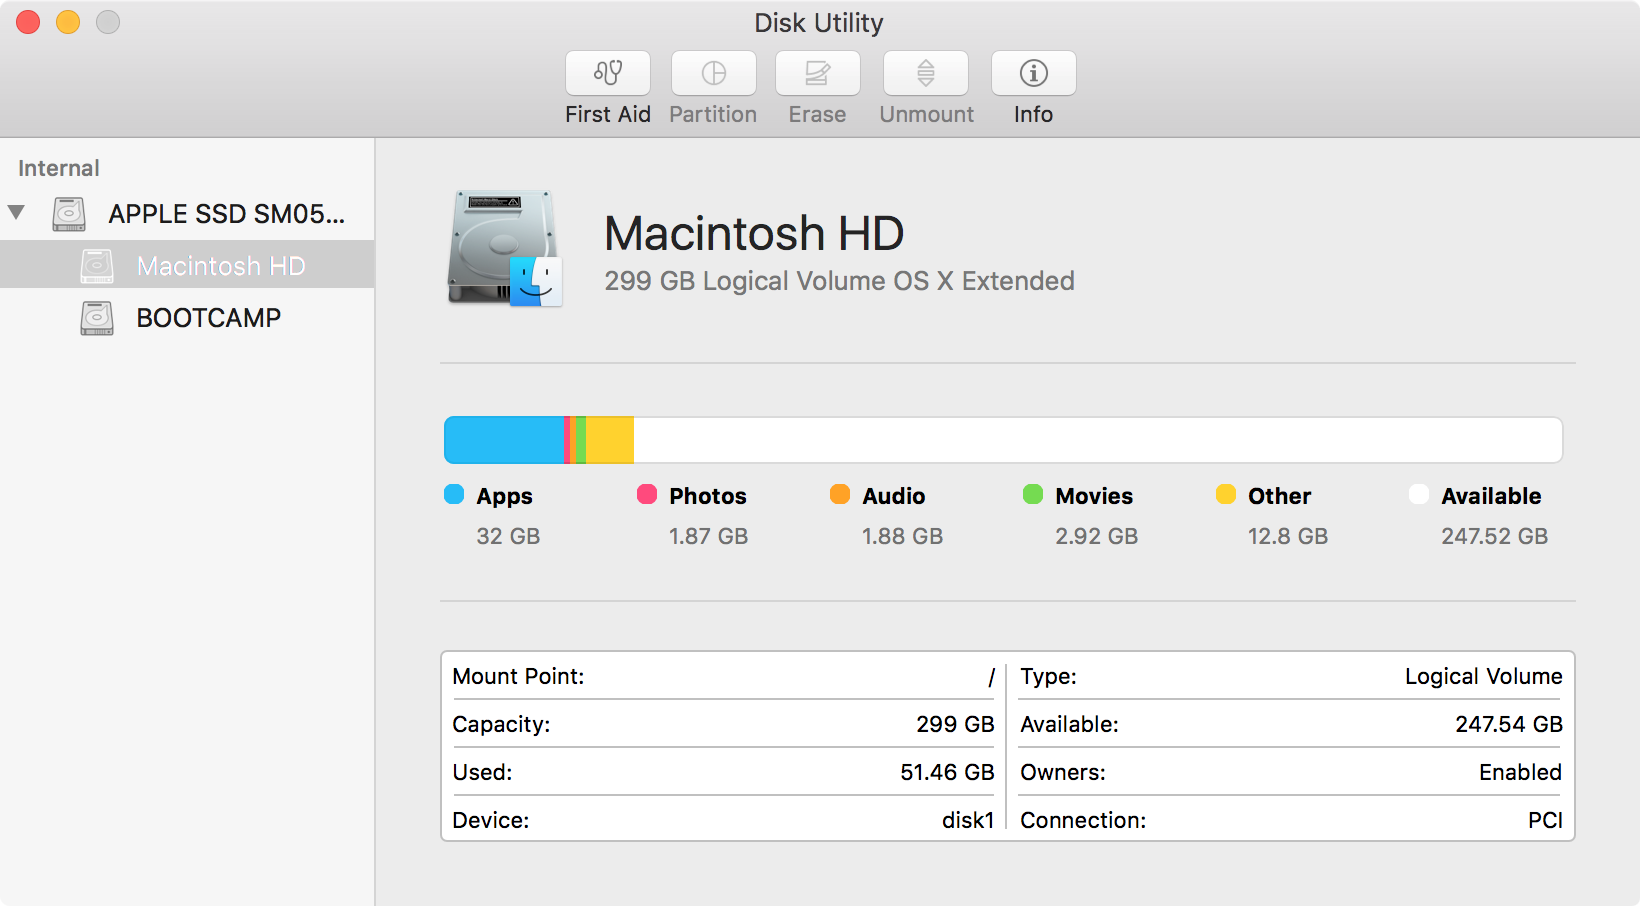
4) If your boot drive is grayed out, Apple notes you have FileVault enabled and will need to unlock it first by going to File > Unlock from the Menu Bar then entering your FileVault password when prompted. If you’re not grayed out, you can skip this step.
5) If your Macintosh HD drive isn’t already mounted, you should go to File > Mount from the Menu Bar.
6) Quit the Disk Utility app and launch the Terminal app while still in Recovery Mode.
7) Enter the following command in Terminal, then press the Return Key on your Mac. Enter your password if you’re prompted to.
rm -rf “/Volumes/Macintosh HD/System/Library/Extensions/AppleKextExcludeList.kext”
Note: Replace “Macintosh HD” in the command above with the name of your boot drive if it’s named anything different. The rest of your command will be the same.

8) Quit the Terminal app and restart your Mac from the Apple menu in the Menu Bar.
9) When your Mac starts back up normally, your Ethernet port should work once again. Now you need to install the latest update that fixes the Ethernet problem and gives your Mac the latest security updates. To do that, Launch the Terminal app on your Mac, enter the following command, and press the Return key on your keyboard.
sudo softwareupdate --background
10) Enter your password when prompted, then press the Return key on your keyboard.
11) Quit the Terminal app and restart your regularly Mac from the Apple menu in your Menu Bar.
Once your Mac boots back up, you should be up and ready to rock again with not only a working Ethernet port, but also with the latest security updates. Sure, it wasn’t as easy as simply connecting to a Wi-Fi network to fix the problem, but it wasn’t that hard, was it?
Wrapping up
Hopefully you were able to just follow the steps of connecting to a Wi-Fi network, but fortunately Apple had a solution for those that still don’t use Wi-Fi in their homes. After following this tutorial, you should now have a working Ethernet port once more!
Similar tutorials:
- About your Mac’s SMC and how to reset it
- About your Mac’s NVRAM and how to reset it
- Experiencing Bluetooth problems on your Mac? Try this
- How to fix Error 53 on “bricked” iOS devices
If you found this tutorial useful, please drop us a comment below!