Learn how to temporarily reveal the hidden Library folder on your Mac or make it visible permanently if you want to access it regularly.
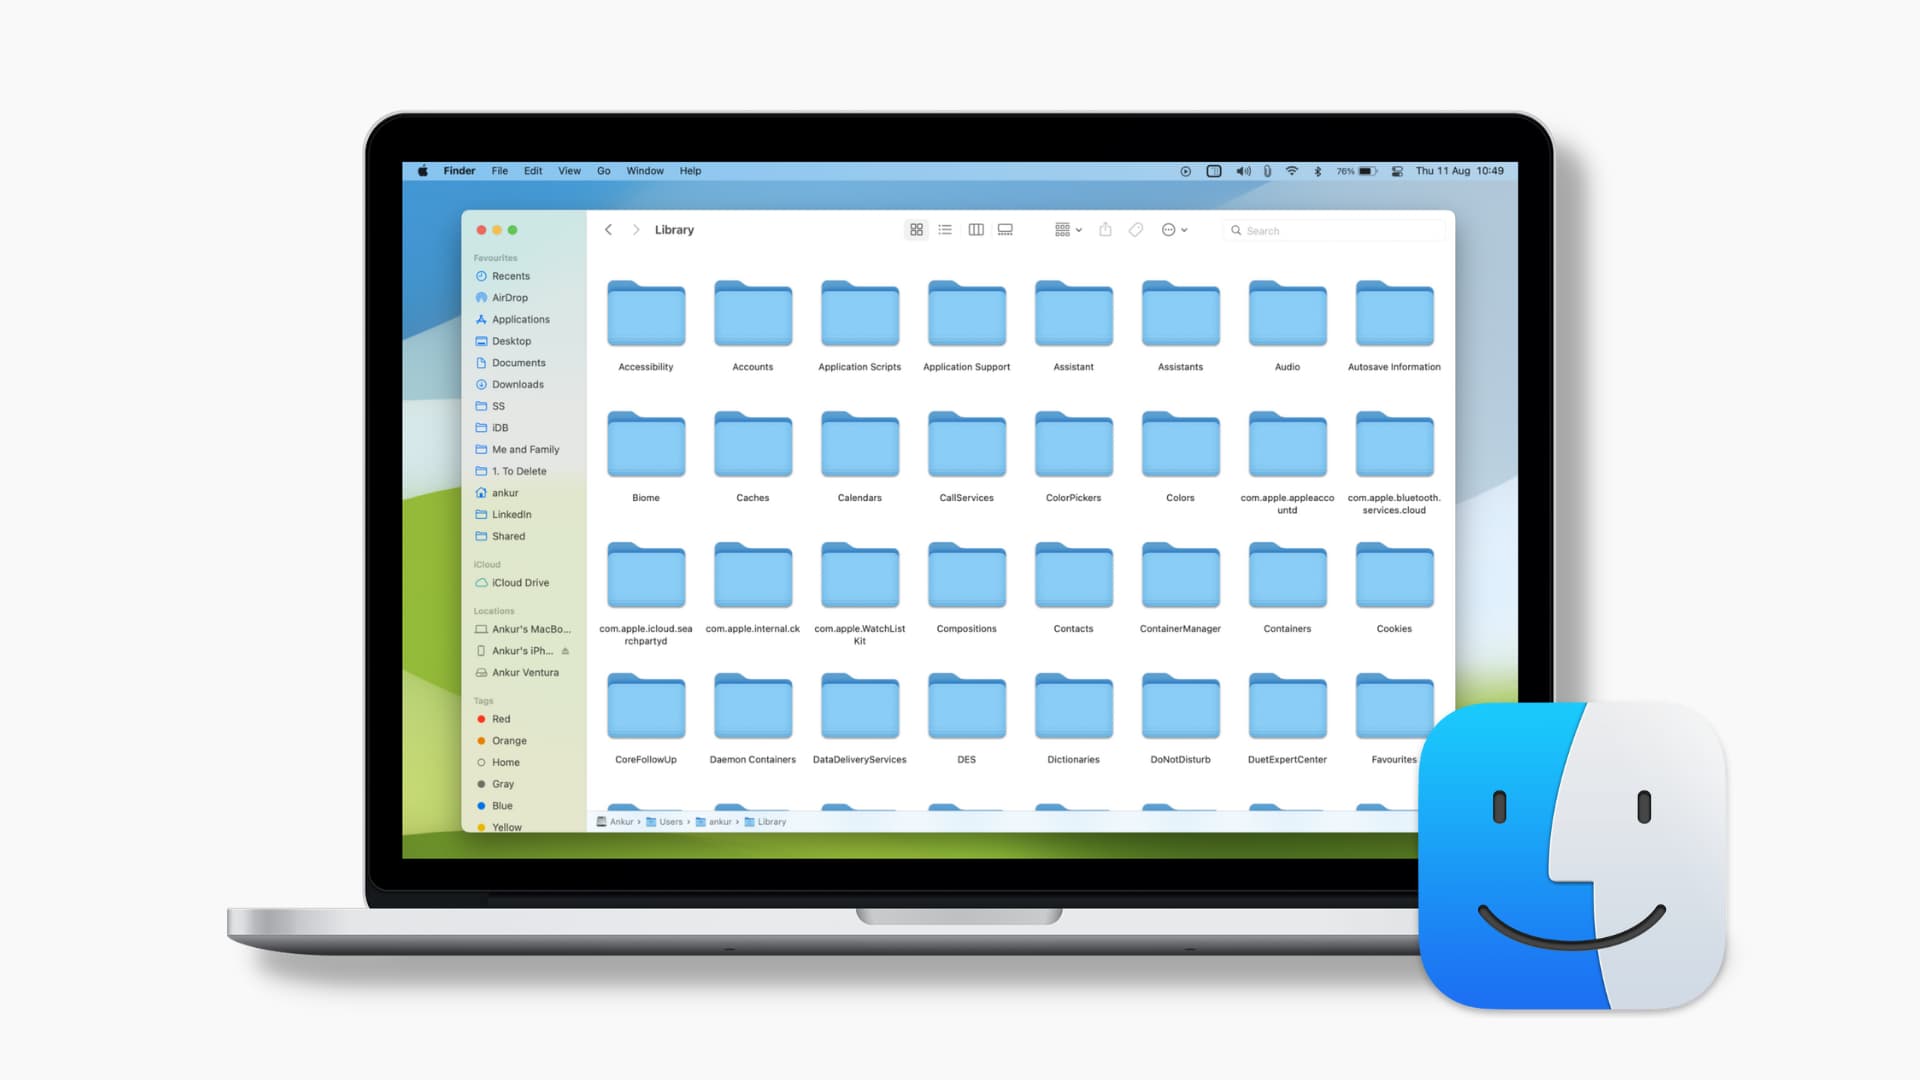
The Library folder is hidden by default on the Mac, and regular users shouldn’t touch it unless they need to modify some of the system settings files in there to diagnose and fix Mac problems.
The Library folder contains fonts and other app items that are available to all user accounts on a Mac. “Don’t use the Library folder to store files and folders you create,” cautions Apple’s support page.
I use it to view the preferences for the apps installed on my Mac and their assets within the Application Support subfolder. Whether you’re an experienced Mac owner or new to the platform, you’ll eventually run into situations that require accessing the ~/Library folder. Follow along with our video tip or continue reading for quick instructions showing you how to reveal the Library folder on a Mac.
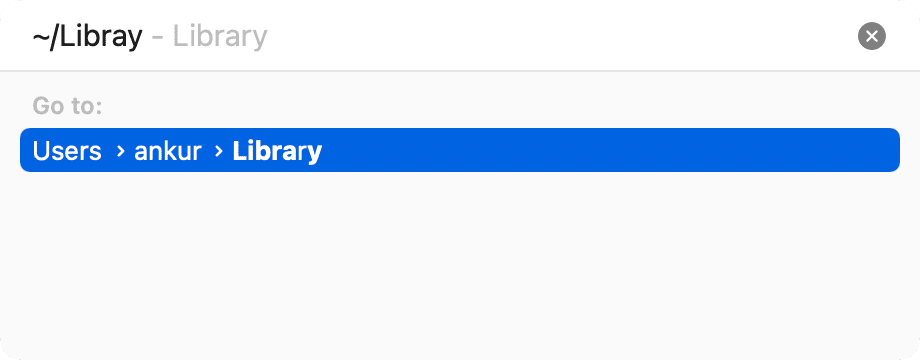
1. Use ~/Library
Click the Finder icon in the Dock, then hit the Go menu and select Go To Folder. Type ~/Library and hit the return key to open the built-in Library folder in a new Finder window.
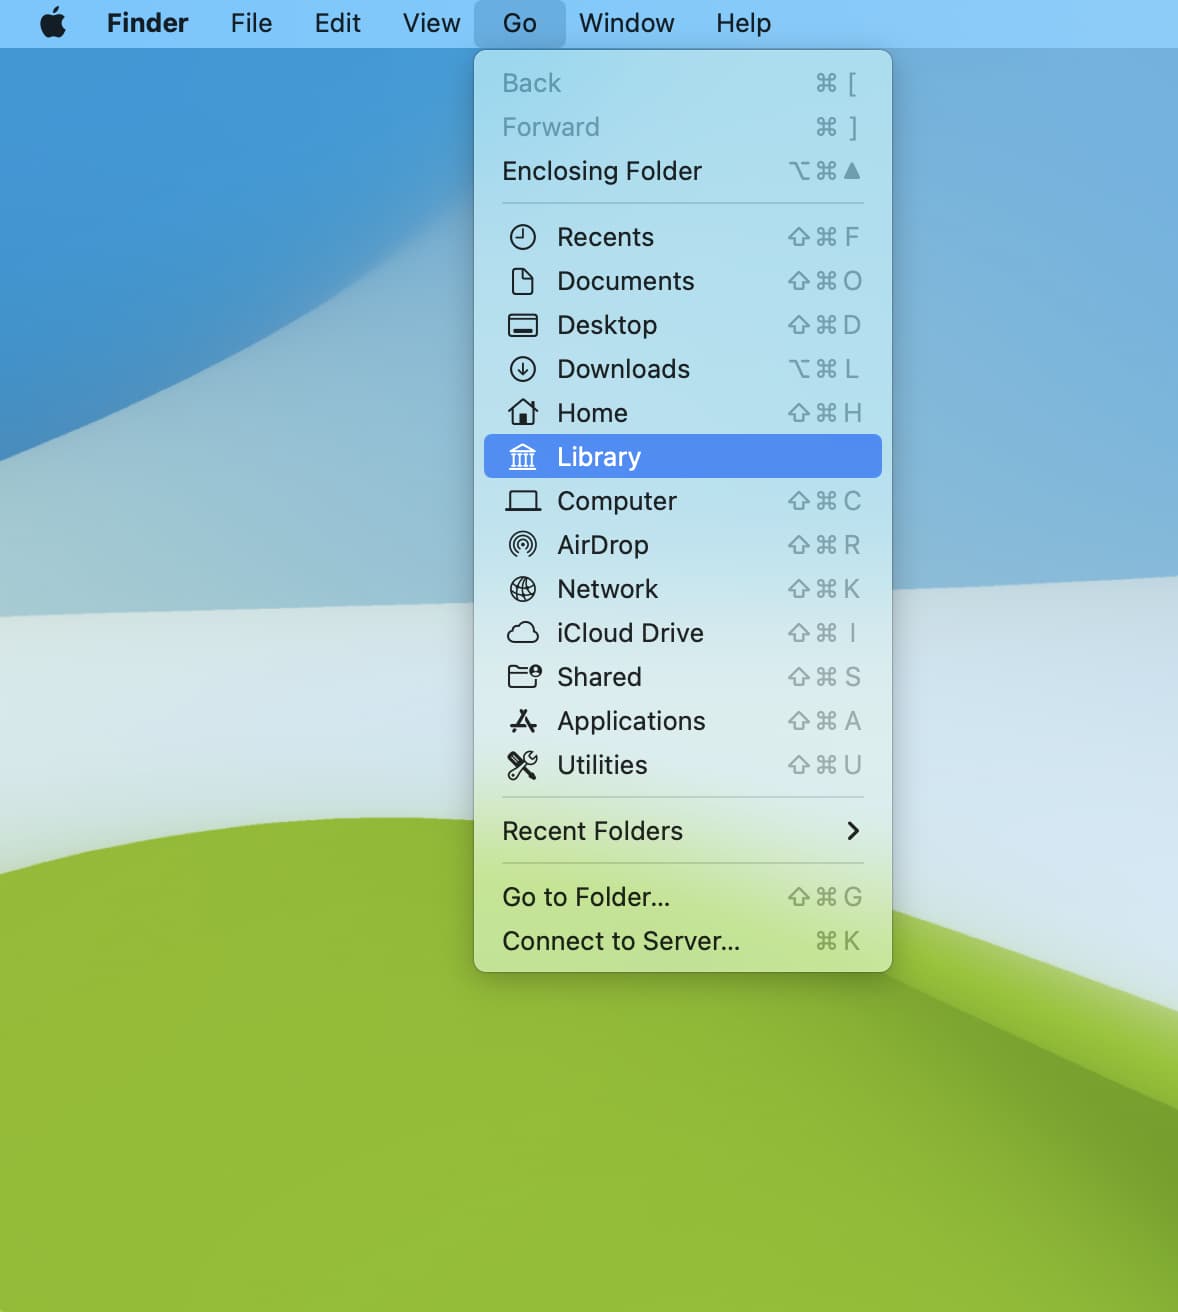
2. Access it from the Finder menu
Click the Finder icon in the Dock to open a new Finder window, then hold the Option key while clicking the Go menu to show the previously hidden Library option.
3. Change the view options to show the Library folder
Click the Finder icon in the Dock, and click Go > Home in the menu, then click View > Show View Options and tick the box labeled Show Library Folder.
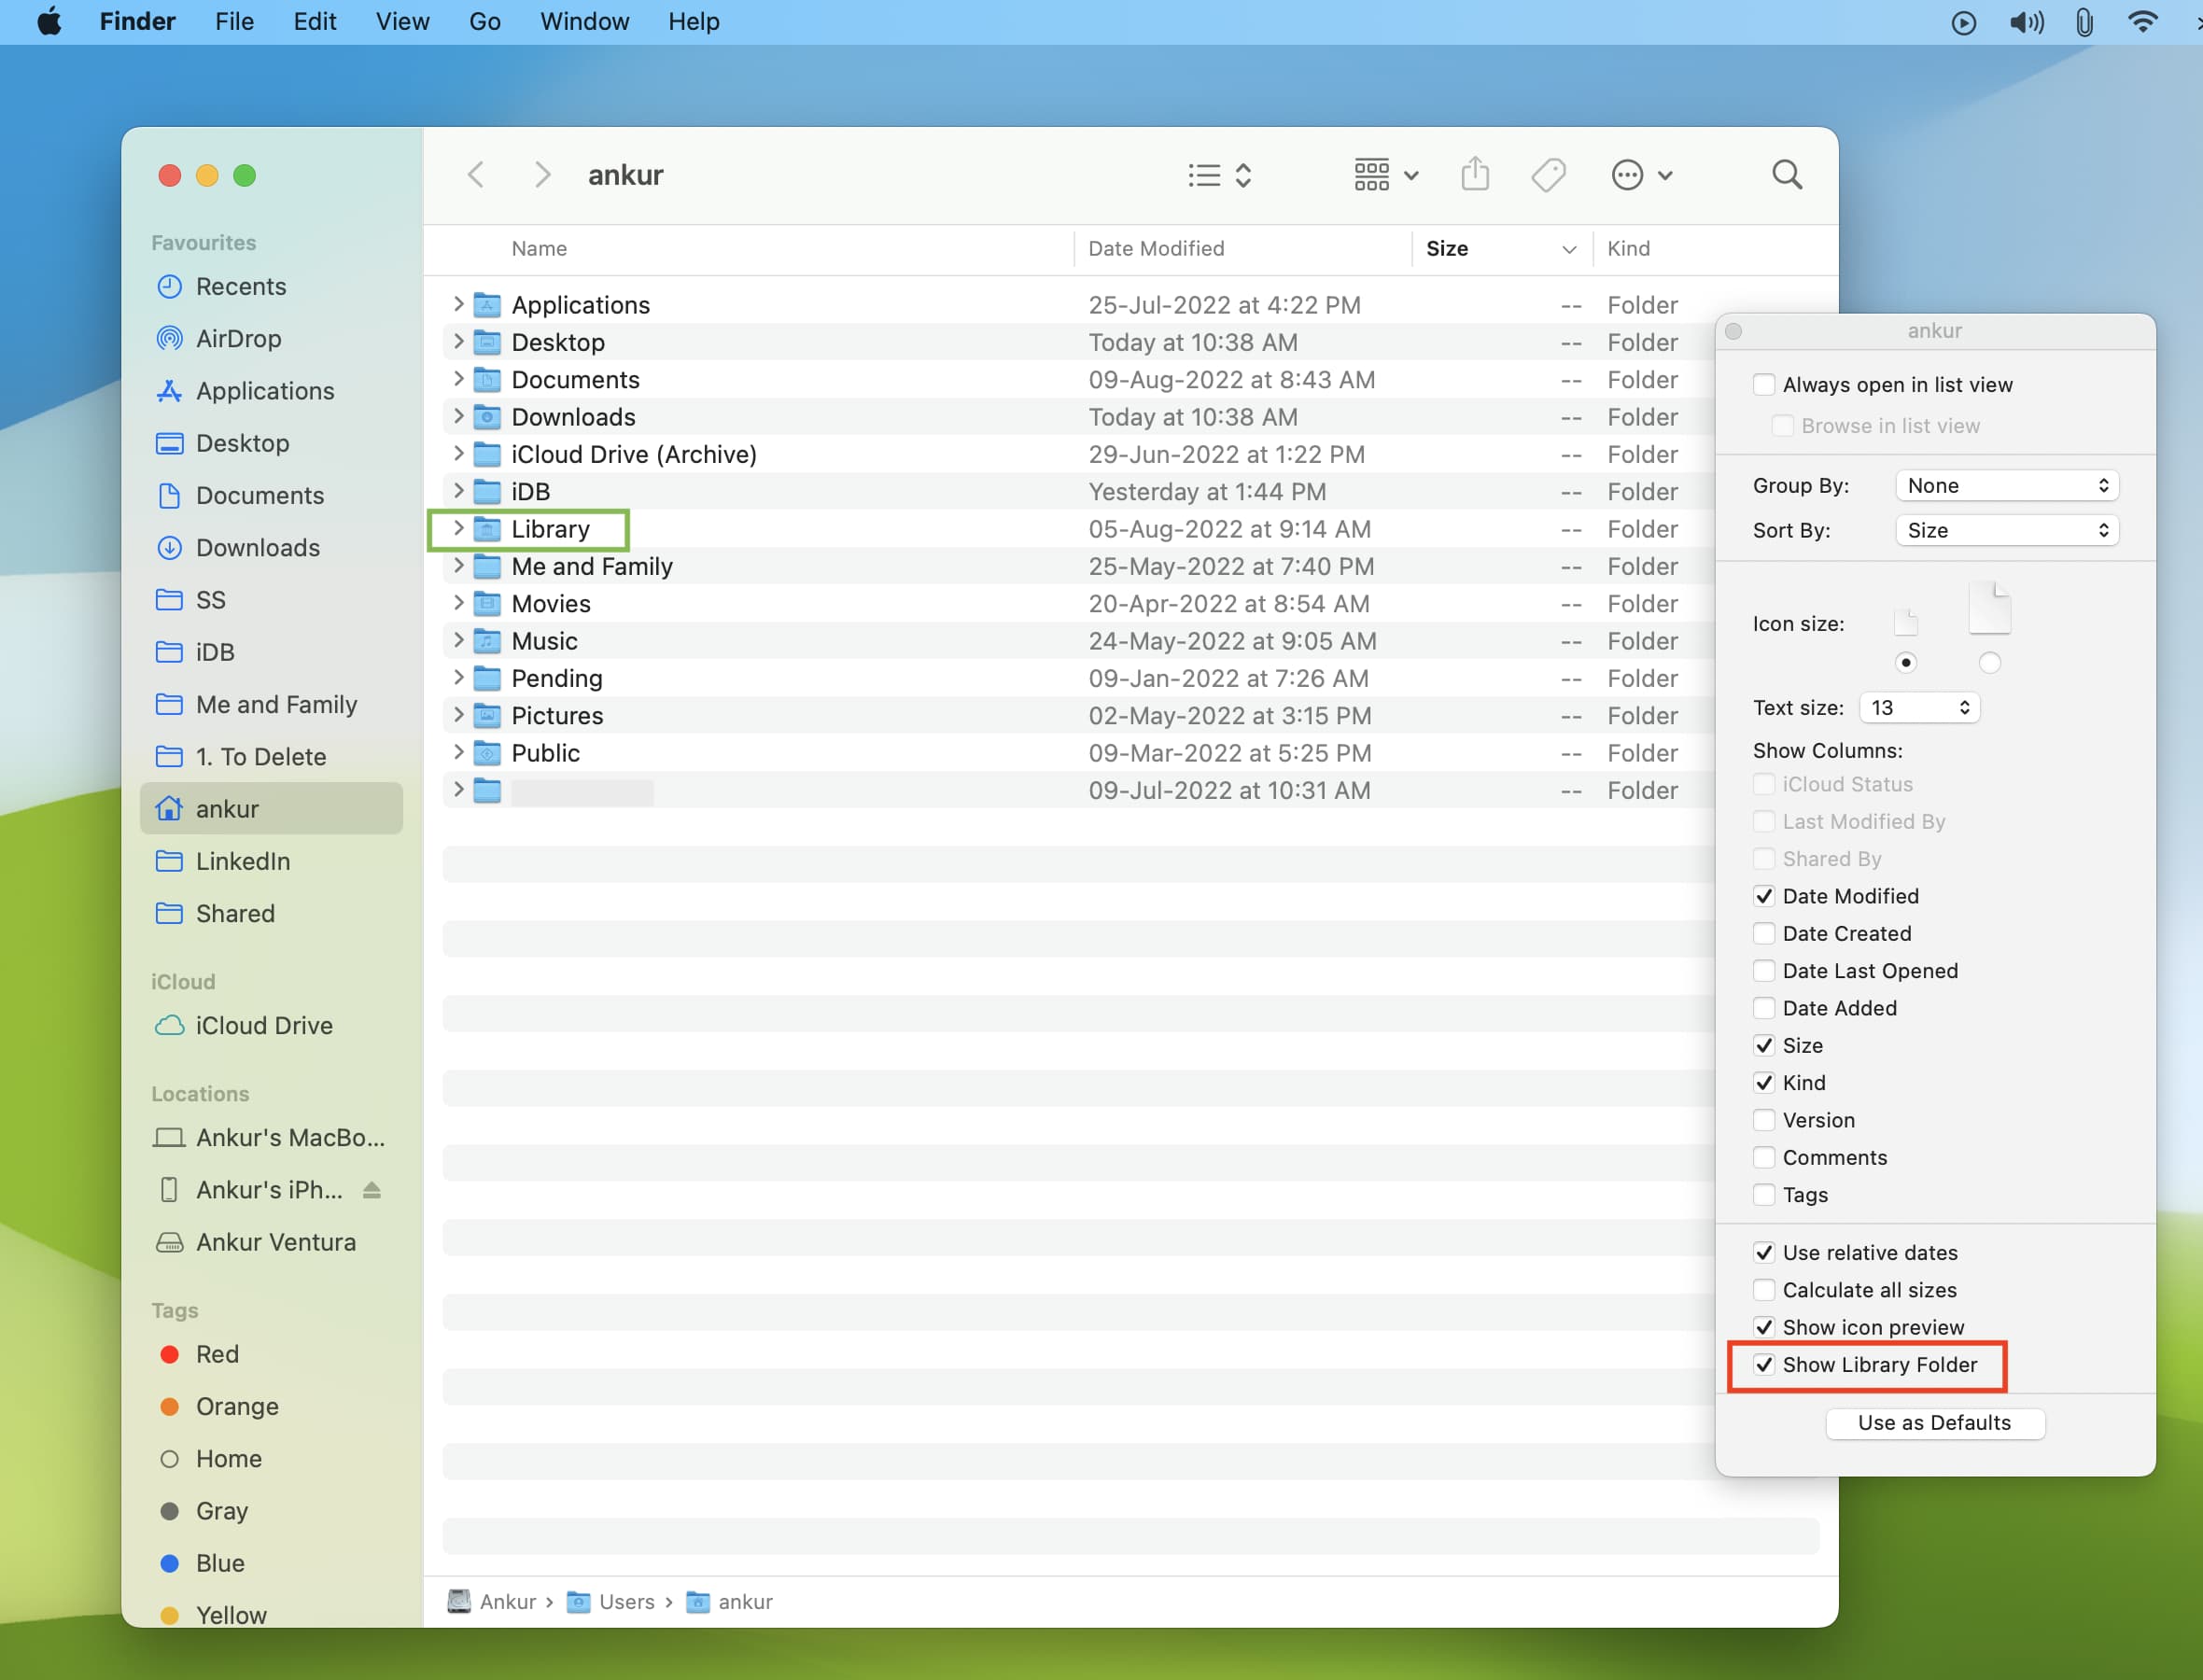
The Library folder should now show up whenever you open the built-in Home folder. I suggest dragging and placing it in the Finder’s sidebar for quick access.

There are other ways to reveal the Library folder, but these are my three favorite go-to methods. If you have tips or tricks you’d like to share with fellow readers regarding this topic, sound off down below.
Other Finder tips: