It may not be obvious, but your Mac has the option to cut a file and paste it to a new location in Finder. In this tutorial, we’ll show you four different ways to use cut and paste files on a Mac.
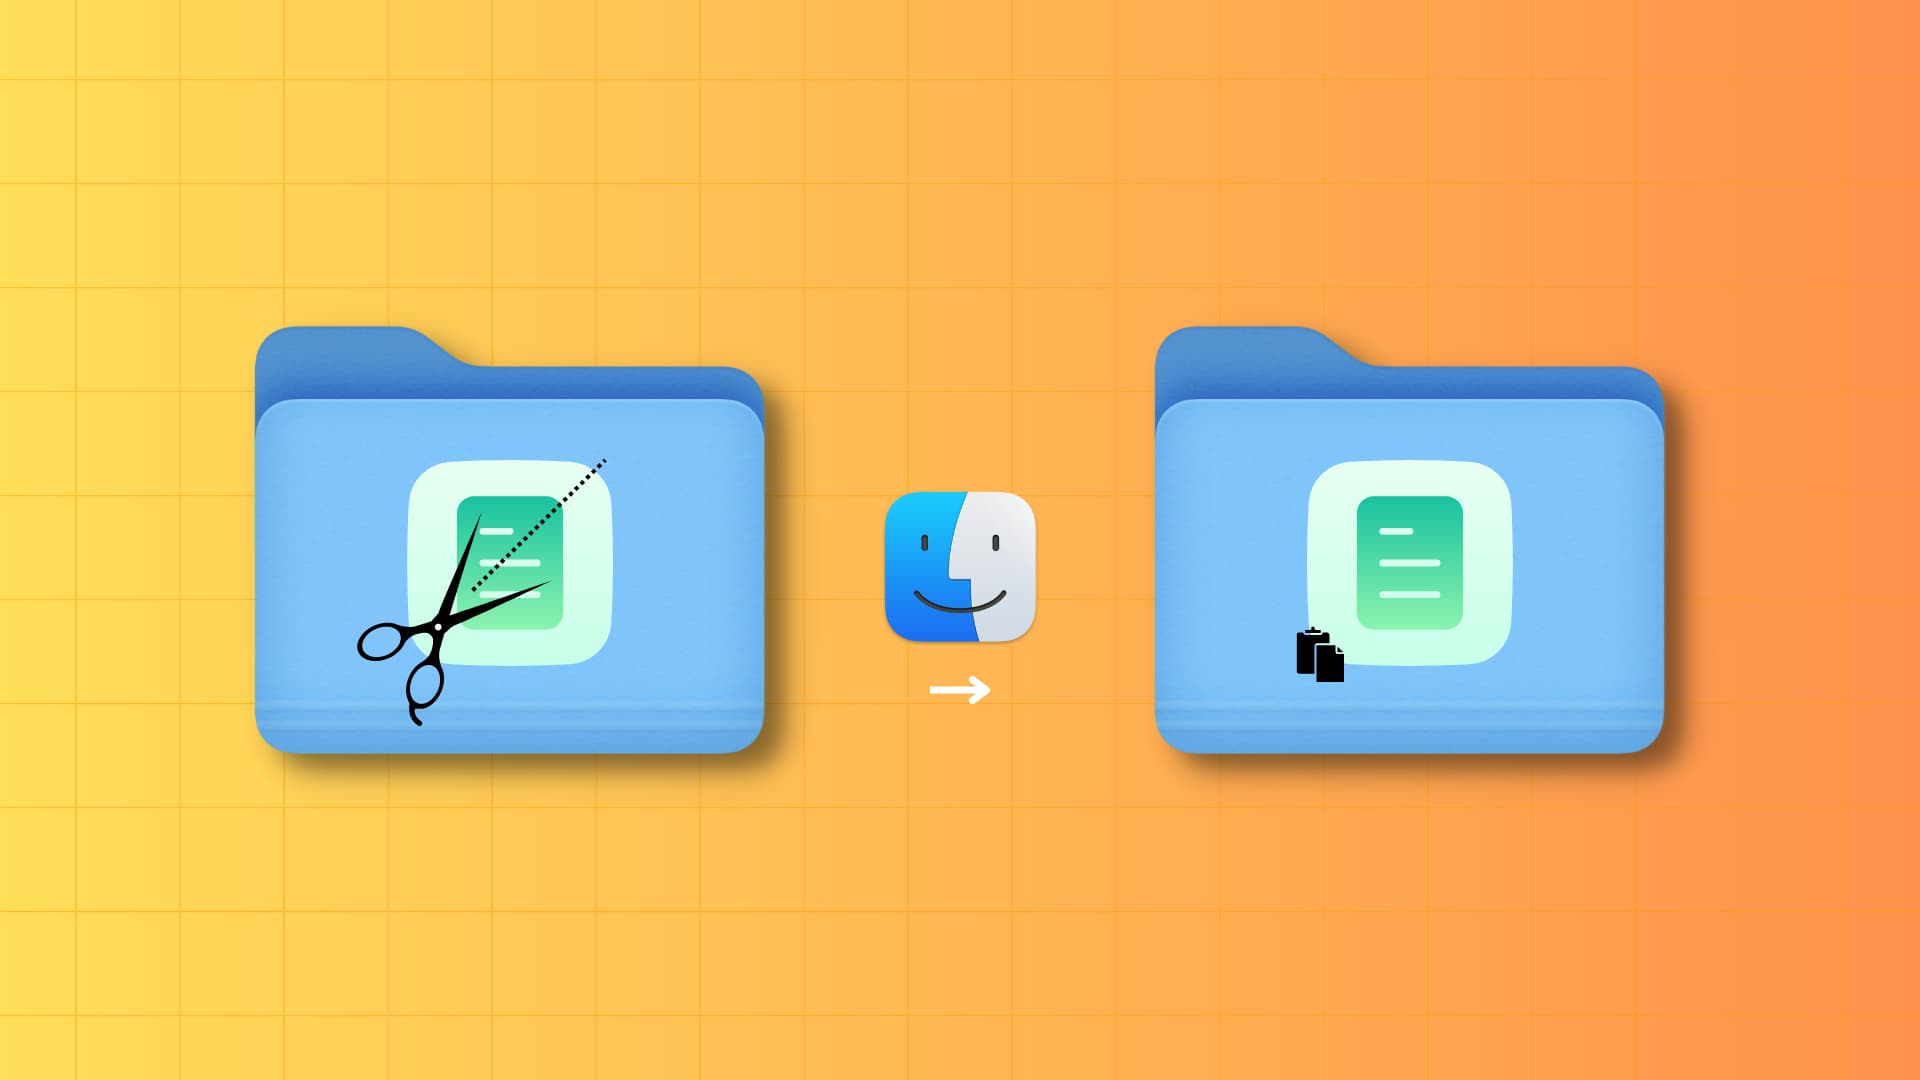
One of the most apparent differences between Windows machines and macOS computers is the lack of a so-called “cut and paste” option. On Windows machines, users are used to seeing cut, copy, and paste, but on Macs, there is no command called “cut.” Actually, similar functionality exists on a Mac; it’s just a little less straightforward than it is on Windows.
Instead of “cut,” Apple likes to call its version “move,” which makes more sense than “cut,” if you ask me. Although “move” isn’t an option when you right-click, and there isn’t your typical Command + X command for moving files on Mac, it’s still really easy to pull off, as evident from the methods listed below.
You can watch this short video or continue to our written tutorial.
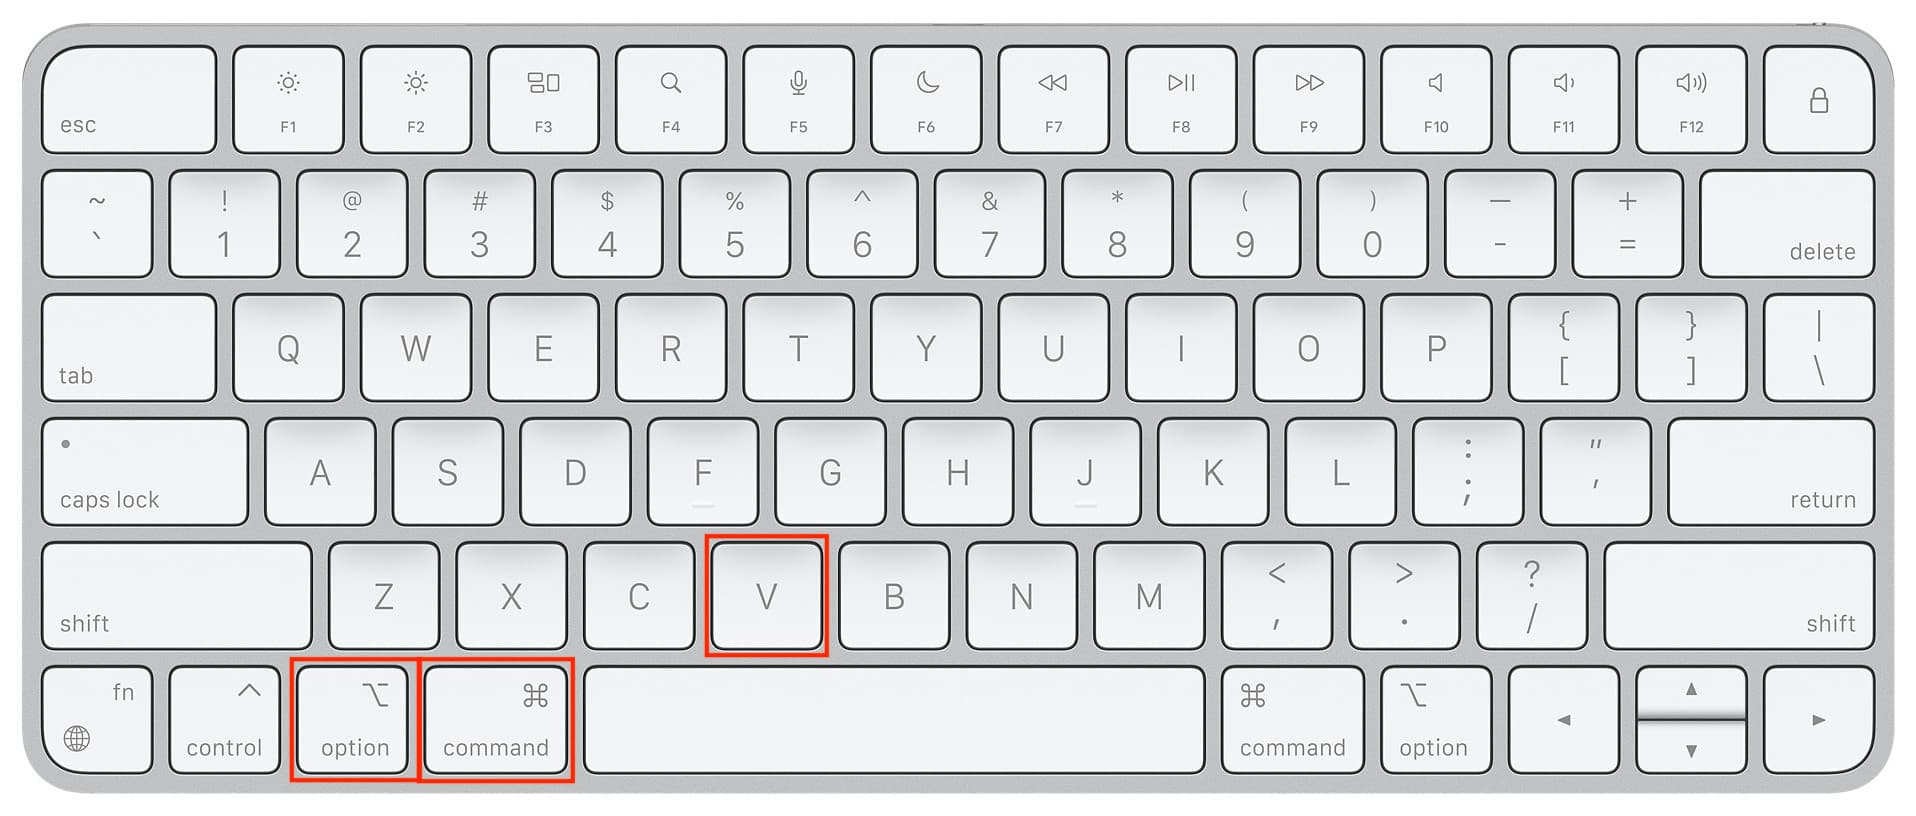
1. Use a keyboard shortcut to cut and paste files on Mac
This is my favorite method as it’s quicker to perform.
- Select one or more files in Mac’s Finder and press the Command + C keys together to copy the items.
- Go to the Desktop or another Finder folder and press the Command + Option + V keys together. This will move the items from their original folder and paste them here, effectively achieving the same result as a Cut & Paste command on a Windows PC.
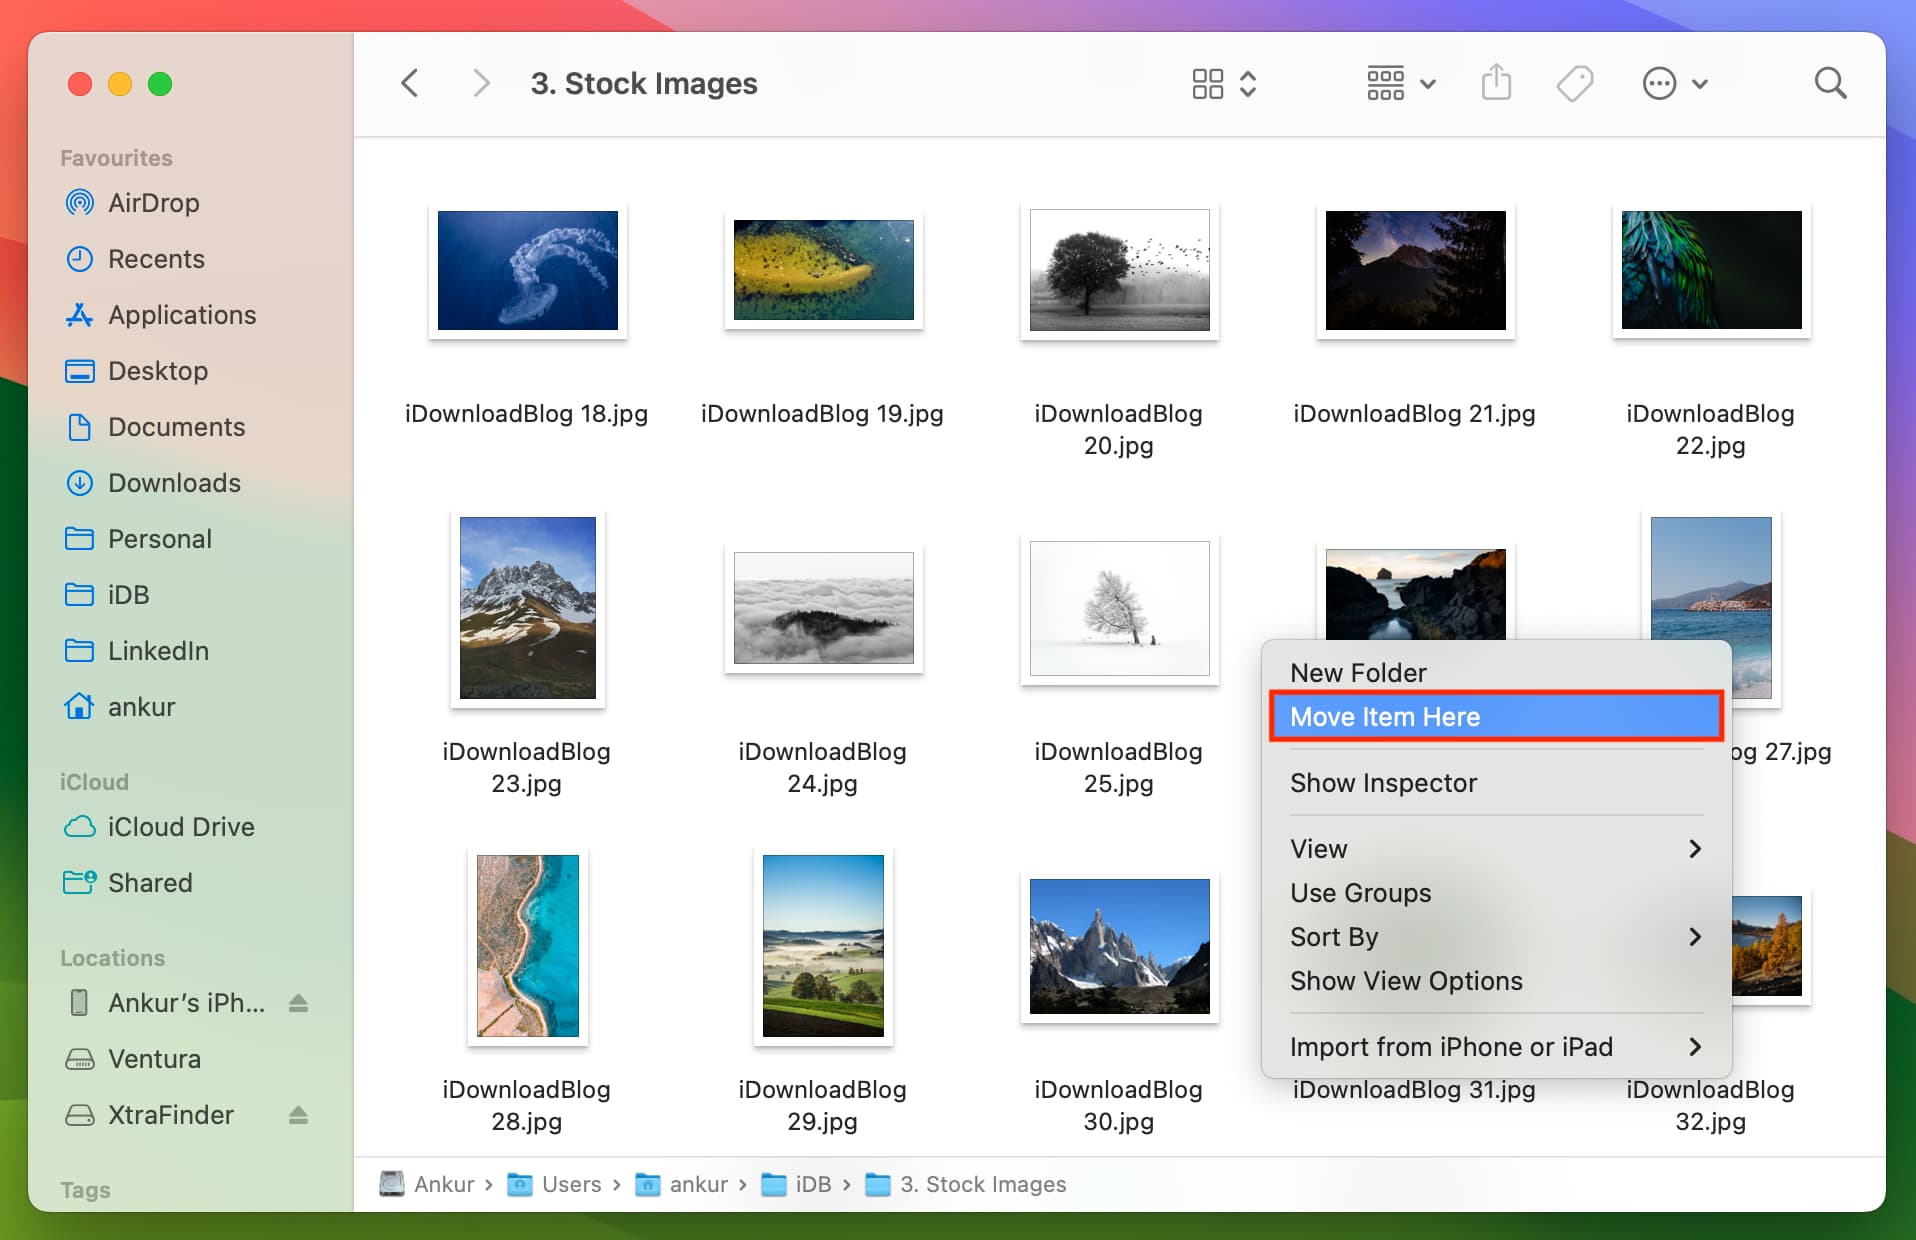
2. Use the “Move Item Here” option in macOS
If you’re more of a right-click person, you can use these steps instead of having to press up to three keys together to execute a keyboard shortcut.
- Open Finder, right-click or Control-click over a file, and choose Copy.
- Go to a different folder and right-click or Control-click. You’ll see the Paste Item option; don’t click it.
- Instead, hold the Option key, and Paste Item will change to Move Item Here. Select Move Item Here, and it will paste the copied item to this location and delete it from the original location. In other words, it’s similar to Cut & Paste on a Windows PC.
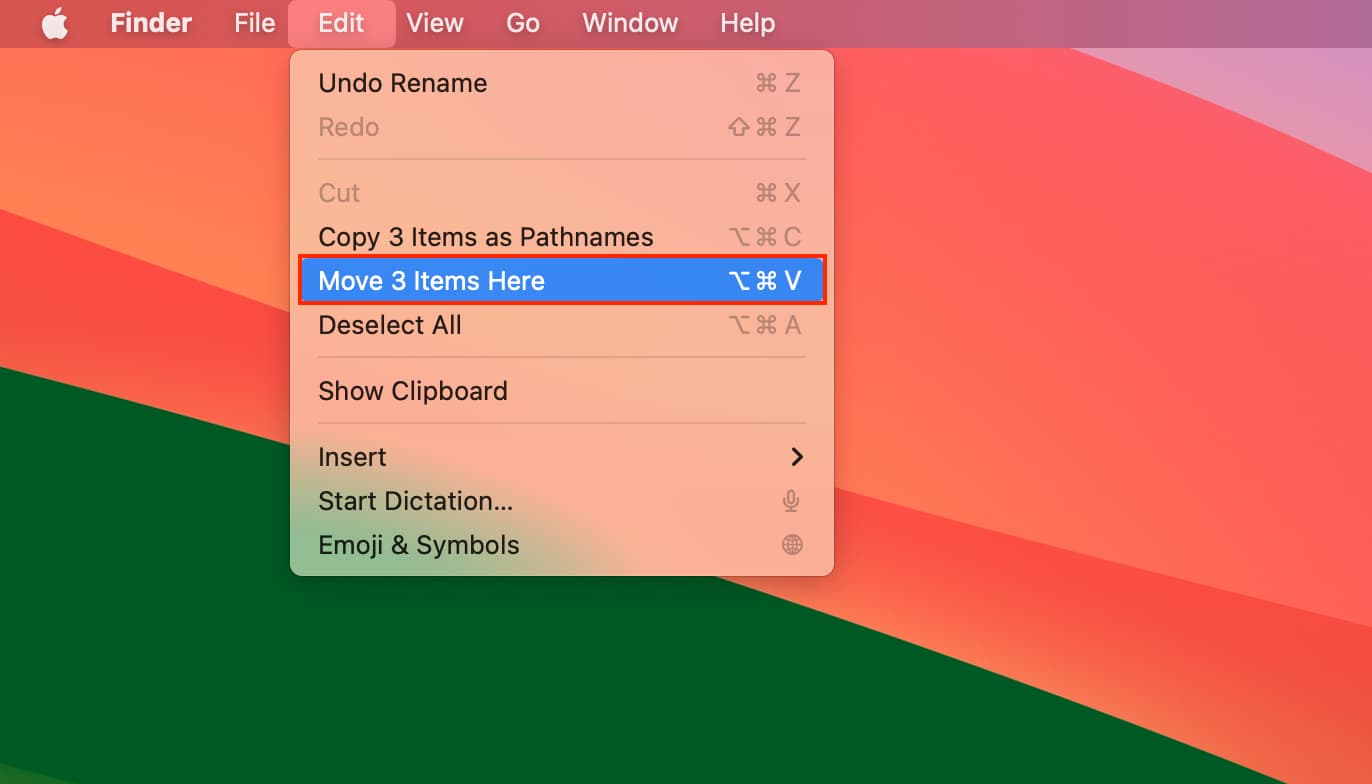
3. Use Mac’s top menu bar to cut and paste
The fundamentals of this method are precisely similar to what we’ve explained above. However, in some situations, you may not see the Paste Item option when you right-click. For example, when items of a Finder folder are grouped by Date Added, a right-click may show the options to customize your Finder experience rather than giving you the option to paste the item. Therefore, it’s useful to know about this reliable menu bar method.
- Select the file you want to cut & paste. Now, right-click and choose Copy or click Edit in the top menu bar and choose “Copy file name.”
- Go to the Desktop or another location where you want to paste this item. Click Edit from the top menu bar and hold the Option key.
- Select Move Items Here to achieve similar results as cut & paste.
4. Use a third-party Mac app to cut and paste files
If you still miss Windows’ contextual cut command, you can use a third-party utility to add it to the Finder.
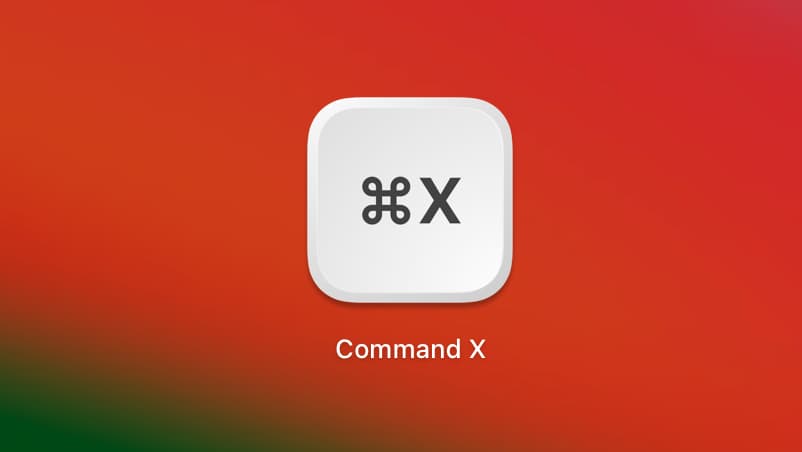
One such option is Command X ($4), which works very well as long as it’s open in the menu bar. You can simply select a file in Finder and press the Command + X keys to cut the file. Next, go to the other location and paste the item. It will be moved from its original location to the new one!
The app works well, though you won’t see the Cut option in Finder when you right-click on an item. So, remember to use the Command + X keyboard shortcut.
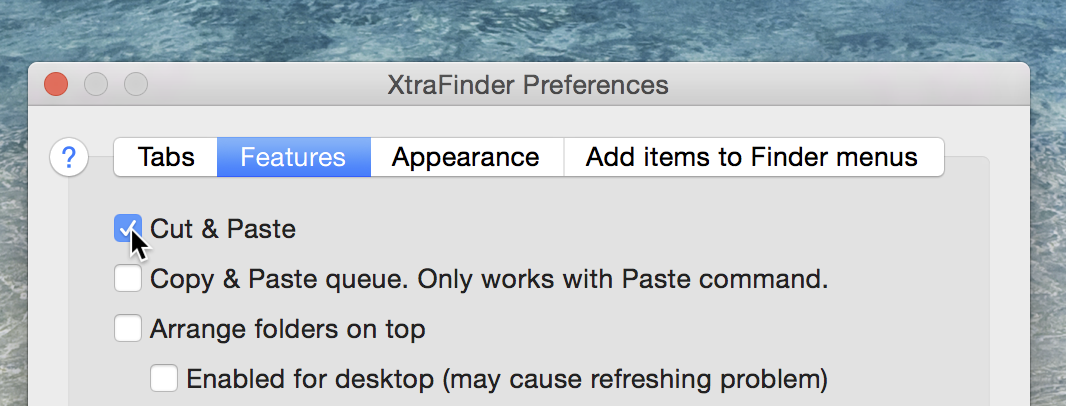
In addition to that, you can use a utility called XtraFinder, which is available as a free download. It features an option to add Windows-like cut-and-paste functionality to the Finder’s menu. However, you’ll have to disable your Mac’s System Integrity Protection for it to work. And therefore, I won’t recommend it for general users until you know what you’re doing.
Bonus tip: Use Command + X for text
Finally, you must know that you can use Command + X (just like Control + X on Windows) to cut text in Notes, Pages, and other apps. After that, you can use Command + V to paste the cut text.
It also works with things like images when you’re working inside a document, like the Pages app.
Note: Unlike Windows, Command + X doesn’t work in Finder to cut files.
Also, check out: 43 things I do after setting up a new Mac