
All Macs with OS X El Capitan installed on them have a new layer of security known as System Integrity Protection, which has been given the nickname ‘Rootless’ because it closes off a lot of system files to user access to prevent malicious programs and code from causing harmful changes to the core of OS X.
For some, the added security feels like a must for protection of your personal information, but for more advanced users who poke their noses into system files quite often, the feature can get in the way and prevent user modifications to the operating system. In this tutorial, we’ll give you an overview of System Integrity Protection and show you a way to disable it.
What is System Integrity Protection?
System Integrity Protection is a new layer of security that shipped with OS X El Capitan in the Fall of 2015. As we noted, it’s also referred to by its nickname ‘Rootless,’ so you might know it better by that name.
With System Integrity Protection, many directories in your OS X operating system are protected by additional restrictions. These protected parts of OS X are then, as a result, limited in what you can and cannot do with the files that reside inside of them. Such directories, as noted by an Apple support document include the following:
Paths and applications protected by System Integrity Protection include:
• /System
• /usr
• /bin
• /sbin
• Apps that are pre-installed with OS XPaths and applications that third-party apps and installers can write to include:
• /Applications
• /Library
• /usr/local
Before OS X El Capitan, the root user had no restrictions in what they could or could not do with these files and directories, but the additional security improvements make it much harder to make modifications to these parts of your operating system. With that being said, any malicious software that had your admin username and password would be able to modify your system files.
But now, because there are heavier restrictions, just because something with malicious intent steals your admin username and password doesn’t mean that the malware will be able to do a whole lot to trash your operating system and render it useless. Instead, only Apple-signed software and updates can make changes to your operating system.
Why you might not want this
Although most people will probably want to leave this feature alone for the added security, there are some more advanced users out there that actually enjoy tinkering with system files. These users know what they’re doing and they know the changes they make aren’t going to break a core functionality of the operating system, but instead, might even improve on it.
If you consider yourself an advanced user, and you find that System Integrity Protection is getting in the way of the things you want to do with your Mac, then you’re in the right place because we’re going to share with you how you can disable System Integrity Protection on your Mac running OS X El Capitan.
One final word of warning – this step is never recommended unless you’re an advanced user because you will lessen your Mac’s security in trade for having more freedom to do what you’d like with your Mac’s system files.
How to disable System Integrity Protection
If you’re okay with turning off this layer of security for the purpose of having more access to your files, then disabling System Integrity Protection can be done on your OS X El Capitan Mac with the following steps:
Step 1: Boot up into recovery mode on your Mac. This is done by turning your Mac off, and then beginning to turn it back on again and pressing the Command + R keys on your keyboard as it boots back up.
Note: Booting up may take longer than usual, but you’ll end up in recovery mode on your Mac. The screen should then look something like this:
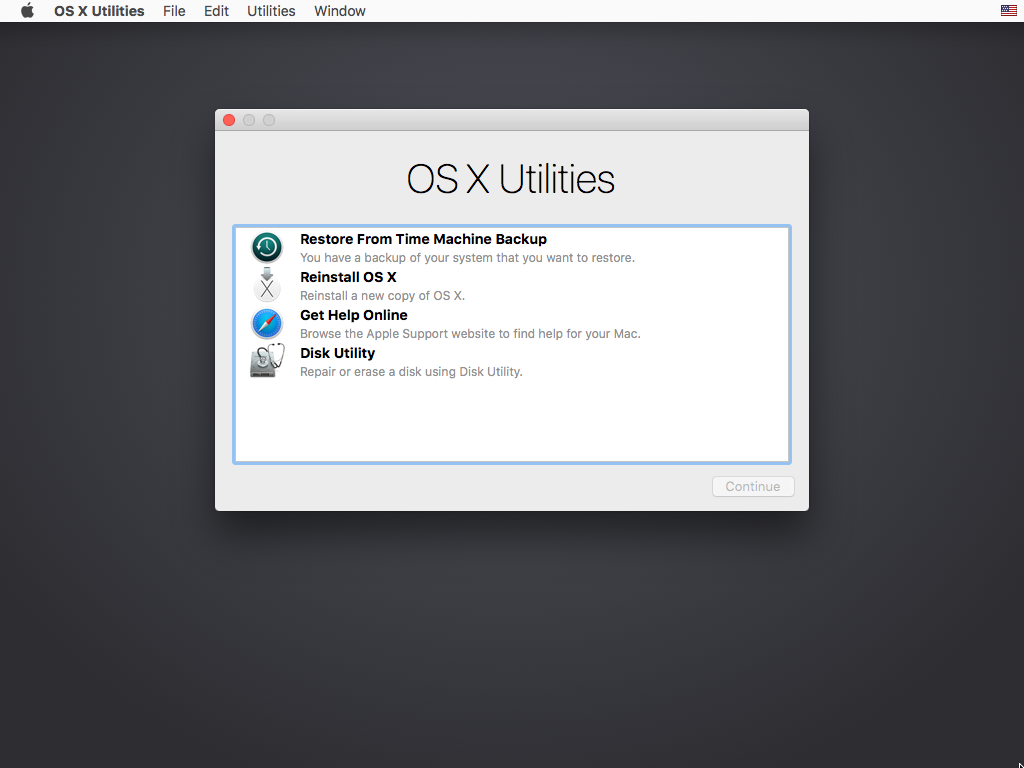
Step 2: From here, you will navigate to the “Utilities” drop down menu in the Menu Bar at the top of the screen, and you’ll open the Terminal app from the menu.
Step 3: In the Terminal window, you will type the following command and then hit the Enter key to see the status of your System Integrity Protection:
csrutil status
Step 4: The Terminal window will then either tell you that the System Integrity Protection is enabled or disabled. If it’s enabled, you can enter the following command and hit the Enter key to disable it:
csrutil disable
Step 5: Once you’ve used the above command to disable System Integrity Protection, you can reboot your Mac. Do so from the “Apple” menu in your Menu bar and choose “Shut Down,” then turn the computer back on again and allow it to reboot normally.
Note: With your Mac turned back on as usual, if you followed the steps above correctly, then you should be able to access all of your system files without restrictions just as you could in earlier versions of OS X before OS X El Capitan. If you want to double check to make sure it worked, you can open Terminal again and fun the following command:
csrutil status
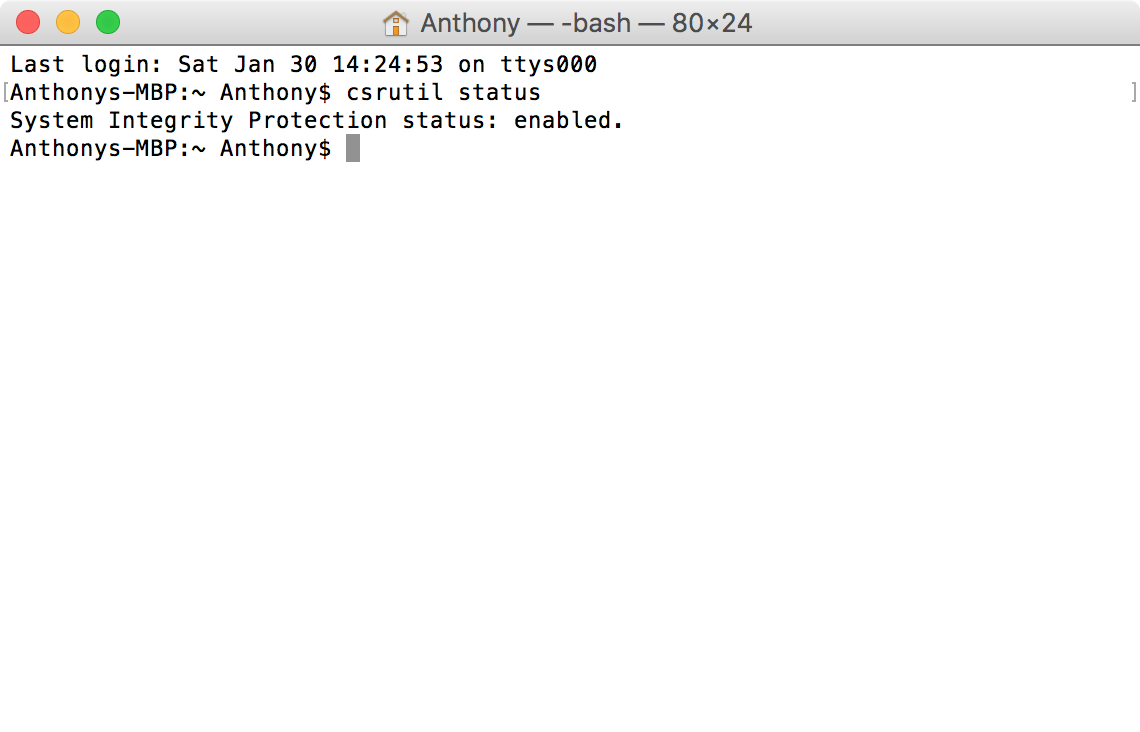
You will either get a result of “enabled” or “disabled,” letting you know what the status of your System Integrity Protection is. If you ever want to re-enable System Integrity Protection, you would follow steps 1 through 3 again, and instead of typing “csrutil disable,” you would type “csrutil enable” instead.
Note: Ours is still enabled because we like the added protection and we didn’t keep it disabled.
Conclusion
System Integrity Protection is there for your protection, and we highly recommend leaving it alone, but sometimes there are more advanced users out there that know how to tinker with their operating system without breaking functionality. If you’re one of those people, then this is the way to get your freedom back.
Also Read:
- Private browsing window tips and tricks for Safari for Mac
- Everything you need to know about the location services built into your Mac
Do you use System Integrity Protection on your Mac, or have you disabled it already? Share in the comments!