Learn more about the workings of HDR, Auto HDR, and Smart HDR on your iPhone, which lets you capture balanced shots in high-contrast situations.
HDR crash course
HDR stands for High Dynamic Range.
It’s a digital photography technique that helps take great shots in high-contrast scenarios. HDR does the compositing and tone-mapping of images to extend their dynamic range beyond the native capability of your capturing device. It works best when photographing a shaded subject, like your kid, set against a bright background such as a sunny sky.

With traditional DSLR cameras, you must choose between a sky that’s too bright or a subject that’s lost in the dark. With HDR, you get the best of both. When HDR is on, the iPhone’s camera takes three photos in quick succession, each at a different exposure level: one at normal exposure, then one at each of the brightest and darkest parts of the scene.
The best parts of each exposure are merged into a single shot with a higher dynamic range. As such, HDR is especially useful in difficult lighting conditions, like harsh backlighting.
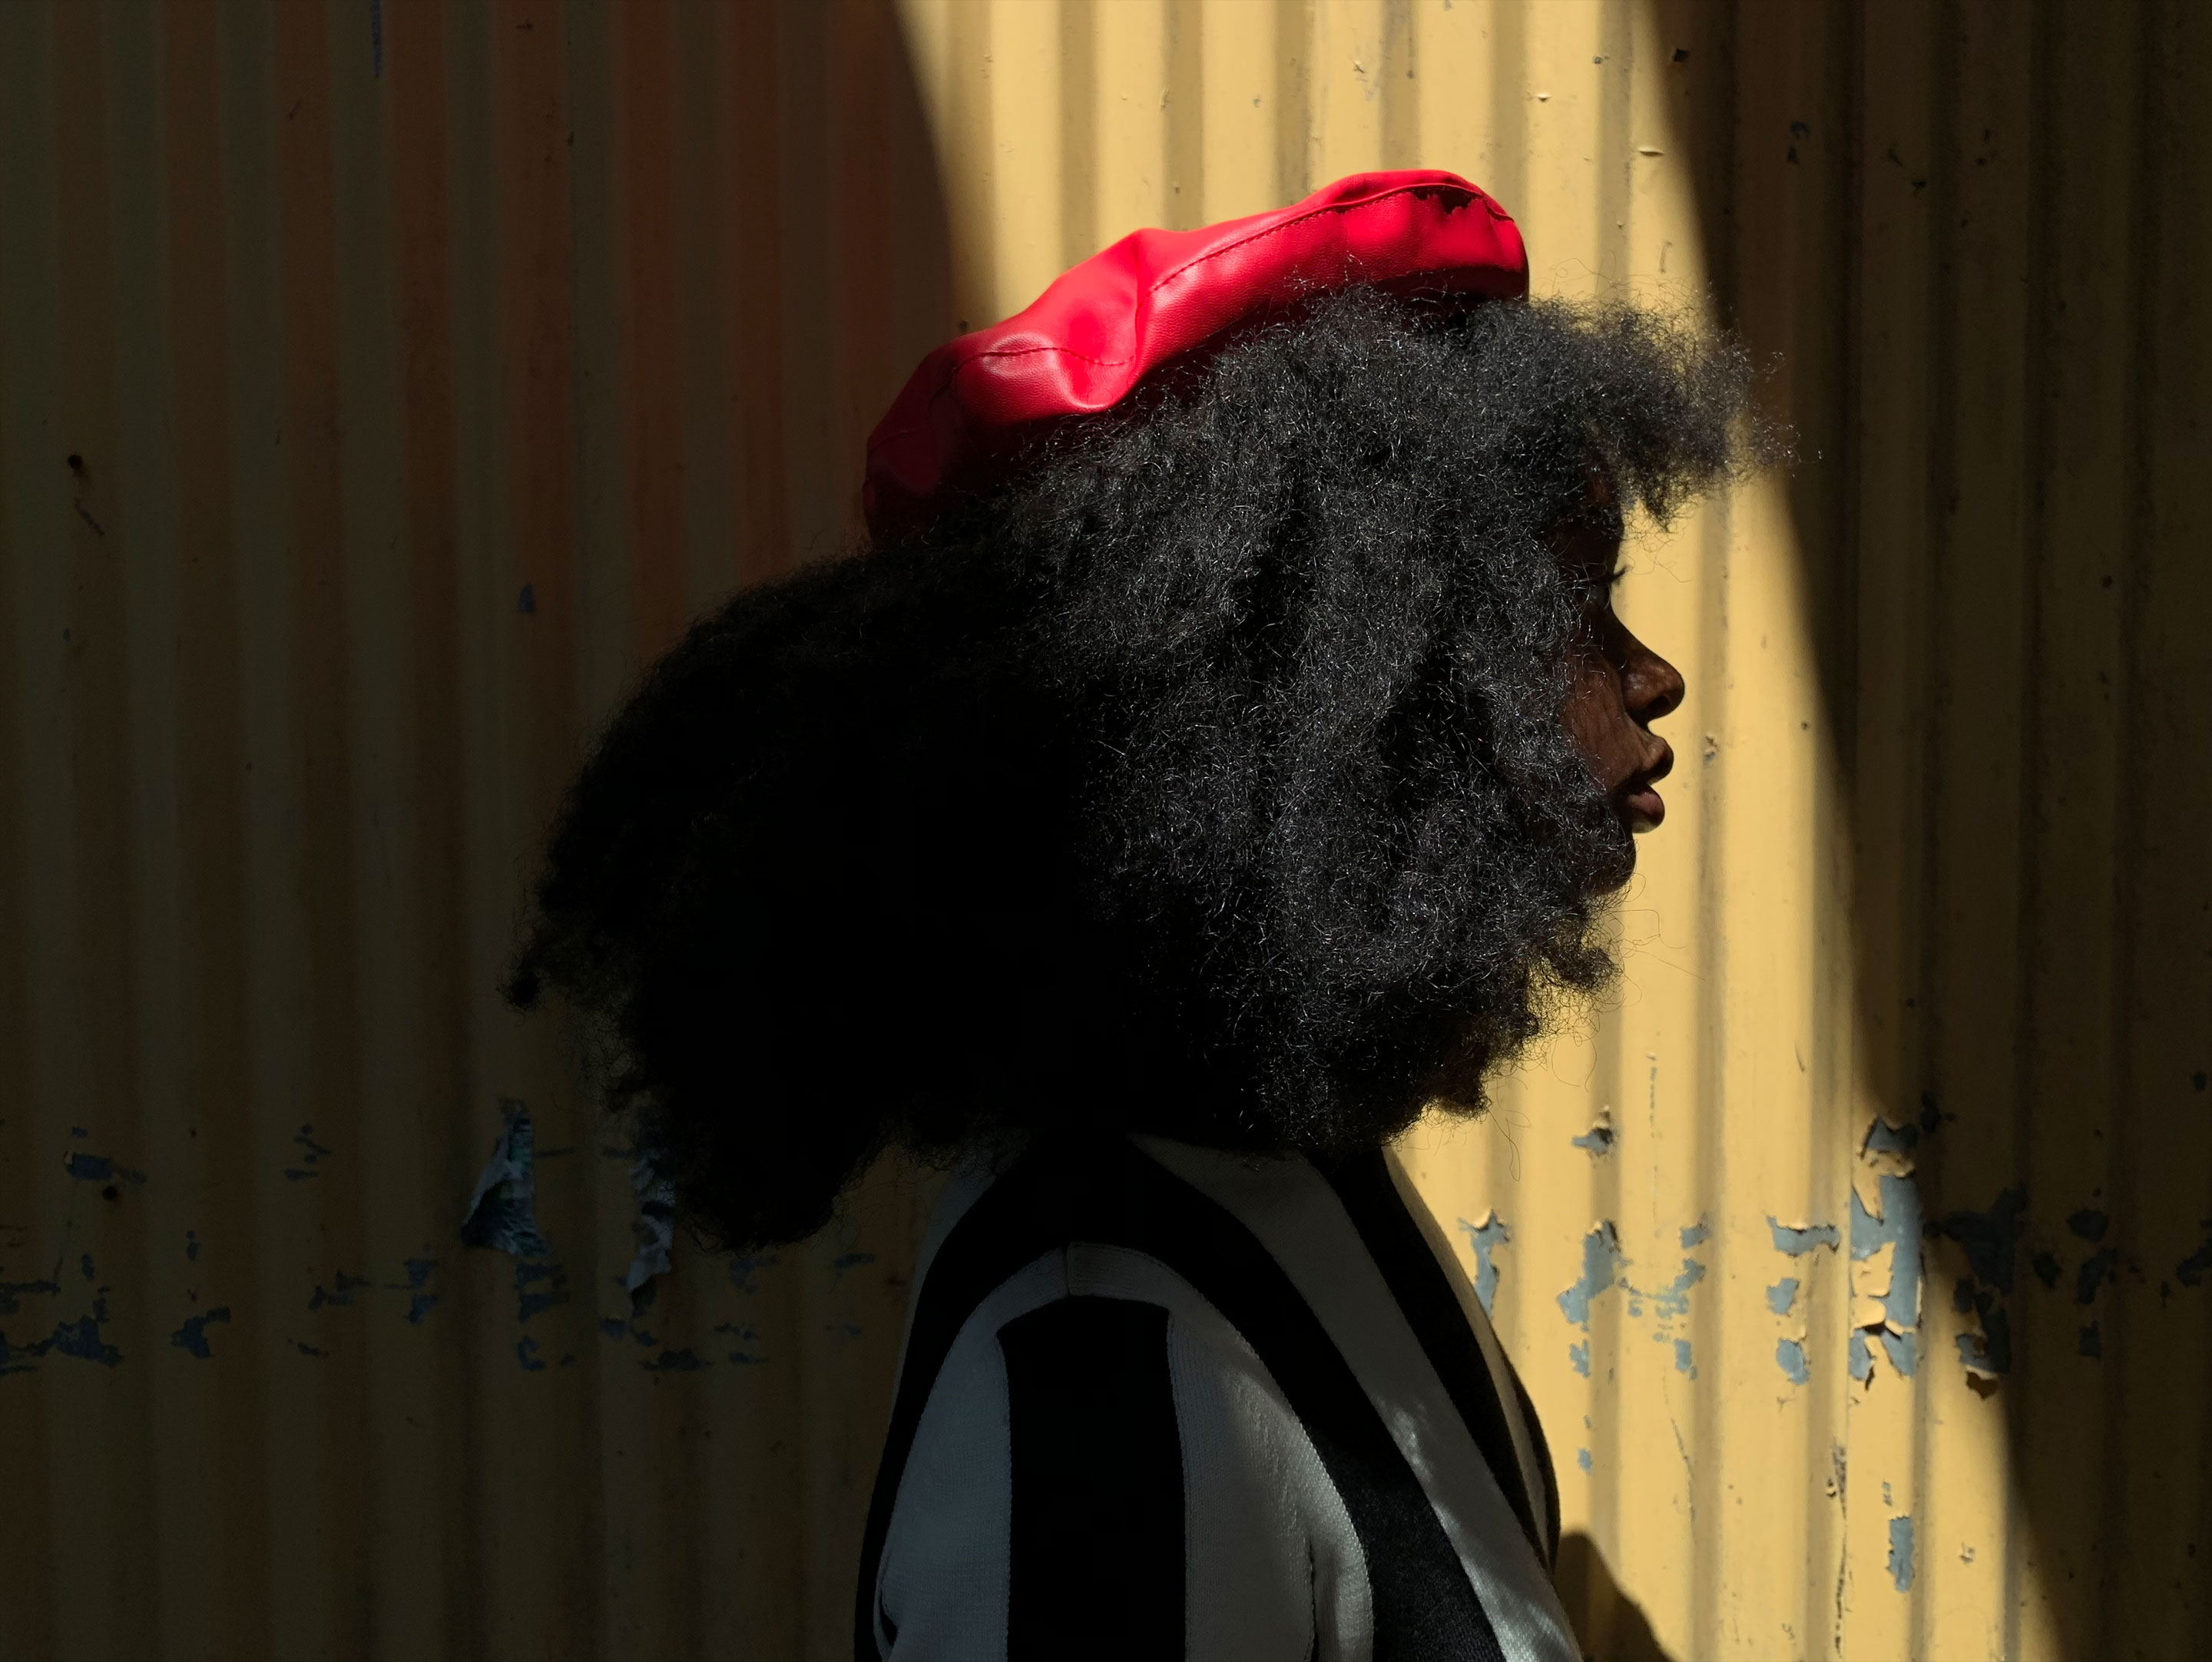
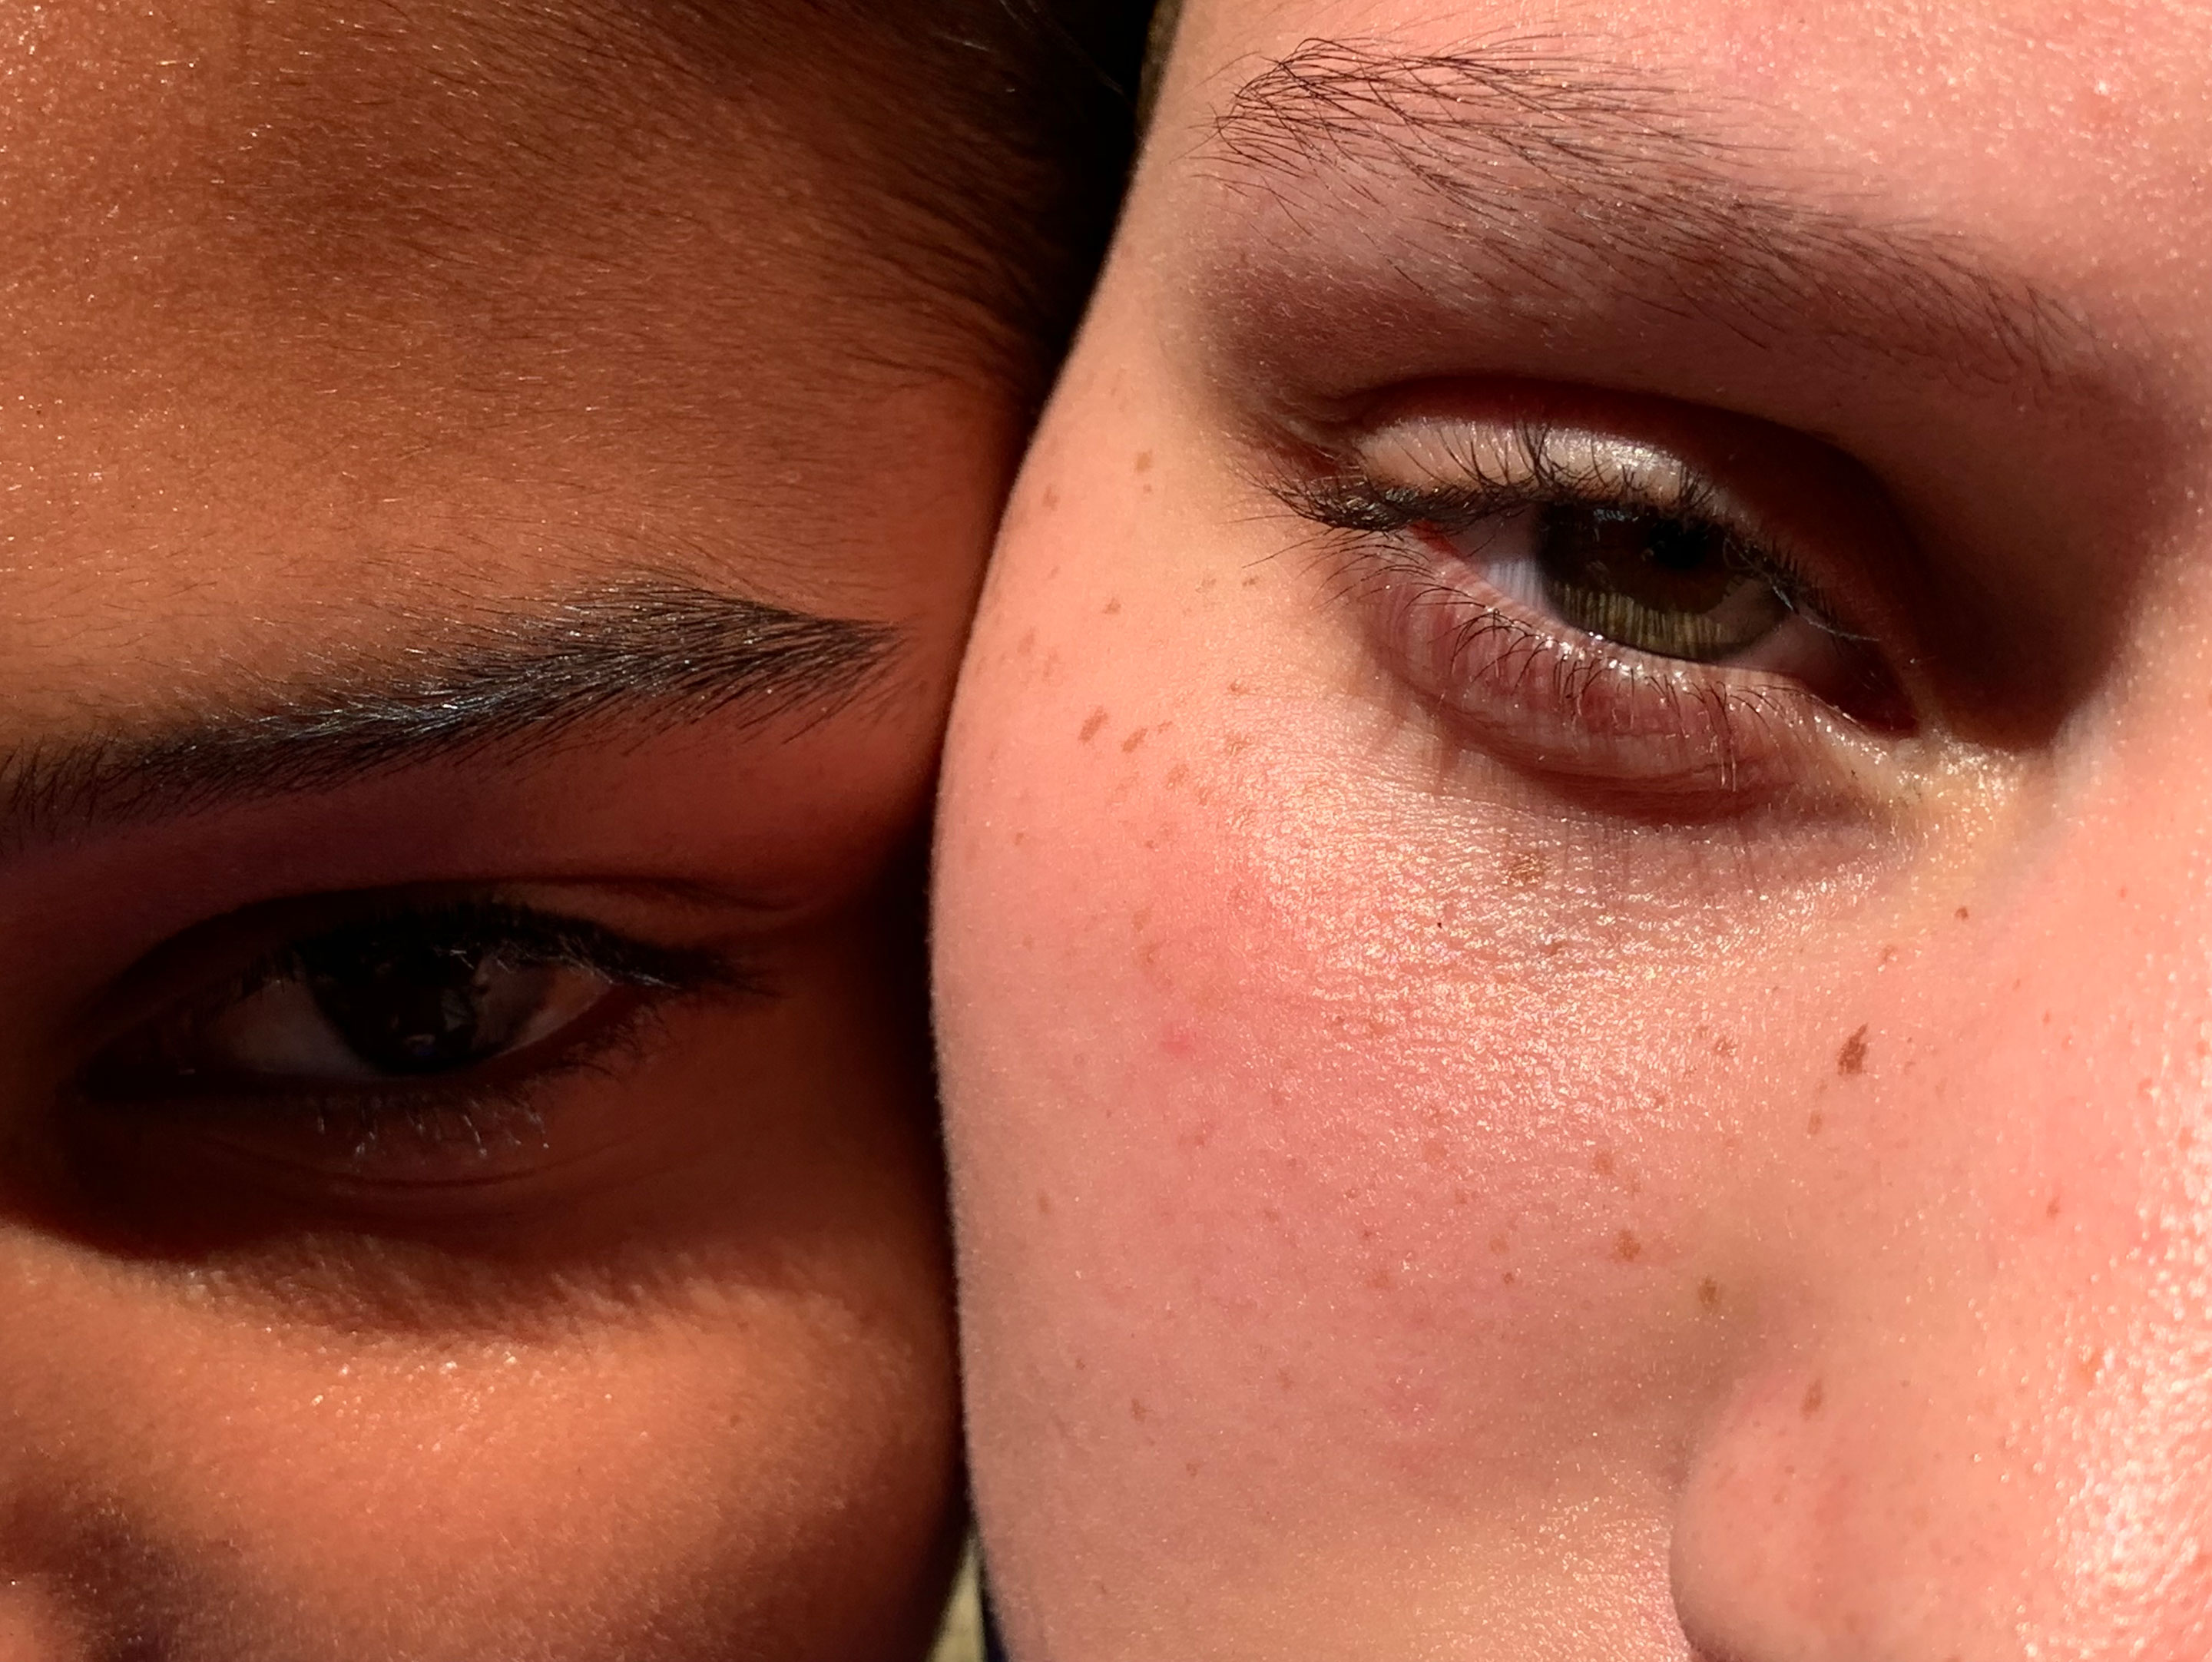
The images below provide the perfect example of how the HDR features work.

- On the left, you see an image taken with an exposure that’s balanced for the subject, which results in a sky that’s overexposed or too bright.
- The rightmost image was taken using an exposure balanced for the sky, which has made the subject underexposed or too dark.
- As you can see for yourself, HDR took the best parts of the overexposed and underexposed shots and merged them with a third shot taken at normal exposure, resulting in a detailed photo (the middle) with great contrast and detail.
And thanks to Apple’s sophisticated wider-gamut screens and cameras that support taking wide color photos and displaying them on your iPhone or iPad (the P3 Display profile), you’ll see up to 60 percent greater dynamic range in your HDR shots.
Smart HDR
Smart HDR is like regular HDR, only smarter. Smart HDR first appeared on the iPhone XS and is present on all newer models, like the iPhone 15.
Smart HDR takes full advantage of the advanced camera sensors, the power of Apple’s in-house chip’s Neural engine, machine learning, artificial intelligence, computer vision, and the latest computational photography advancements. With Smart HDR, all iPhone photographers can effortlessly take beautifully-lit photos with great dynamic range.
You just press the shutter button and your iPhone does the rest. Behind it, however, is immense technology that takes full advantage of the Apple-designed CPU, GPU and ISP, pairing these with a software camera stack so you can take beautiful pictures with little or no effort at all.
Compared to the normal and Auto HDR modes on earlier iPhones, the Smart HDR feature is unavailable on older models that lack faster sensors, zero shutter lag, and other advancements. With Auto HDR, you can basically freeze a moment in time with more detail than ever before and make sharper action shots a reality.
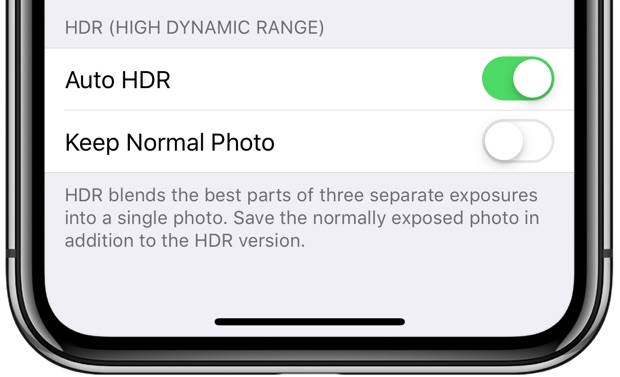
Auto HDR and Smart HDR
On iPhone X and newer, HDR is on auto-pilot. iPhone X and later use HDR for both their rear and front-facing cameras when it’s most effective, but you can disable this behavior by toggling off Auto HDR in camera settings. Note that you cannot disable Smart HDR on iPhone 13 and newer.
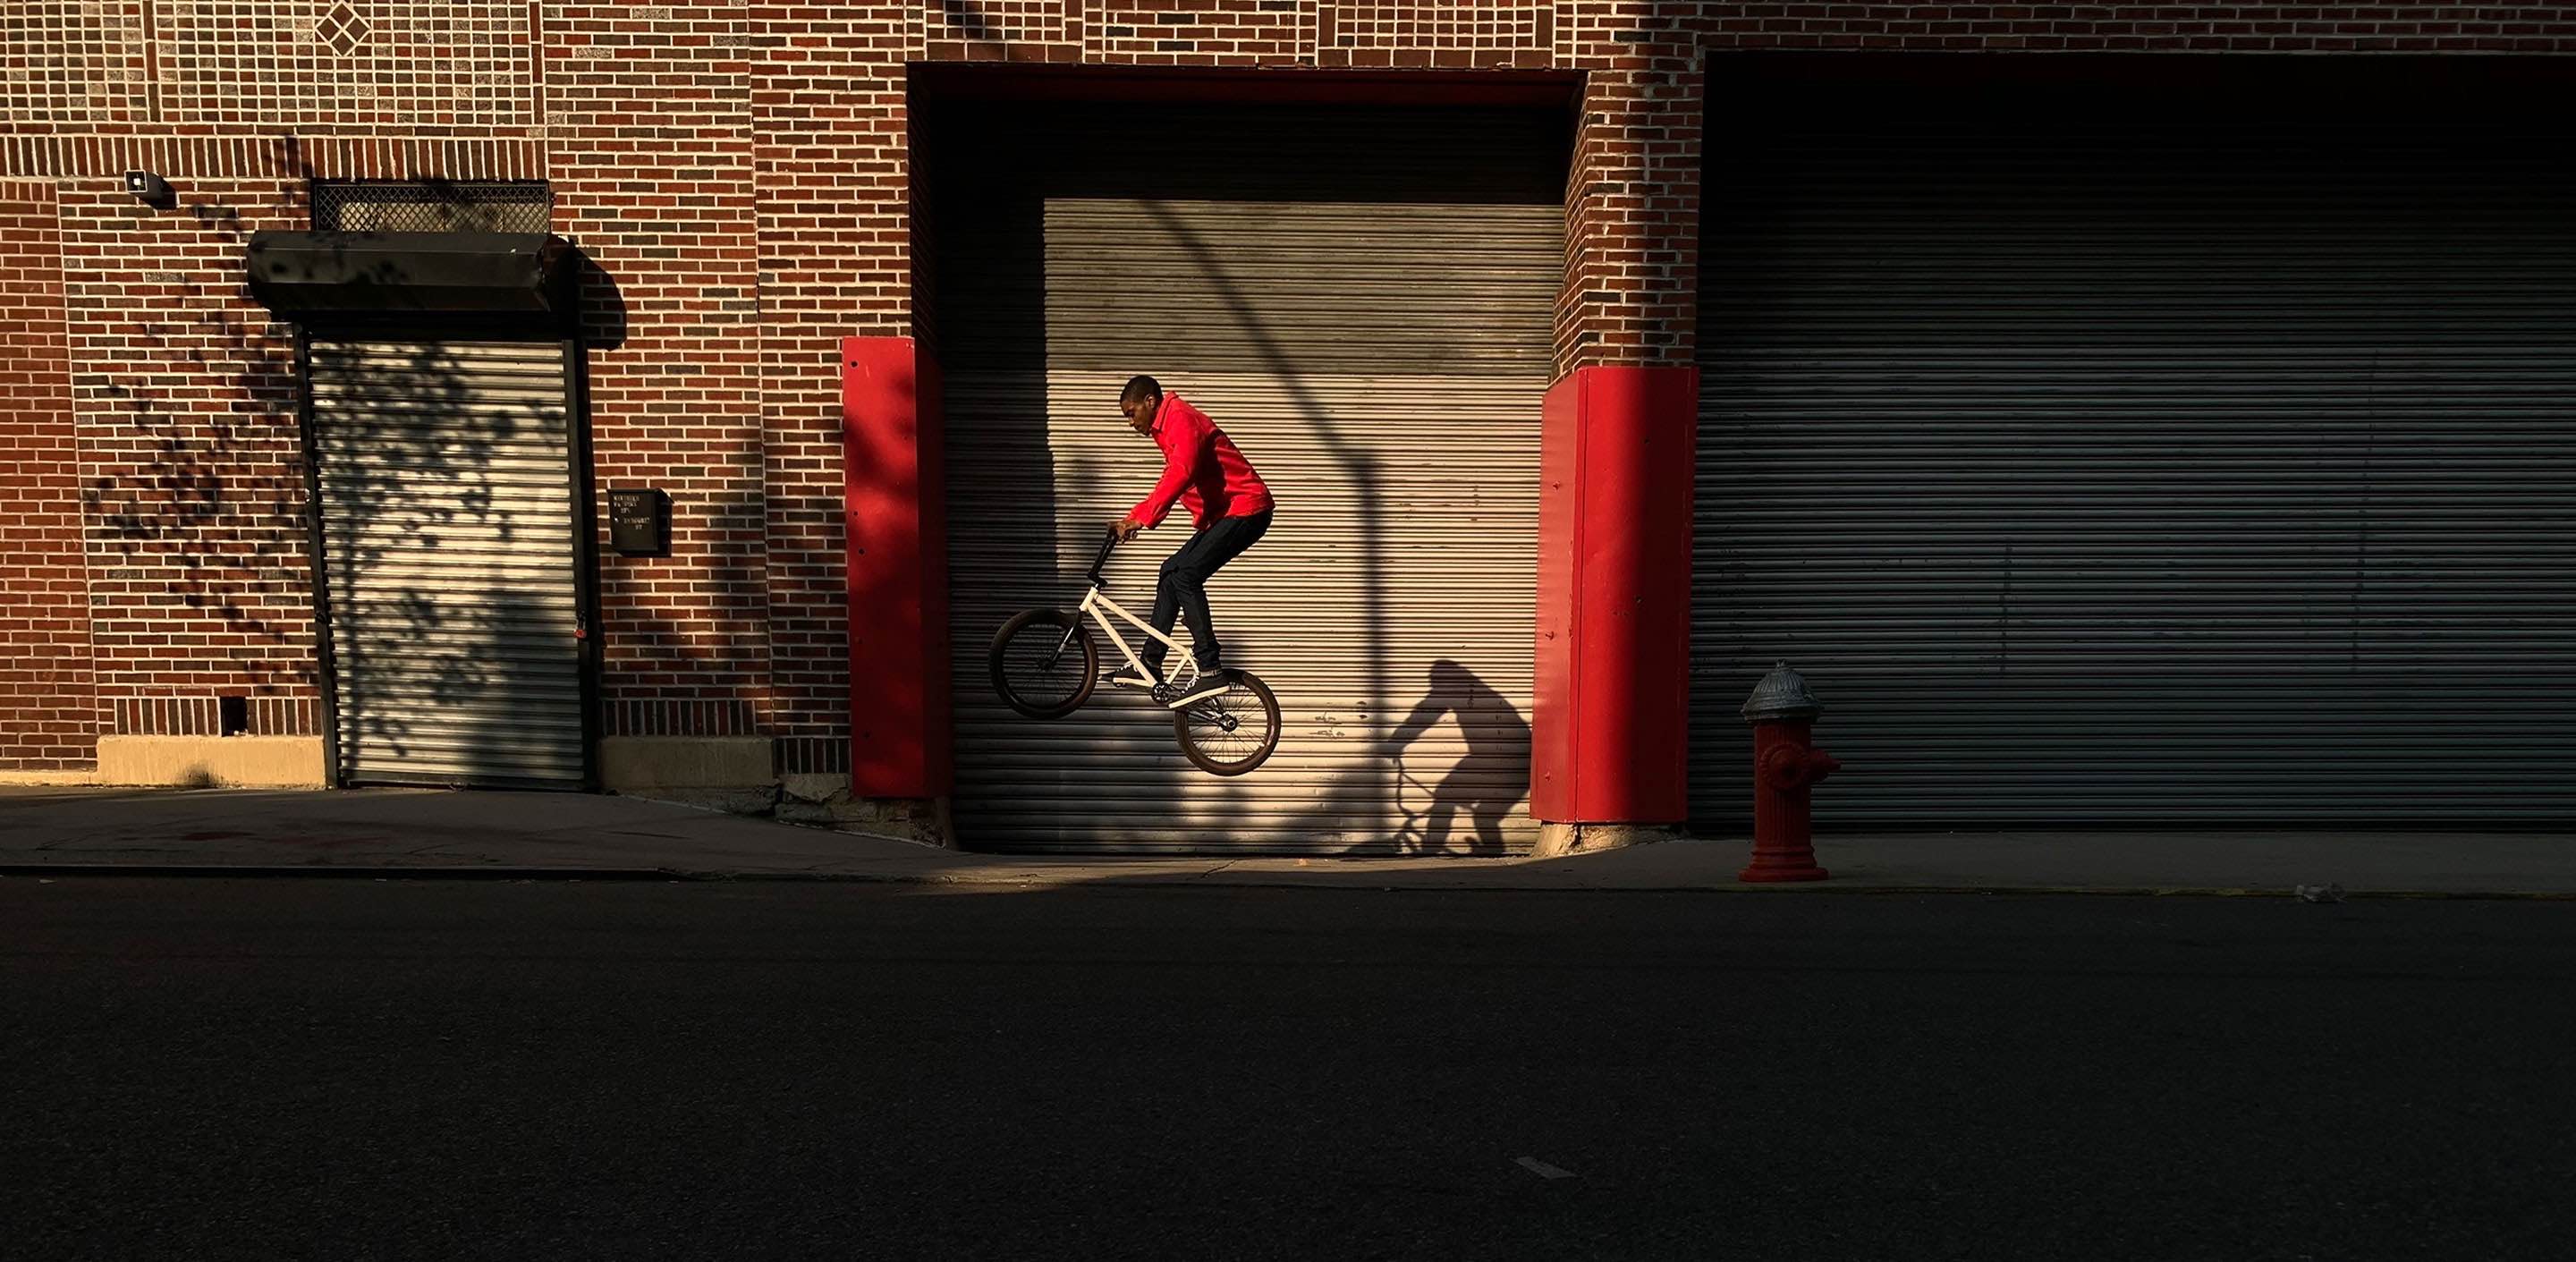
Smart HDR defaults to triggering any time it’s needed to improve image quality, given the shooting conditions. Unlike the previous HDR modes, Smart HDR works with more types of photos that previously could not use HDR, like Portrait and Portrait Lighting modes, panoramic shots, bursts, frames in Live Photos, and action shots like this one.
The Smart HDR feature is so well-implemented that nearly every image shot on recent iPhones takes advantage of it. It’s also interesting that HDR images are marked with HDR in the corner when you view them in the Photos app. However, Smart HDR is basically applied to all shots on newer iPhones, but the “HDR” badge may only be displayed when it’s really extreme.
Daring Fireball’s John Gruber took a great iPhone XS vs. iPhone X comparison shot that I think best exemplifies HDR imaging improvements that the faster sensors, better chips and improved algorithms in these new iPhones allow for.
The difference speaks for itself.

The iPhone X image is clearly blown out, whereas the one taken with the iPhone XS looks pretty good, which is entirely attributable to Smart HDR. “Notice too how in the XS shot you can easily read the ‘Shelton Theater’ sign in the back of the clown’s mouth,” Gruber writes.
You can disable Smart HDR in your camera settings to manually control it and take non-HDR pictures every time you tap the shutter button in the Camera app.
And that’s all you need to know about HDR pictures on iPhone.
On a related note: