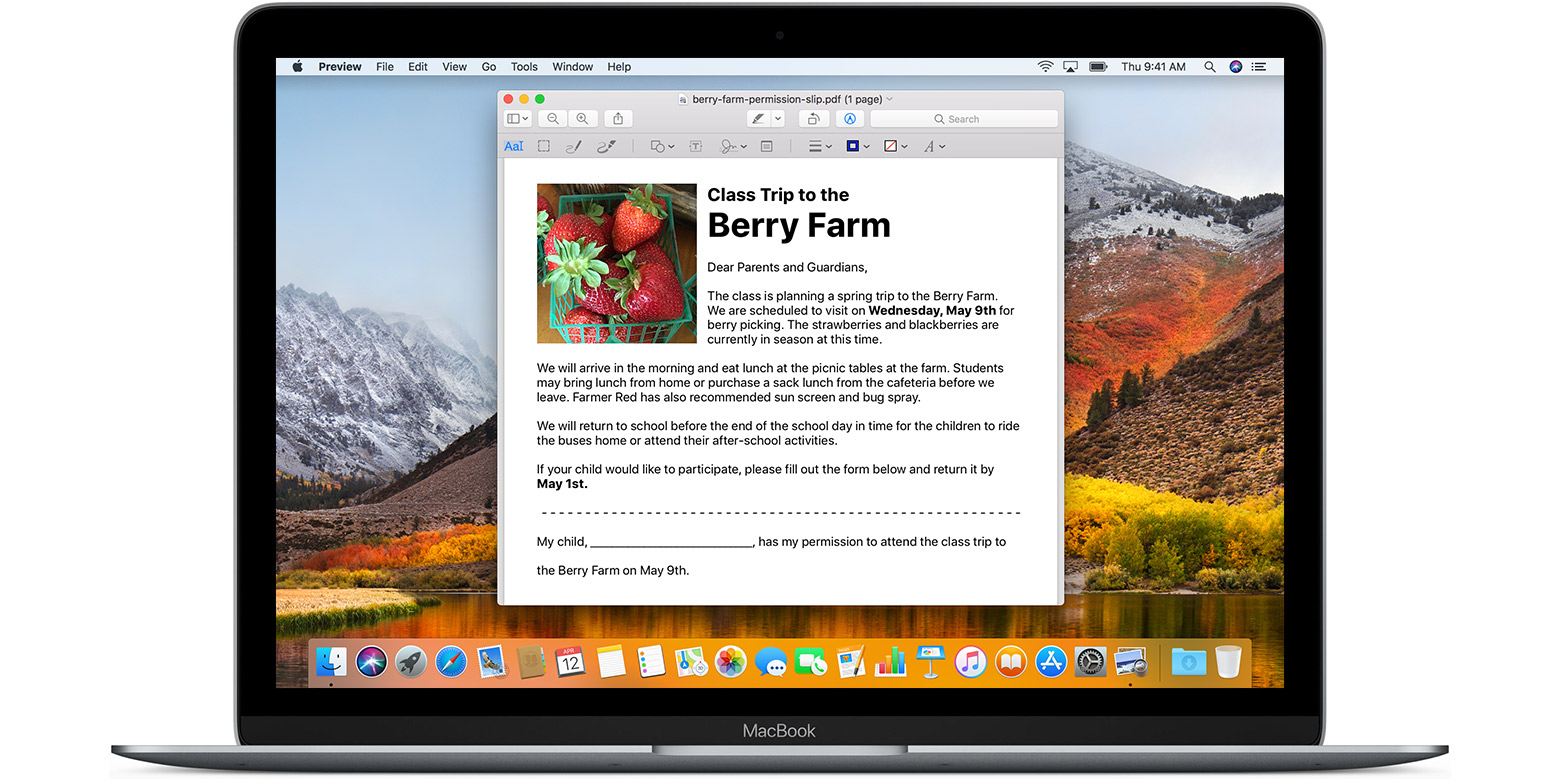
The Markup tools in the Preview app that came installed on your Mac allow let you put out something on an image, annotate a PDF file, add some text, sign a document and much more.
But wouldn’t it be great if you could access the Markup tools from virtually any Mac app that lets you edit stuff, like on iOS? Well, Apple has though of that so it shouldn’t come as a surprise that macOS includes a Markup extension that works in most stock and third-party apps.
Here’s how to set it up.
How to enable Markup extension on your Mac
To enable macOS’s built-in Markup extension, do the following:
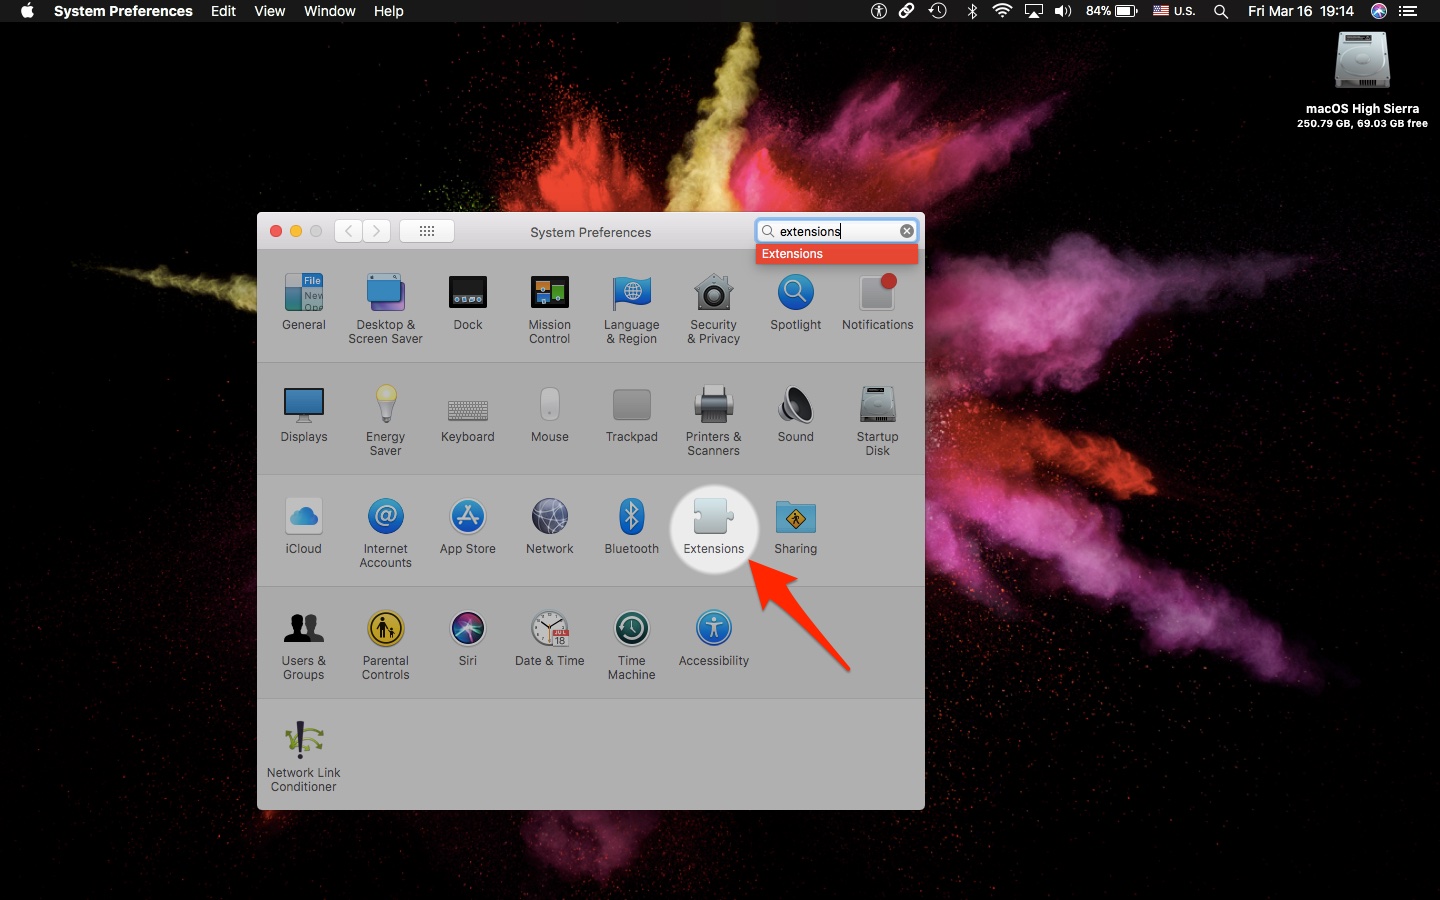
1) Open the System Preferences app.
2) Click the Extensions icon, then click Actions in the lefthand column.
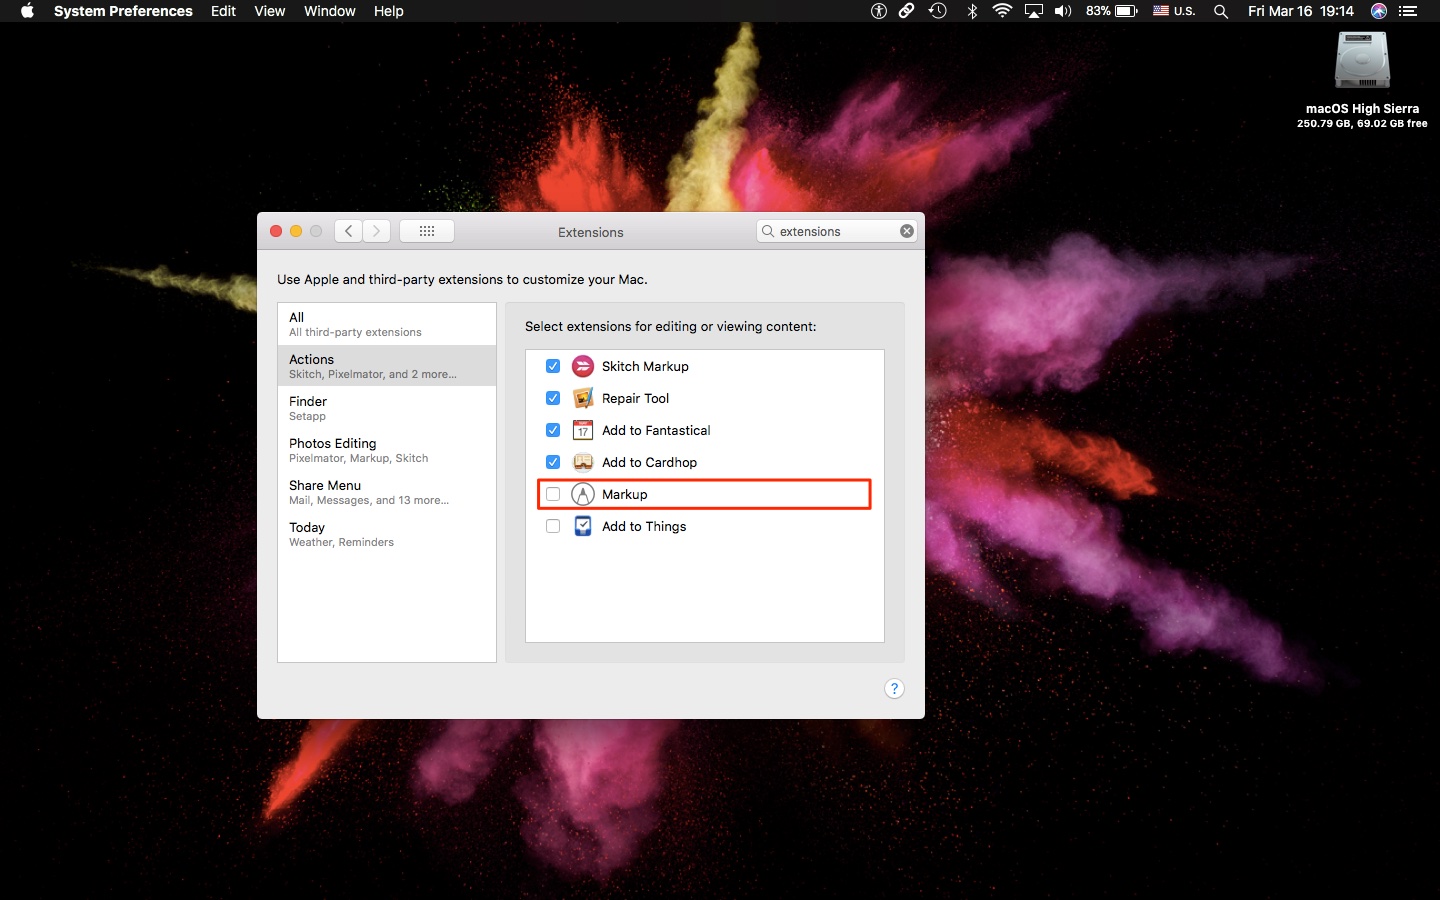
3) You should now see all extensions you installed on this Mac listed in the righthand column.
Find Markup in the list, then tick its box to enable the extension.
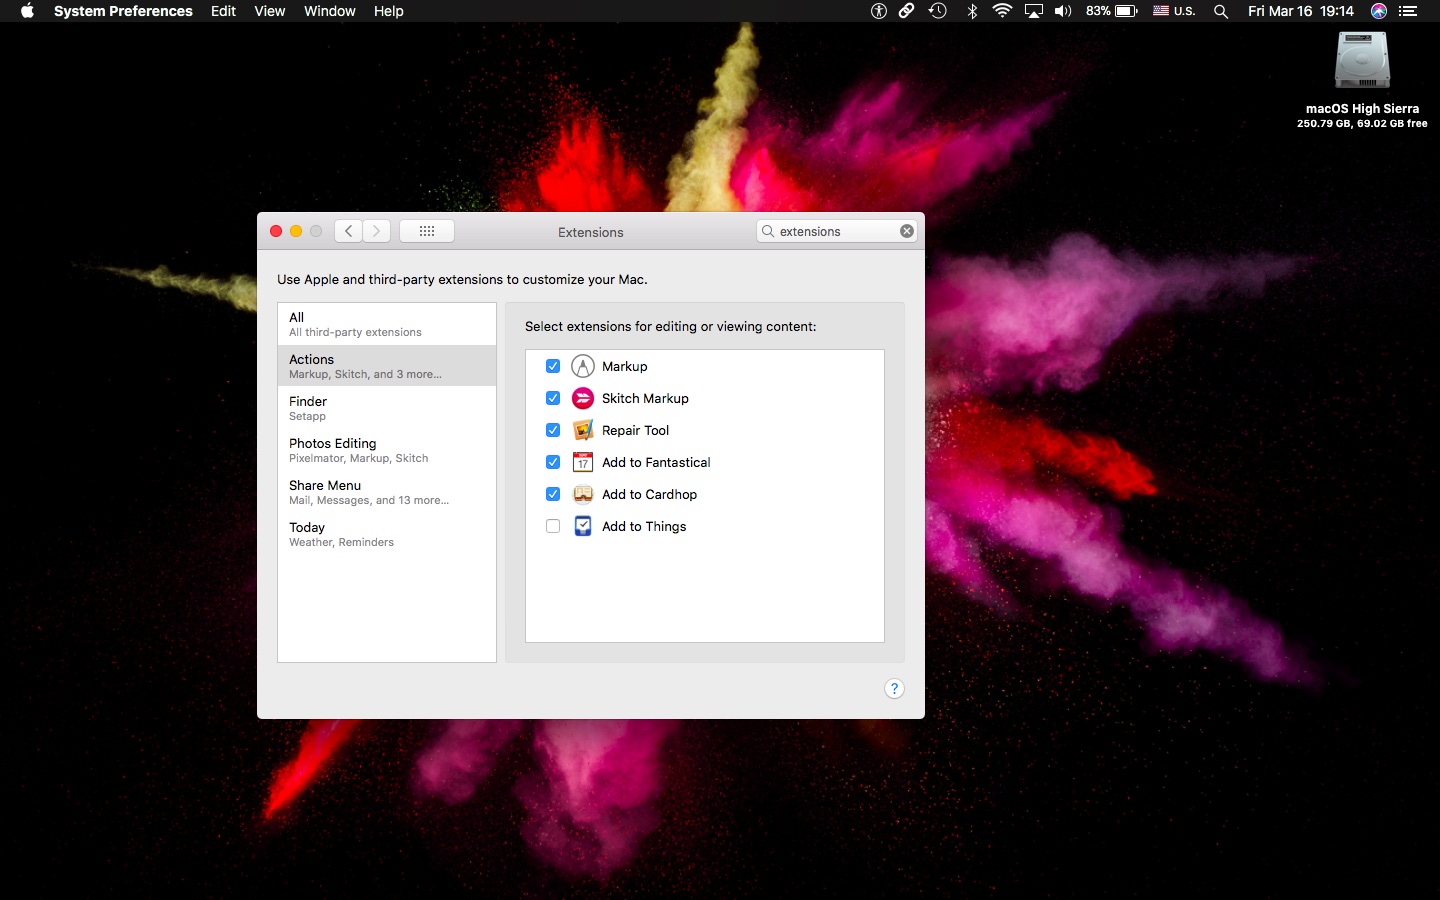
Congratulations, you can now draw on pictures, sign documents, annotate, add text and more in most apps which work with documents, like Mail, TextEdit, Pixelmator and so forth.
Turning Markup’s extension on lets you annotate images from within other apps
Apps that don’t work with documents, like FaceTime, don’t support Markup features at all.
How to use the Markup extension on your Mac
If your favorite app is document-based and support editing, like Microsoft Word, Pages, Notes, to name a few, you can use the Markup extension simply by hovering the mouse pointed over an image or object in an area of the app where you can edit stuff.
As you hover the mouse pointer over the image, you should see a downward-pointed arrow in its top-right corner. Click the arrow, then choose the Markup option from the popup menu.
Now you can annotate the image inline, using Markup, without leaving the app you’re in.
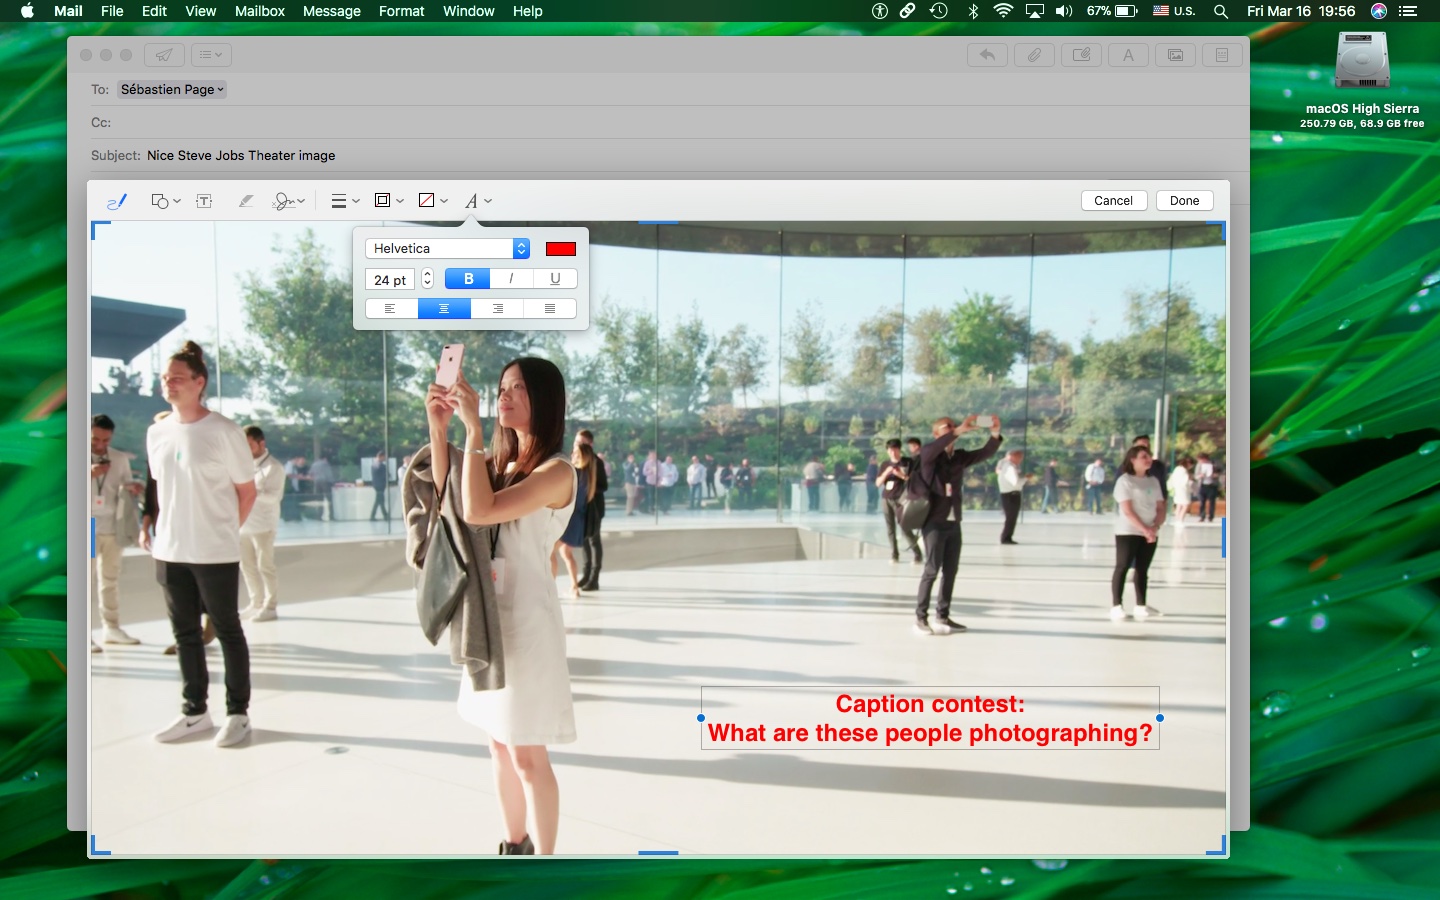
In the example of the stock Mail app, that could be a new email message with an inline image.
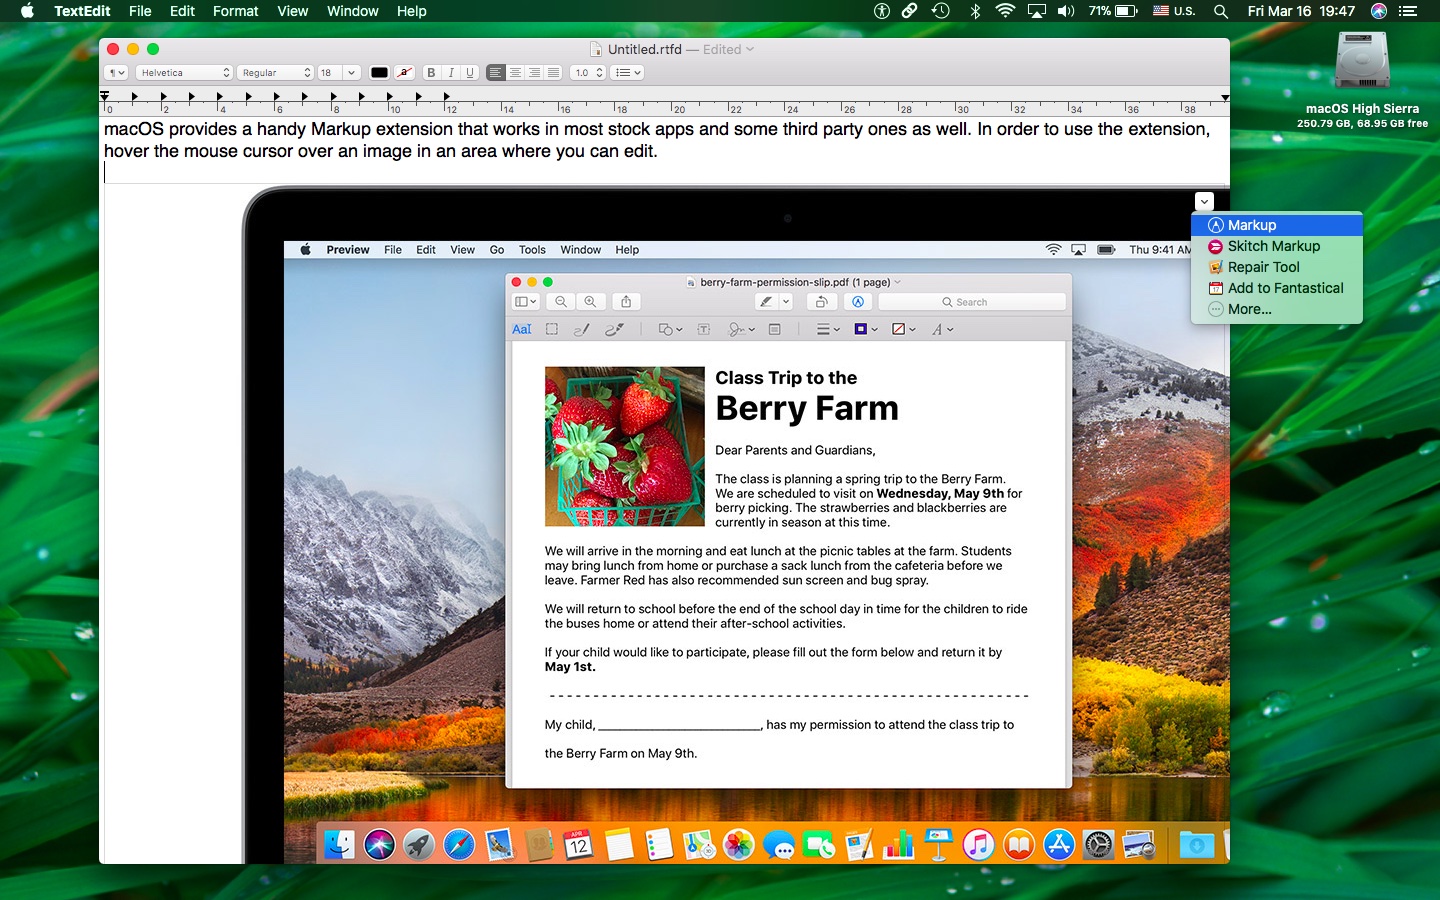
In TextEdit, Markup lets you annotate inline images.
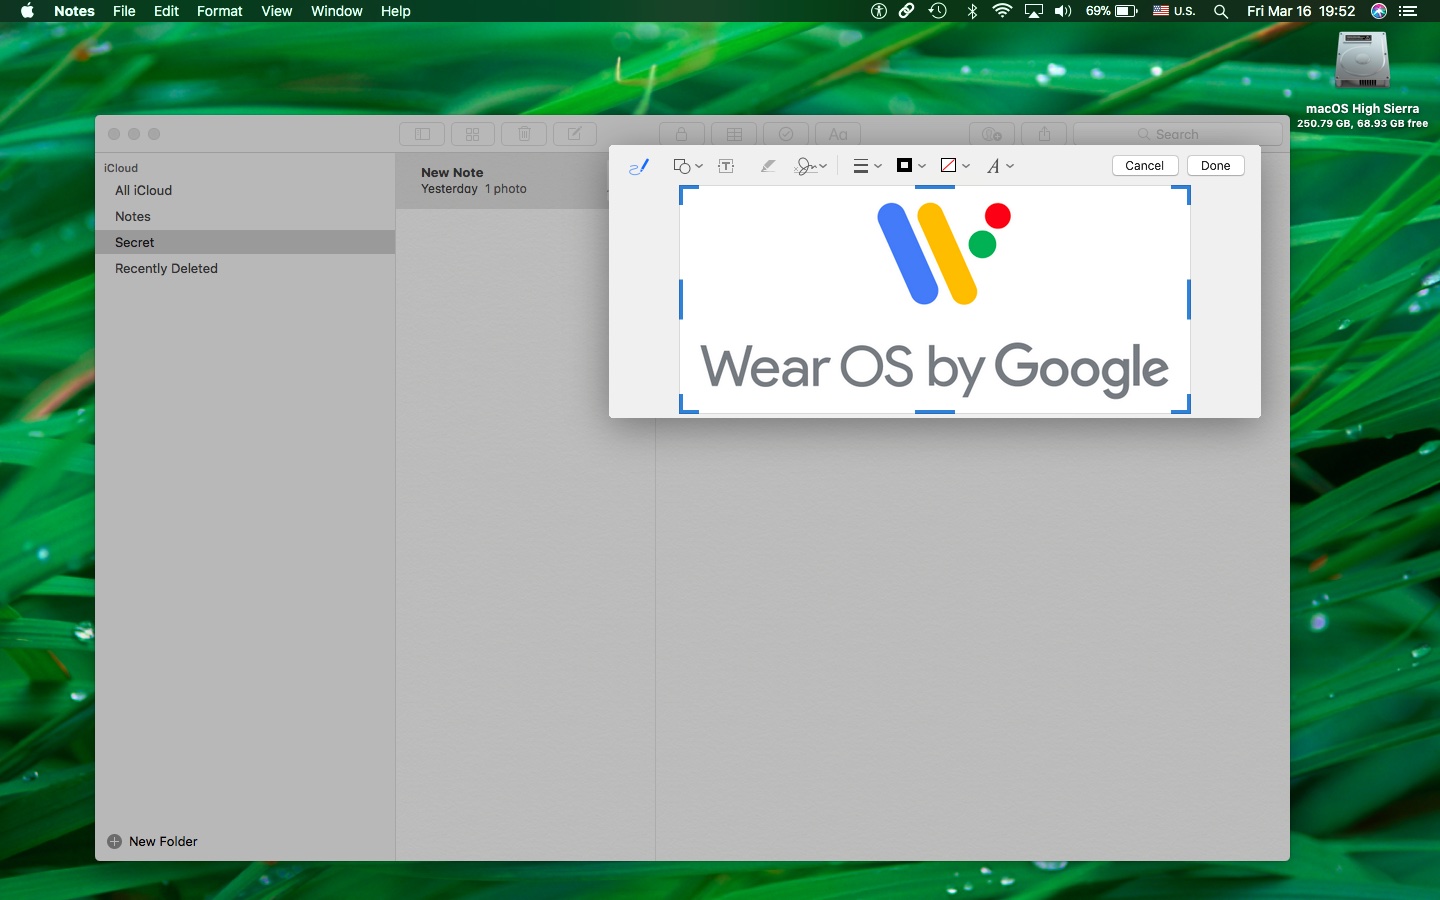
Similarly, you could annotate an inline image added to a note in the Notes app.
Keep in mind that some apps may not display a downward-pointed arrow when you hover the mouse pointer over an editable image even though they support Markup.
Examples include stock Apple apps like Preview and Photos.
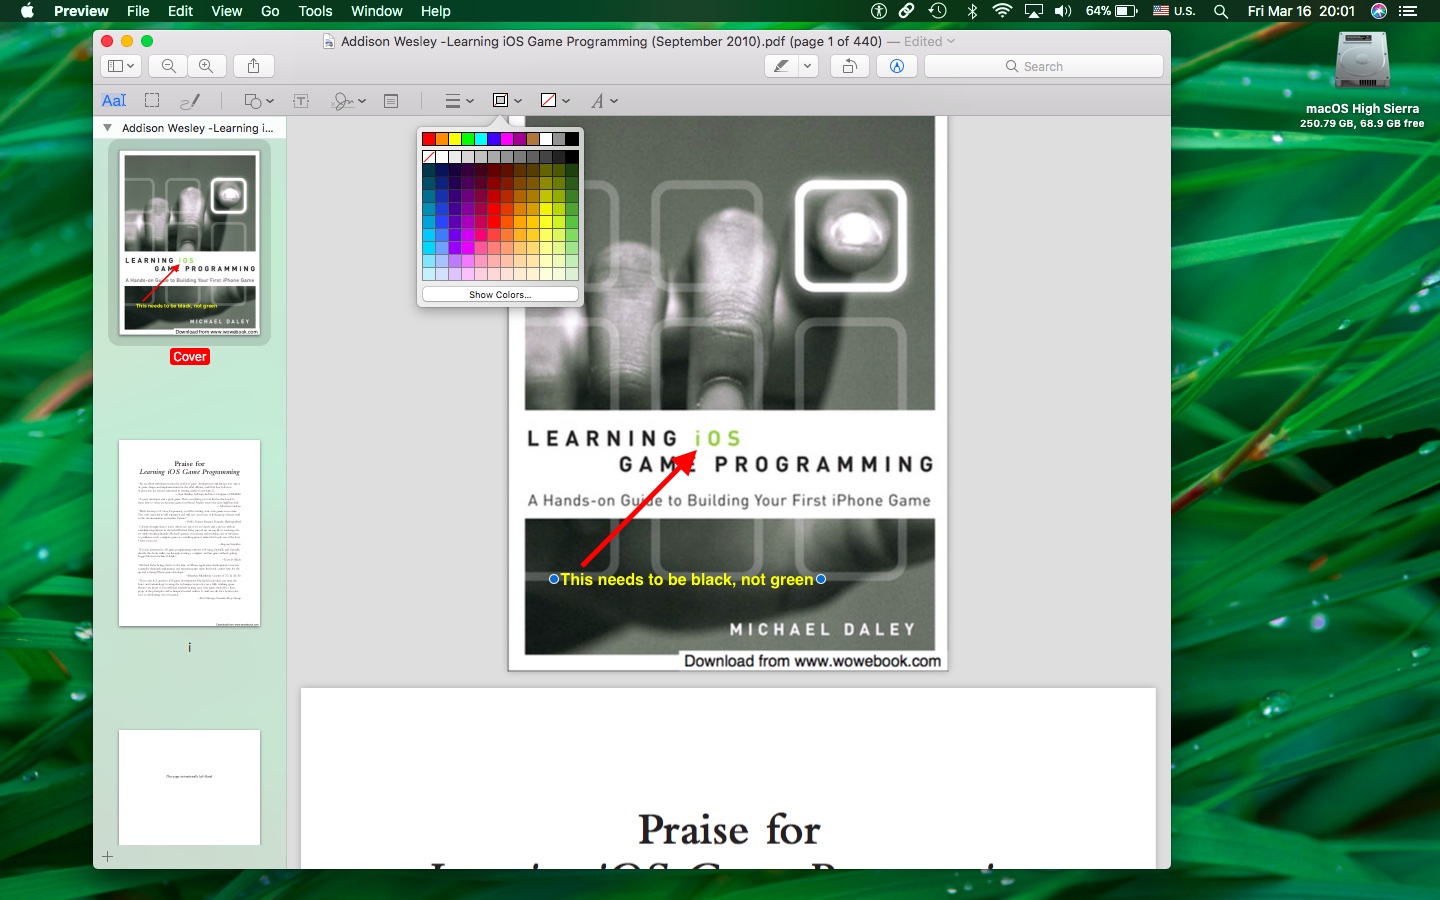
In Preview, press Shift (⇧)-Command (⌘)-A to show/hide the Markup tools.
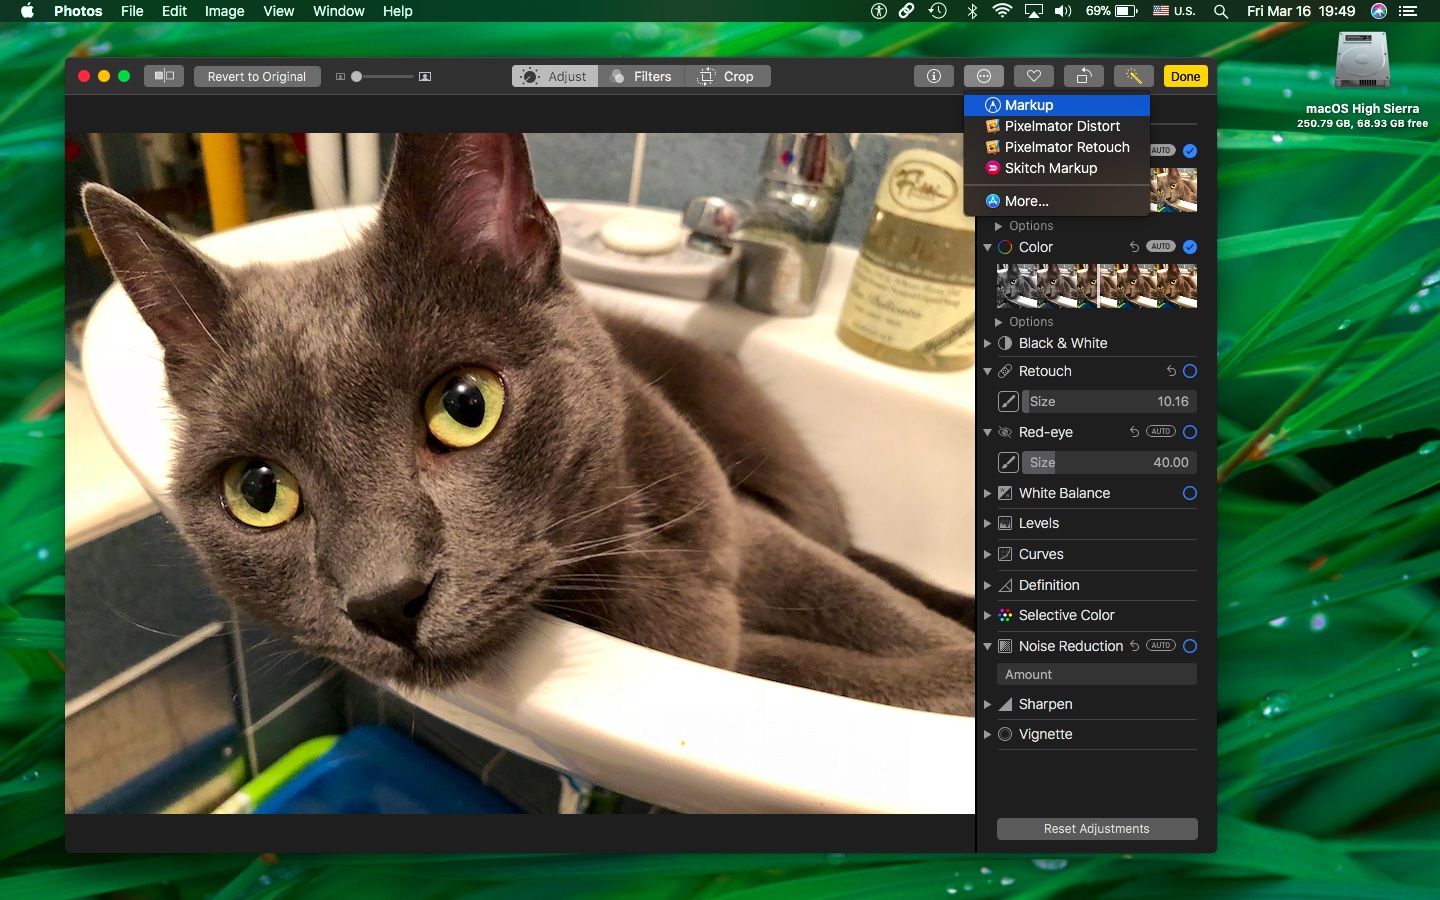
In Photos, Markup is available via the app’s extensions interface when editing an image.
Markup on iOS
Markup features are available on iPhone, iPad and iPod touch devices as well, with rich support for Apple Pencil on compatible iPad models. On iOS 11, Markup is an Action extension accessible through the Share menu.
For instance, you can access Markup through the image-editing interface of the stock Photos app to do things like circle a location on a map or magnify part of an image. In Mail, you can use the Markup tools to add drawings and text to your image attachments.
This super-handy extension also works in the Files app and almost any document-based iOS app. In the Files app, for instance, you can use Markup to add your signature or highlight a sentence in a PDF document.
And with Instant Markup, you can easily annotate a screenshot right after taking it.
Need help? Ask iDB!
If you like this how-to, pass it along to your support folks and leave a comment below.
Got stuck? Not sure how to do certain things on your Apple device? Let us know via help@iDownloadBlog.com and a future tutorial might provide a solution.
Submit your how-to suggestions via tips@iDownloadBlog.com.