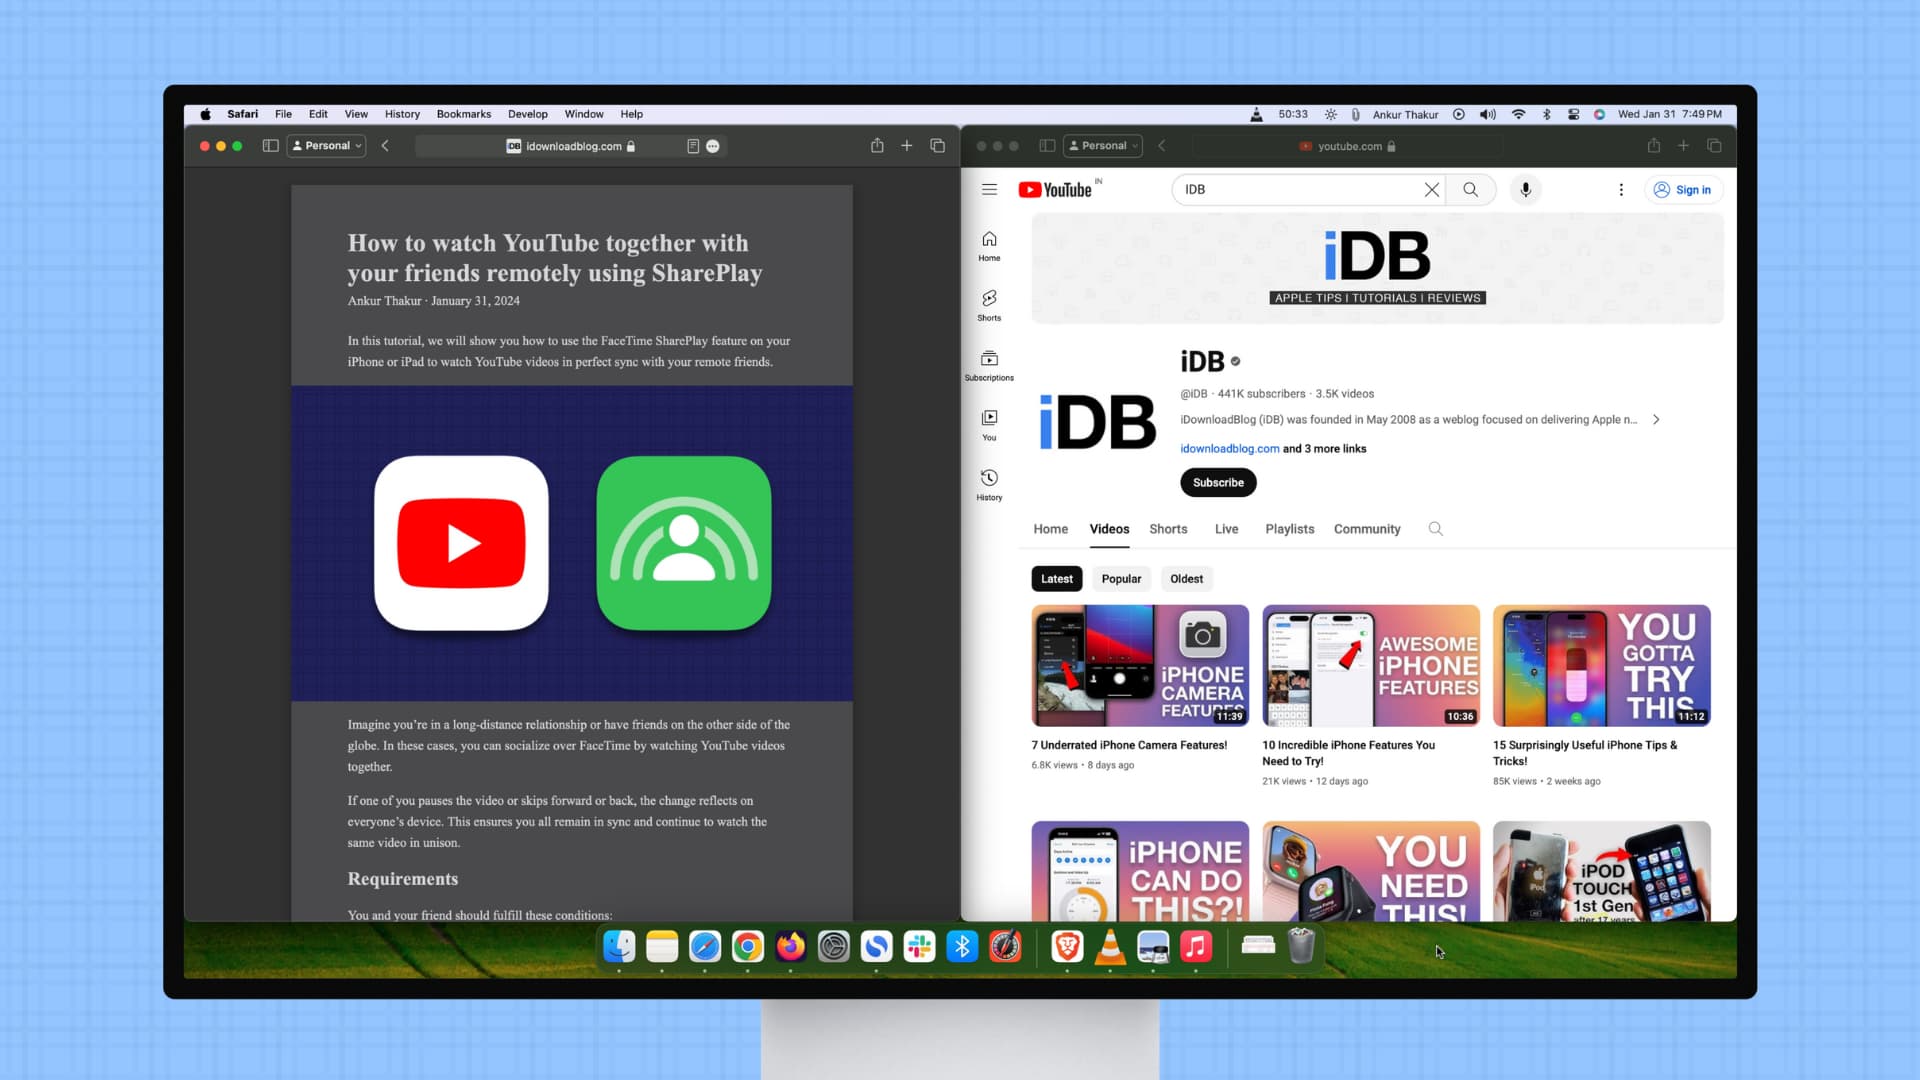
In this tutorial, we share eight useful tips for getting the most out of Mac’s built-in controls for resizing, minimizing, maximizing, and moving app windows around.
Minimize app windows

You have three ways to do that:
- Click the yellow minimize button located in the window’s top-left corner
- With the app open and the window selected, press the command + M keys on your keyboard.
- Double-click the top title bar of the app window. But if it zooms the window instead of minimizing, go to System Settings > Desktop & Dock and set “Window title bar double-click action” to minimize.

Tips:
- By default, app windows minimize into the rightmost section of the Dock, between the vertical separator and the Trash icon. But can you have them minimize to their app’s icon so they don’t take up valuable space in the Dock by turning on the switch for “Minimize windows into application icon” in System Settings > Desktop & Dock.
- Not a fan of the default Genie effect when minimizing the app windows? To replace it with the more traditional scaling effect, choose Scale Effect next to “Minimize window animation.”
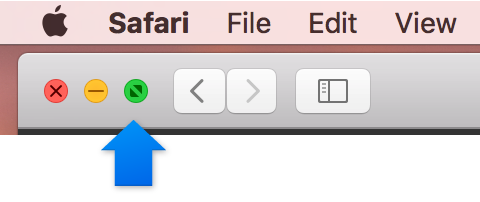
Maximize app windows
Click the green maximize button in the top-left corner of the app window to put it in full-screen mode. Doing so will hide the Dock and the top menu bar. Follow the same action to exit this mode.
Note:
- You can set your Mac to keep the top menu bar visible even when your app is in full-screen mode.
- Not all apps support full-screen mode. For such apps, this action will simply expand the window and leave your Mac’s menu bar and the Dock visible.
Tip:
- How about getting a bigger window without going full-screen? To do that, hold the option key while clicking the maximize icon, and the app’s window will enlarge instead of entering full-screen mode.
Close Mac windows
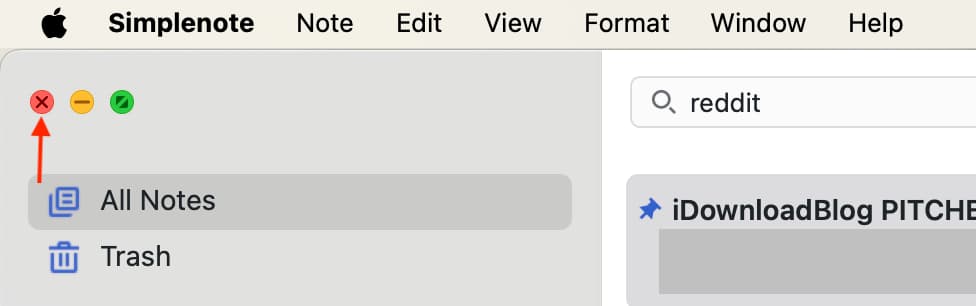
To close a window, click the red close button in its top-left corner or press the command + W shortcut on the keyboard.
Closing windows of apps that are functionless without windows (e.g., Photos) also quits them, though some do remain open when their windows are closed, including Music, Messages, Mail, Pages, Keynote, Numbers, and more.
If you have multiple windows open in an app, closing one of them won’t close or quit the app unless you specifically select the Quit command from the app’s menu or press the command + Q combination on the keyboard.
To quickly close all open windows in your app at once, hold the option key while clicking the app’s File menu, then select the Close All option, or use the option + command + Q shortcut on the keyboard.
Your Mac can automatically reopen any windows that were open when you quit the app. To enable this behavior, go to System Settings > Desktop & Dock and turn off “Close windows when quitting an app.”
Move Mac windows
Stop me if you already know this!
You can move a window by dragging it by its title bar to where you want it.
What you may not know is a handy three-finger trackpad gesture that lets you move windows around with three fingers. This option is disabled by default and buried in Accessibility settings. But you can easily turn on three-finger drag in System Settings. From a productivity standpoint, there’s really no reason not to enable this option. The gesture not only lets you move windows around without clicking anything, but also lets you text in apps like a boss and more.
Hide open app windows
To hide the active app, invoke the command + H shortcut on the keyboard. Alternatively, you can click the app’s name next to the Apple icon and choose the Hide app name option.
To hide the windows of all open apps except the active one, use the keyboard shortcut option + command + H or select the Hide Others option from the app’s menu.
Related: The difference between Minimizing and Hiding apps on Mac
Resize app windows
To manually resize a Mac app window, drag its edge on the top, bottom, or sides.
Tip:
- Wanna maximize the window from one of its sides? No problem; just double-click one of its edges to automatically expand that particular side of the window.

Work with multiple apps on the screen
Place the mouse pointer over the green maximize button, but don’t click it, and you’ll see a menu pop out. Use one of the options there to organize your app windows the way you like. Note that you’ll have to do this for all app windows you want to place in a certain way.

Hold the option key to reveal additional options.

You can even hold the option key while dragging the app window to tile it automatically.

Related: How to use Split Screen to put two apps side-by-side (in Split Screen, the apps are in full-screen mode with the Dock and menu bar hidden. You can also resize the window size)
Using Tabs
By default, your Mac opens documents in tabs only when an app is in full-screen mode.
Thankfully, macOS includes an optional feature that forces all document-based apps to automatically open new documents in tabs rather than in windows. To enable this feature, go to System Settings > Desktop & Dock, and set “Prefer tabs when opening documents” to:
- Always: New windows will always open in tabs
- In Full Screen Only: Only full-screen apps will open documents in tabs
- Never: Create a tab manually by pressing option + command + N
You’re wholeheartedly recommended to use tabs on your Mac instead of windows whenever possible. Having documents open in tabs instead of separate windows greatly reduces clutter on the desktop.
Tip:
- No tab bar in your app? Show it by choosing Show Tab Bar from the View menu.
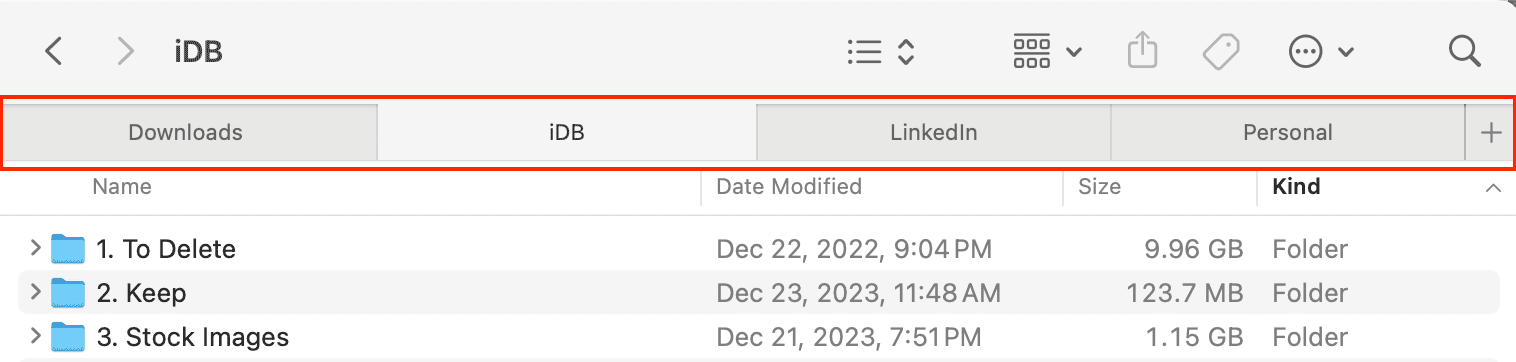
Here are some things you can do with tabs in apps and the Finder:
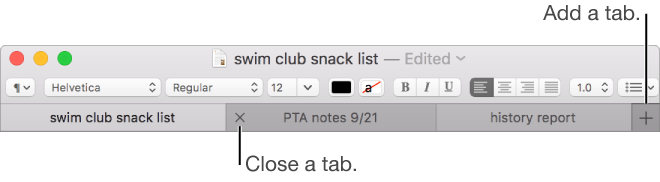
- Add a new tab: Click the New Tab button in the tab bar tab or choose New Tab from the File menu.
- Reorder tabs: Drag an app’s tab left or right
- Close a tab: Click the “x” symbol inside the tab
- Close all tabs except the current one: Hold option + click “x” of the tab you’re in
- Go to the next tab: Press control + tab
- Go to the previous tab: Press control + shift + tab
Tip:
- There’s a faster method to skim through your tabs like a pro. First, click a tab in an app, then simply swipe left or right in the tab bar with two fingers on the trackpad to quickly scroll your tabs horizontally.
To merge multiple windows within an app into one window that contains multiple tabs, choose Merge All Windows from the app’s Window menu.
If you’d rather make a single tab a separate window again, simply drag the tab out of the window. You can also right-click over the tab name and select Move Tab to New Window or do that from the app’s Window menu.
For a detailed overview of tabs in macOS and merging/splitting windows, see our dedicated tutorial.
Want new Finder windows to open in the size you want? There’s a how-to for that!