Learn how to set up a screensaver in macOS 27 Golden Gate or macOS 26 Tahoe to hide your desktop when you’re not using your computer by displaying photos, music album art, word of the day, and other custom visuals.
What you can use as a screen saver on Mac
Recent versions of macOS come with a built-in screen saver option, which includes several Apple TV-like aerial screen savers. In addition to that, you can also set the following as a screen saver on your Mac:
- Photos from your Mac’s photo library or Finder folder.
- A beautiful animation of the word hello.
- Different kinds of motion screen savers: Drift, Flurry, Arabesque, and Shell.
- Custom text.
- Album artwork from the Music app.
- Word of the day.
And with a bit of help from our dedicated tutorials, you can also:
With that said, here’s how to use the built-in options to activate and customize the screen saver on Mac.
Set a screen saver on your Mac
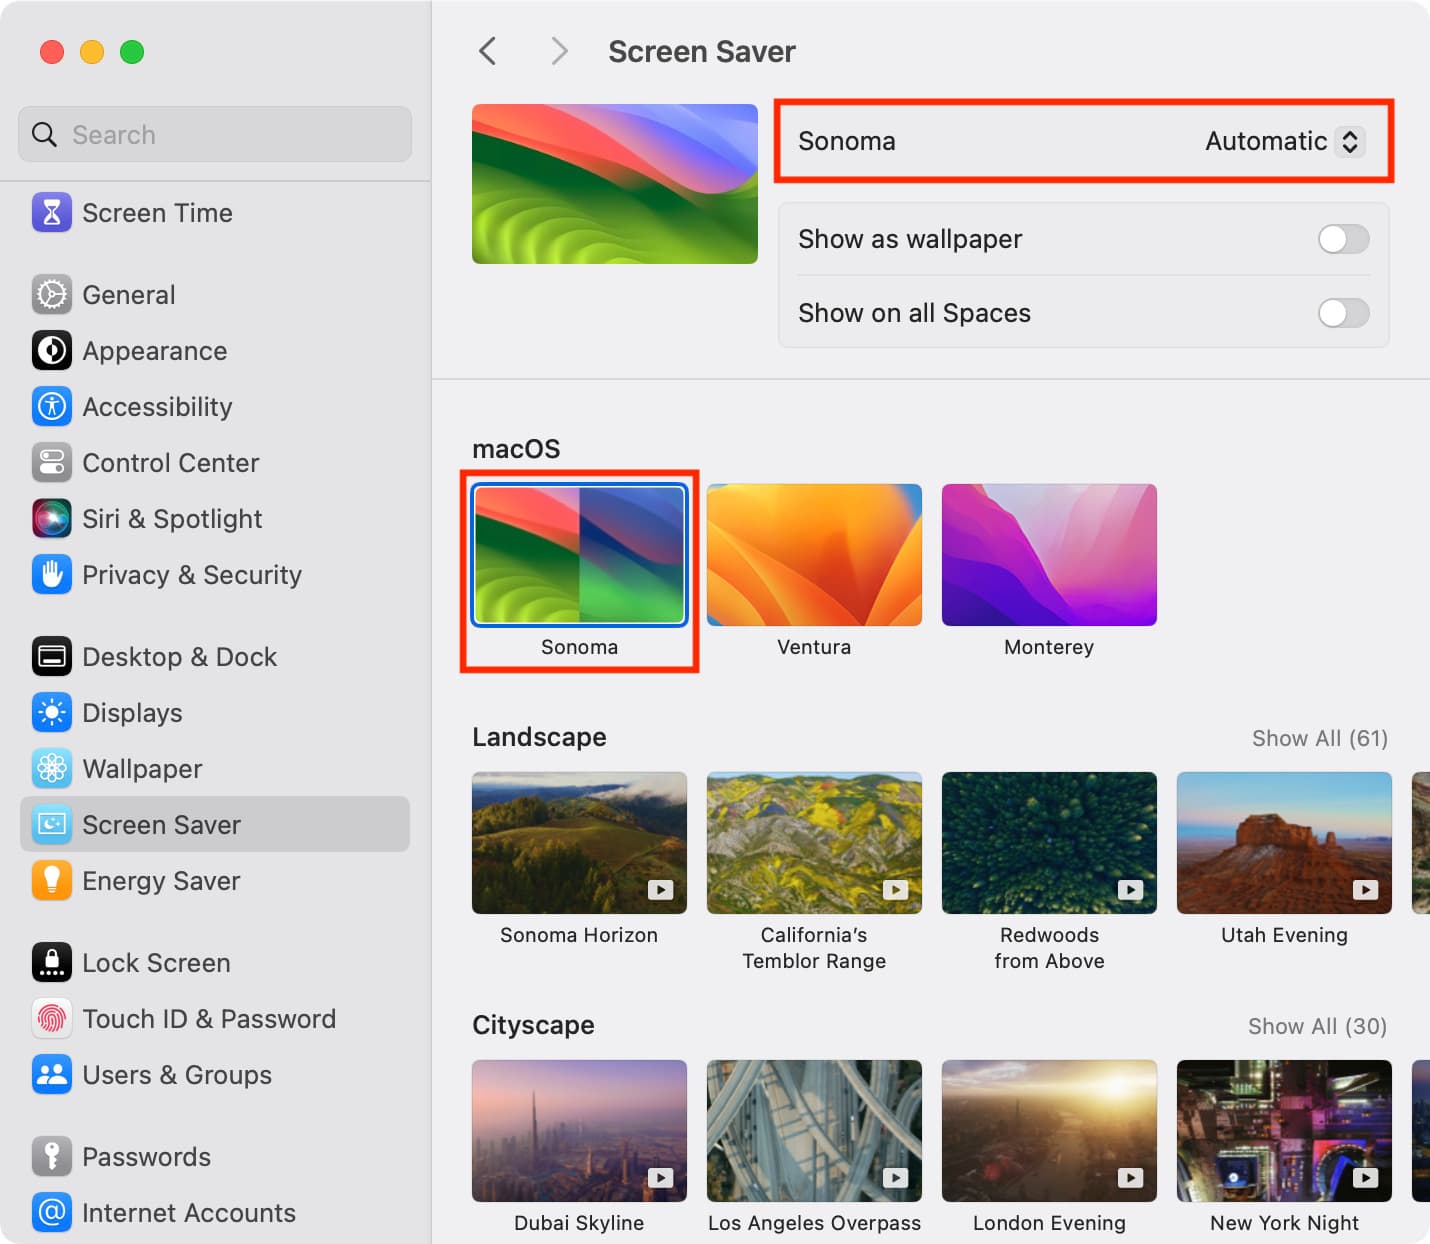
1) Open System Settings and select Wallpaper > Screen Saver.

2) Set “Start Screen Saver” to a suitable time. If you select 5 minutes, it means your Mac will automatically start showing the screen saver if the computer has been left idle for 5 minutes.
3) Now, you can leave the “Use Screen Saver” option to Automatic, and your Mac will automatically use various screen savers of different kinds. Or, select Custom and pick a desired screen saver from the list.

macOS Screen Savers: Select macOS Beta (which will be renamed to Golden Gate in the future), Tahoe, Sequoia, Macintosh, Sonoma, Ventura, or Monterey. You can then choose to set the appearance to Automatic, which will shift throughout the day, or go with dedicated Light or Dark styles. Note that Ventura and Monterey don’t offer this choice.
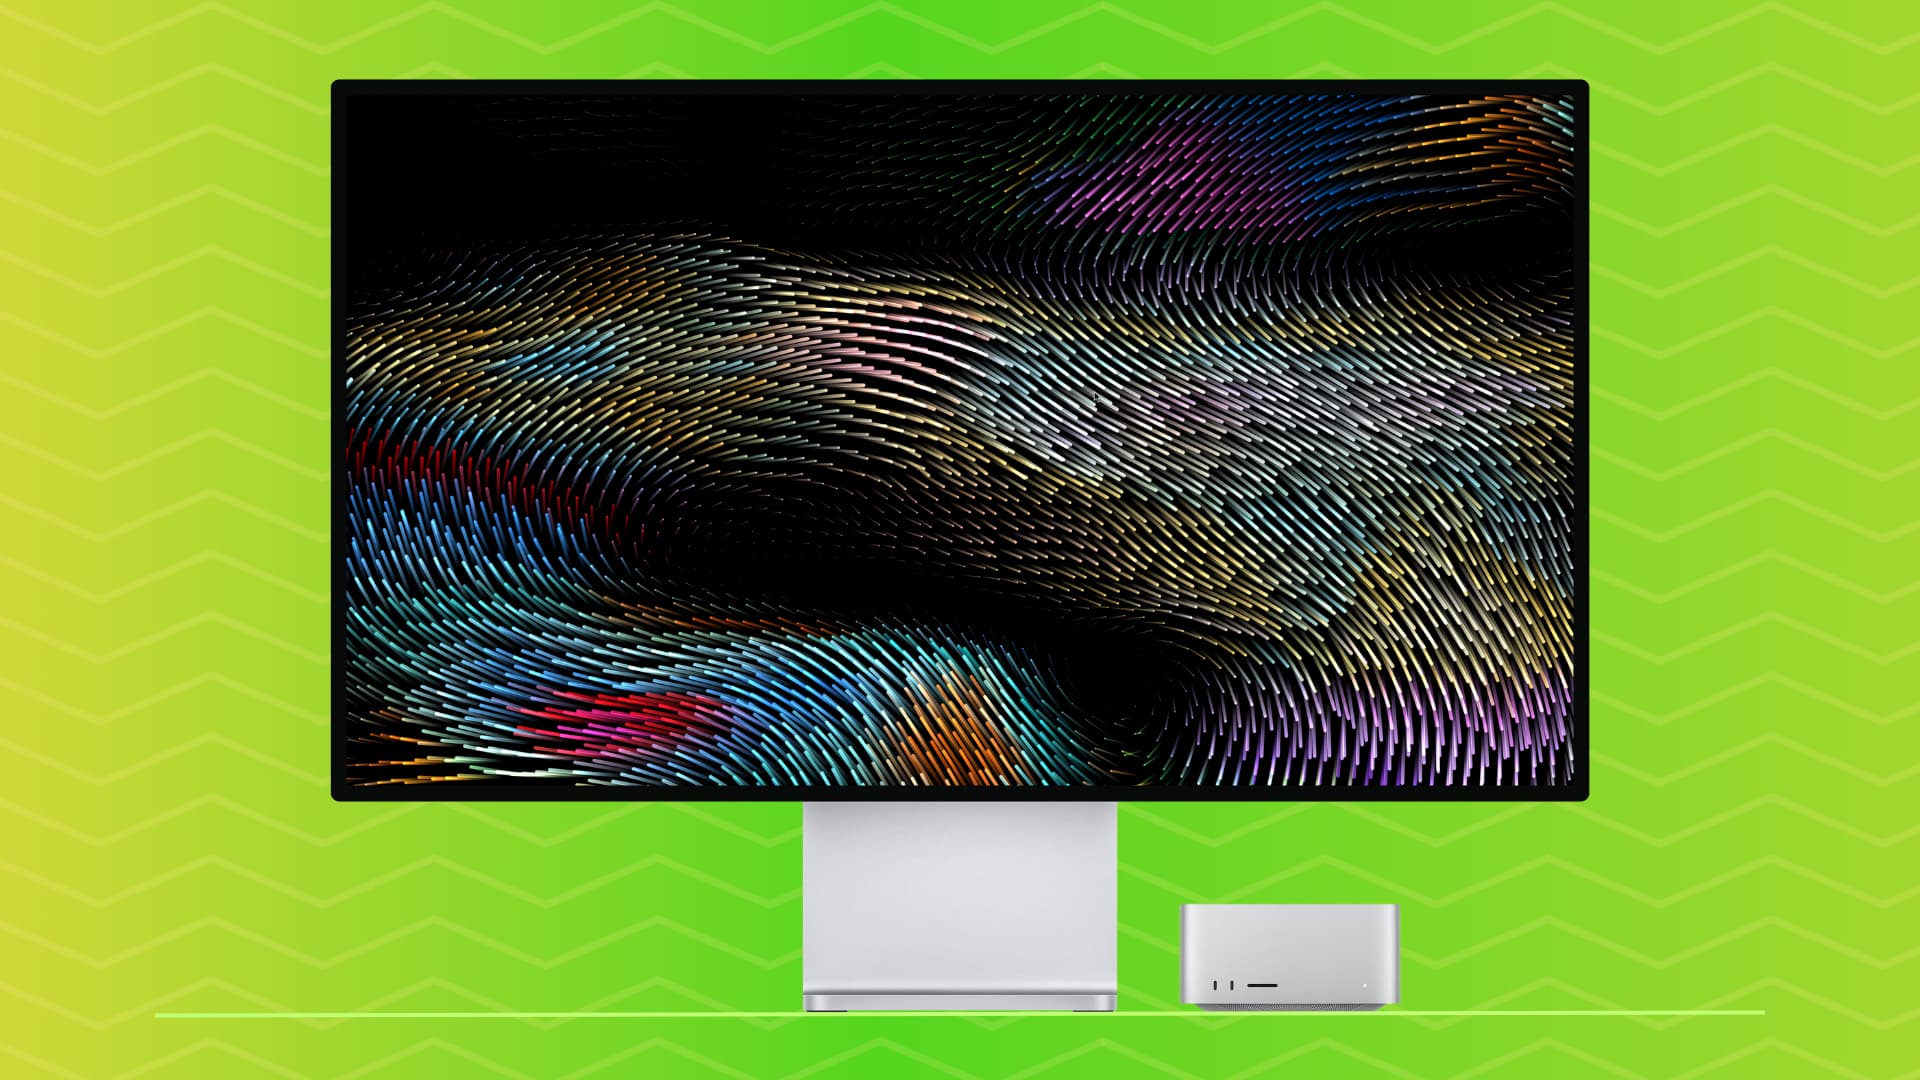
Aerial Screen Savers: Selecting a screen saver (except Tahoe Day) under Landscape, Cityscape, Underwater, or Earth will download them first. It’s a big, high-resolution file that can take a while to download.
Shuffle the Screen Savers: With the Shuffle Aerials screen saver, you can rotate between aerial screen savers of a particular kind or shuffle them all. After selecting one here, use the drop-down menu button from the top to set a shuffle period.

Other Screen Savers: For most screen savers selected under the Other heading, you can click the Options button at the top and further customize it by selecting colors or your own photos as the screen saver, or make other adjustments. For instance:
- If you select the Message wallpaper, hit the Options button to enter your text.
- If you select Photos, use the Options button to select which pictures to use.
- If you simply cannot decide which screen saver you want to display, mark the Random screen saver box, and your Mac will use all screen saver styles, one by one.

4) After you make the selection, place your cursor over the thumbnail at the top to preview how the screen saver will look. Move the cursor to return to System Settings. When you’re happy with your choice, just close the Screen Saver window.

If your Mac is on an older version of macOS, go to System Settings > Screen Saver, and pick one of the many options under macOS, Landscape, Cityscape, Underwater, Earth, Shuffle Aerials, or Other headings.
Customize screen saver settings
You can customize a few settings, such as when the screen saver starts, when your Mac should turn off the display, and more.

1) Open System Settings on macOS 26 or macOS 27 and select Lock Screen.
2) Set a time for ‘Turn display off on battery/on power adapter when inactive’ on MacBook or ‘Turn display off when inactive’ on Mac desktop. If you select 20 minutes, it means your Mac’s screen will automatically turn off and stop showing the screen saver once the computer has been left idle/inactive for 20 minutes.
Note: If the screen saver starts after 5 minutes and your Mac is set to turn off the display after 20 minutes of inactivity, this means the screen saver will be shown for 20 – 5 = 15 minutes.
3) Next, for maximum security, I recommend choosing Immediately for ‘Require password after screen saver begins or display is turned off.’
How to start the screen saver on Mac
You have a few different ways to do this.
1. Automatically, after a while
As explained, your Mac will automatically start showing the screensaver if it has been left inactive for the amount of time you selected when setting it up.
2. Using Hot Corners
You can configure a Hot Corner on your Mac to start your screen saver whenever you like. After this, when you place your mouse pointer in that corner of the screen, it will instantly go to screen saver mode.
3. Using the keyboard or Dock
Finally, we have a couple of pro tips to quickly start the screen saver using a keyboard shortcut or from your Mac’s Dock!
Stop the screen saver
There are two ways to do that.
1. Manually
Press any key on your Mac’s keyboard, move the mouse, or touch the trackpad, and it will stop the screen saver.
2. Automatically
Your Mac will automatically stop showing the screensaver and turn off the display per the setting you selected in Mac Lock Screen settings.
On a related note: