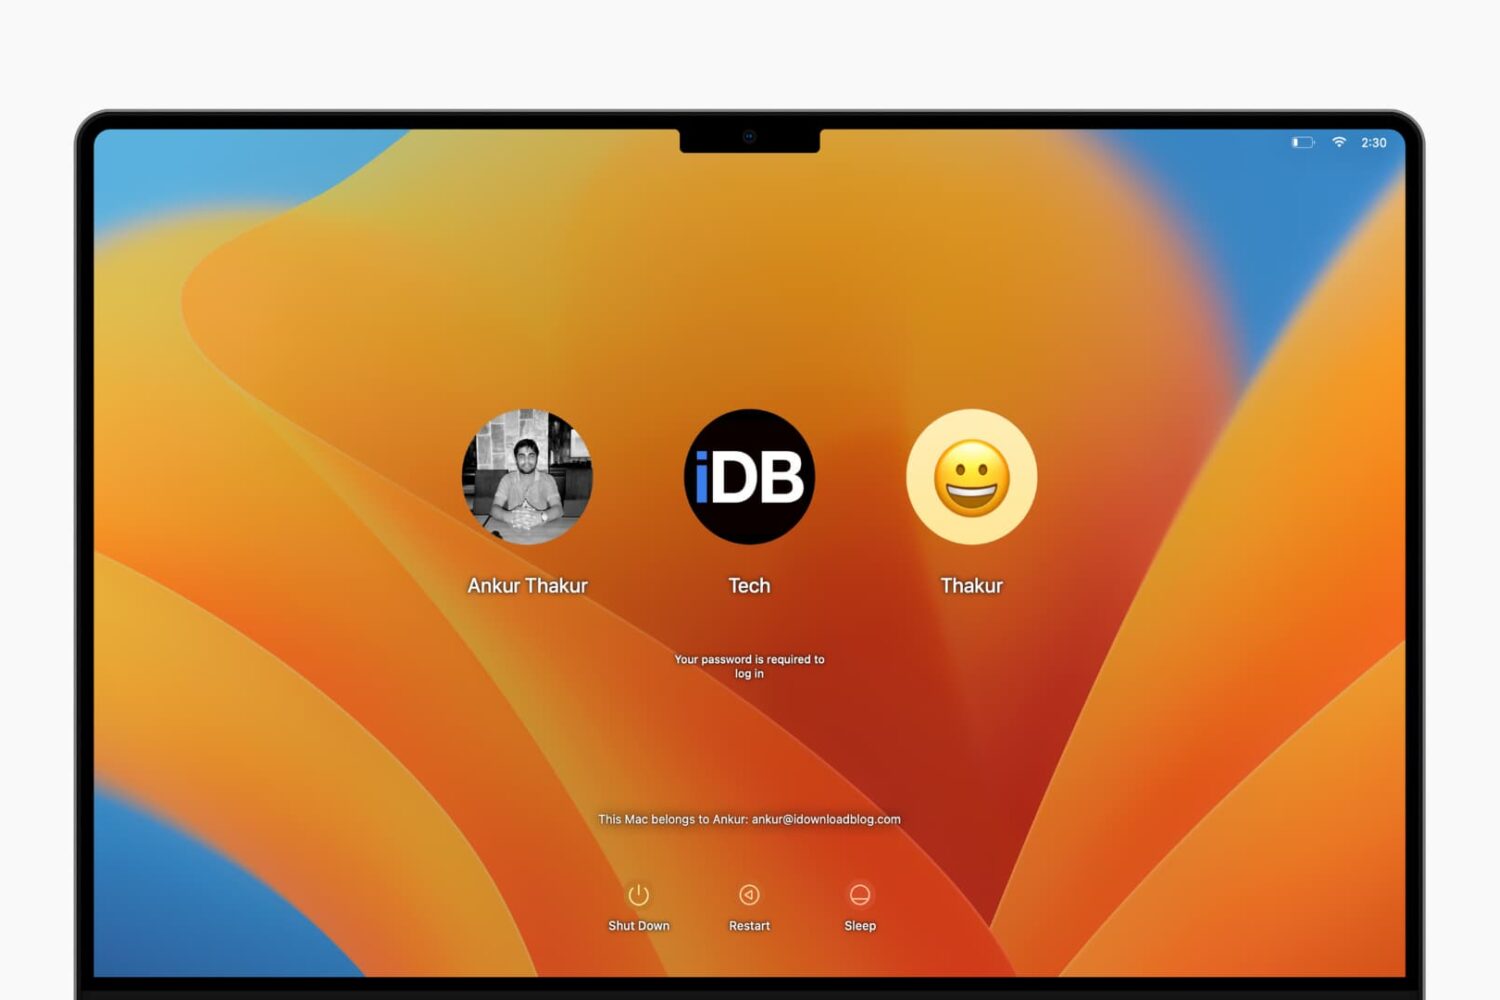
With a simple modification, you can display a custom message on your Mac's lock screen or login window. This tutorial shows you how to do that.
How to add custom text to a Mac login screen
Learn how to master your Apple devices with our comprehensive tutorials. From iPhone and iPad to Mac, Apple Watch, AirPods, and more, our expert guides will help you unlock the full potential of your Apple products. Discover new features, tips, and tricks each day to enhance your user experience.
With a simple modification, you can display a custom message on your Mac's lock screen or login window. This tutorial shows you how to do that.

In this quick tutorial, we show you how to easily share a group of contacts from your iPhone or iPad using email, iMessage, AirDrop, and other methods.
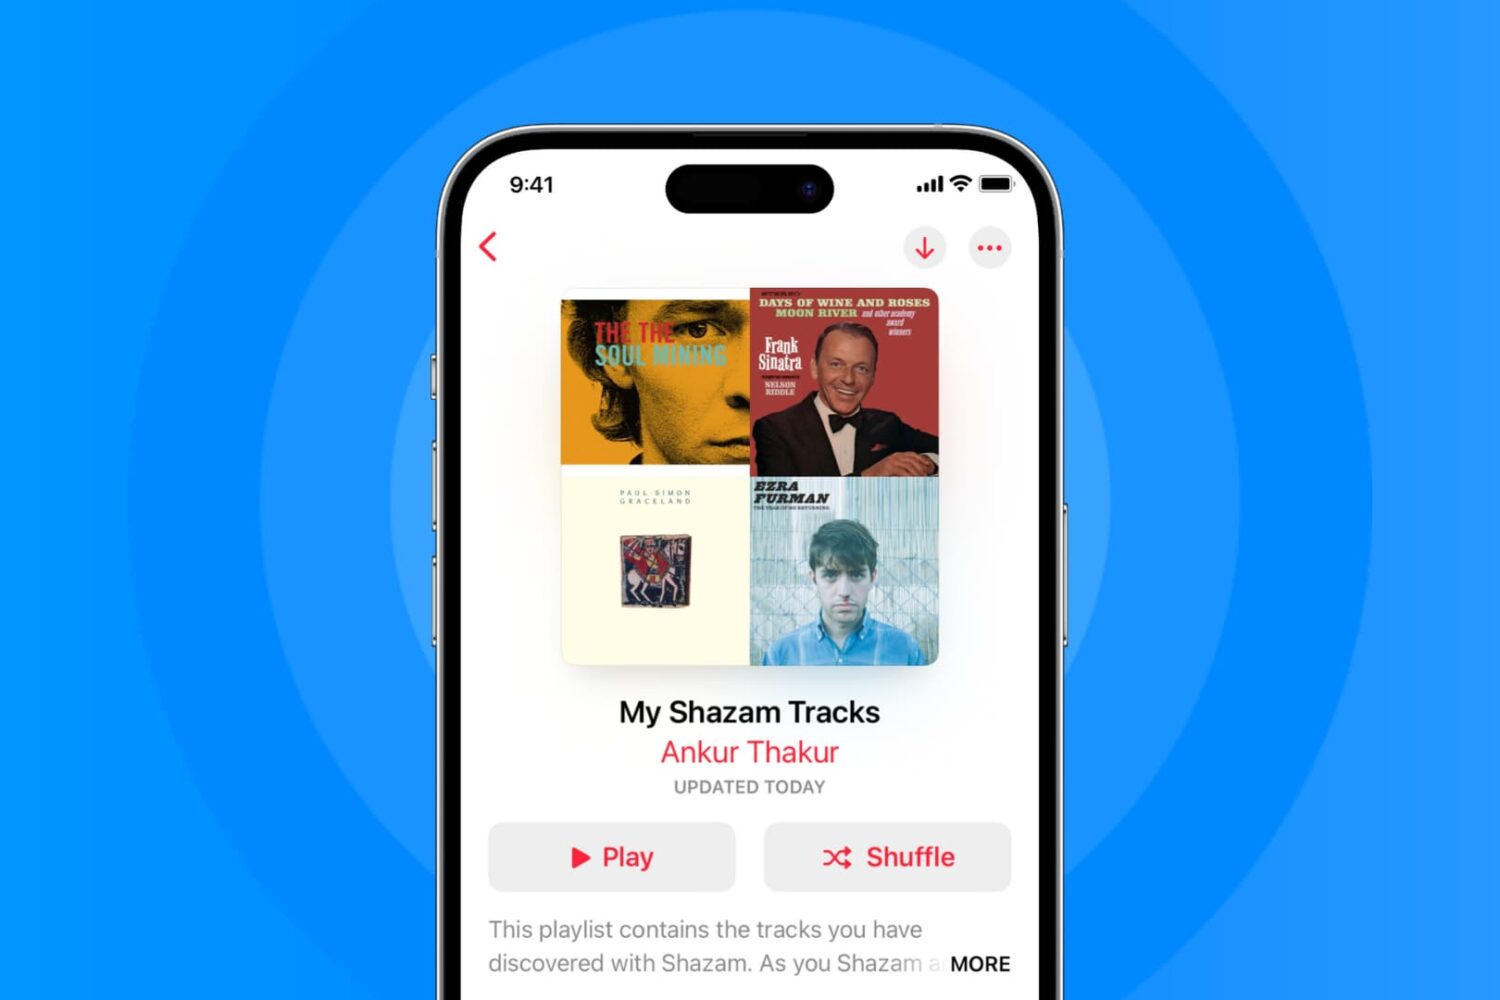
In this handy tutorial, we’ll show you how to have the songs you identify using Shazam get automatically added to an Apple Music or Spotify playlist.

Wish List is one of the lesser-known features of App Store. Your Wish List is accessible in App Store on mobile and iTunes on desktop. As the feature's title suggests, you can add iPhone, iPad and iPod touch apps and games to your Wish List that you might want to explore or purchase later.
With this tutorial, you'll learn how to add, remove and downloads items on your Wish List on your iPhone, iPad, iPod touch, Mac or PC devices.

Stream Saver is a new feature from AT&T that allows users to save cellular data by automatically streaming higher definition videos at a standard definition (480p). This feature has now officially been rolled out to all AT&T customers that are on a voice + data plan.
While Stream Saver can be a great feature if you're on a limited data plan, it can also be overkill if you have a large data cap, or even an unlimited one. If you fall under that category and want to keep enjoying videos you stream in their full resolution, it may not be a bad idea to disable Stream Saver which has been turned on by default for all eligible AT&T customers.

Smartphones have come a long way over the years. With advanced mobile technology we also have amazing and powerful apps. It’s the combination of these two that makes taking great photos with our phones possible. But when it comes to HDR photography, what do you do if you don’t own a camera or you left it at home? Why not use your iPhone for HDR?
We always have our phones with us these days. This means if you’re out and about and want to take a few photos, this is where your iPhone can give you amazing results when it comes to capturing and creating HDR photos.
After all, the iPhone is arguably the most popular camera in the world. Maybe the popular saying is correct: “The best camera is the one you have with you.”
In this post we will use a couple apps to create impressive HDR photos. We will first shoot photos on iPhone using an app called PureShot, and then we will edit these photos using Aurora HDR for Mac.

Ever wanted to go through your Contacts app and remove all those that you no longer associate with? In this guide, we’ll show you how to delete multiple contacts at once on your Mac, which will also remove them from your iPhone and iPad.

In this brief tutorial, we’ll show you how to adjust the search scope for Finder on your Mac. You can set it to search the entire drive (which is the default), search the current folder you are in, or use the search scope you last specified.
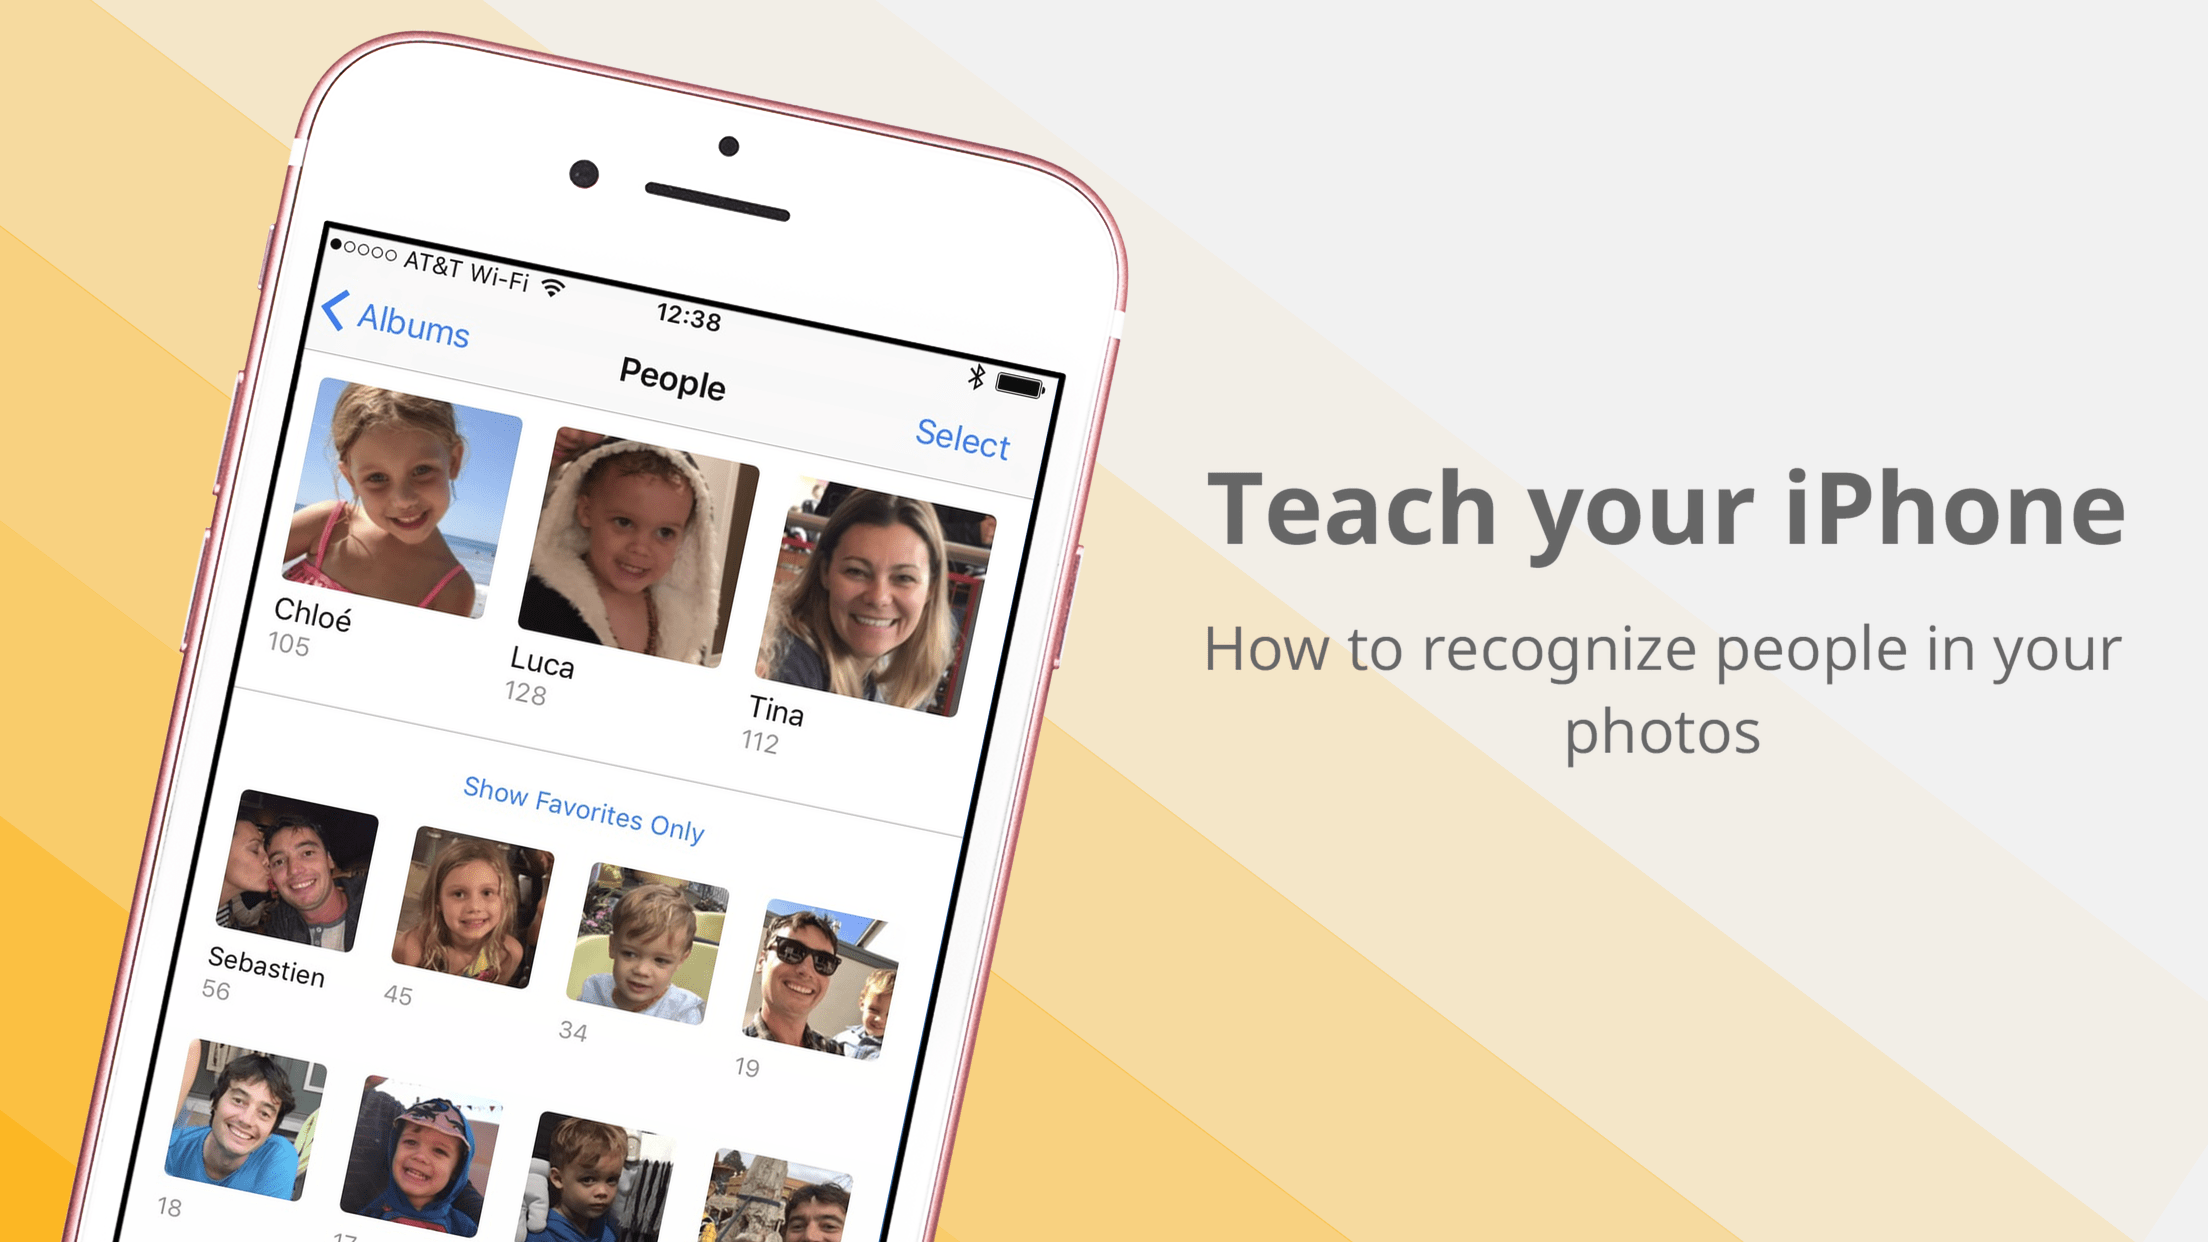
Organizing one’s photos by date or occasion is by far the most common methodology in photography, and of course why wouldn’t it be? The simple fact of the matter is that a chronological structure of photos satisfies most search requests because you pretty much know immediately where to look for a certain snapshot. With that said, more unconventional efforts such as accumulating every single photo taken by the beach or all shots of your family ever snapped, quickly render the chronologic album structure rigid and dated.

Most of our readers will be familiar by now with Apple's Continuity suite, a slew of features which were introduced with iOS 8 and OS X Yosemite. These features include Instant Hotspot, a new AirDrop, SMS/Phone calls from Mac, and Handoff. With macOS Sierra and iOS 10, they added Auto Unlock and Universal Clipboard to the group.
The catch is of course that making use of these features requires certain hardware. Therefore, Macs from before about 2010/11 appear not to support some or all of the new functionality. However, it turns out there is a way to enable Continuity on your older hardware. In this guide we'll go through how to do it.
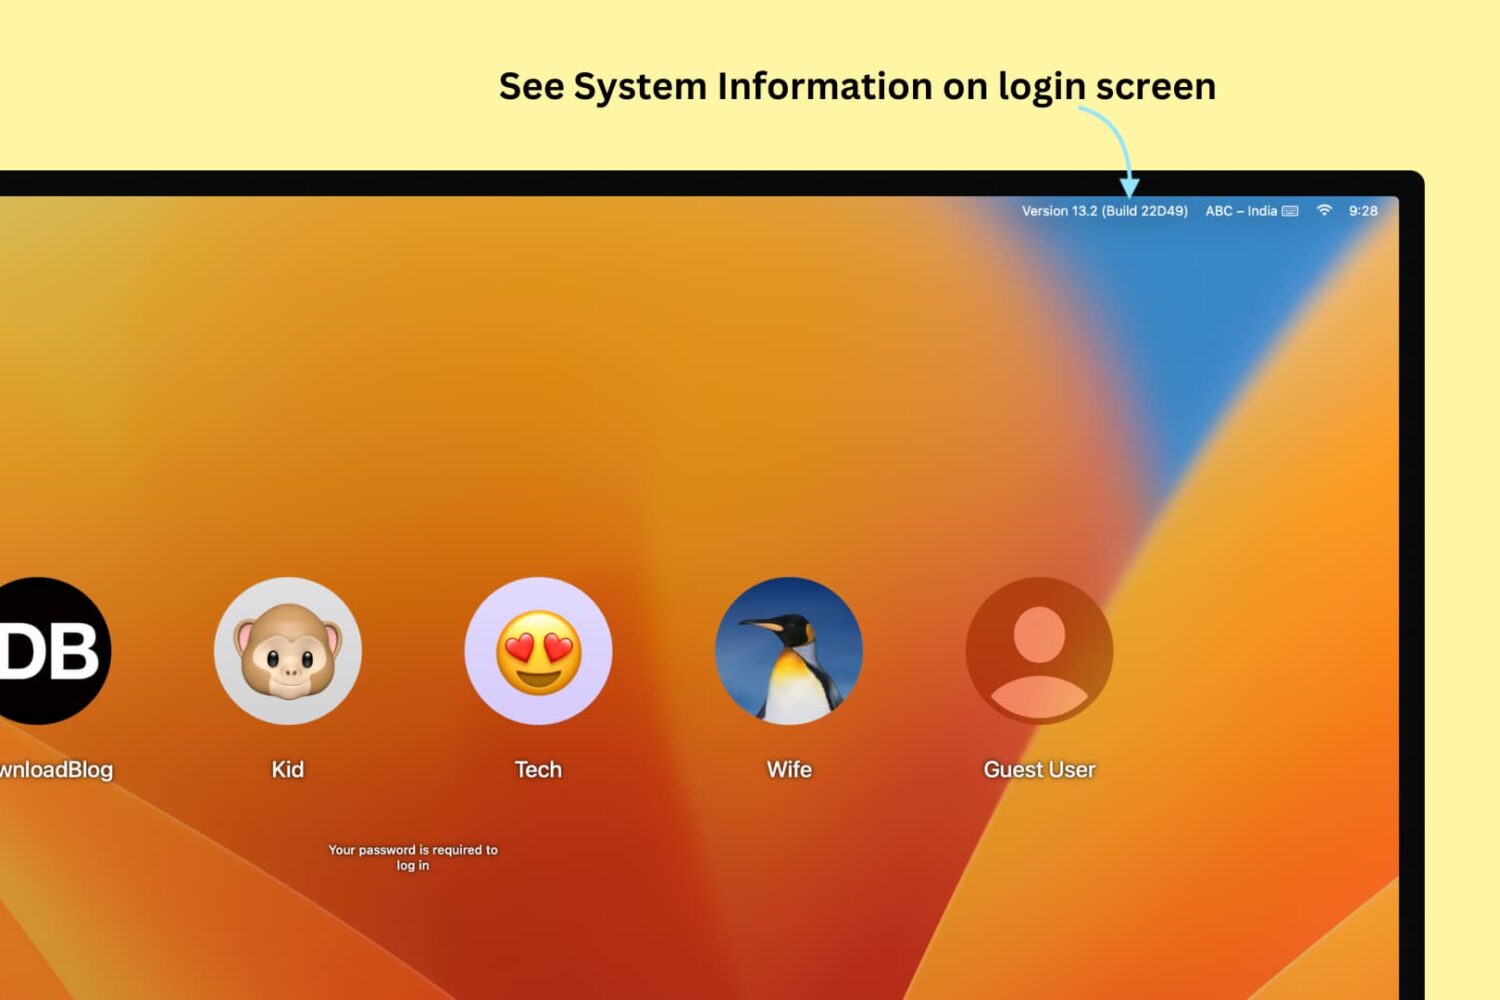
If you're one of those who love to tweak every little facet of their Mac experience, then this guide is for you. It brings some system information items, such as your computer name, your current IP address, and your macOS version, right to your login screen where they can be easily referenced. For this modification, all you need is the Terminal application and a few minutes.

Find out how to manually clear the Dropbox app cache to fix app lag and free up local storage space on your iPhone or iPad.