Time Machine

How to delete old Time Machine backups

Do you use macOS's incredibly useful zero-configuration Time Machine feature to keep the personal files, settings and documents residing on your Mac safely backed up to an external disk? If so, is your backup disk nearly full? The best way to make room on your backup disk is to delete old Time Machine backups using Finder.

For example, the disk in my AirPort Time Capsule is nearly full because I have backups dating back to 2010. In this day and age of iCloud Drive and other cloud-storage services, keeping years worth of backups is kind of useless. That precious disk space could be put to better use for storing your photos and videos, for example.

In this tutorial, you will learn how to delete old Time Machine backups to help clean up your disk and regain storage space on it.

Deleting old backups should be your first order of business in situations when your Time Machine backup disk runs out of space. By default, Time Machine deletes older backups to make room for new ones as your backup disk fills up.

There are a couple ways to remove entire backups created on specific dates. We will describe both, but note that Apple seem to prefer the first method

How to delete old Time Machine backups

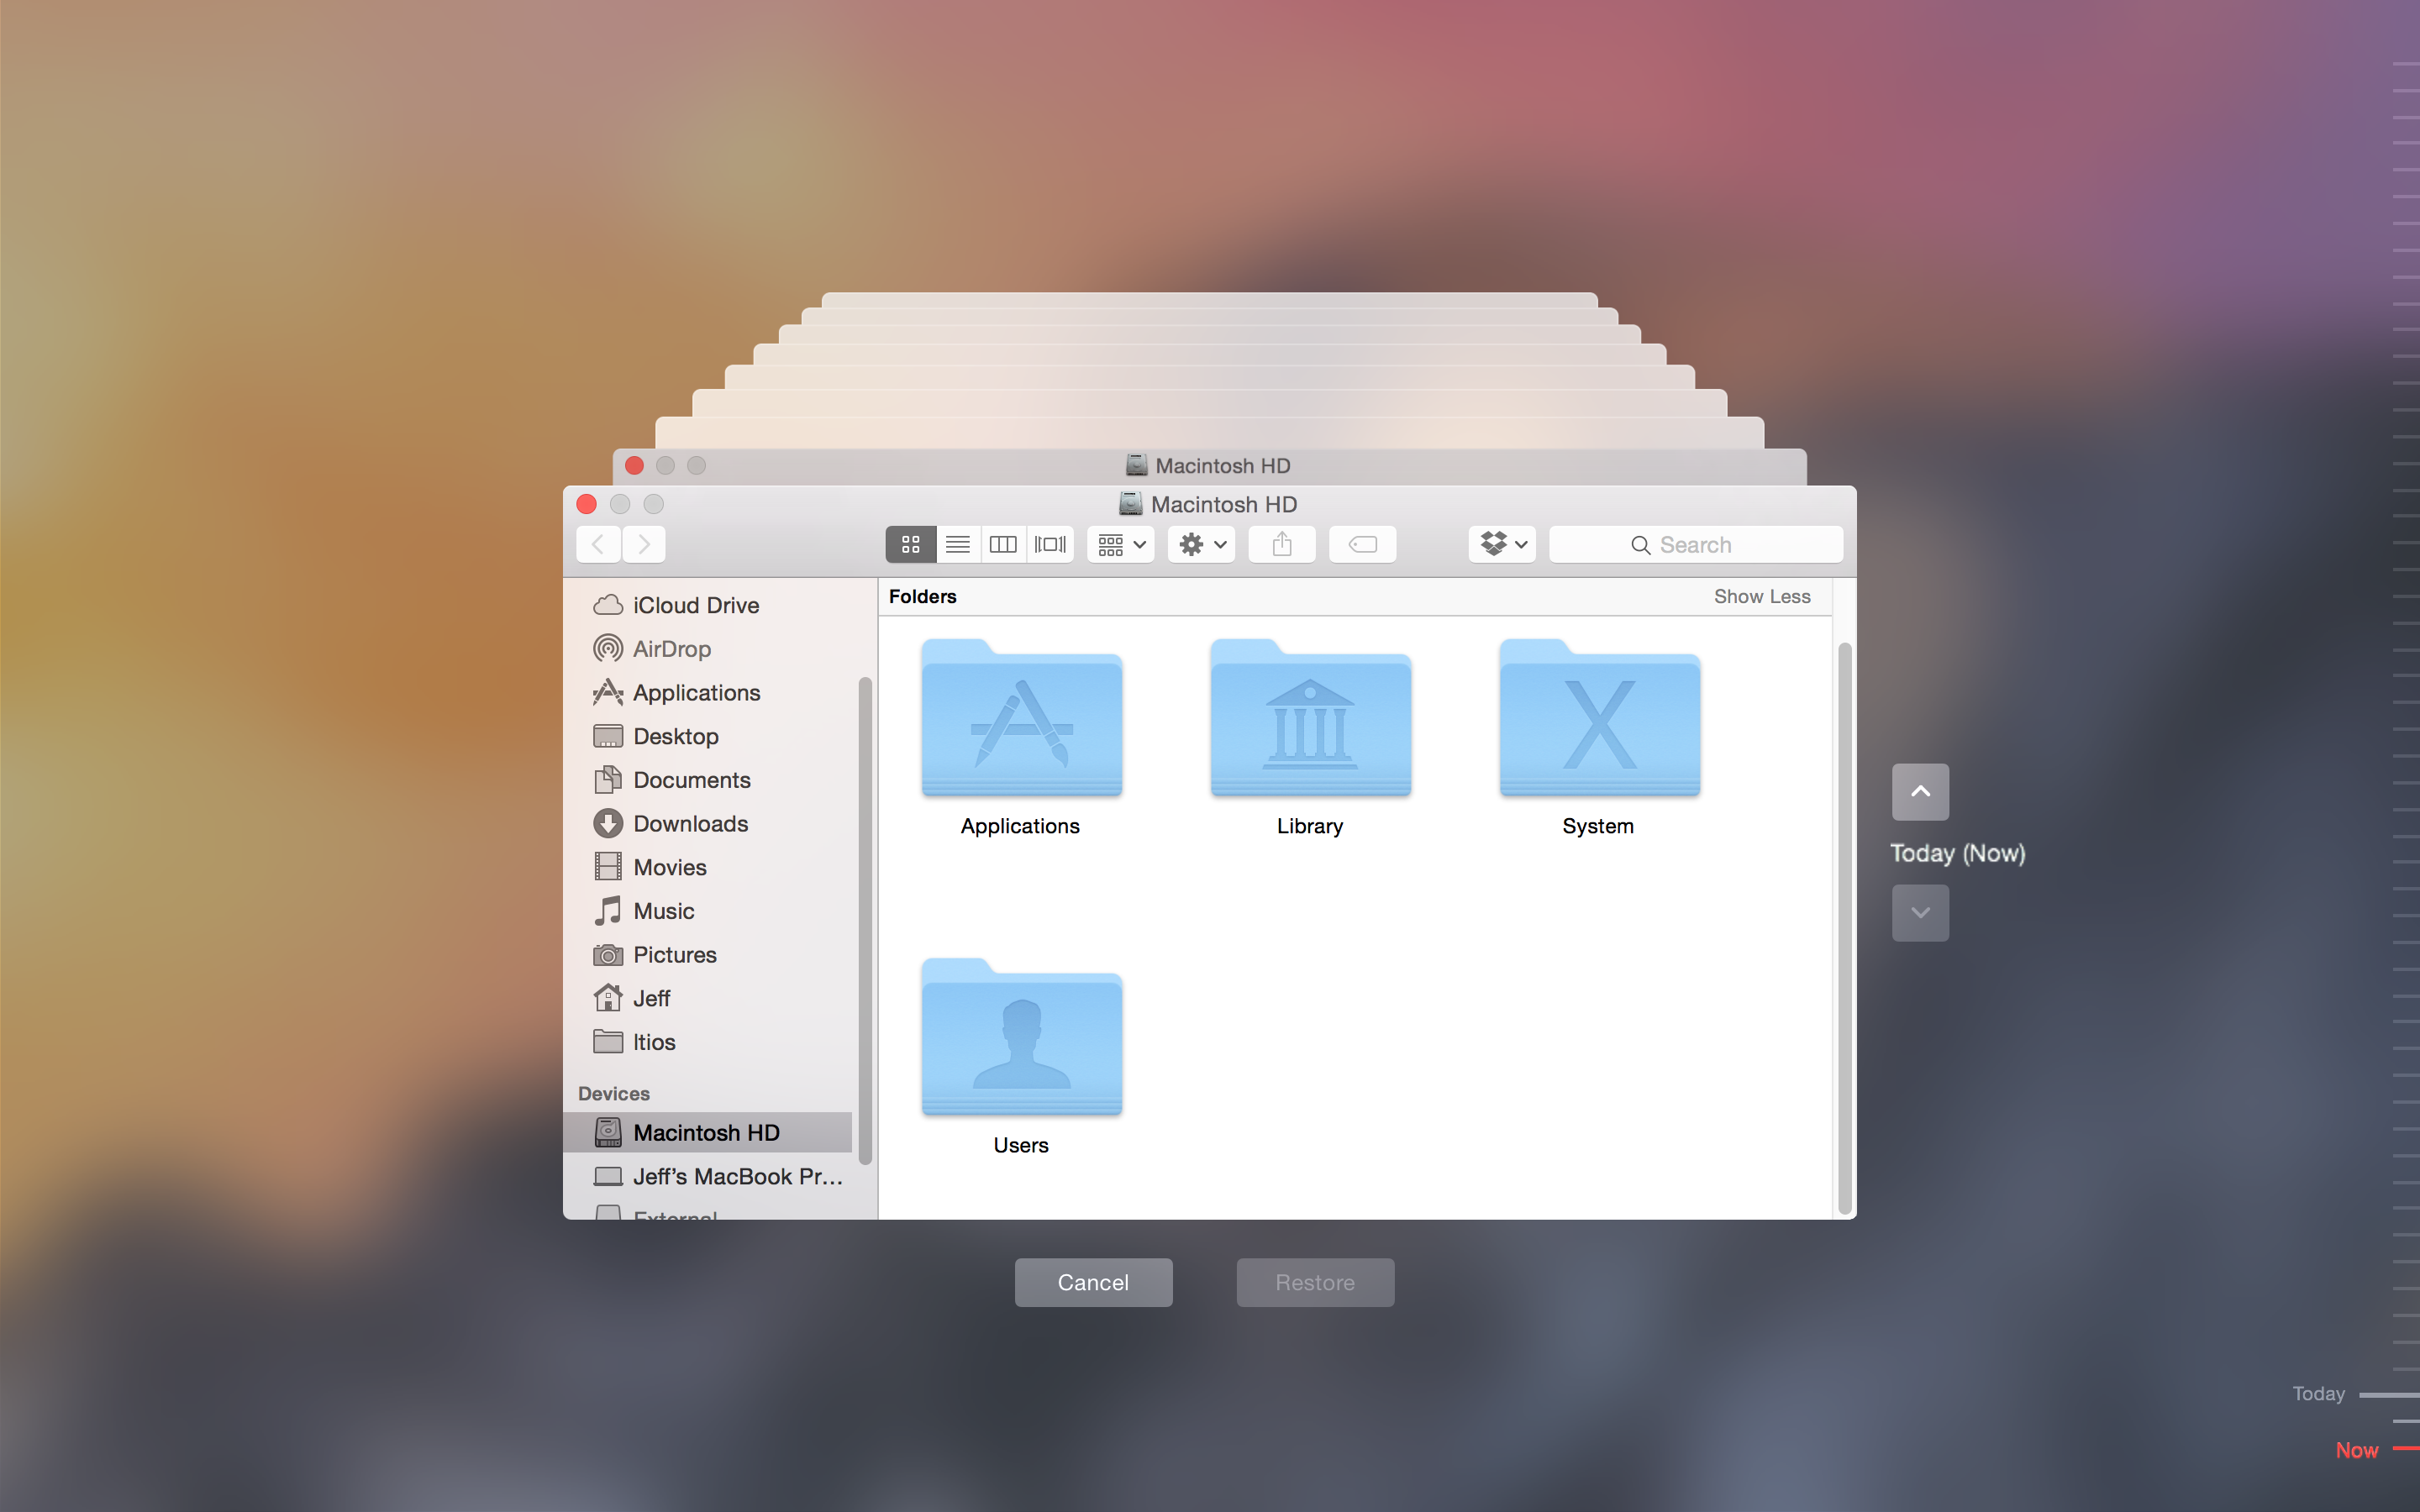
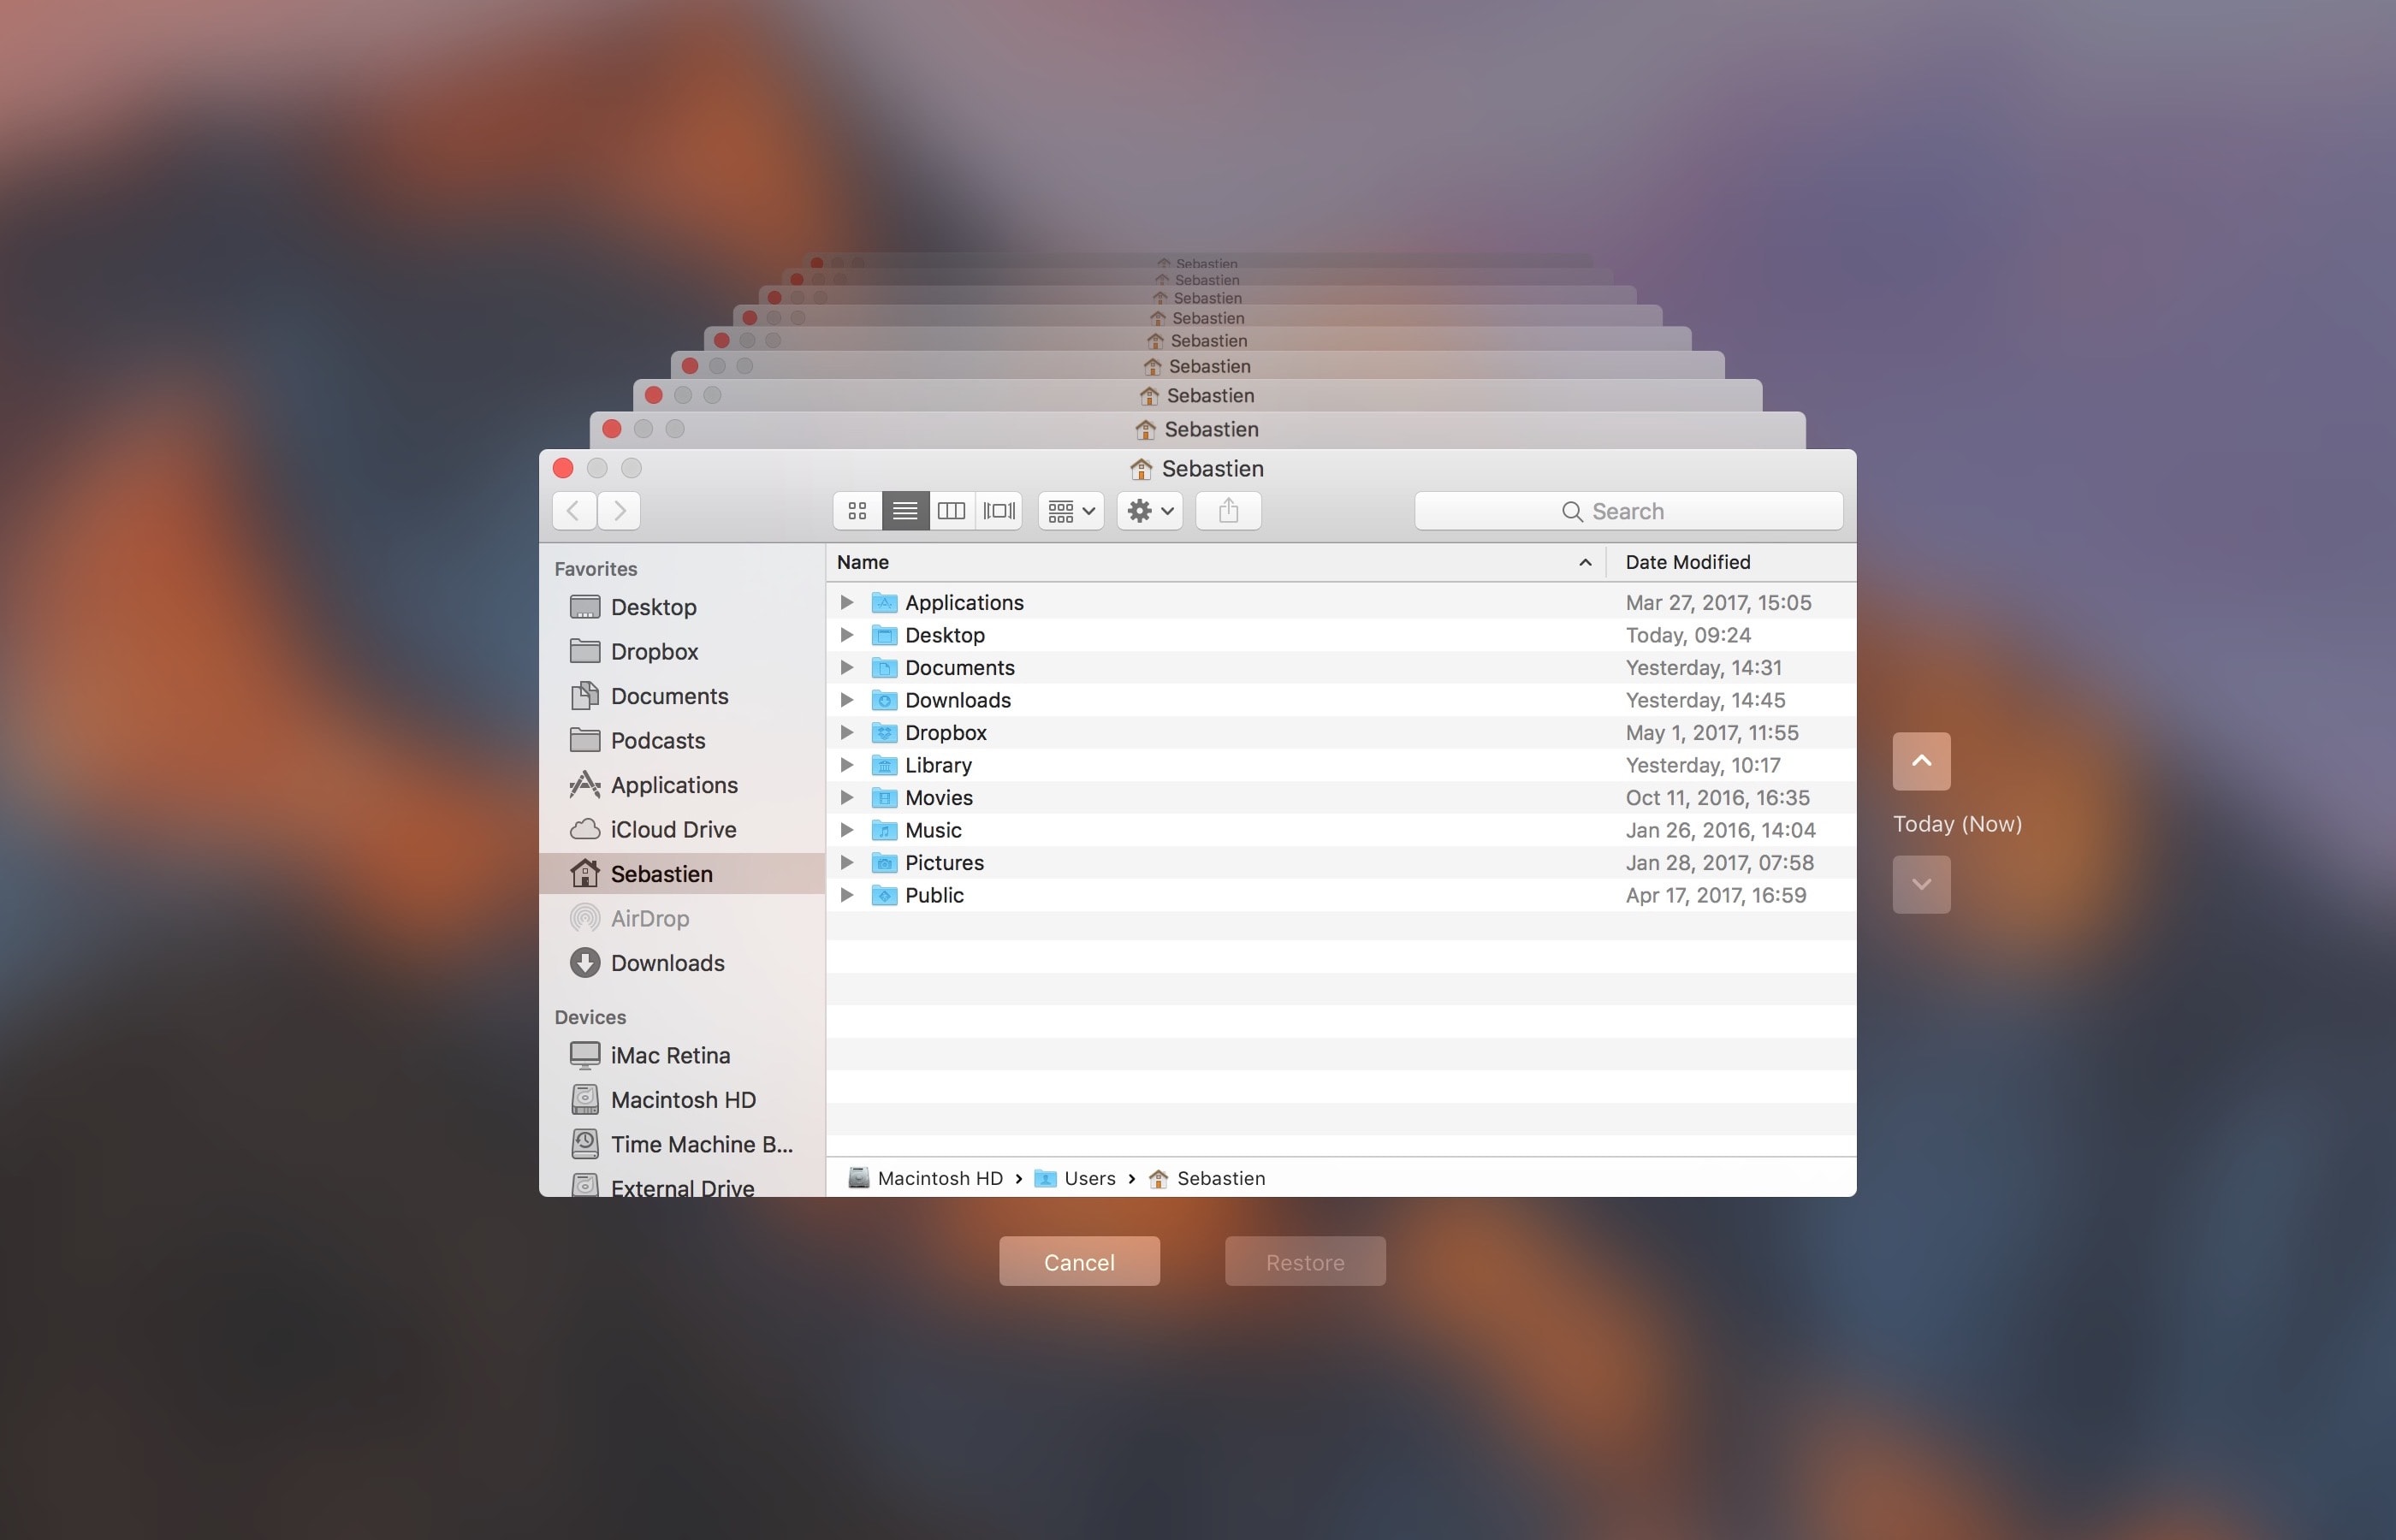
1) Click the Time Machine icon in your Menu Bar to enter Time Machine.

2) Navigate through the interface to the desired date.

3) Once you have located the day you want to delete from your backup, click on the gear icon and select Delete Backup.

4) You will be asked to confirm you indeed want to delete the backup, and you may be ask to enter your administrator password too. Once done, the backup for that specific day will be deleted.

How to remove old Time Machine backups using Finder

1) Click the desktop and open a new window by selecting New Finder Window from the File menu, or press the Command (⌘)—N keys on your keyboard.

2) Connect the disk containing your Time Machine backups to the computer and wait until its name appears underneath the Devices section in the Finder sidebar, then click it.

You may be asked to enter your administrator name and password to continue. If you use AirPort Time Capsule, you may be asked to enter a password to access the backup disk.

3) Navigate to the “Backups.backupdb” folder on your Time Machine backup disk as you would other folders. It should be a top-level folder of your backup drive.

4) Once inside the “Backups.backupdb” folder, navigate to the sub-folder named with your Mac computer's name. For instance, if your Mac is named “iMac Retina” in System Preferences, Time Machine will store backups inside the “iMac Retina” sub-folder.

TUTORIAL: How to change your Mac computer's name

5) You will see a bunch of sub-folders, each prefixed with the date of the backup in the YYYY-MM-DD format. For example, backups of your iMac created on April 19, 2017 would we stored in the sub-folder with the name beginning with “2017-04-19”. To delete a desired backup sub-folder, right-click or Control (⌃)-click it, then choose Move to Trash from the popup menu.

This will delete all copies of a backed-up file or folder from your Time Machine backup disk.

6) Repeat the process for other full-day backups you'd like to remove. When done, disconnect the disk by selecting its icon on the desktop, then choose Eject from Finder's File menu.

While you can safely delete sub-folders within the “Backups.backupdb” folder, you are not allowed to delete individual items inside the dated folders.

You're wholeheartedly discouraged from using Terminal or any other app other than Finder to move, copy or delete items from the Backups.backupdb folder.

You also cannot delete items from local snapshots stored on your internal drive.

To save space on the backup drive, why not exclude individual files or entire folders of files—like your Applications or Downloads folder—in the Time Machine preferences window?

That's all, folks!

If you have a question, post a comment below and we'll do our best to answer it. Please share this tutorial on social media and pass it along to the folks you support.

Submit your ideas regarding future coverage via tips@iDownloadBlog.com.
How to hide specific mounted volumes from your Mac’s desktop

We've already covered how to completely prevent partitions from mounting under macOS, but sometimes you want a partition mounted and ready to use but still want the benefit of it not cluttering up your desktop. For example, many people want their Time Machine partition constantly mounted and backing up throughout the day but don't need it to be visible at all.

Finder's preferences allow for hiding all volumes from the desktop but offer no control on a volume-by-volume basis. Therefore, we'll show you how to use the Terminal to hide mounted volumes on a case-by-case basis.

How to restore your Mac from a Time Machine backup in Recovery Mode

Suppose a software update or an app you installed has corrupted system files and as a result your Mac refuses to start up properly, what do you do?

Those who have planned ahead and created a bootable USB install disk for El Capitan can do a clean install of macOS, and then restore their Mac from the most recent Time Machine backup.

But there's a better way to deal with such situations. In this tutorial, we'll educate you on booting into macOS' Recovery Mode and using the built-in recovery tools to restore your Mac from a Time Machine backup.

How to use Time Machine on your Mac – the full roundup

Over the last several months, we've revisited Time Machine, the backup utility present in OS X. We've showed you everything from performing an initial Time Machine setup, to encrypting Time Machine backups, to restoring specific files from those backups.

Time Machine is a great tool that every OS X user should become intimately familiar with, and in this roundup, we'll revisit each of the topics covered over the last couple of months.

How to move Music or Photos to a new Mac using Time Machine

With Time Machine, it's easy to restore all of your data back to a new Mac or to a fresh install of macOS. As we outlined previously, users can choose to restore all data, or pick and choose the data that they wish to restore during the initial setup process of macOS, and that includes both music and photos.

Another option is to simply restore the entire Pictures or Music folder via the Time Machine interface. We show you how to do that via this post.

In the following tutorial, we'll show you another quick and easy way to recover photo or music data from a Time Machine backup—directly from the backup folder on your Time Machine external drive.

How to set up a new Mac from a Time Machine backup

One of the primary benefits of using Time Machine is that it allows you to restore your backup on a new Mac or a new macOS installation. This makes it so that you can essentially pick up where you left off from your old machine or old installation.

Fortunately, restoring Time Machine backups to a new Mac is extremely easy and straightforward. In this fifth tutorial in our Time Machine how-to series, we'll show you how easy it is.

How to create a partition on your Time Machine external hard drive

Time Machine is extremely easy to use, and its flexibility makes it a great solution for keeping your Mac backed up safely. But with external drives being as large as they are, you may wish to use some of the space on your Time Machine drive for basic file storage.

There are many ways to go about this, but one of the best ways is to simply create a separate partition on your external drive. By doing this, you have a dedicated partition for file storage, and a dedicated partition for your Time Machine backups.

Although it's possible to store files on your Time Machine partition, in my opinion, it's a better practice to keep them separated. In this fourth entry into our Time Machine tutorial series, I'll show you how simple it is to create a second partition on your Time Machine external drive.

How to view and restore specific files using Time Machine

Time Machine is very useful, because not only does it allow you to back up all of your user data, but it also allows you to selectively view and restore portions of that data, even down to individual files.

In this tutorial, the forth in our series about Time Machine, I'm going to show you to how to view and restore an individual file using a Time Machine backup.

How to exclude files from Time Machine backups

In our third Time Machine tutorial for macOS, we'll show you how to exclude specific files or folders from being included in your Time Machine backup. You'll find that it's extremely easy to curate your Time Machine backups using its preferences.

The thing that I really like about Time Machine is that you can exclude not only individual files, but entire folders of files as well. Have a look at our easy to use tutorial to find out how you can exclude certain data from becoming a part of your backup.

How to encrypt Time Machine backups

In our second Time Machine tutorial, we're going to show you how to encrypt a Time Machine backup. Encrypting your backups is extremely easy and straightforward. All you need to do is select a single check box in order to enable encryption and enter a password. In this tutorial, we'll show you how to do it, and why you should consider encrypting your backups.

How to set up Time Machine on Mac OS X

Time Machine is a Mac utility that allows you to automate hourly, daily, and weekly backups on an external drive that's connected directly to your Mac or via a local network. It's seen as the first line of defense against data loss, and features simple setup.

Setting up Time Machine, in its most basic configuration, is extremely easy. All you need to do is launch the Time Machine preferences, turn on Time Machine, select a Backup Disk, and you're pretty much set.

Of course, there's much more to Time Machine than just the initial setup, but in this first post in our Time Machine tutorial series for OS X, we'll cover some of the basic set up options.