How to

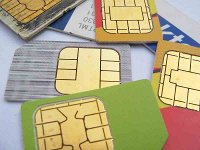
How to Copy Your Contacts From Your iPhone to a SIM Card

If for one reason or another you want to copy your iPhone contacts from your phone to your SIM card, you're pretty much screwed because Apple doesn't let you do that easily.

When there's a will, there's a jailbreak app! It's called SIManager and it will help you move your contacts from iPhone to SIM.

SIManager is available on Cydia for free from the iSpazio repo. Simply download the app and launch it to get started...

How to Watch Apple’s Special Event Live on Windows

Yesterday we told you that Apple will be streaming their special event live but unfortunately, not all systems are supported. For example, if you are on Windows, you cannot watch the event.

There is always a workaround for everything though. Mac Rumors figured out a way to bypass the restrictions and play the video on any platform.

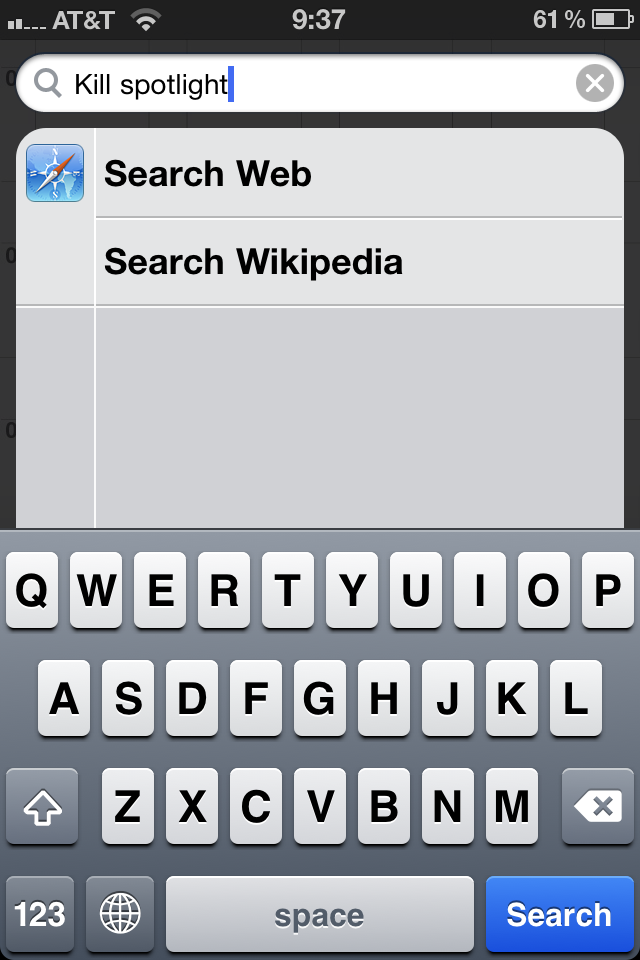
How to Get Rid of the iPhone Spotlight Search

How often do you use the Spotlight search on your iPhone? If you're like me, you never ever use it. Even worse, I get annoyed by it as I often end up on the Spotlight screen while browsing through apps. No more of this!

NoSpot is a new application available in Cydia that will get rid of Spotlight by hiding it from your screen. It's easy, simple, and free!

How to Create Free Ringtones for Your iPhone

You either love custom ringtones or you invariably loathe them. You can put me down in the latter category. Nevertheless there are many who love hearing a portion of their favorite jam when someone calls, or assigning certain songs that fit the personality of a specific contact in their address book. If you fit into the group that loves custom alerts, you're in luck.

How to Send SMS from Your iPad

Want to send SMS from your iPad? There is an app for that, assuming you have a jailbroken iPad 3G. SwirlyMessage is a new jailbreak application by the developer of SwirlyMMS that allows you to send and receive real SMS and MMS on your iPad 3G.

In order to use SwirlyMessage, you need a jailbroken iPad 3G, and make sure that your carrier data plan allows for sending sending SMS and/or MMS. I don't have an iPad 3G so I wasn't able to try this application but from what I understand, SwirlyMessage simply provides an interface to send SMS through your carrier. If that's the case, extra cost for each SMS sent/received might apply.

You can download SwirlyMessage from Cydia for $12. Please let us know what you think of this application should you decide to give it a try.

Fix for “Unable to Load This Page” and “Login Failed” Errors on Facebook 3.2

Yesterday night Facebook updated their iPhone application to version 3.2 which brings the new Places feature to our favorite phone. While this update comes with a cool new feature, it also broke the Facebook application all together for some of us (me included).

The symptoms are the following:

You get the "Unable to Load This Page" error message anywhere you go in the application You get the "Error - sorry there was an error" message while trying to load Places You get the "Login Failed - Unable to Connect to Facebook" error if you're trying to log in the application.

The cause? Apparently the problem appears on jailbroken iPhones running BiteSMS.

The fix? The fix that worked for me was to uninstall BiteSMS. Facebook worked flawlessly after that. Once I reinstall BiteSMS though, the problems come back.

There is another fix explained on Redmond Pie:

I opened SBSettings, More, Mobile Substrate Addons. I then disabled BiteSMSsb, resprung, and now FB works fine. Not sure what that addon does, but so far BiteSMS works fine, as does FB.

This didn't work for me. Well, actually it worked but then BiteSMS is completely crippled (ie. no quick compose), so I don't really consider this a fix.

Considering I use the Facebook app every other month, my choice is clear: I keep BiteSMS running and leave the Facebook app for dead. Hopefully BiteSMS will be updated soon to fix this compatibility issue.

If you're having the same problem, please share your experience in the comments section.

UPDATE: Thanks to CDXX who provided a link to an actual fix from BiteSMS developers in the comments:

Replace the file /Library/MobileSubstrate/DynamicLibraries/biteSMSsb.plist with the one you download from http://cydia.bitesms.com/biteSMSsb.plist

REBOOT not respring.

The BiteSMS dev also says that an update to the app will be made available on Monday via Cydia. Yippee!

How to Install Android on Your iPhone 2G or 3G with iPhoDroid

Android on the iPhone is more of a "project" than anything else. It's buggy, unstable, and doesn't even bring all the features needed to fully use the iPhone. So why in the hell would you install Android on your iPhone? Just for the heck of it, of course! Thanks to Sergio McFly, this is now easily possible.

iPhoDroid 1shot is probably the easiest way to install Android on your iPhone 2G or iPhone 3G. It doesn't require any file editing or anything that might scared the least technically advanced of us. Without further ado, here are the instructions to set up Android on your iPhone. As usual, proceed at your own risks...

Step 1: Make sure your iPhone is jailbroken and Cydia is up to date. If it's not jailbroken, do so by using JailbreakMe.

Step 2: Download the latest version of iPhoDroid 1 shot from here. The download link is at the very bottom left of the page.

Step 3: Make sure your iPhone is connected to your computer via the USB cable. Launch iPhoDroid and click "shoot".

Step 4: iPhoDroid will extract the touch driver and transfer the cache/system/data folders to your iPhone.

Step 5: iPhoDroid will now place your iPhone in recovery mode.

Step 6: After that, you will get the OpeniBoot splash page with different options (Apple, Android, Install, Uninstall). Use the volume buttons to highlight the "Install" option, then tap the Home button to select it.

Step 7: Some code will then be running on your screen. Once done, your iPhone will reboot in the Android OS.

Done! You can now enjoy your crippled iPhone running Android.

If you're one of the few courageous men out there to try this hack, please let us know how it's working for you by leaving a comment below.

[iClarified]

How to Convert Old iPhone App Icons to Retina Display Icons

I just got tipped by an anonymous reader about a nice little trick that will convert iPhone app icons that haven't been optimized for the iPhone 4 Retina Display to high resolution icons. This will require a jailbroken iPhone and a couple applications.

Step 1: Download iFile from Cydia and Resize-Photo from the App Store.

Step 2: In iFile, navigate to the folder of the application of which you'd like to optimize the icon. The application folder is usually called appname.app.

Step 3: Save the app icon to your camera roll. The app icon size should be 512 x 512.

Step 4: Open Resize-Photo and change the application icon size from 512 x 512 to 114 x 114 and save it.

Step 5: In iFile, navigate to your photos folder and copy the new icon you just resized.

Step 6: Now go back to your app folder and look for the application icon and rename it to something like IconBackUp.png, just in case something goes wrong.

Step 7: Still in the application folder, paste the resized app icon and name it Icon.png, or whatever the app icon was called in the first place.

Step 8: Reboot your iPhone. You should now have a high resolution icon.

Apparently this doesn't work with every application icon but it should work with most of them.

Pretty nice trick, isn't it?

How to Downgrade iPhone 4.0.2 to 4.0.1

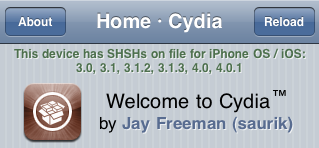
This step by step guide will show you how to downgrade your iPhone iOS 4.0.2 to iOS 4.0.1. These steps are pretty simple but there is one major requirement: you must have your SHSH files saved on Saurik's server. There is absolutely no way around it. If you don't have your SHSH, you won't be able to downgrade your iPhone.

In this tutorial, we will see how to downgrade the iPhone from 4.0.2 to 4.0.1 but the steps are the same if you want to downgrade to iOS 4 or even 3.1.3.

There are several methods used to downgrade the iPhone. We will learn the method that uses TinyUmbrella. No file editing will be necessary.

How to Downgrade from iOS 4.0.2 to 4.0.1

Step 1: Let's download your SHSH blobs from Saurik's server to your computer. To do so, download TinyUmbrella and plug your iPhone in. Select the "Advanced Options" box. Also select the firmware version to which you wish to downgrade. Finally, select "Cydia" under "Request From". Then hit "Save My SHSH". This will grab your SHSH files from Saurik's servers and save them on your computer.

Step 2: Download the firmware to which you wish to downgrade to from our iPhone downloads section. Save it to your desktop.

Step 3: Put your iPhone in DFU Mode. To do so, launch iTunes and plug your iPhone in. Press and hold the Home and Power button together for 10 seconds. After 10 seconds, release the Power button while still holding the Home button until iTunes pops up and says it has found an iPhone in recovery Mode.

Step 4: Run TinyUmbrellaand click the "Display SHSHs" button to make sure your SHSH blobs were downloaded to your computer. Once done, click "Start TSS Server".

Step 5: Now we're going to restore to the firmware you want. To do so, launch iTunes and plug your iPhone in. Hold to SHIFT key (Windows only) or ALT/Option key (Mac only) while clicking on Restore. Make sure you hold the key while clicking Restore. A window will open. Simply select the firmware you downloaded in step 2.

Step 6: Your iPhone will start the restore process. You will most likely get several errors (error 1011, 1013, and 1015) but that's ok, don't worry about those.

Step 7: Finally, we need to get your iPhone out of recovery mode. To do so, simply click "Kick Device Out of Recovery" in TinyUmbrella.

Done!

You should now be back on a previous iOS, giving you the ability to jailbreak and unlock.
How to Unlock iPhone 3G iOS 4.0.2 with UltraSn0w

This step by step guide and tutorial will show you how to unlock your iPhone 3G iOS 4.0.2 using UltraSn0w 1.1-1. At the time I am writing this, it will only work with the iPhone 3G since there is no jailbreak for other devices.

Step 1: Jailbreak your iPhone 3G using RedSn0w.

Step 2: Go to Cydia and search for UltraSn0w. If it’s not there, you might have to add the following repo: repo666.ultrasn0w.com

Step 3: Install UltraSn0w.

Step 4: Reboot your iPhone.

You're done. You should now be able to use your iPhone 3G with any carrier.

Jailbreak & Unlock iOS 4.0.2 on iPhone 3G

Those of you who own an iPhone 3G or an iPod Touch 2G (non-MC model) can jailbreak/unlock iOS 4.0.2. To jailbreak your iPhone 3G 4.0.2, you will have to use RedSn0w 0.9.5b5-5.

How to Jailbreak iPhone 3G iOS 4.0.2

Step 1: Make sure you have the latest version of iTunes installed (iTunes 9.2).

Step 2: Download iOS 4 (not iOS 4.0.2) for iPhone 3G to your desktop from our iPhone downloads section.

Step 3: Update your iPhone to iOS 4.0.2 via iTunes.

Step 4: Download the latest version of RedSn0w from here.

Step 5: Point RedSn0w to the iOS 4 (not 4.0.2) you downloaded in step 2.

Step 6: Select “Install Cydia”.

Step 7: Follow the onscreen instructions.

Step 8: Let RedSn0w do the hard work for you. Once jailbroken, your iPhone will reboot.

How to Unlock iPhone 3G iOS 4.0.2

Since iOS 4.0.2 didn't update the iPhone baseband, you can still use UltraSn0w to unlock your iPhone.

Step 1: Jailbreak your iPhone using the method described above.

Step 2: Go to Cydia and search for UltraSn0w. If it’s not there, you might have to add the following repo: repo666.ultrasn0w.com

Step 3: Install UltraSn0w.

Step 4: Reboot your iPhone.

Tell us how it goes for you by leaving a comment below.

[Thanks Bruce for the tip]