If you're an Apple developer, and you're interested in jailbreaking the GM release of iOS 5, then this is for you.
As we expected, right after the iPhone 4S media event, Apple released iOS GM to developers. This is the final build prior to the public version being released on October 12th.
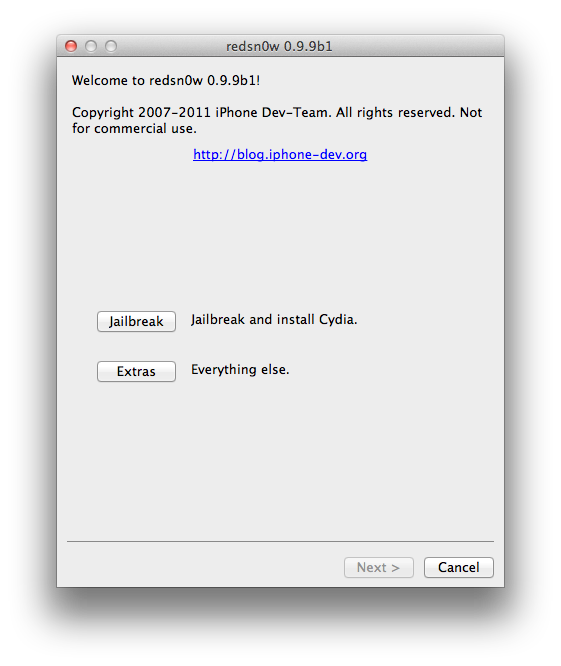
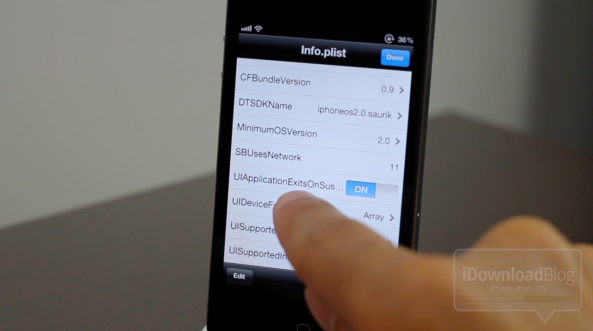
Check inside for the full video tutorial that shows you how to jailbreak iOS 5 GM with RedSn0w...