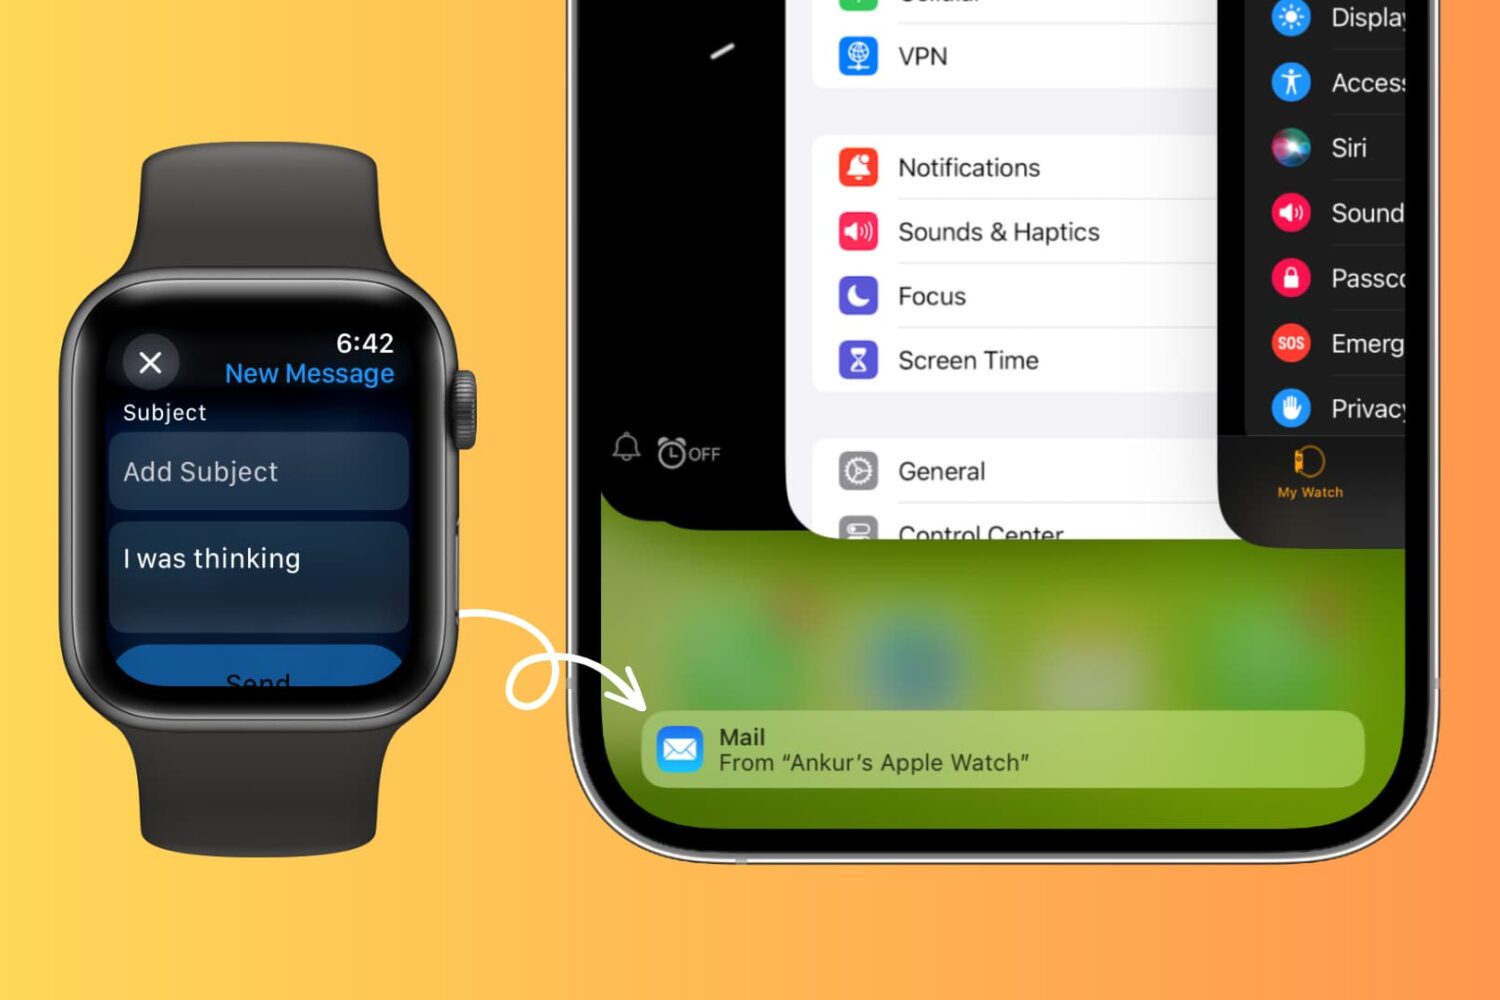
Learn how to use Handoff on your Apple Watch to move what you’re doing on your wrist to the bigger screen of your iPhone, iPad, or Mac.
How to enable or disable Handoff on Apple Watch
Learn how to master your Apple devices with our comprehensive tutorials. From iPhone and iPad to Mac, Apple Watch, AirPods, and more, our expert guides will help you unlock the full potential of your Apple products. Discover new features, tips, and tricks each day to enhance your user experience.
Learn how to use Handoff on your Apple Watch to move what you’re doing on your wrist to the bigger screen of your iPhone, iPad, or Mac.

Find out how to add your Google account to your iPhone or iPad and sync your Google contacts with the iOS Phone and Contacts apps.

When your iPhone is buried under sheets, left in another room, or out of sight, the obvious thing to do to locate it is to call your iPhone using another phone. However, this may not be helpful if your iPhone is in silent mode, Do Not Disturb, or has an active Focus mode.
In these situations, or if you don’t have a second phone around, you can use your Apple Watch to play a loud alarm sound on your iPhone or trigger its camera LED to blink.

Managing contacts on your iPhone or iPad can be a tedious task, especially when you need to delete multiple contacts at once. In this tutorial, we will show you two ways to select and delete several contacts simultaneously on your iOS device, so you can clean up your address book quickly and efficiently.

Every now and then, you may run into an issue with Final Cut Pro X where a file doesn't successfully import. Due to this, the media that you're working with in your project is still referencing the location where the file originally was (i.e. SD Card, Camera HDD, etc.).
When this happens, and you try to share/export a project, you'll receive an error message that says "This item cannot be shared while it is still referencing media on the camera."
To fix this problem, you'll need to reimport your footage from the original source using the File menu. It's fairly straightforward, but it's not exactly obvious as to what you should do when you first encounter this issue. Inside, we'll show you the error message and the quick fix in our brief video tutorial.
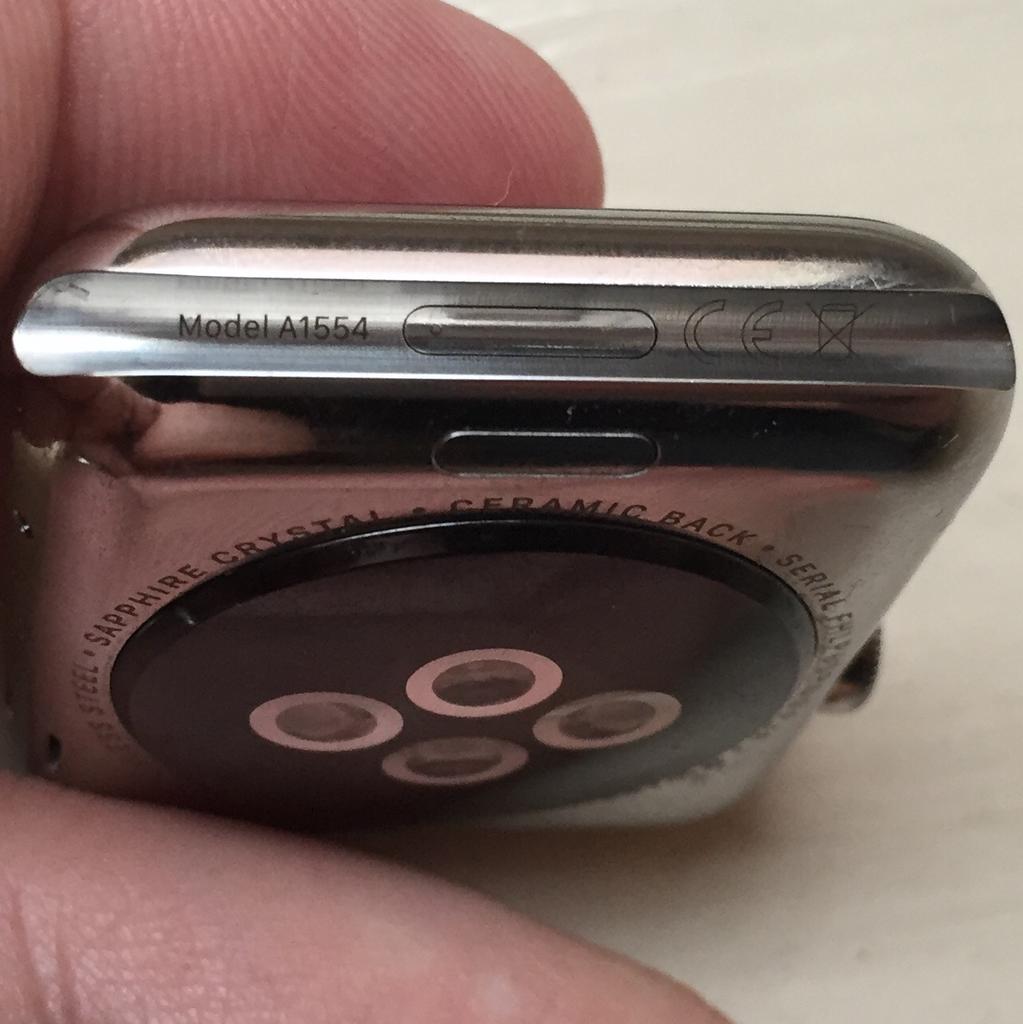
Contrary to some reports, shipping Apple Watch units do feature a hidden diagnostic port inside the groove of the bottom strap connector slot. It looks a lot like Lightning I/O, bit it's not Lightning.
Featuring a six-dot brass contact, it's believed to be aimed at service technicians for diagnostics purposes, while potentially providing direct access to the Watch OS and demo software installation on demo units in Apple Stores.
This tutorial explains how you can access the 6-pin port using just a sewing needle. Before we get to it, keep in mind that doing so could impact the water resistance of your Apple Watch and might void your warranty.
Learn how to automatically open images in the app of your choice instead of using Preview as the default photo viewer on Mac.

Pictures play an important part in putting together a compelling business presentation or a detailed school report, and to help, this tutorial shows you how to add images to your document, presentation, or spreadsheet in the Google Docs, Slides, and Sheets apps on your iPhone or iPad.

Learn how to calibrate your Apple Watch for accurate Workout and Activity tracking when you’re using it away from your paired iPhone.

Learn how to create a backup of your Apple Watch to ensure your valuable information remains secure and easily restorable.
Enhance your Apple Watch experience by standardizing app icon sizes, making it easier and more intuitive to tap and navigate through your apps.
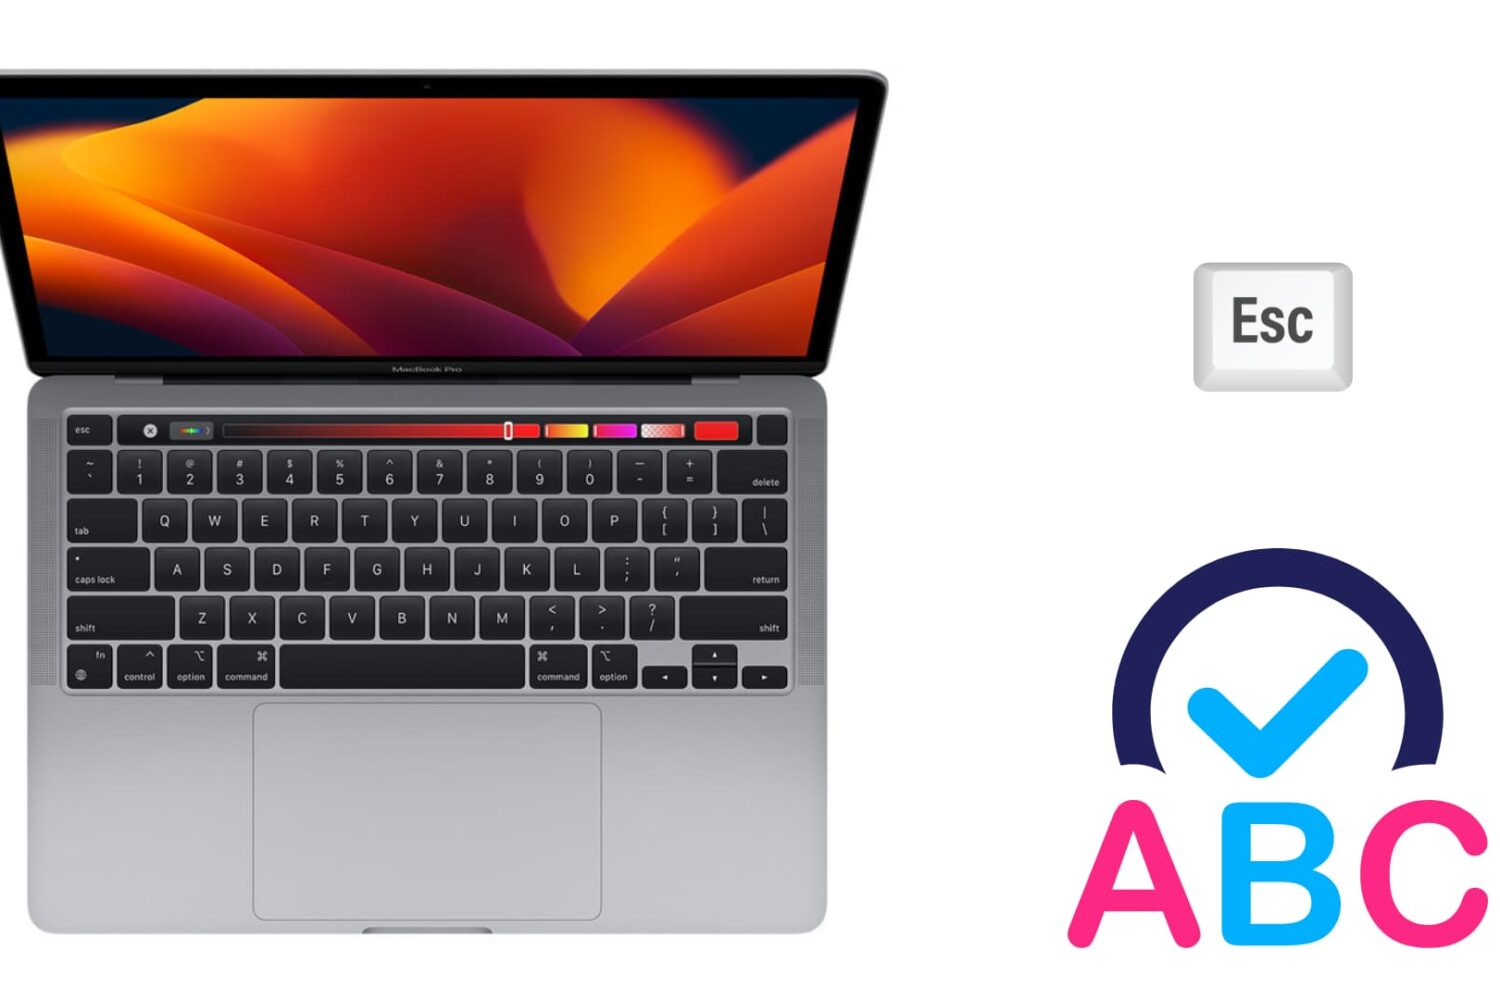
There are two ways to dismiss an autocorrect suggestion. There is the obvious one, which lets you use your mouse pointer to reject the autocorrection, and there is a keyboard shortcut that's actually much quicker to use, especially when you're currently typing.
In this brief post, we will show you how to swiftly ignore the autocorrect suggestion on your Mac using an easily accessible keyboard action.