Tutorial

Learn how to master your Apple devices with our comprehensive tutorials. From iPhone and iPad to Mac, Apple Watch, AirPods, and more, our expert guides will help you unlock the full potential of your Apple products. Discover new features, tips, and tricks each day to enhance your user experience.

How to remove the Macintosh HD icon from the desktop on Mac

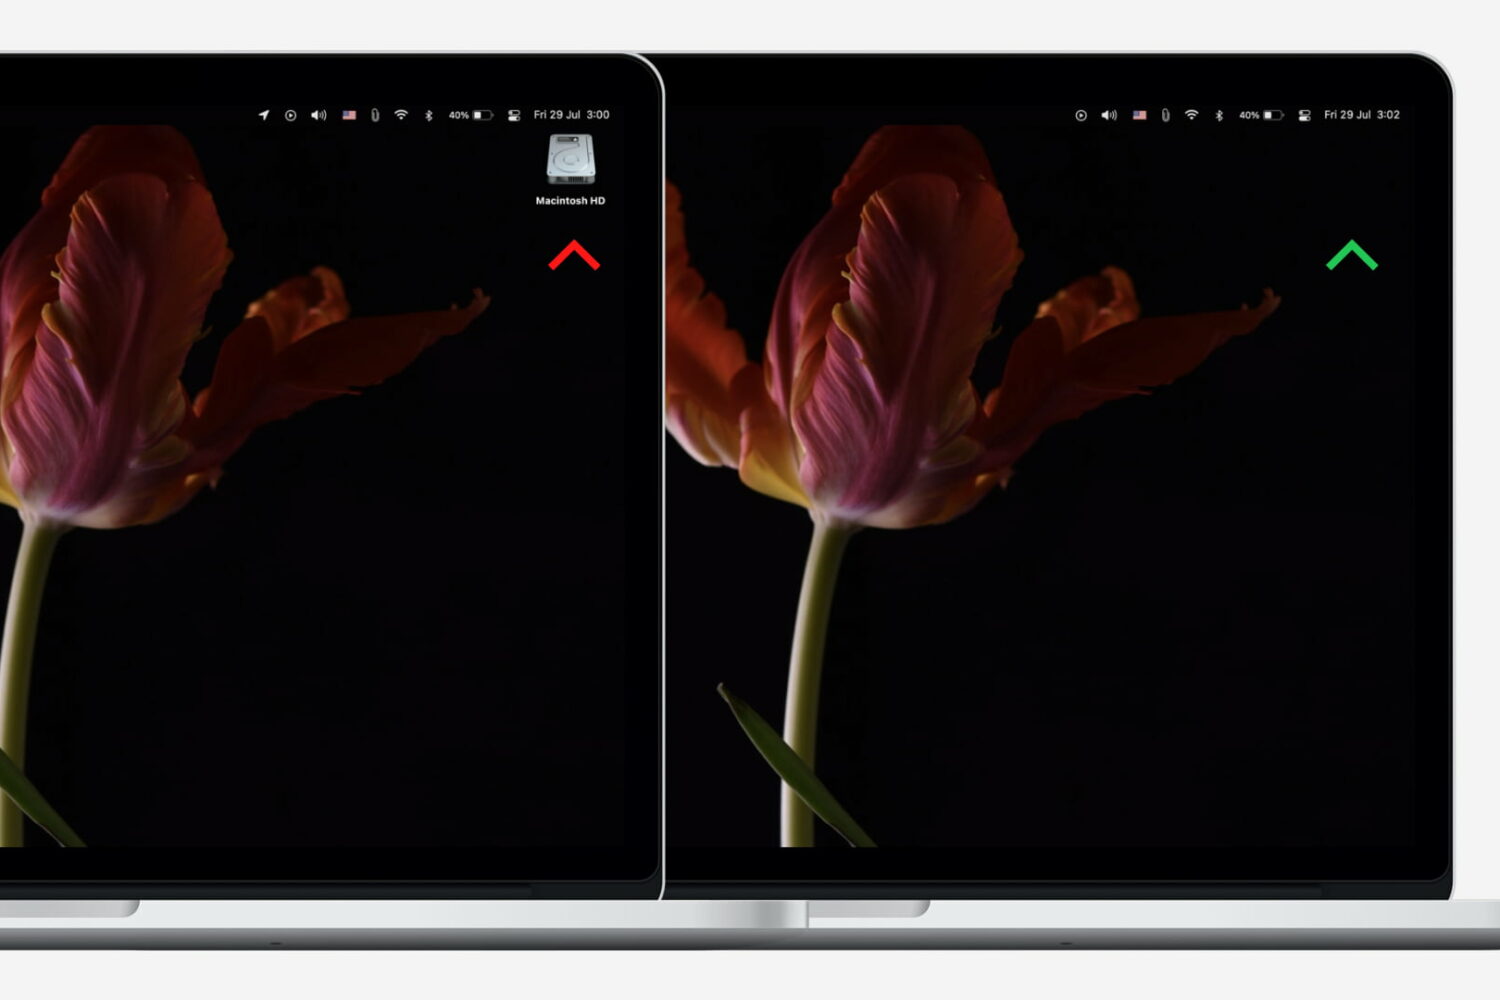
Remove the Macintosh HD and other hard disk icons from Mac desktop

Neat freaks like me like to keep the desktop of their computers free of any clutter. That includes files, folders, and of course, the Macintosh HD icon. As a matter of fact, removing the Macintosh HD icon from the desktop is one of the first few things I do when setting up a new Mac.

Although pretty simple to do, hiding that icon is not very obvious to less tech-savvy people. So in this post, I will describe how to remove the Macintosh HD or the hard disk/SSD icon from the desktop on your Mac.

How to save Instagram stories on iPhone

Download Instagram story to iPhone

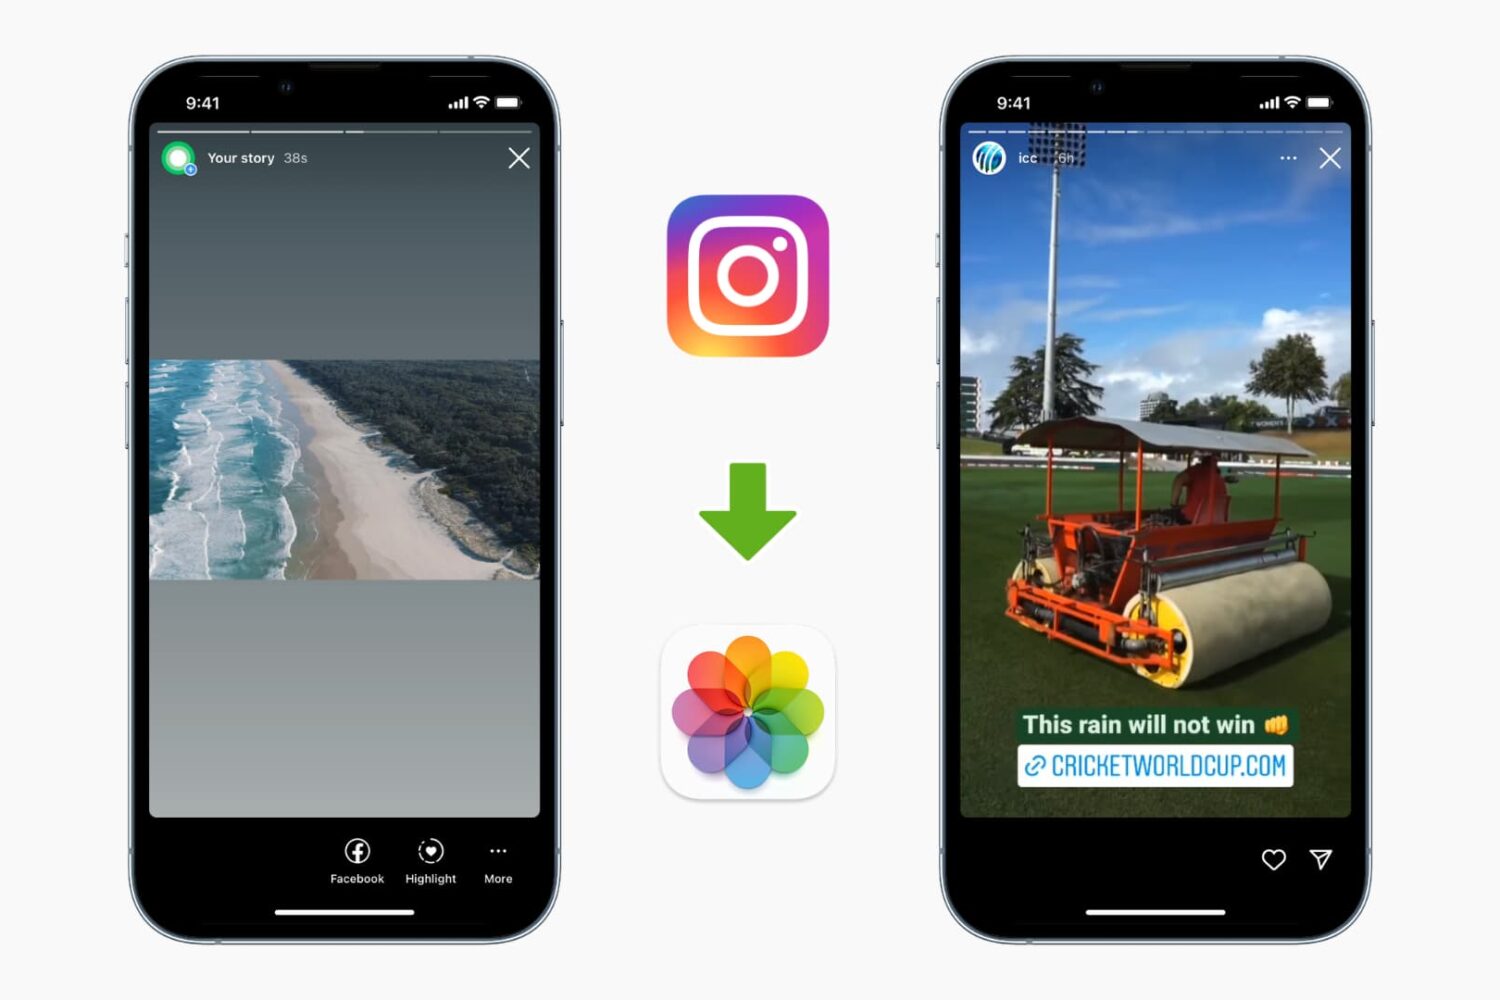
While the Instagram app allows downloading your stories, it doesn't let you download other people's stories. But there are ways to do it. This tutorial shows you how to download and save Instagram Stories to your iPhone's Photos app.

How to research Terminal commands using manual pages

If you're like me, you'll often be messing around in Terminal and find you can't remember (or don't know) the correct syntax and options for a command you're trying to issue.

You could look it up online and search through all the slightly different answers for different Unix-based systems, or you could use macOS' built in manual pages to get your answer. This guide will show you how.

How to adjust the intensity of bright colors on iPhone and iPad

Since iOS 7.1, Apple's mobile operating system has included a feature that allows you to manually adjust the display's white point to your liking. A white point, also known as reference white or target white, defines the color white in reproduction.

Lowering the white point makes bright colors on your iPhone, iPad or iPod touch's screen more intense. Conversely, increasing the white point reduces the intensity of bright colors, thereby helping extend the run time of your iPhone or iPad.

The ability to manually adjust the white point so that it matches a white surface in your room is particularly handy for owners of devices that lack Apple's True Tone display technology.

How to adjust the intensity of bright colors on iPhone and iPad

1) Launch the Settings app on your device.

2) Tap Accessibility.

3) Tap Display & Text Size underneath the Vision heading.

4) Slide the button labeled Reduce White Point to the ON position.

5) Now drag the slider underneath the button to the right to make bright colors less intense or move it to the left to lower the white point, which will make bright colors more intense.

Reducing the intensity of the screen's battery-hogging backlight by increasing the white point is one of the nearly dozen proven ways to save battery life on iPhone and iPad.

TIP: To get to this feature faster, set it as a triple-click Home button action in Settings → General → Accessibility → Accessibility Shortcut.

Again, don't confuse Reduce White Point with the True Tone feature.

True Tone ≠ Reduce White Point

What exactly is the difference between True Tone and Reduce White Point?

True Tone is Apple's display technology currently found on iPad Pro models which changes the white point of the display on the fly while simultaneously adjusting brightness in order to compensate for the lighting in the environment

The Reduce White Point option does not take advantage of the ambient light sensors in your device like True Tone does. As a result, you cannot tell your device to adjust the white point of its display dynamically to match the current lighting conditions in a room.

Put simply, should lighting conditions change you'll need to repeat these steps to manually recalibrate the intensity of bright colors for the current ambient lighting.

Have you ever wanted to set the screen brightness on your iOS device below the normal threshold? If so, the Low Light filter in your Zoom accessibility settings is your friend.

Need help? Ask iDB!

If you like this how-to, pass it along to your support folks and leave a comment below.

Got stuck? Not sure how to do certain things on your Apple device? Let us know via help@iDownloadBlog.com and a future tutorial might provide a solution.

Submit your how-to suggestions via tips@iDownloadBlog.com.
How to use Control Center without 3D Touch

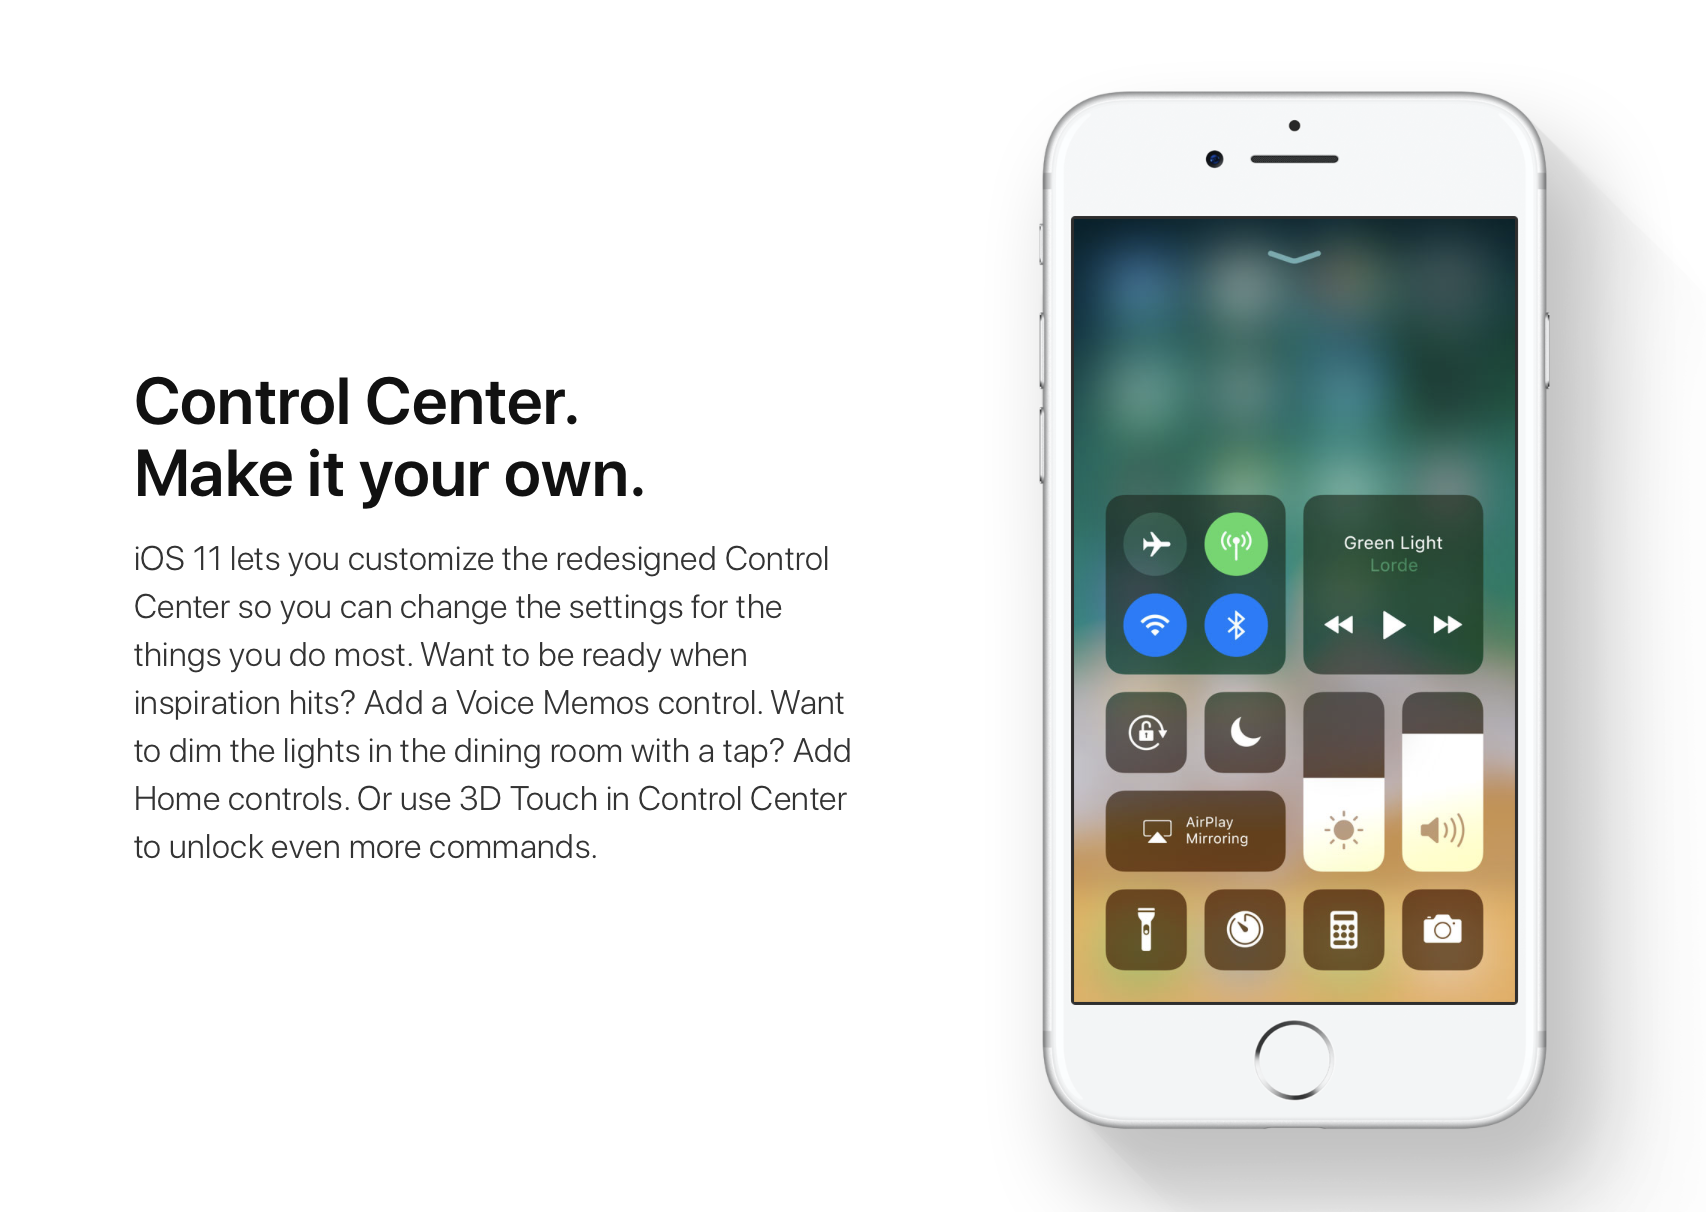
iOS 11 offers more customization for Control Center than ever, allowing you to make it your own by disabling toggles you rarely use. If puts frequently used controls all on one page, many of which can be expanded to reveal additional options when pressed with 3D Touch.

For instance, you can press the Home toggle lightly to bring up your HomeKit scenes, press the Now Playing toggle with 3D Touch to expand media controls, press the Apple TV Remote toggle to navigate your Apple TV or type some text into it, and much, much more.

So far, so great. But what if your device lacks 3D Touch?

Unlike prior iOS editions that didn't provide a fallback mechanism for 3D Touch interactions on non-3D Touch devices, iOS 11 allows you to use all of the features the redesigned Control Center has to offer without having to own a 3D Touch device.

Our resident video editor Andrew O'Hara details how iOS 11's Control Center works on devices that don't include 3D Touch features, like iPads and iPhone 6 and older models.

https://www.youtube.com/watch?v=cpSoo5_TqIQ

Subscribe to iDownloadBlog on YouTube.

Continue reading for step-by-step instructions on using Control Center without 3D Touch

How to use Control Center without 3D Touch

1) Access Control Center by swiping up from the bottom of the screen

TIP: Enable Access Within Apps in Settings → Control Center to have your device respond to that gesture when you're using an app.

2) Tap and hold on the control to expand it.

In Andrew's example, he long-taps the Brightness toggle to access controls for turning Night Shift on or off. You can long-tap other Control Center items that are expandable. For example, long-tapping the Volume control enlarges the slider as if you pressed it with 3D Touch.

iPad lacks Taptic Engine so you won't feel haptic feedback when long-tapping.

That's it, boys and girls, now you know how to interact with Control Center on iOS 11 without actuating having to have a 3D Touch device. This tip should be especially useful for iPad owners as Apple's tablets lacks 3D Touch features.

TUTORIAL: How to force-quite iPad apps on iOS 11

Don't forget you can selectively enable or disable nearly two-dozen different toggles and change the order in which they appear in Control Center under Settings → Control Center → Customize Controls, including new system toggles and features like Screen Recording, Voice Memos, Low Power Mode, Apple TV Remote, Accessibility Shortcuts and more.

To lear more about iOS 11's Control Center, watch another walkthrough video below.

https://www.youtube.com/watch?v=UGWjmt6UXJI

Aside from drag and drop, iOS 11 brings five different types of tap gestures, including a longer tap to move multiple apps on the Home screen, a special half-long tap to pull up an extra Dock menu and a long-tap in the notifications overlay to access additional options.

Need help? Ask iDB!

If you like this how-to, pass it along to your support folks and leave a comment below.

Got stuck? Not sure how to do certain things on your Apple device? Let us know via help@iDownloadBlog.com and a future tutorial might provide a solution.

Submit your how-to suggestions via tips@iDownloadBlog.com.