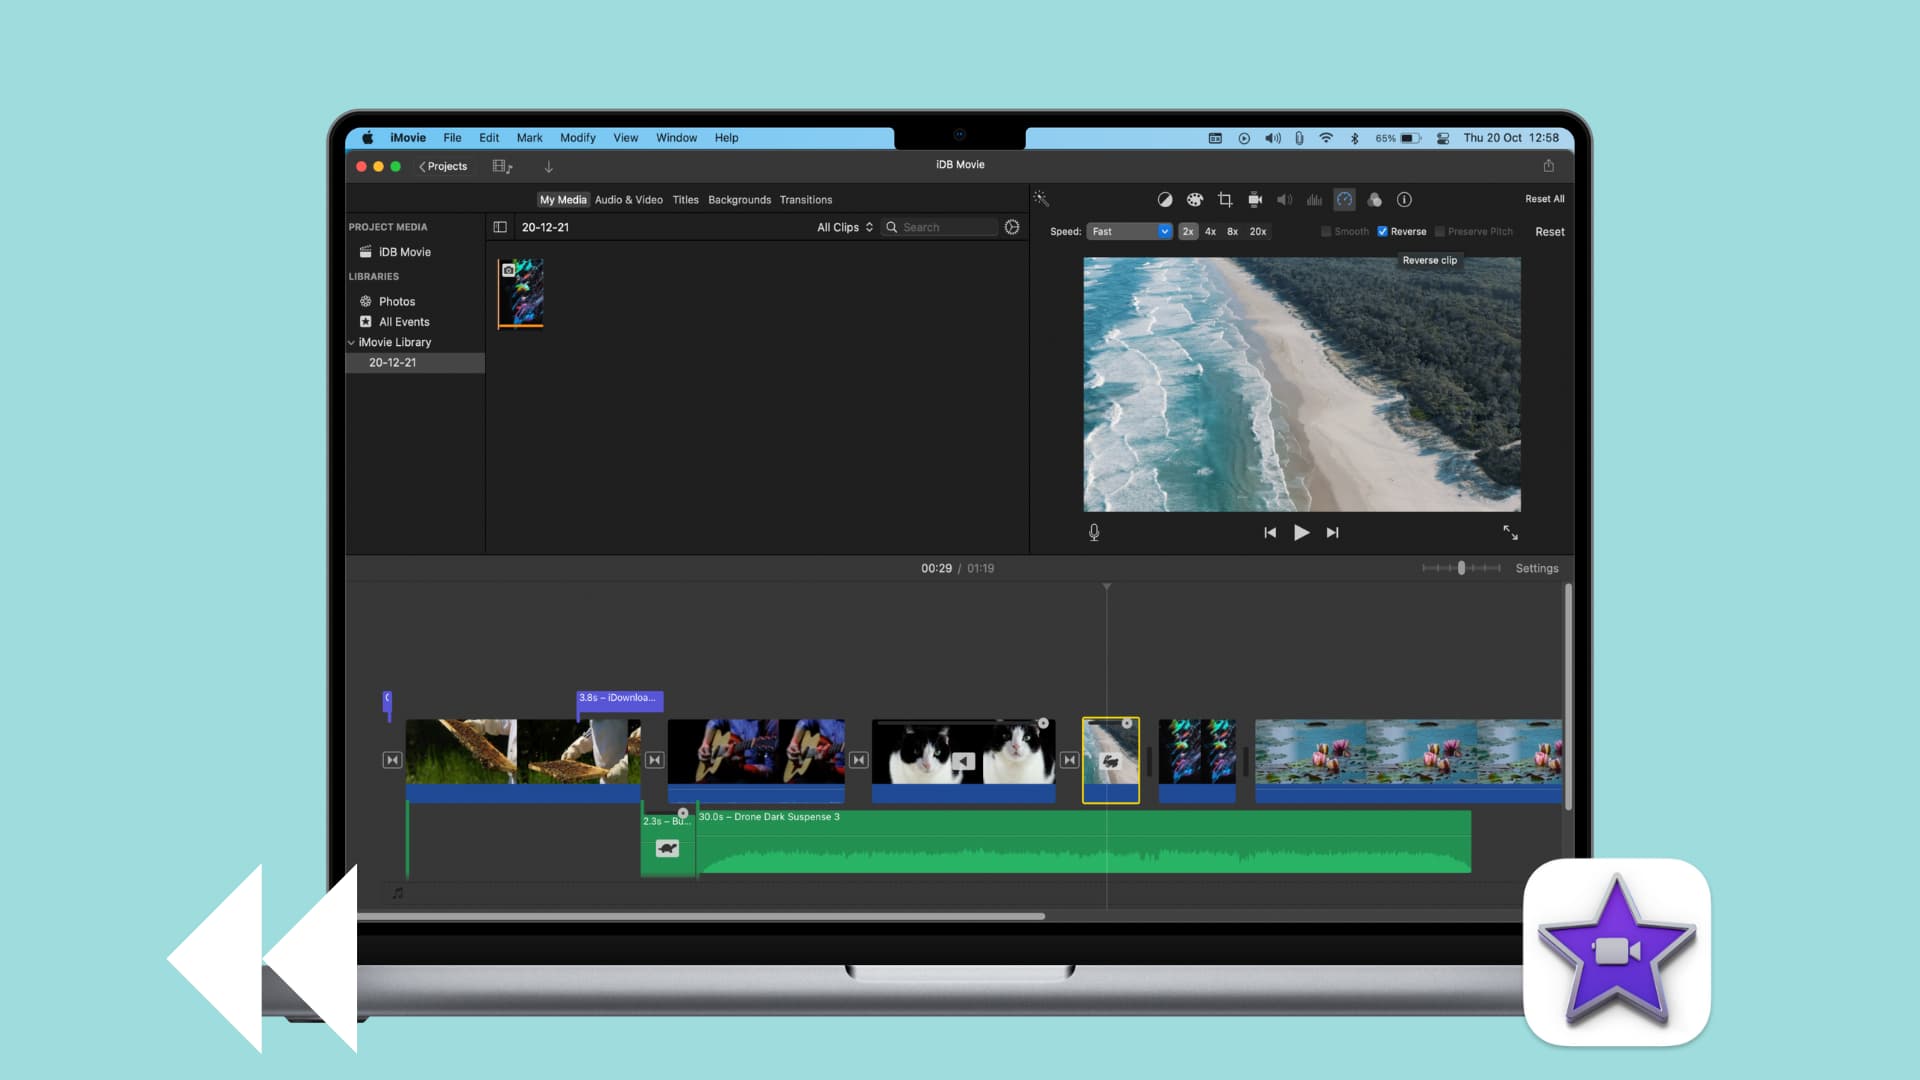
Learn how to reverse a video clip in iMovie on Mac to play it backward and add a cinematic effect to your project.
You don’t have to be a Hollywood producer to make movies.
If you’ve been following our iMovie tutorials and creating some awesome videos, here’s another helpful feature to try out.
You can reverse one or more video clips in iMovie on your Mac to have them play backward. This nifty trick can give your movie a little kick, and it’s so simple to do.
Reverse a video clip in iMovie
- Open iMovie on your Mac, go to your project for editing, and select the video clip in your movie Timeline.
- Click the Speed button above the Viewer.
- Check the box for Reverse.
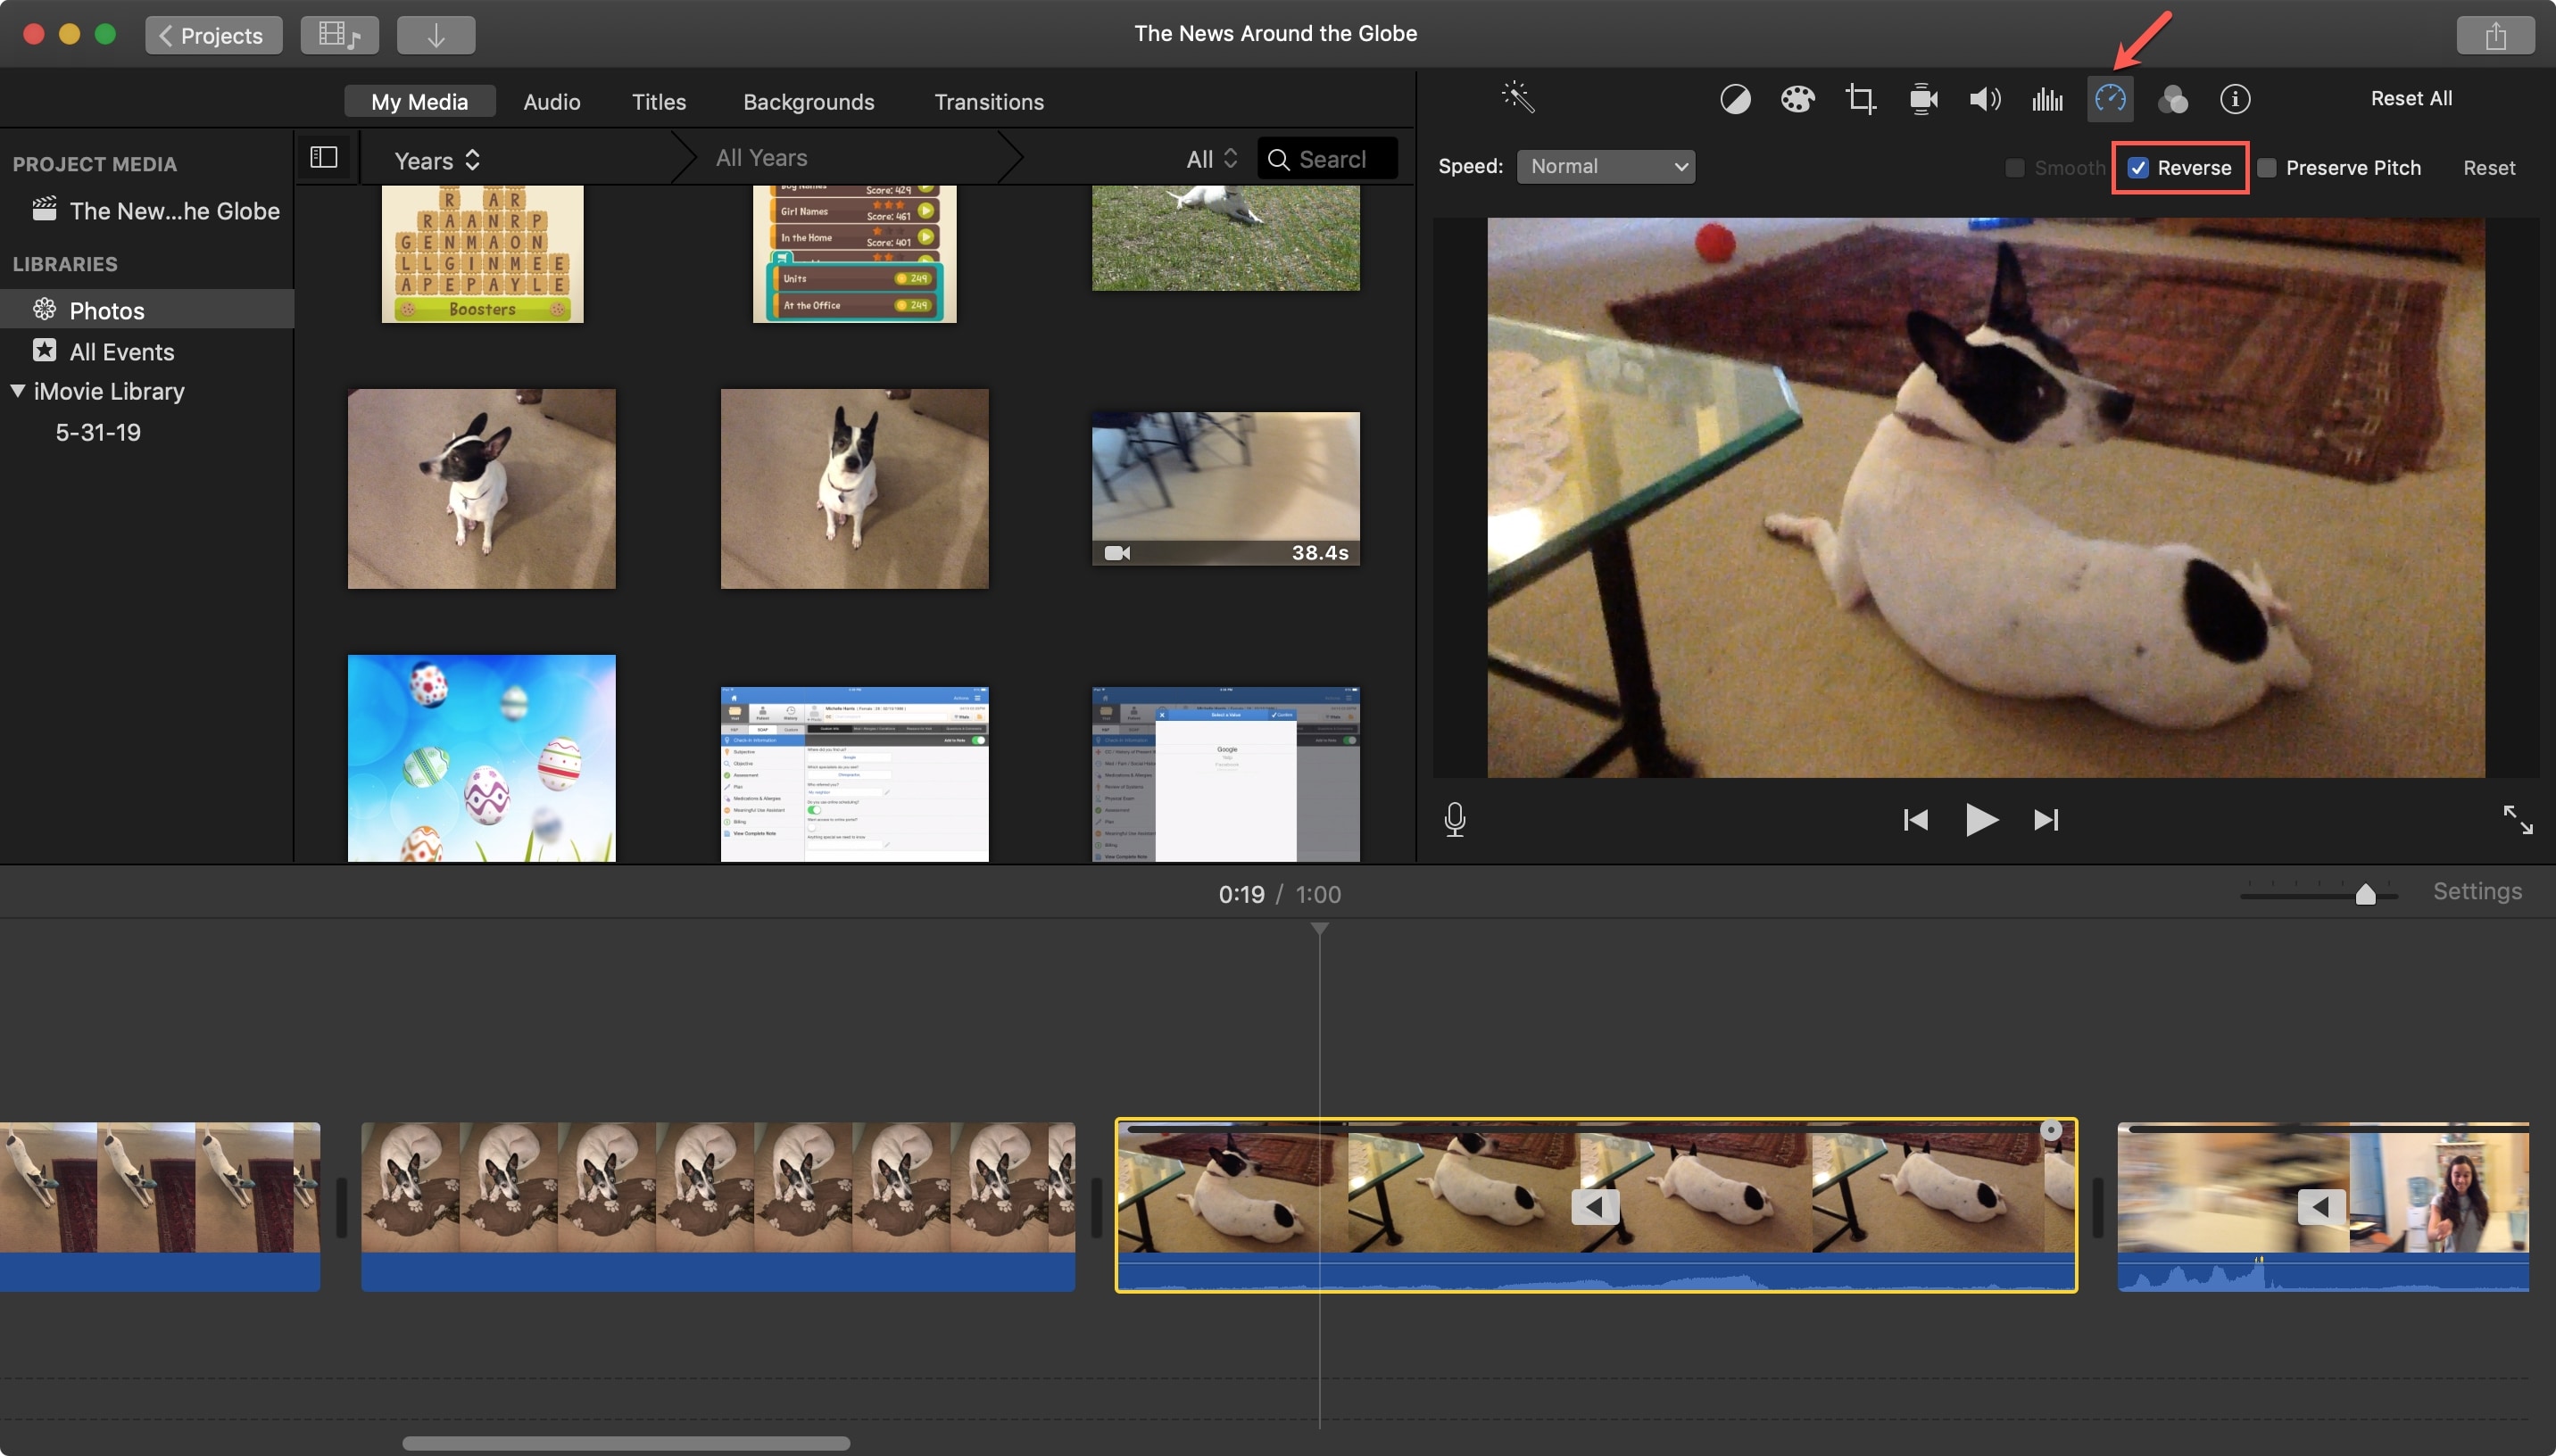
And that’s all there is to it!
Now, your video clip plays backward. You can adjust its speed, crop it, apply effects, or do whatever you like, just like when it’s played moving forward.
Reverse multiple video clips
If you would like to have several clips play in reverse, you don’t have to select them individually to make this change.
- To select all video clips at once, click Edit > Select All from the menu bar.
- To select a range of adjacent video clips, click the first one in the Timeline, hold the Shift key, and click the last clip in the range.
- To select multiple non-adjacent video clips, click the first one, hold the Command key, and continue clicking the rest of the clips.
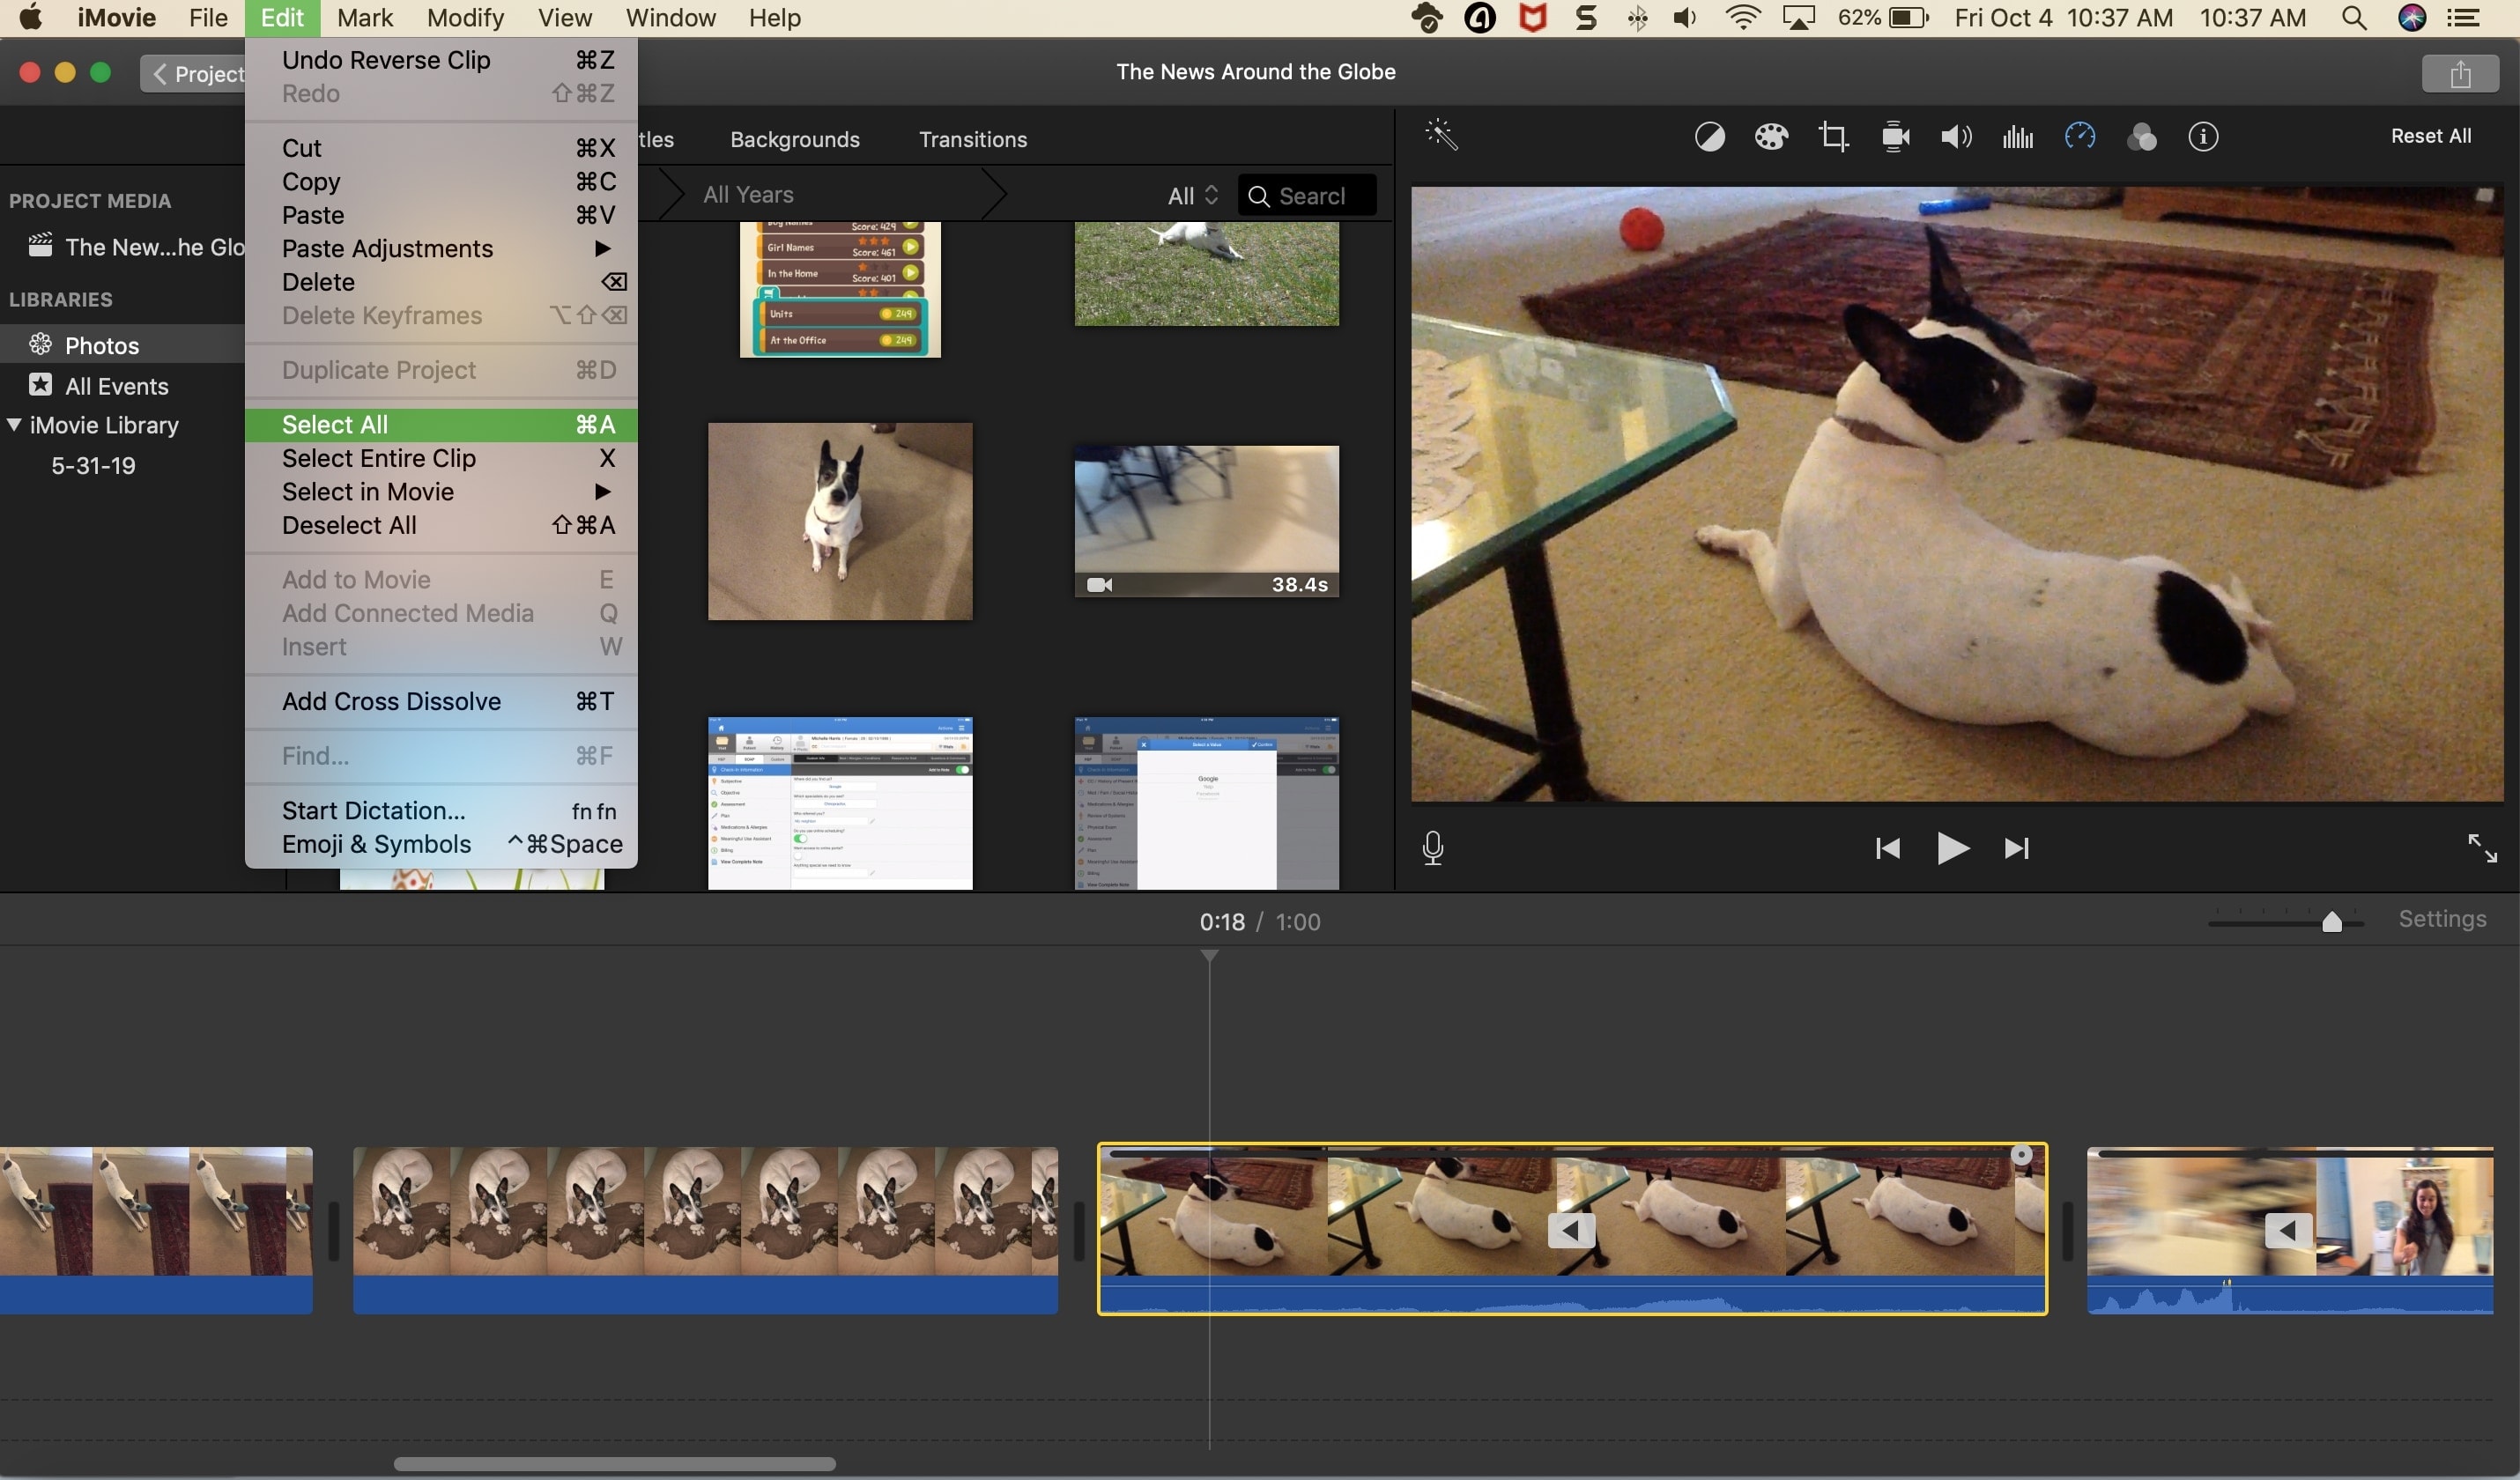
Using any of the methods above to select more than one clip, you can then follow the set of instructions at the beginning to mark the Reverse checkbox. All of the clips you select will then play backward.
Playing a video clip in reverse can add a really interesting effect to your movie. And while you cannot currently do this on iOS, it’s super easy to do in iMovie on macOS.
Are you going to play around with the Reverse feature? Let us know!
Other useful iMovie tips: