Learn how to show the floating AssistiveTouch button on your Mac’s screen to take quick actions when using the touchscreen, trackpad, mouse, or Sidecar.
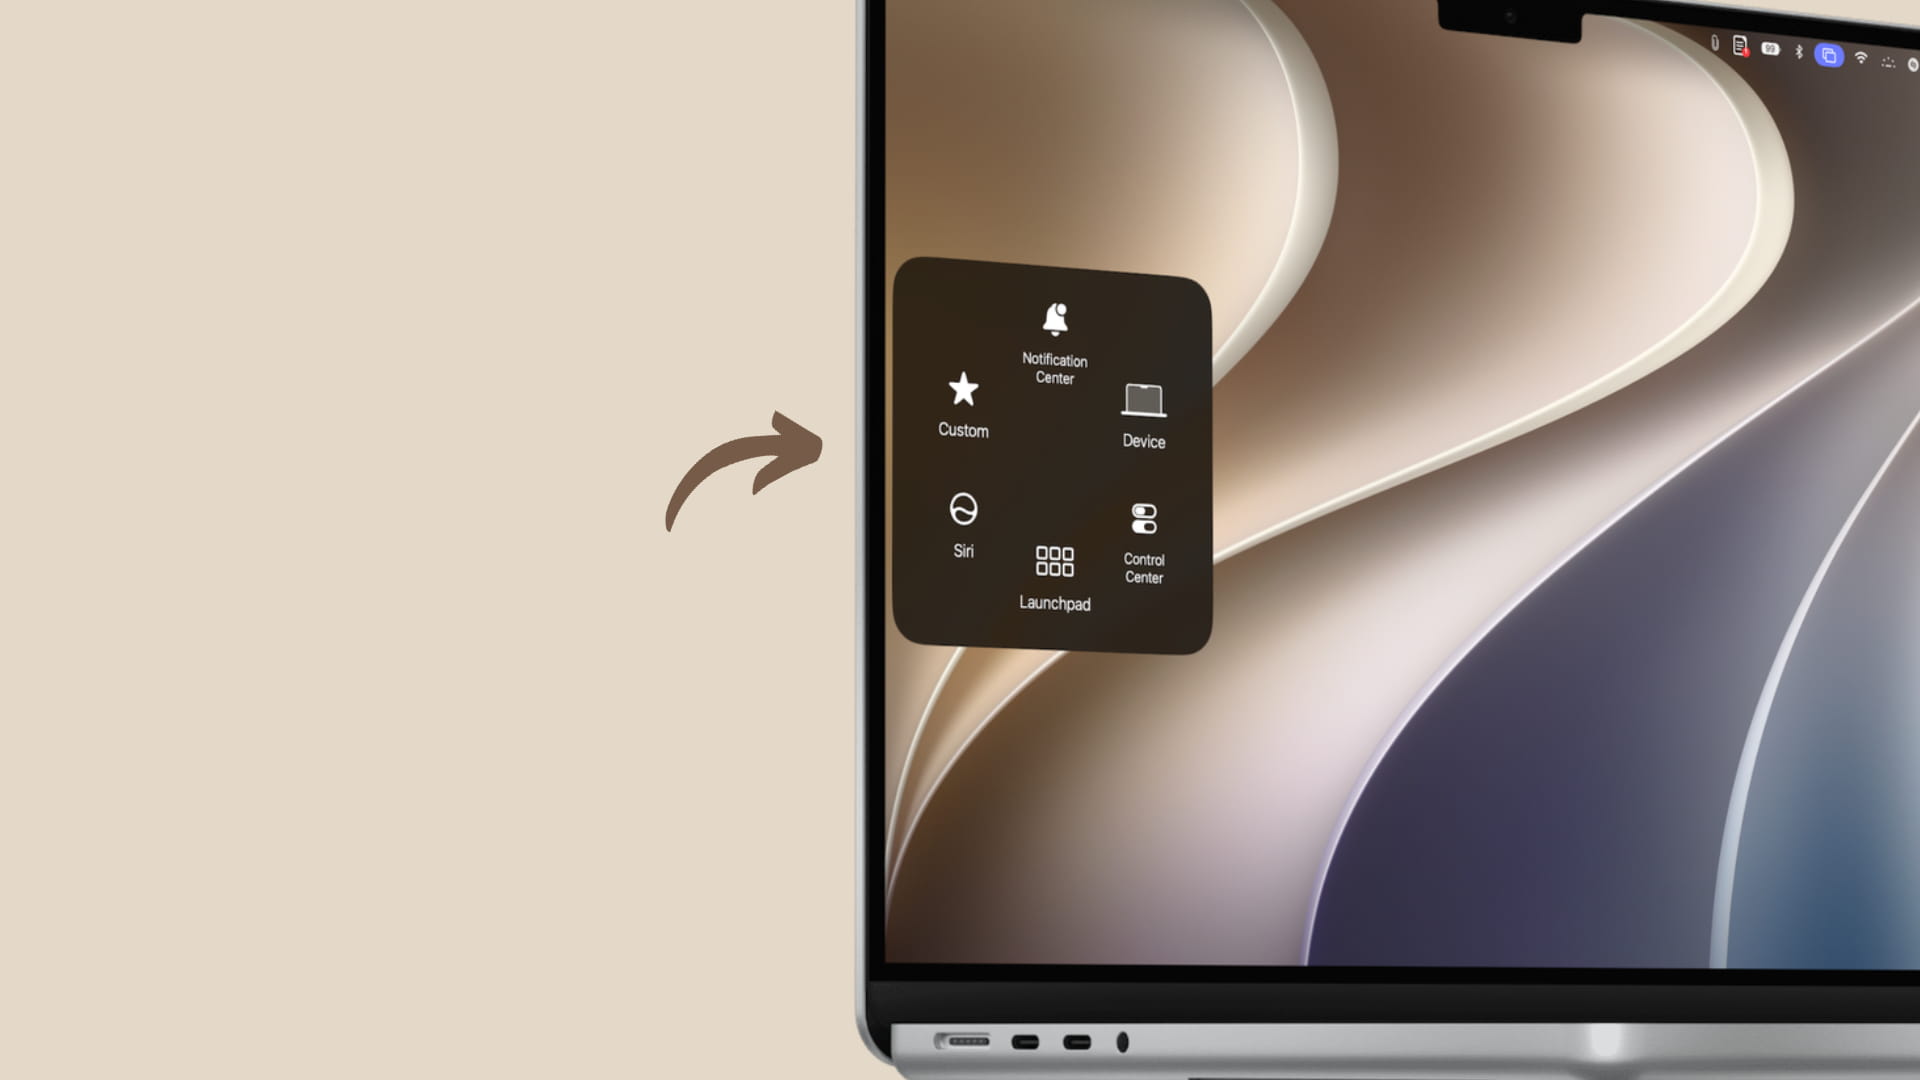
The AssistiveTouch you’re familiar with on iPhone and iPad is now also available on Mac desktops and laptops running macOS 27 Golden Gate.
Apple added this touch-based iOS feature to macOS for two reasons:
- Apple now offers a touchscreen Mac in its lineup — the new MacBook Pro with a PROLED XDR display.
- Sidecar (i.e., using iPad as Mac’s secondary screen) now supports touch when using Mac desktop or MacBook running macOS 27 Golden Gate.
While AssistiveTouch, as the name suggests, is a touch-first feature, you can also enable it on your non-touchscreen Mac and use it with trackpad and mouse.
And when you use Sidecar, the AssistiveTouch button will appear on both your Mac screen and the iPad’s screen.

The fundamentals, looks, and functionality are similar to iOS, but here’s a quick refresher to get you started.
Turn on AssistiveTouch on Mac
- Update your Mac to the latest version of macOS 27 Golden Gate.
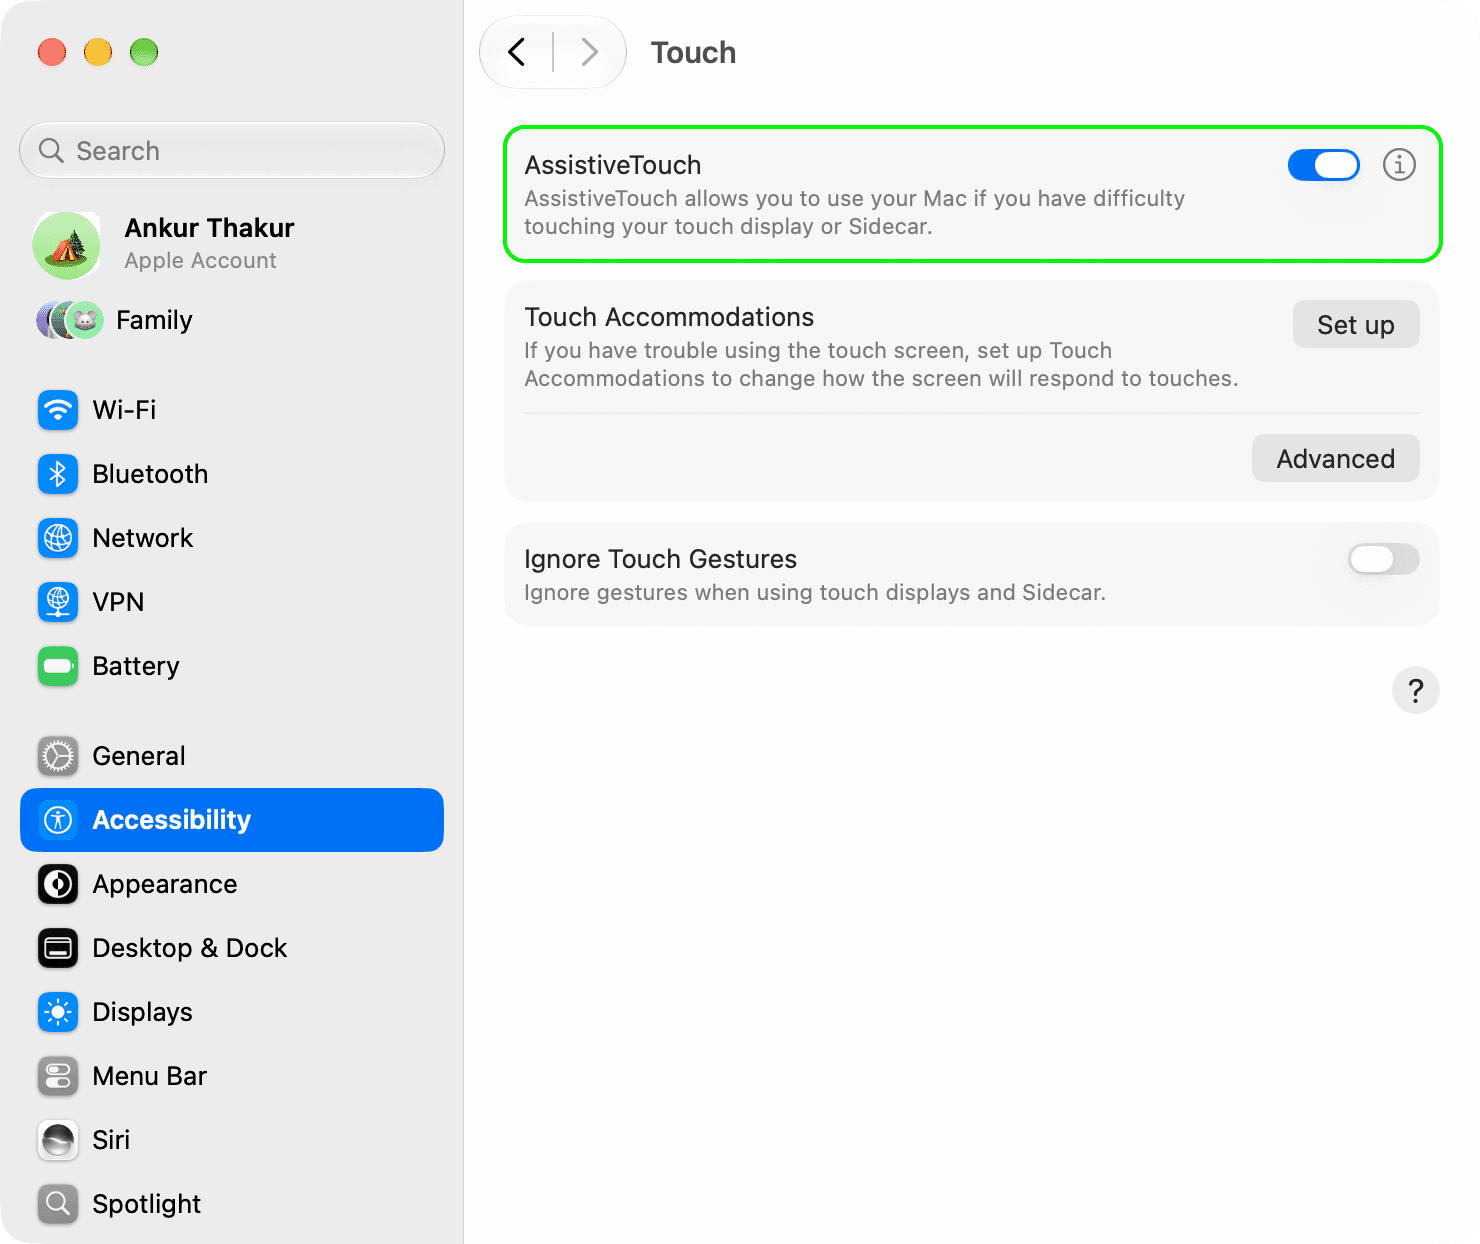
- Open System Settings.
- Select Accessibility.
- Click the new Touch option under the Physical and Motor section.
- Turn on AssistiveTouch.
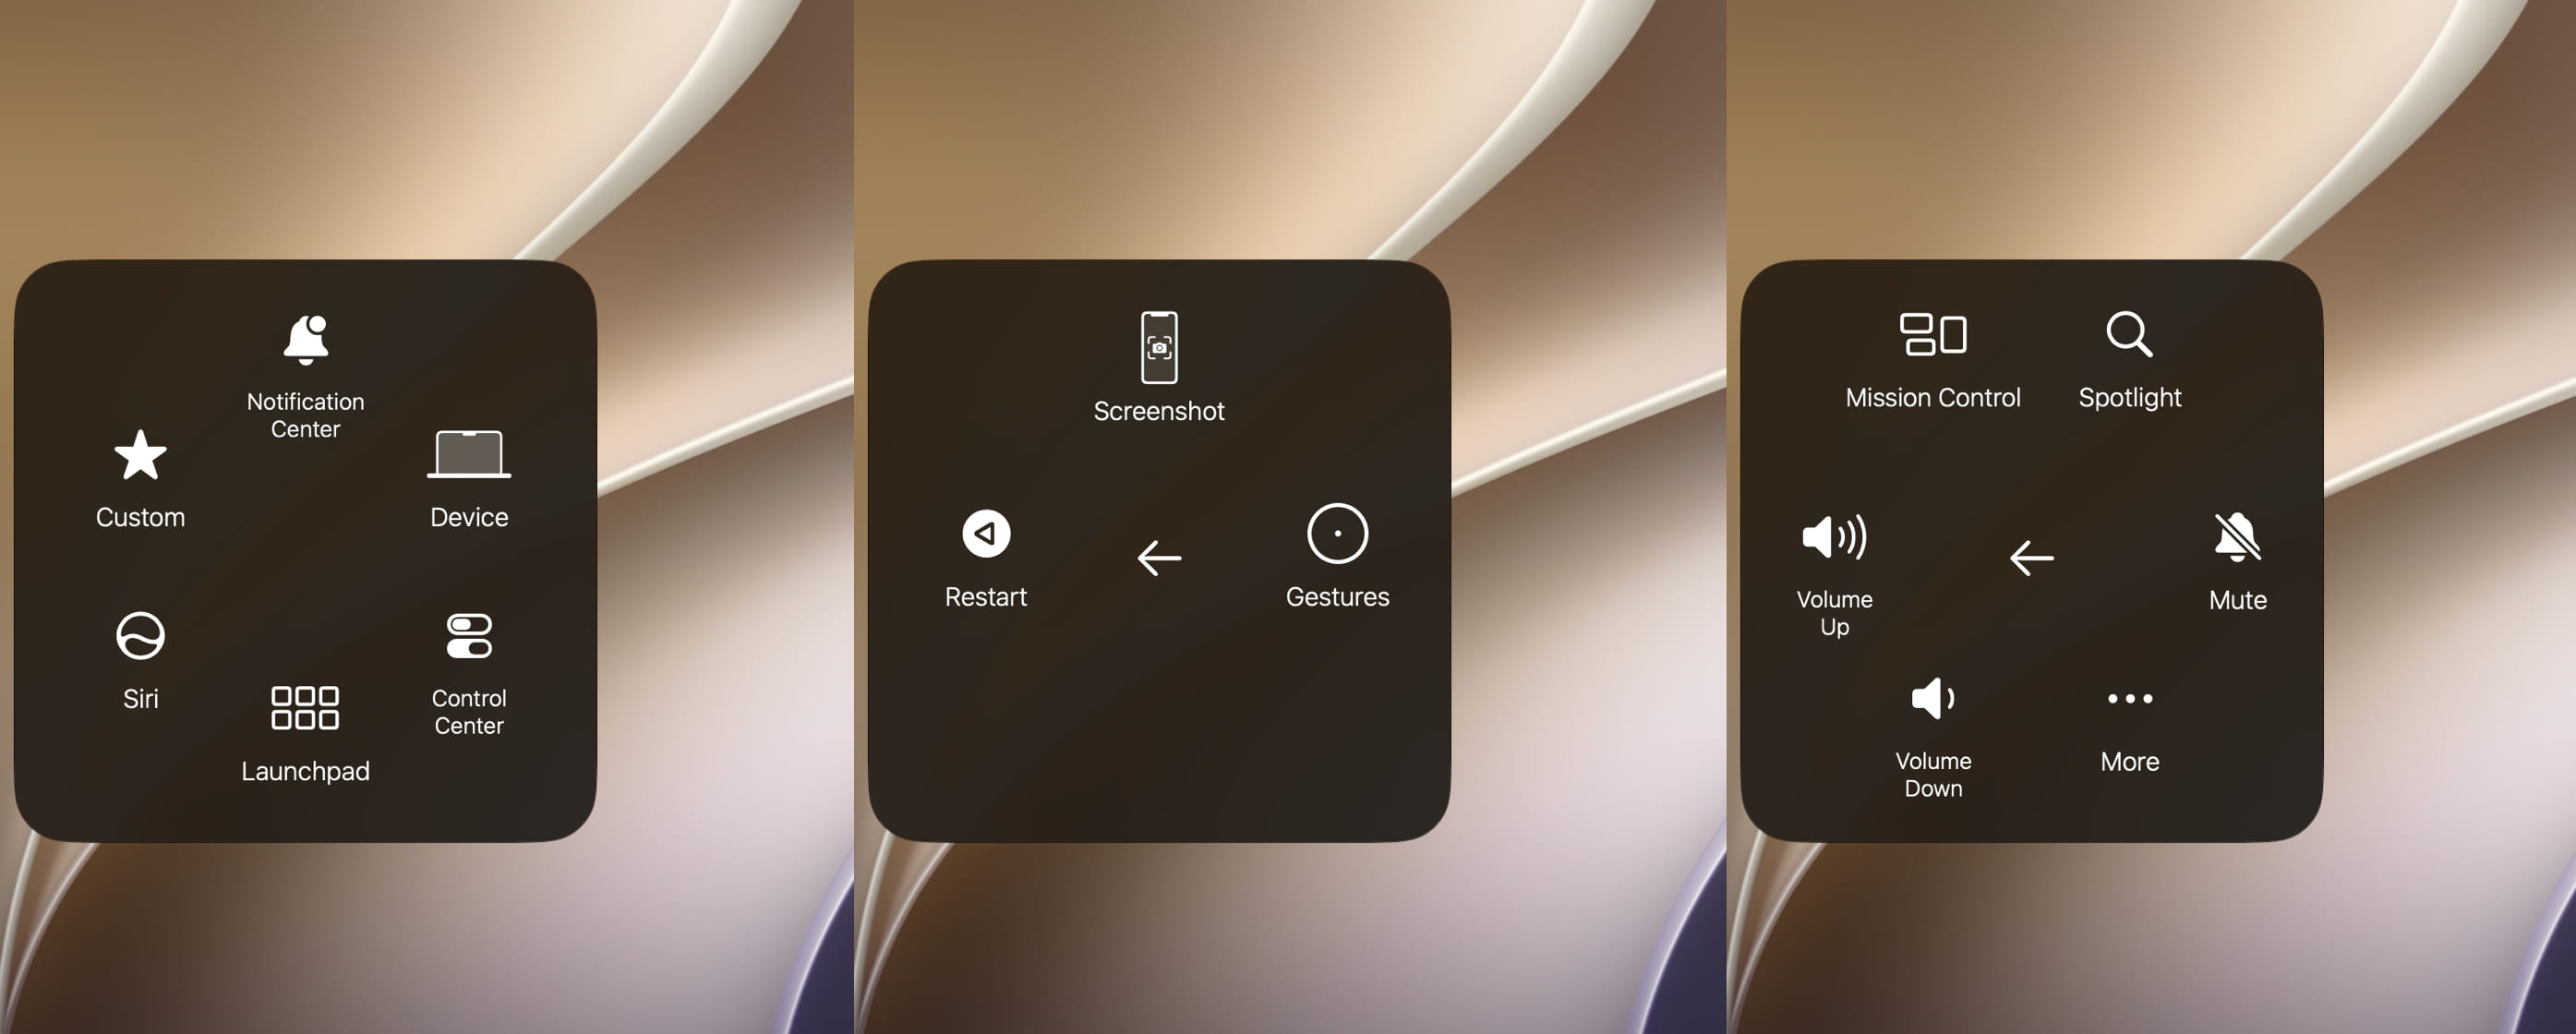
You’ll now see the AssistiveTouch floating button on your Mac (and iPad if using Sidecar). Click it to take an action. Drag it to one of the four screen edges you want.
Customize AssistiveTouch button
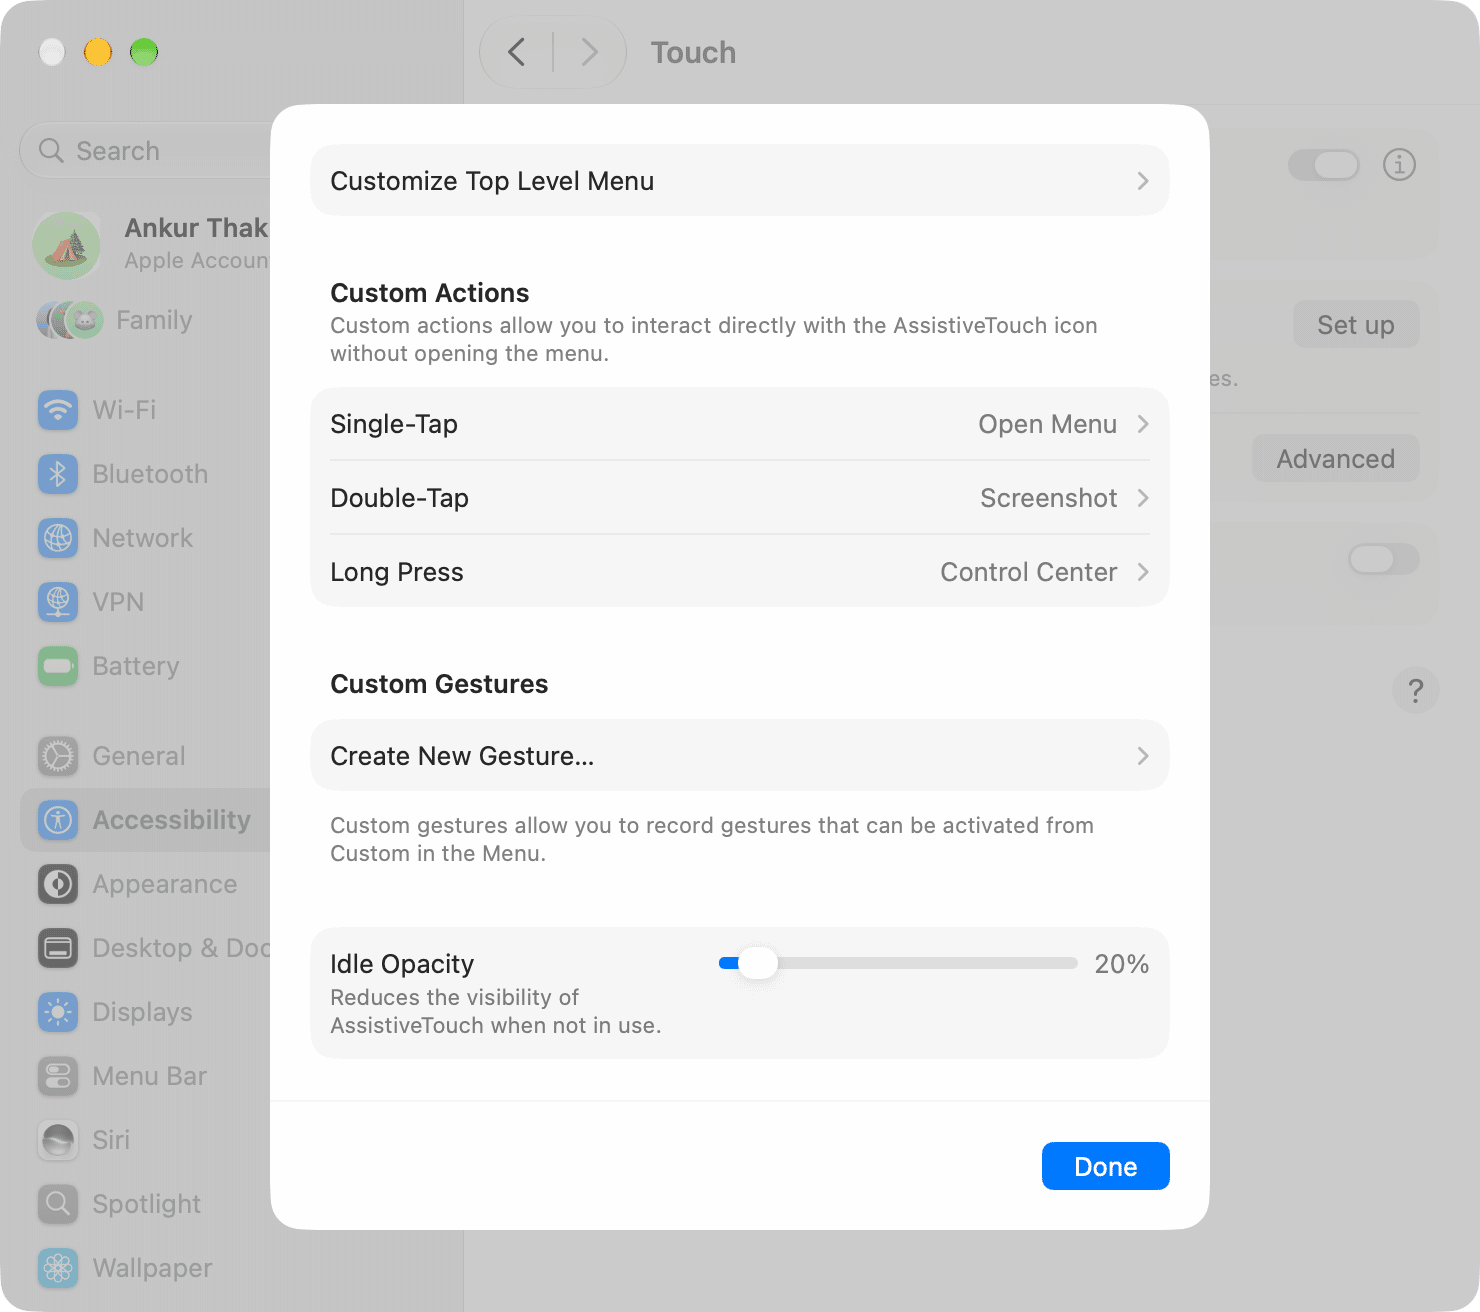
Just like iOS, you can customize the single-click, double-click, and long-press actions for the AssistiveTouch button on Mac. Long-pressing on the touchscreen is obvious, but you can also do that by pressing the AssistiveTouch button with the trackpad or mouse.
In addition to that, you can customize which and how many (up to 8) options appear on the first page of the AssistiveTouch menu, adjust the opacity of the idle button, and create custom gestures. Once again, everything is the same as on iPhone and iPad.
- Open System Settings and go to Accessibility > Touch.
- Click the info icon ⓘ next to AssistiveTouch.
- Customize top level menu (this is what first appears if you click the AssistiveTouch button, which is set to Open Menu); customize single, double, and long-press actions; create new gestures; and adjust the button opacity. You can also adjust the double-tap and long-press duration. By default, they are set to 0.30 and 1 second, respectively.
- Finally, click Done to save the new changes.
Unlike iOS, you cannot yet add the AssistiveTouch button to Mac’s Control Center for quick access, but it should be added in the near future.
What do you think of AssistiveTouch on macOS Golden Gate?
Also, check out: