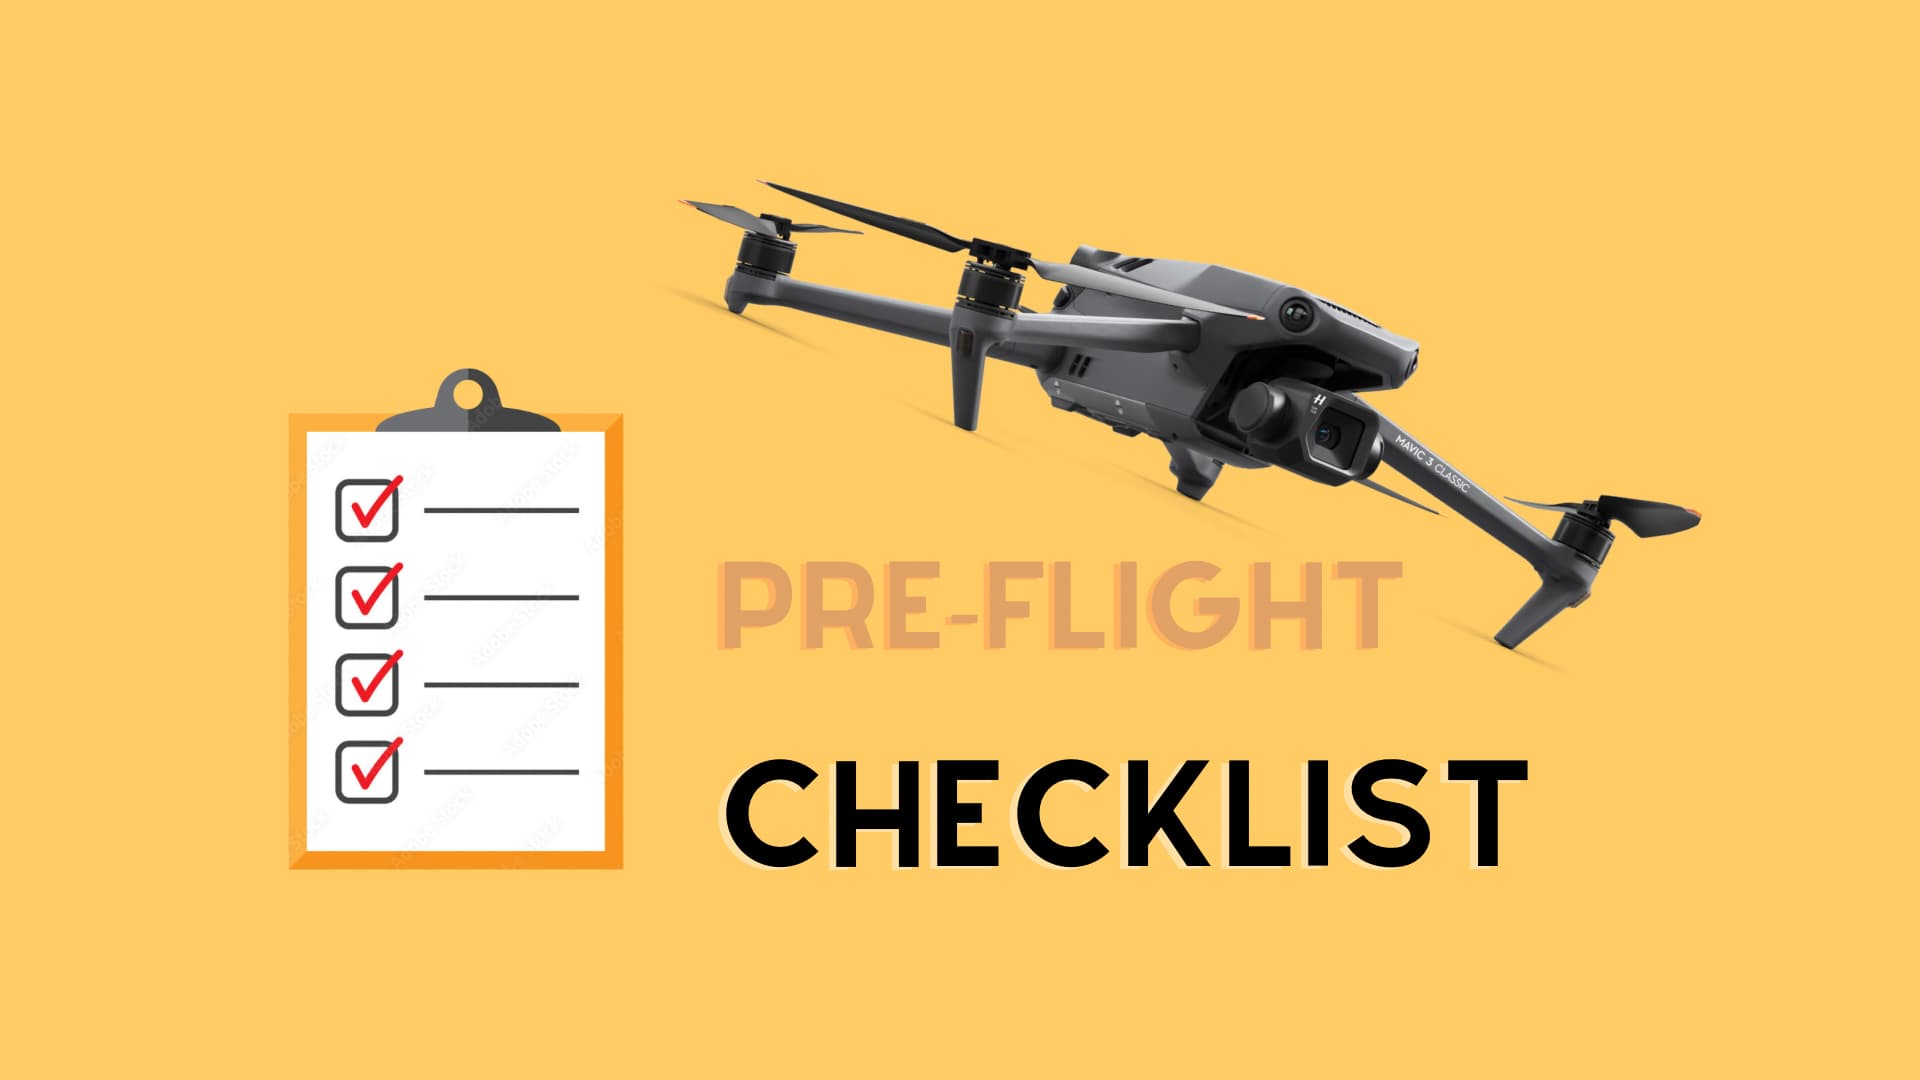
Here’s a checklist for what you should do before, during, and after flying a drone, so you comply with federal laws and operate as safely as humanly possible.
Whenever you fly a drone in the United States, whether recreationally just for fun (under Section 44809) or commercially for hire (under Part 107), one thing the Federal Aviation Administration (FAA) expects you to do is perform a pre-flight check before taking off.
At first, it seems like a silly and tedious task. But the truth is, you’re sharing the federal airspace with other aircraft — large and small. For this reason, FAA wants you to do your due diligence to ensure you aren’t causing any undue risk to yourself or others.
Your pre-flight check
Before ever taking off from the ground, it’s a good idea to perform the following inspections to make sure your drone is airworthy.
Part 1: For the drone itself
1. Have safety supplies handy
Make sure that you have your safety kit nearby and ready to use. You should generally carry a small fire extinguisher in case of lithium-ion battery fires, a first aid kit in case of injuries, and safety equipment such as cones, landing pads, and reflective vests to designate your flight zone and keep people away.
2. Check your firmware
You should always check for firmware updates on both the aircraft itself and the remote controller before ever taking off. Newer firmware updates can address bugs, boost performance, and patch security holes that could otherwise render your aircraft a flyaway.
3. Check your battery
You should always make sure that you have enough battery to complete your flight before taking off, and this includes checking the battery levels of the aircraft and its remote controller. If either one dies, you could end up with a flyaway, which poses a public safety risk. Make sure batteries are inserted if they’re not already.
4. Check the weather
You should always check the weather before taking off. You don’t want to take off if there’s a high rain chance, gusty winds, excessive heat, a chance of ice formation, poor visibility, high solar activity, high humidity, fog, or low-lying clouds. Make sure the weather is in spec for your drone before taking off to ensure you can operate safely.
5. Check for TFRs and DROTAMs
You should always make sure you’re clear to fly before taking off by looking at a drone app to see if there are any Temporary Flight Restrictions (TFRs) or Drone Notice to Air Men (DROTAMs). These vital pieces of information tell you if there are any nearby drone-flying bans that you must abide by.
6. Check the sunrise and sunset times
You can fly your drone at night and during civil twilight (the time just before sunrise and the time just after sunset), but your aircraft must then be equipped with a flashing beacon light that can be seen from 3 statute miles away.
7. Prepare the aircraft
Make sure your aircraft has been prepared for takeoff before attempting flight. This means unfolding the propeller arms, taking off the gimbal protector (if applicable), installing and formatting your microSD card (if applicable), and cleaning the camera lenses if they’re dirty.
8. Inspect the aircraft
Once everything has been prepared, you need to make sure the aircraft is sound for flight. Check for any cracks in the body, propeller arms, and individual propellers to ensure that you can fly safely. Also, inspect the battery for any swelling, and if there is swelling, do not use that battery.
9. Install any attachments
If you’ll be attaching anything to your aircraft, now is the time to do it. This may include flashing beacon lights, RTK modules, parachutes, loudspeakers, external action cameras, Remote ID modules, or anything else. Once installed, make sure it is secure and can’t fall off during flight, and then make sure that it doesn’t affect the aircraft’s center of gravity.
10. Turn on the aircraft
If everything checks out, power on your aircraft and continue to the next section.
Part 2: For your remote controller
1. Attach any accessories
You should prepare your remote controller by attaching any accessories you plan to use, such as a neck strap, a sunlight shroud, a power cable, the joysticks, or a microSD storage card.
2. Position the antennas
Make sure that you position your remote’s antennas (if applicable) to maximize your wireless connection strength. A low connection can increase your chances of a flyaway, and you want to avoid this at all costs.
3. Turn on the controller
Power on the controller and launch your flying app (if applicable). From here, you’ll make sure that it is connected to the internet (use your Personal Hotspot if necessary) and perform the necessary checks discussed in the next step.
4. Check all readouts
As a remote pilot, you’re expected to know how to understand data readouts. Make sure that your compass, satellite connections, maximum altitude and distance, Return to Home, battery level, remote signal strength, camera settings, and any other data readouts are optimal. These measurements ensure that you always have complete control over your aircraft.
5. Prepare the storage card
Make sure to format the microSD card if you haven’t already. This makes sure that you can write more media to your storage drive without any errors and retrieve your recordings later.
6. Activate attached lights
Especially if operating in the dark or during civil twilight, you’re going to want to toggle on your flashing light. You should also ensure that the aircraft’s red and green propeller arm lights are working properly to help with visibility in the sky.
7. Activate the camera
Turn on the camera and begin recording, if desired.
8. Make sure Return to Home is set
Before taking off, make sure that your home point is set so that in case of communication failure, your aircraft can return to your last location instead of becoming a flyaway.
9. Ensure the surrounding area is clear
Make sure that your surroundings are safe for takeoff. Place any landing pads, safety cones, and/or warning signs, and then make sure that there aren’t any people or obstructions around that could damage your aircraft, or worse, be harmed by your aircraft.
So far, so good? Excellent! Move on to the next section.
Your mid-flight check
Once you’re safe to take off, you may do so. Then, when you’re in the air, you should perform the following checks to make sure you’re safe to ascend to higher altitudes.
1. Start your motors
You can start your drone’s propeller motors after you have followed the steps above. Ensure that the propellers are humming consistently and not making any abnormal sounds, as this indicates that your propellers are structurally sound and safe to fly with. If you hear any skipping noises, a propeller may be preparing to fail, and you should replace all four sets — propellers are cheap!
2. Hover in place
Ascend to no more than two feet off the ground and hover for approximately 15 seconds to ensure that your aircraft is stable in flight. If you spot no problems, you should be good to go.
3. Check for other aircraft
Before ascending too high into the skies, check your surroundings for any low-flying aircraft. Helicopters are especially notorious for flying low to the ground, and you must yield to manned aircraft. You should also check for other aircraft, including other drones, kites, or balloons that could endanger your drone.
4. Maintain situational awareness
Constantly scan the skies for nearby aircraft. You may be able to hear them, and you should look around when you do. If you see an approaching aircraft, yield the right of way by lowering altitude or landing. You may ascend again when it is safe to do so. If you’re in the sky by now, you’re doing great. Keep an eye on your drone throughout the flight and until you’re ready to land.
Your post-flight check
When you’re ready to land, you should perform the following actions to make sure your drone didn’t sustain any damage during flight and to ensure that it will be safe for your next flight.
1. Clear the landing area
Ensure that the place where you intend to land your drone is free of people and obstructions. You want to land your drone safely and without lacerating anyone or damaging property.
2. Proceed with landing
If everything is clear, you may land the aircraft on your landing pad.
3. Turn off the drone
Once it lands, you can stop the motors, stop the video recording, and turn off the power to the drone itself and to the remote controller so that you aren’t harmed by any spinning propellers.
4. Remove any attachments
Assuming you’ve turned everything off, you may safely approach the aircraft and remove any attachments you added pre-flight.
5. Inspect the aircraft
Check to make sure that all your propellers look good, that none of your propeller arms sustained any damage, that your drone’s body isn’t cracked, and that the battery isn’t swollen.
6. Clean the aircraft
Remove any dust, leaves, moisture, or residue from your aircraft to ensure it gets stored in a clean manner.
7. Install the gimbal protector
Most drones these days have a gimbal protector that you would have removed before flying. Put it back if you’re done flying to keep the sensitive camera electronics safe during transport.
8. Remove the microSD card
Be sure to remove your microSD card so that you can view and edit the footage later.
9. Fold and pack
Fold your drone’s propeller arms back up and pack it away safely in its case so that it can’t be damaged during transport.
10. Add or replace desiccant pack
We strongly recommend keeping a desiccant pack with your drone to keep moisture away. If your desiccant pack is getting old, now would be a good time to replace it.
Did you have fun? That’s all there is to keeping your drone-flying experience a safe one.
Synopsis
Now that you understand some of the steps that you should take prior to, during, and after flying your drone, you can operate in a safe manner that is consistent with federal law. Please remember that this page does not constitute legal advice and that your drone may have different steps than ours when preparing it for a flight. Most DJI-branded drones have a checklist that looks like this one.
It’s a good idea to check your drone manufacturer’s operator manual, as it can sometimes include pre-flight checklist steps and guidelines that are unique to your drone.
While all of this may seem tedious, it does become second nature very quickly. After all, not only do you want to operate safely, but you want to maintain your drone and ensure that you don’t pose any undue risk that could damage it or your surroundings. You also don’t want to harm anybody, as this could open you up to both civil and criminal penalties.
Fly safely!
Conclusion
The list above is by no means the only way of doing your safety check. Depending on your drone model, you may need to add or subtract steps from our template. It is, however, a good place to start.
Whenever you fly a drone, taking steps to ensure a safe flight not only appeases the FAA and federal law but also keeps everyone safe so that drone operators can keep a good name.
Other drone tips for you: