Learn how to add text or text-based signatures to your photos on iPhone, iPad, and Mac so your images stand out and effectively convey your message.
On iPhone and iPad
There are a couple of easy ways to do this.
Apple’s Photos app
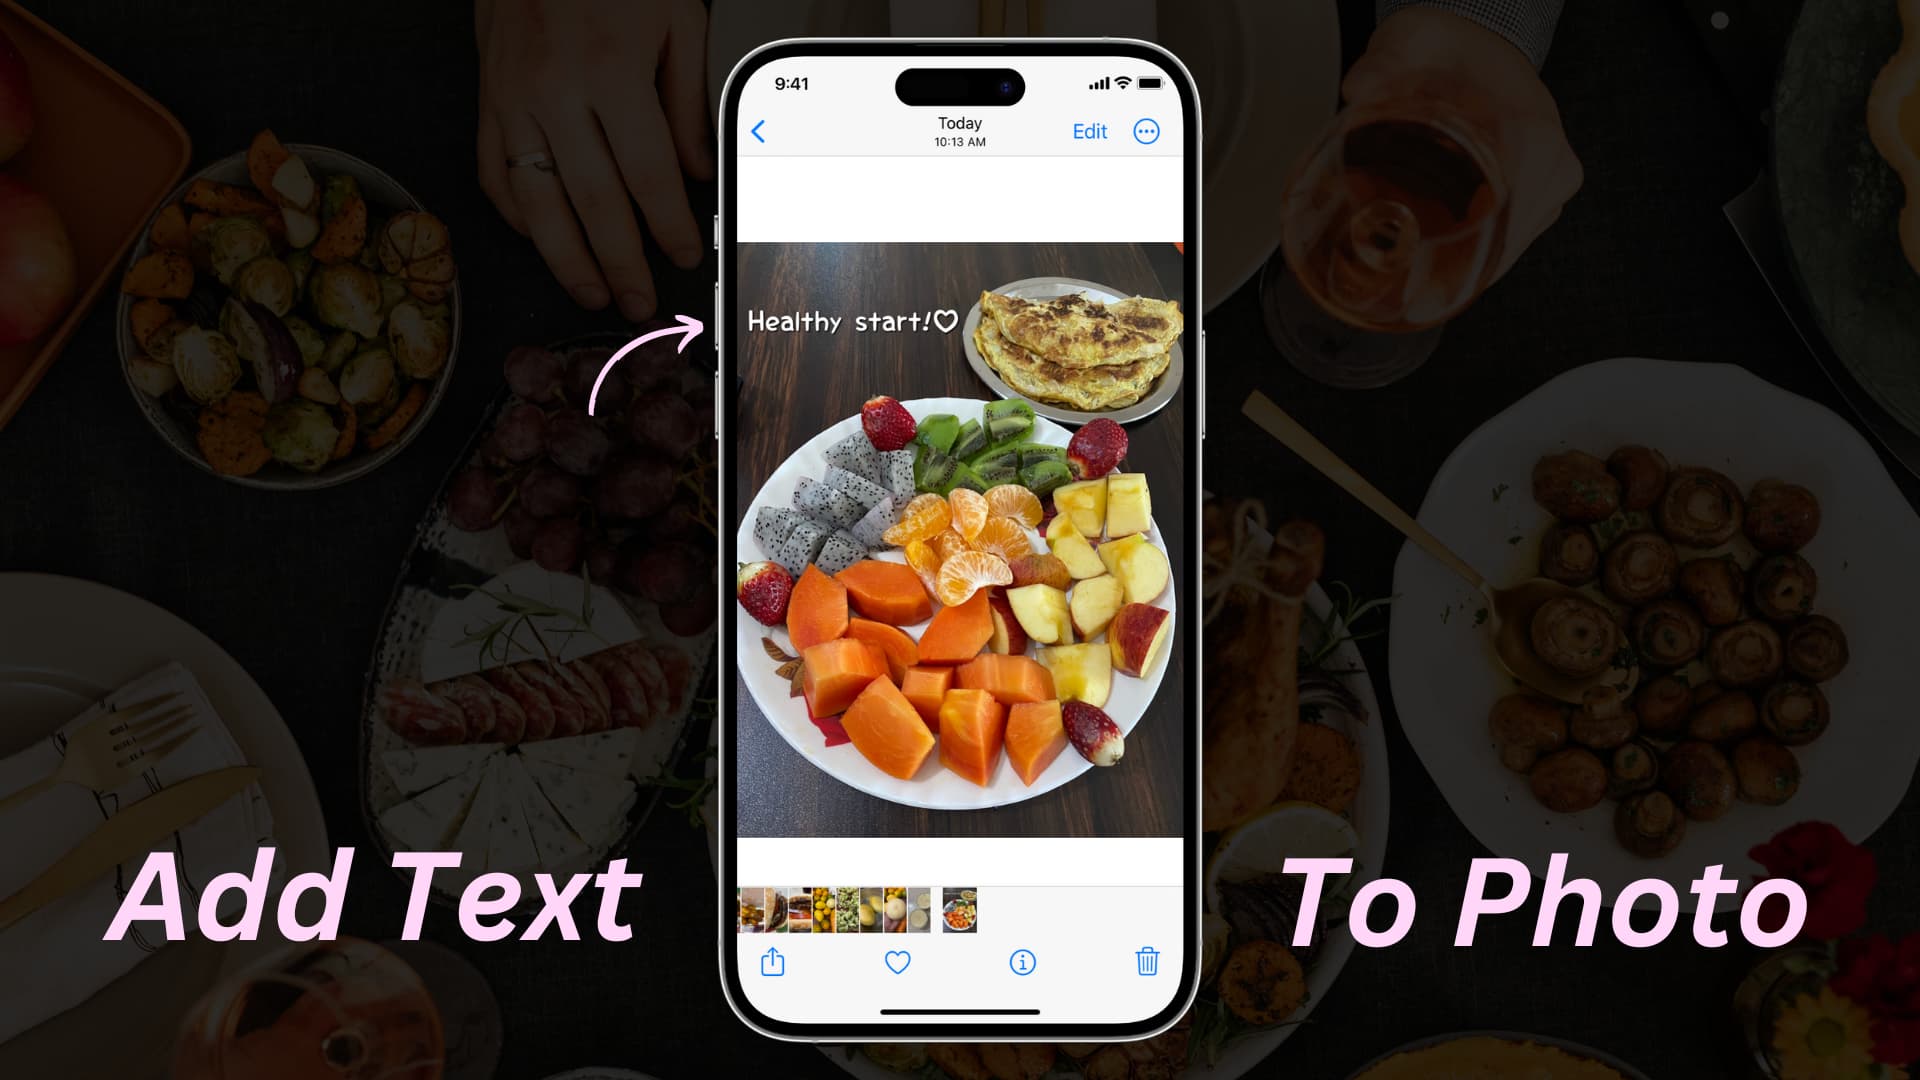
The Markup tool in the stock iOS Photos app lets you add text to your pictures and screenshots. You can use a color of your choice, pick a font size, and use one of the various font styles.
1) Open the Photos app and tap the image you want to add text to.
2) Tap the edit icon.
3) Tap the Markup button that resembles a pen in the top right corner.
4) Tap the plus button (+) and select Add Text.
5) Double-tap the “Text” placeholder box and type what you want to say. After that, tap anywhere on the photo to hide the on-screen keyboard.

6) Tap your text to select it, and then hit Aa to do the following:
- Format text with bold, italic, underline, and
strikethrough. - Tap the color palette dot to change the text from black to something else. Use the color sliders and opacity slider to achieve the desired look. You can also tap the color picker icon from the top left and drag it on the image to pick a hue that matches that specific portion of the image.
- Tap the 60 pt icon to increase or decrease the text size. You can also use the plus (+) and minus (-) buttons to fine-tune the size.
- Tap the current font name (or Aa button on older versions of iOS) to pick another font like Georgia, Symbol, Verdana, Arial, and more. Remember that Helvetica is the default font.
- Finally, pick one of the alignment buttons to change how your text looks.

7) Drag the text box to the desired spot on the image and tap the checkmark or Done to save the changes.

The text is now added to your picture. You can send it via Messages, Mail, or post it on Instagram, X (Twitter), and other social media platforms.
Phonto
Phonto is a highly rated free app that offers various styles and easy options for adding text to your iPhone photos.
1) Download the Phonto app on your iPhone or iPad and open it.
2) Tap the camera icon at the bottom, select Photo Albums, and allow the app to access your photo library or select one photo.

3) Pick the image you want to add text to, and tap the checkmark icon to exit the filter screen.
4) Once you’re inside the main editor, touch anywhere over the image and choose Add Text.
5) Type what you want to say, then select one of the various font styles and symbols. You can also pick from left, right, or center alignments. And if you tap Preset, you can add today’s date as the text. Note that you can later change these presets to custom text from the app’s settings pane. Then, tap Done once you have taken care of everything here.

6) Drag the text to the appropriate spot on the image. You can also pick an option from the sub-menu that appears. Here’s what they do:
- Text: This will bring you back to the text-input screen you had in Step 5.
- Font: Select a font.
- Style: It has many options like text color, stroke (text boundary), background, shadow, spacing, underline, and blend. It will take a while to get accustomed to everything here. Remember to use the Color and Style tabs located at the top.
- Size: Increase or decrease the text size.
- Tilt: Pick a degree of tilt for your image.
- Move: Use the four arrow buttons to move the text precisely.
- Curve: Curve the text inwards or outwards.
- Finally, you can duplicate the text or delete it.
- Note: 3D and Erase are premium tools that require payment.
7) With the text added to the photo, tap the share button and choose Save Image or Save Image as PNG. Then, open your iPhone or iPad’s Photos app, and you’ll find the final edited image there.

Using other iOS apps
In addition to the above two options, you can try several other apps and even websites.
A quick search for “add text to photo” on the App Store or Google Search should show multiple useful apps. Personally, I would recommend Add Text, Canva, Snapseed, Studio, and Picsart.
I don’t, however, recommend using these sites to add text to your photos on iPhone because of the small screen and difficulty of using the tools in the web browser. Not to mention, many of these websites are not optimized for mobile use. You can use them on your iPad (that’s hopefully connected to a keyboard and mouse) or your computer. We mention a few of these websites in the Mac section.
On Mac
You can use the built-in options or third-party tools like Canva.
Preview
Preview is the default destination to open images and PDFs on Mac. You can use it to add text to your photo.
1) Double-click on an image in Finder, and it should open in Preview.
2) Click the Markup icon to see all editing tools. From here, select the Text [A] tool.

3) Replace “Text” with what you want to say.
4) With the custom text selected, you can style it up by using these tools:
- Text Style [Aa]: Use it to change the font, color, size, style (bold, italic, underline), and alignment.
- Fill Color: Use it to add a solid background behind the text.
- Border Color: Pick this to add a colored border around the text.
- Shape Style: You can pick a style or thickness for the border using this option.

5) Once you’re done, simply close the Preview app, as all your edits are saved to the image file in real-time. You can open the original image file in the Finder folder to see the text added to it.
Apple’s Photos app
Just like the iOS Photos app, you can use the macOS Photos app to add text over an image.
1) Launch the Apple Photos app on your Mac and open the image.
2) Click Edit in the top right.

3) Click the More button and choose Markup.

4) Select the Text tool [A] from the top.
5) Replace “Text” with your custom text.
6) Drag it to the desired spot and use the Text Style (Aa), Fill Color, Border Color, and the Shape Style button to customize your text. The process is similar to what we explained under the Preview app method above.
7) Finally, click Save Changes > Done to save the image with your custom text.

You can share this edited photo from inside the Photos app by hitting the Share button. Or, drag the image out from the Photos app and drop it over your Desktop or other Finder folder.
Canva
Canva is one of the most popular photo editing tools out there. I have used it daily for the last few years to create the featured images for my iDB posts.
Projects you save in Canva can be accessed on a computer, iPad, or through its mobile apps. Every change you make is saved to the cloud, so you don’t have to worry about losing them. As a result, you can start working on a photo and finish it later. On top of that, the free version of Canva doesn’t add a watermark to your images!
1) Go to Canva.com and sign up for a free account. If you already have an account, simply log in.
2) You can create designs in Canva of various sizes. But since your goal is to simply add text to your image, please follow these steps to edit the full-quality image.
Start by clicking the Create a design button and then Upload. Now, select the image from your Finder and import it to Canva.
3) Click Use in a new design > Custom size. Now, don’t alter the width & height and click Create new design. The photo will open in full resolution in a new tab.

4) Select Text from the left sidebar and pick a style.
5) Enter your custom text and customize its font, size, color, and other things using the tools at the top.

6) With everything in order, click the Share button and hit Download. Next, you can choose PNG or JPG as the file type (format) and click Download one final time.

The edited image with text over it will be saved to your downloads folder in full resolution.
Experiment with other methods
I’ve tried several online websites to add text to a photo, and I usually run into one of these issues:
- The free version would add a watermark.
- The sites are super slow to load and take a considerable amount of time to upload photos.
- Editing tools may not be responsive.
As a result, I recommend using Canva, which doesn’t have these drawbacks. However, if you’ve made up your mind not to use Canva, you can try these alternatives:
Finally, if your Mac has an Apple silicon chip, you can also use iOS apps like Add text on photos on it. It worked well on my Mac mini with an M2 chip.
More tips for photos and videos: