The DockCase external enclosure protects your 2.5-inch HDD/SSD drive against power loss while adding smart features like status monitoring and more.
Disclosure: DockCase provided us with free prototypes of both the DockCase and DockCase Pro for the purpose of this review. iDB received no other compensation. We don’t accept paid-for reviews.
But first, how trustworthy is DockCase?
We recently previewed the new external storage enclosure from DockCase. The HDD/SSD accessory is currently available on Kickstarter. Before you say anything, let me point out that DockCase ships its product on time—this is the company’s sixth successful Kickstarter project. DockCase sells its current accessories on Amazon.
In fact, iDB reviewed DockCase’s cool MacBook sleeve that doubles as a USB-C hub way back in 2017, which I’m mentioning here to illustrate that DockCase is an established company that can be trusted to deliver.
The built-in screen: Glancing at SMART info
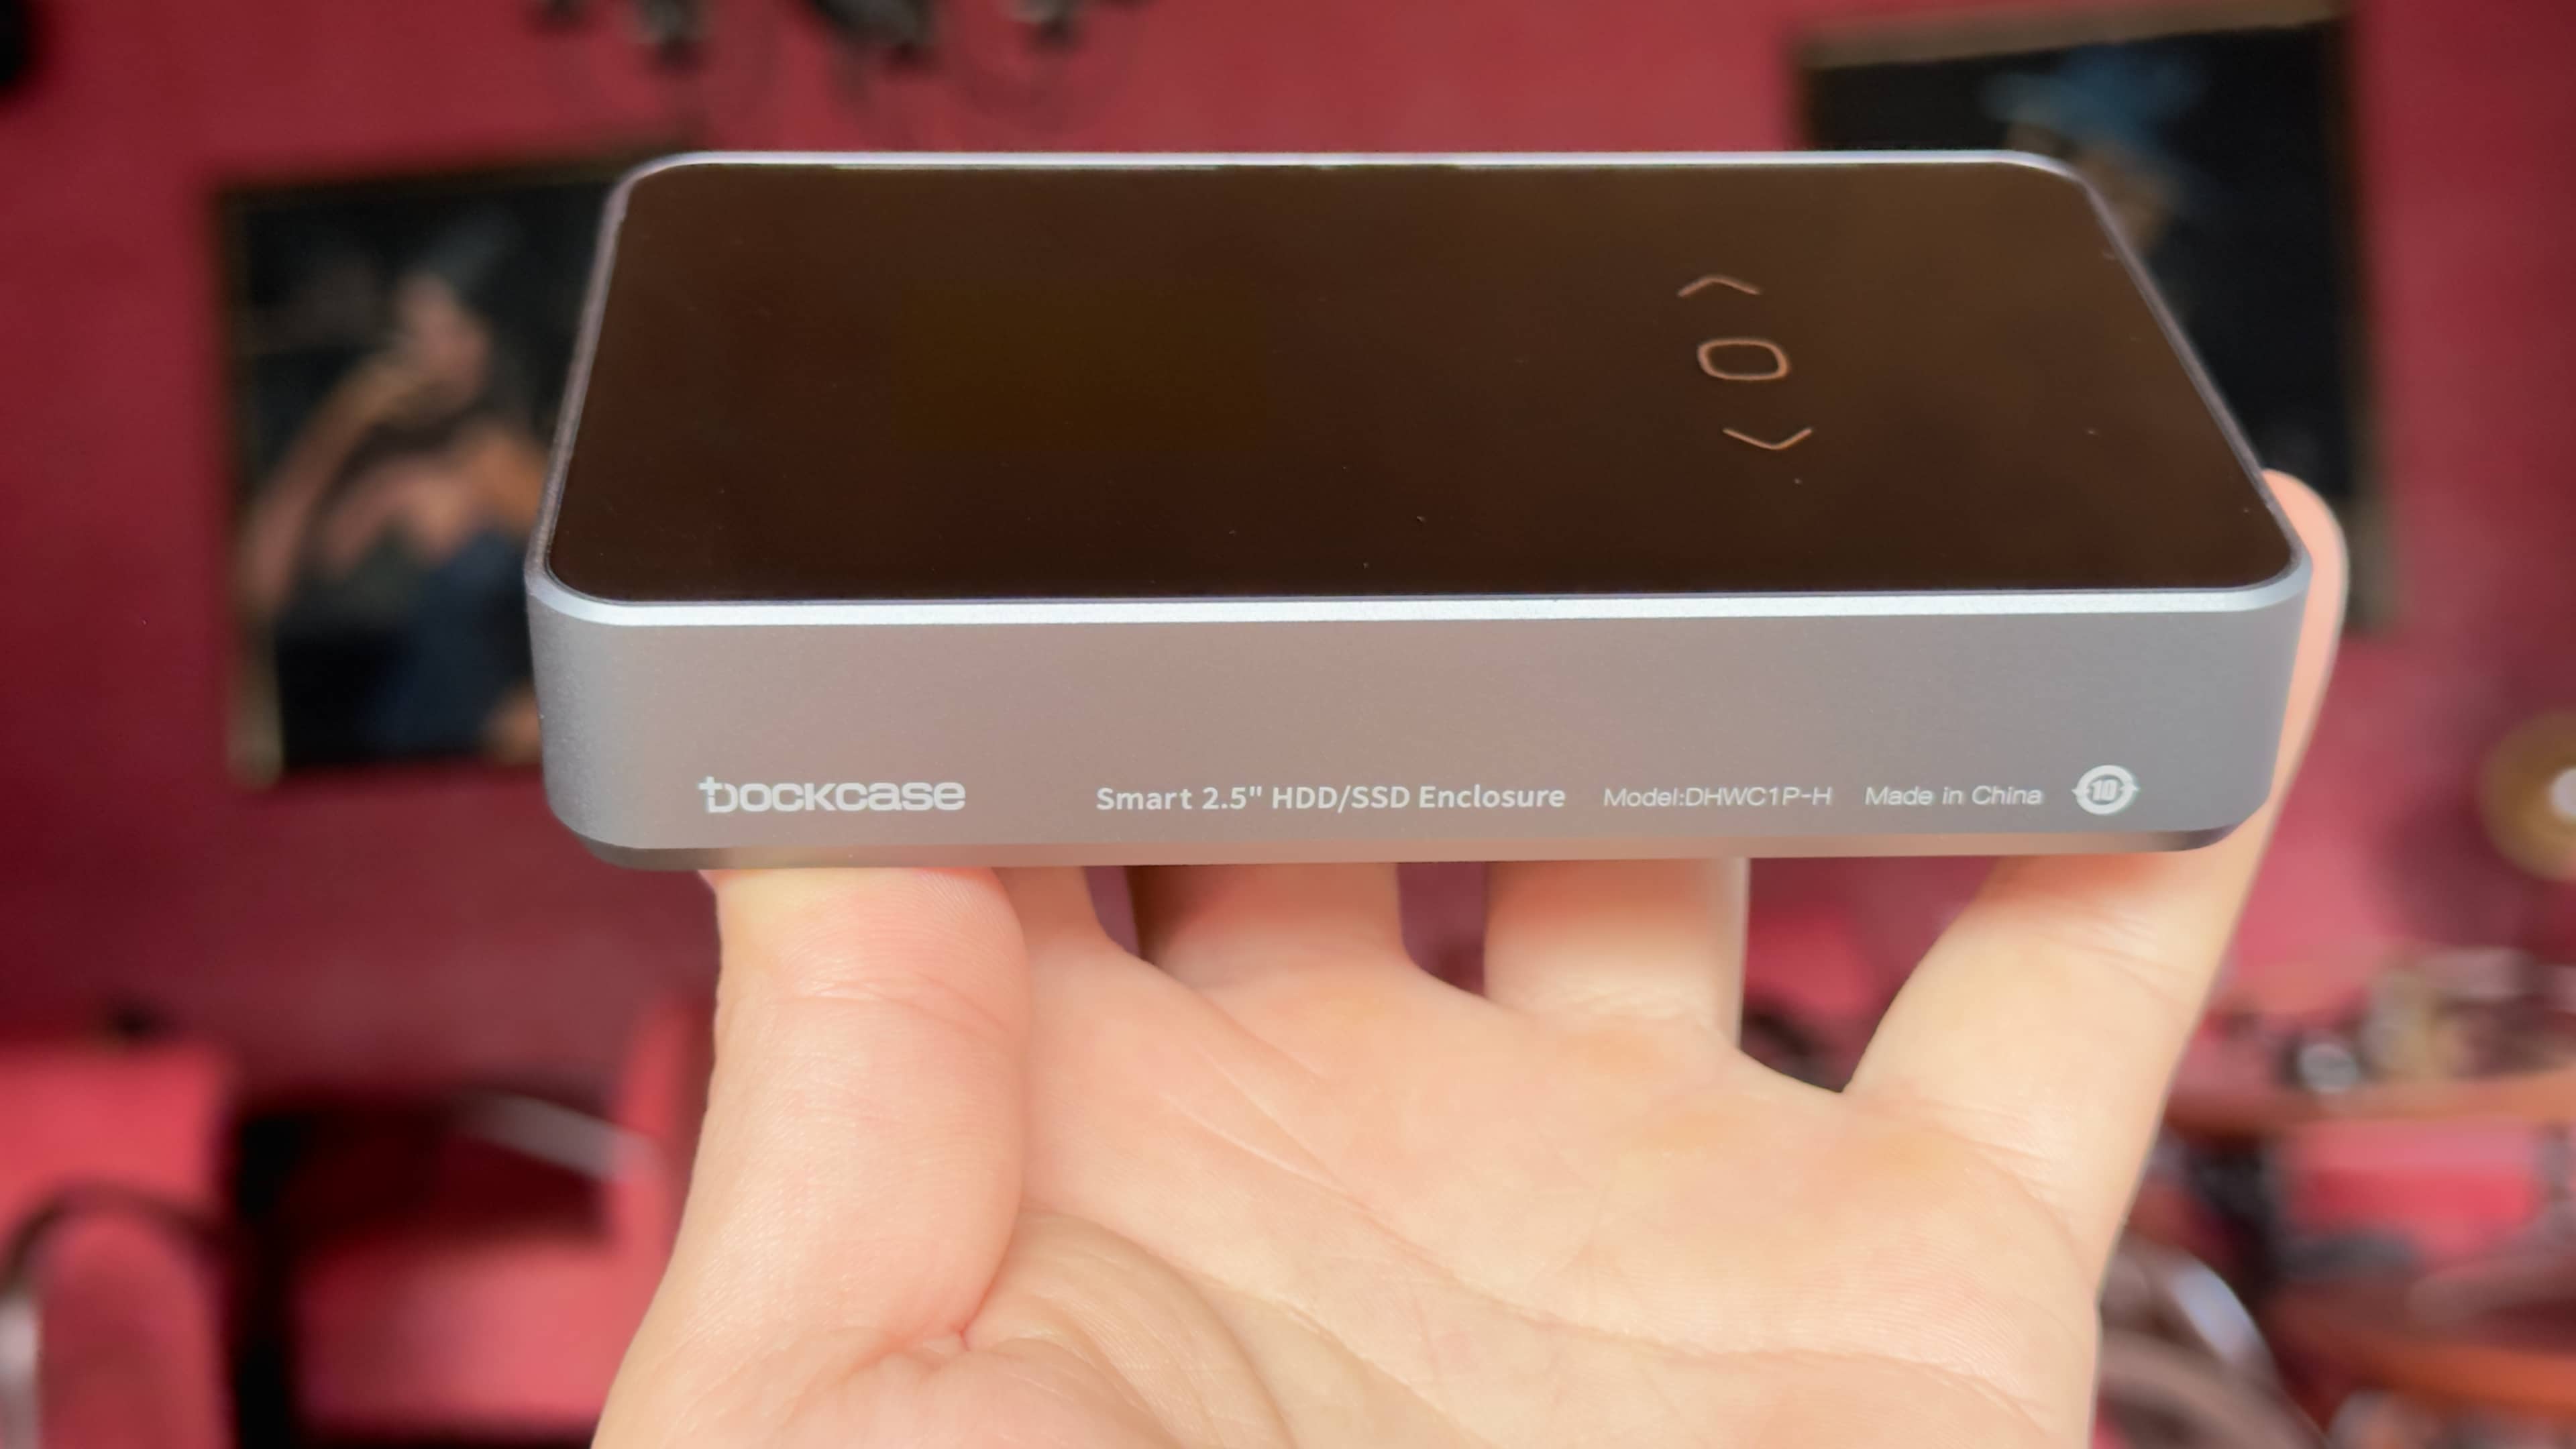
You’ll immediately notice a full-color LCD screen on the front and three capacitive buttons to navigate the menus, which you don’t get often with these things.
The display uses black-tempered glass protection, which looks great and feels smooth to the touch. The LCD measures 1.5 inches diagonally and sports a 240-by-240 pixel resolution, which is enough to display a few lines of text.
You can switch screen orientation by double-pressing the only button on the case, which cycles the interface between portrait and landscape views. The same button is also used for navigating the menus and making selections.
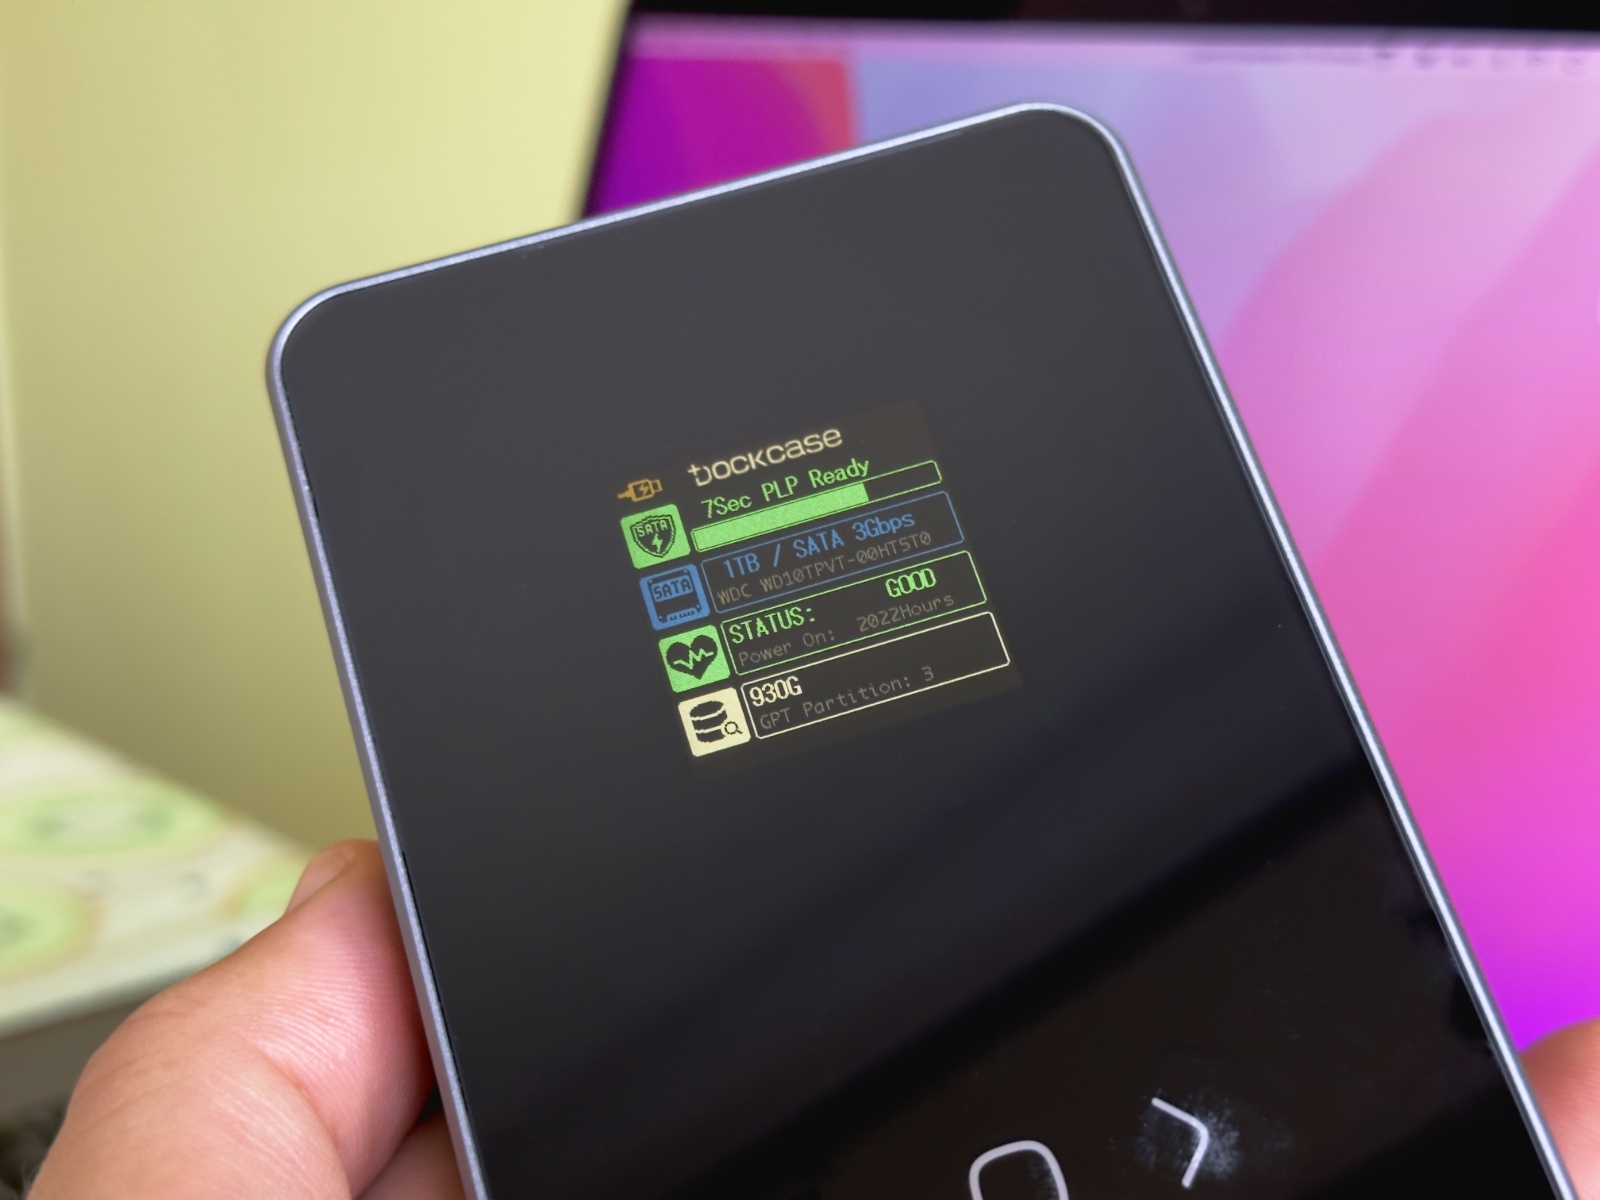
Now, the screen displays useful information in real-time, even when the case isn’t connected to a computer. This is great because you can simply connect the enclosure to a charger to quickly check the drive’s model and capacity, the number of partitions, the drive’s exact input voltage and so on.
More importantly, the drive’s temperature along with the status of power loss protection is shown in real-time so you always know what’s going on. If there’s a problem with the drive, you’ll know it before you even experience symptoms.
Other SMART info displayed paints an overall picture of your drive’s health, such as the drive’s estimated remaining life, the amount of read/write data, the number of power cycles, total power-on time and more.
Up to ten seconds of power loss protection
Losing power during file transfer is a recipe for disaster—that’s why you must choose the Eject command in the Finder before disconnecting any external storage devices.
\To prevent loss or corruption of data during a power failure, the DockCase features a capacitor that holds enough juice to give the driver enough time to write out the caches to the storage. One noteworthy side note: The capacitor takes a few seconds to charge up after you plug the enclosure.
This helps improve the long-term health of your HDD/SSD.
The USB ports and 15W of auxiliary power
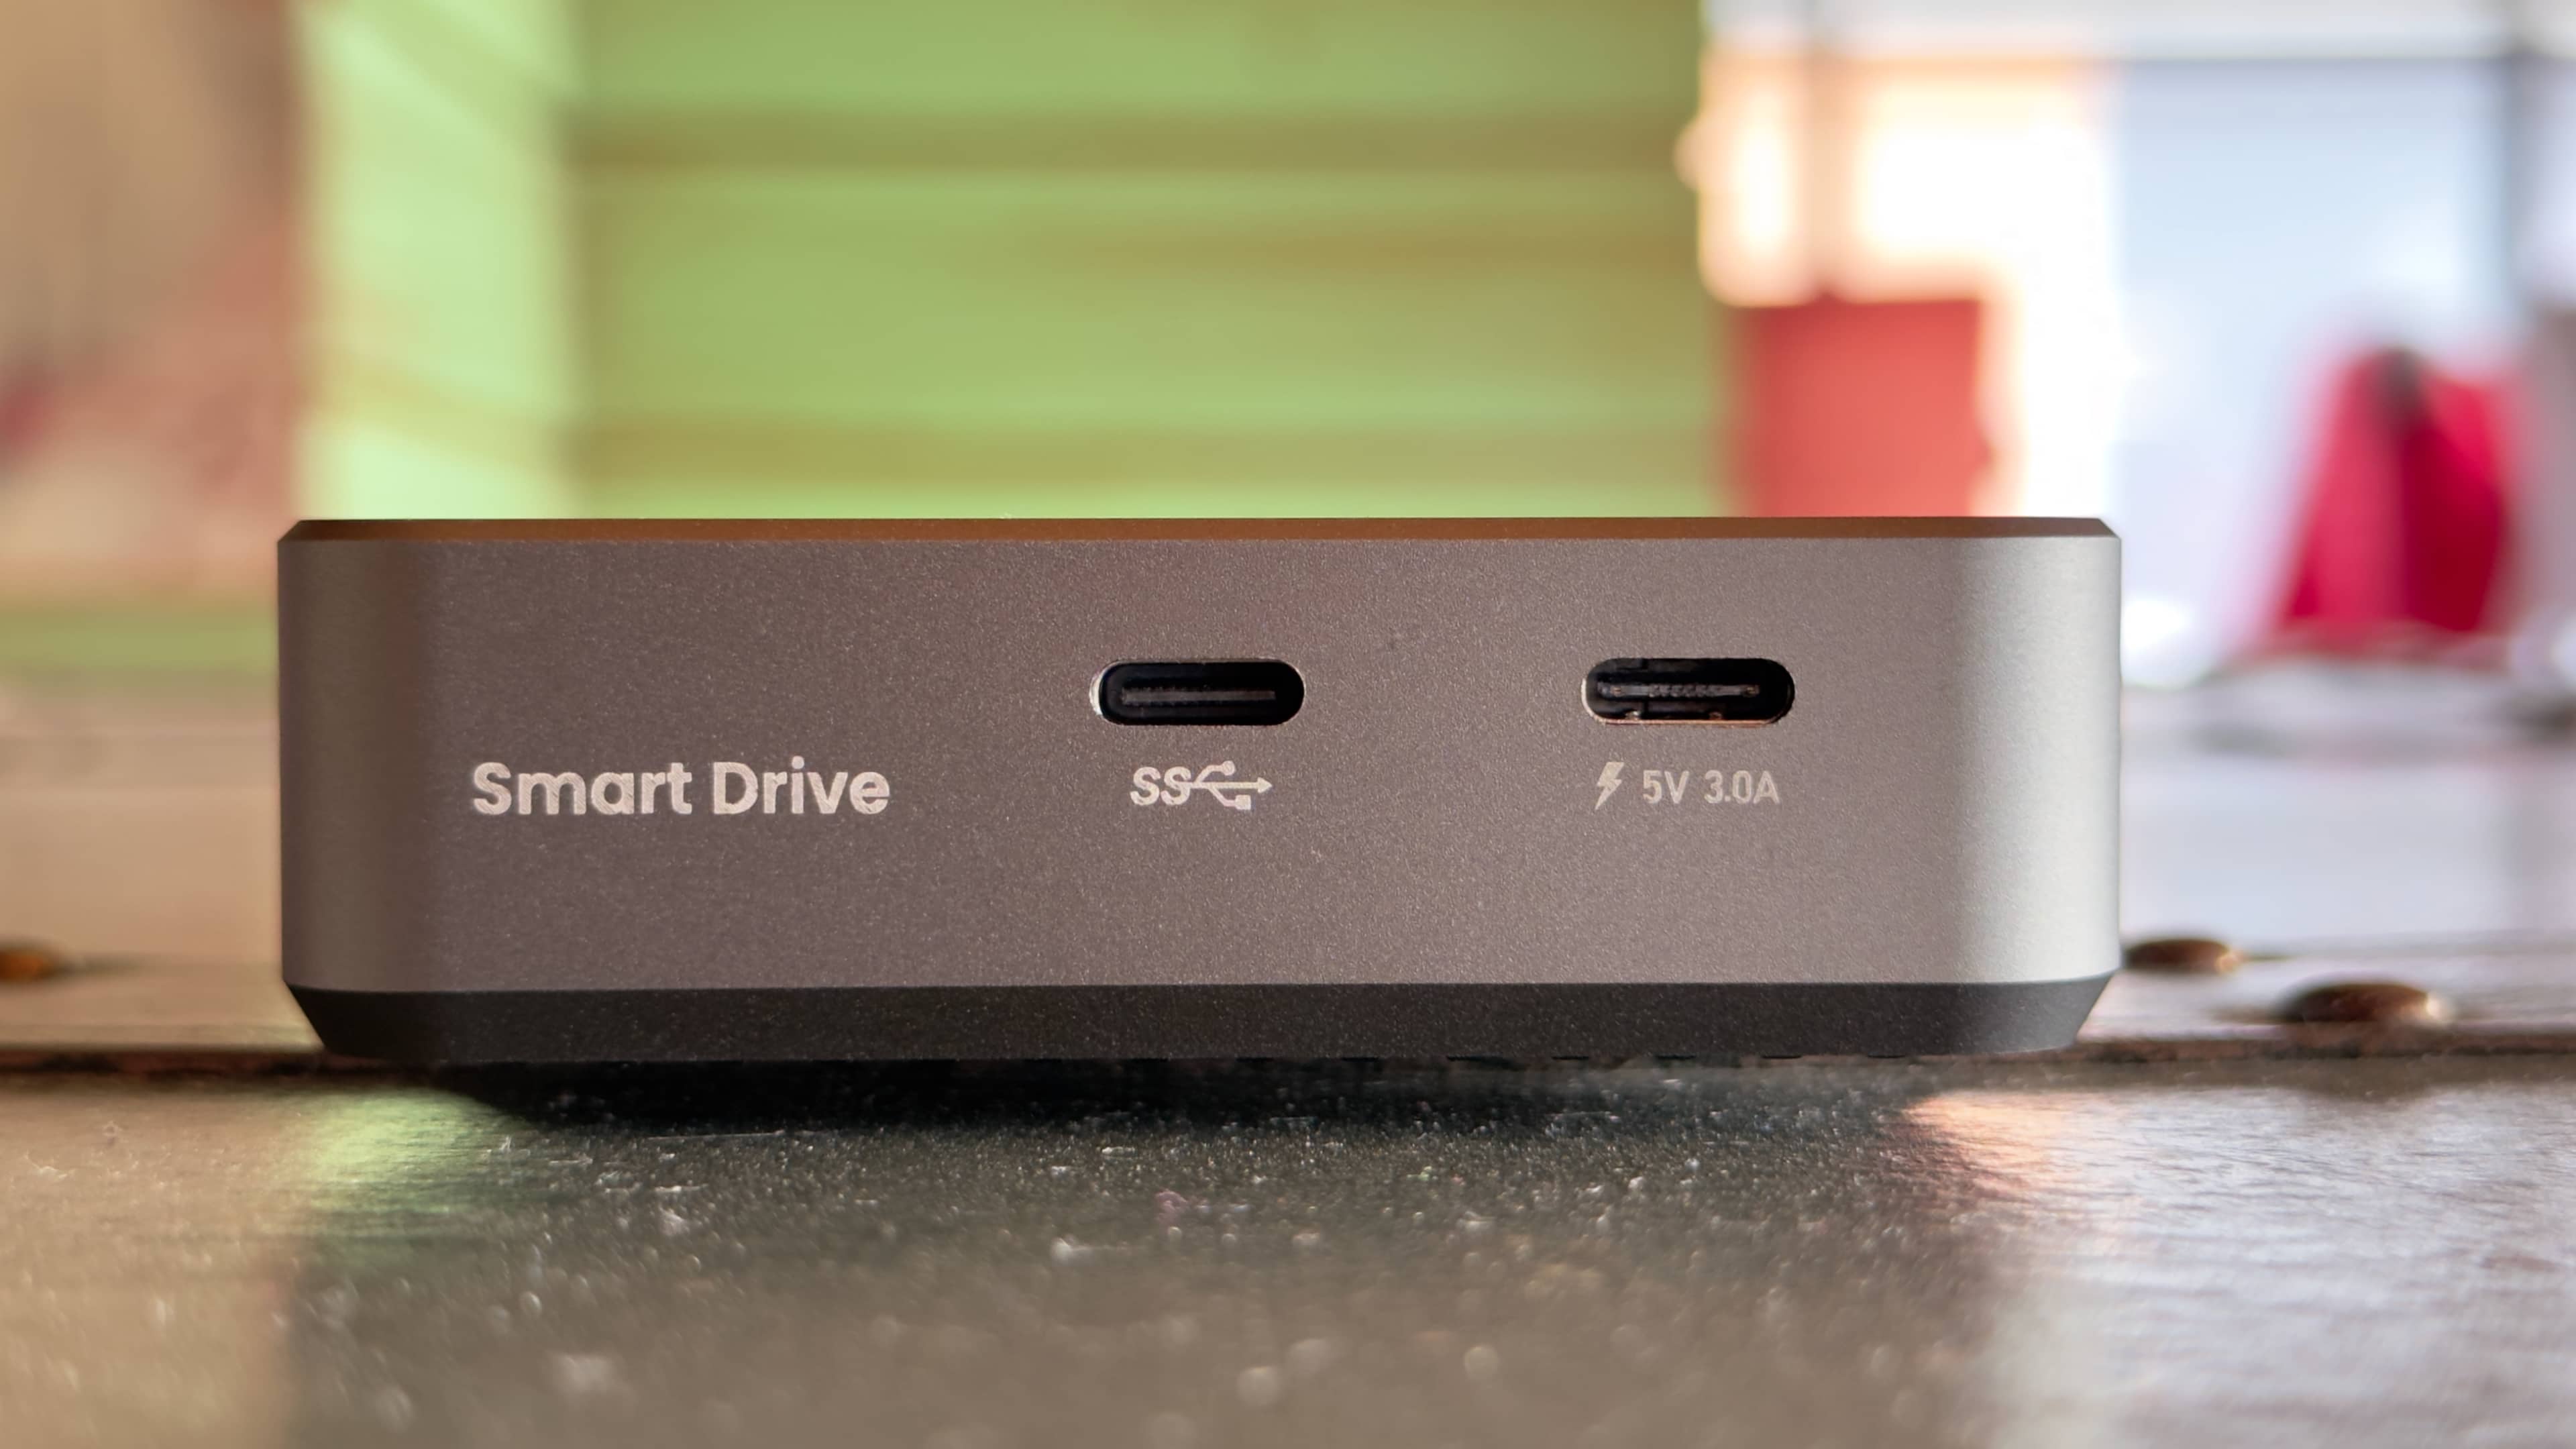
You’ll find two ports on the rear. There’s your regular USB 3.2 Gen 2 Type-C port for data transfer that you’ll use to connect this accessory to your Mac, iPad or any other USB-C host device. The included cable has USB-C and USB-A connections on the other end so you can connect the enclosure to both USB-C and USB-A hosts.
The other one is only used for power, providing up to 15 watts of power (5V and 3A). You may need to use this port when connecting the enclosure to a host device that doesn’t provide enough power via USB-C (which is often true for smartphones, for example). Read: How to force iPhone to always stay in low-power mode
Installation: We’ll just tighten some screws
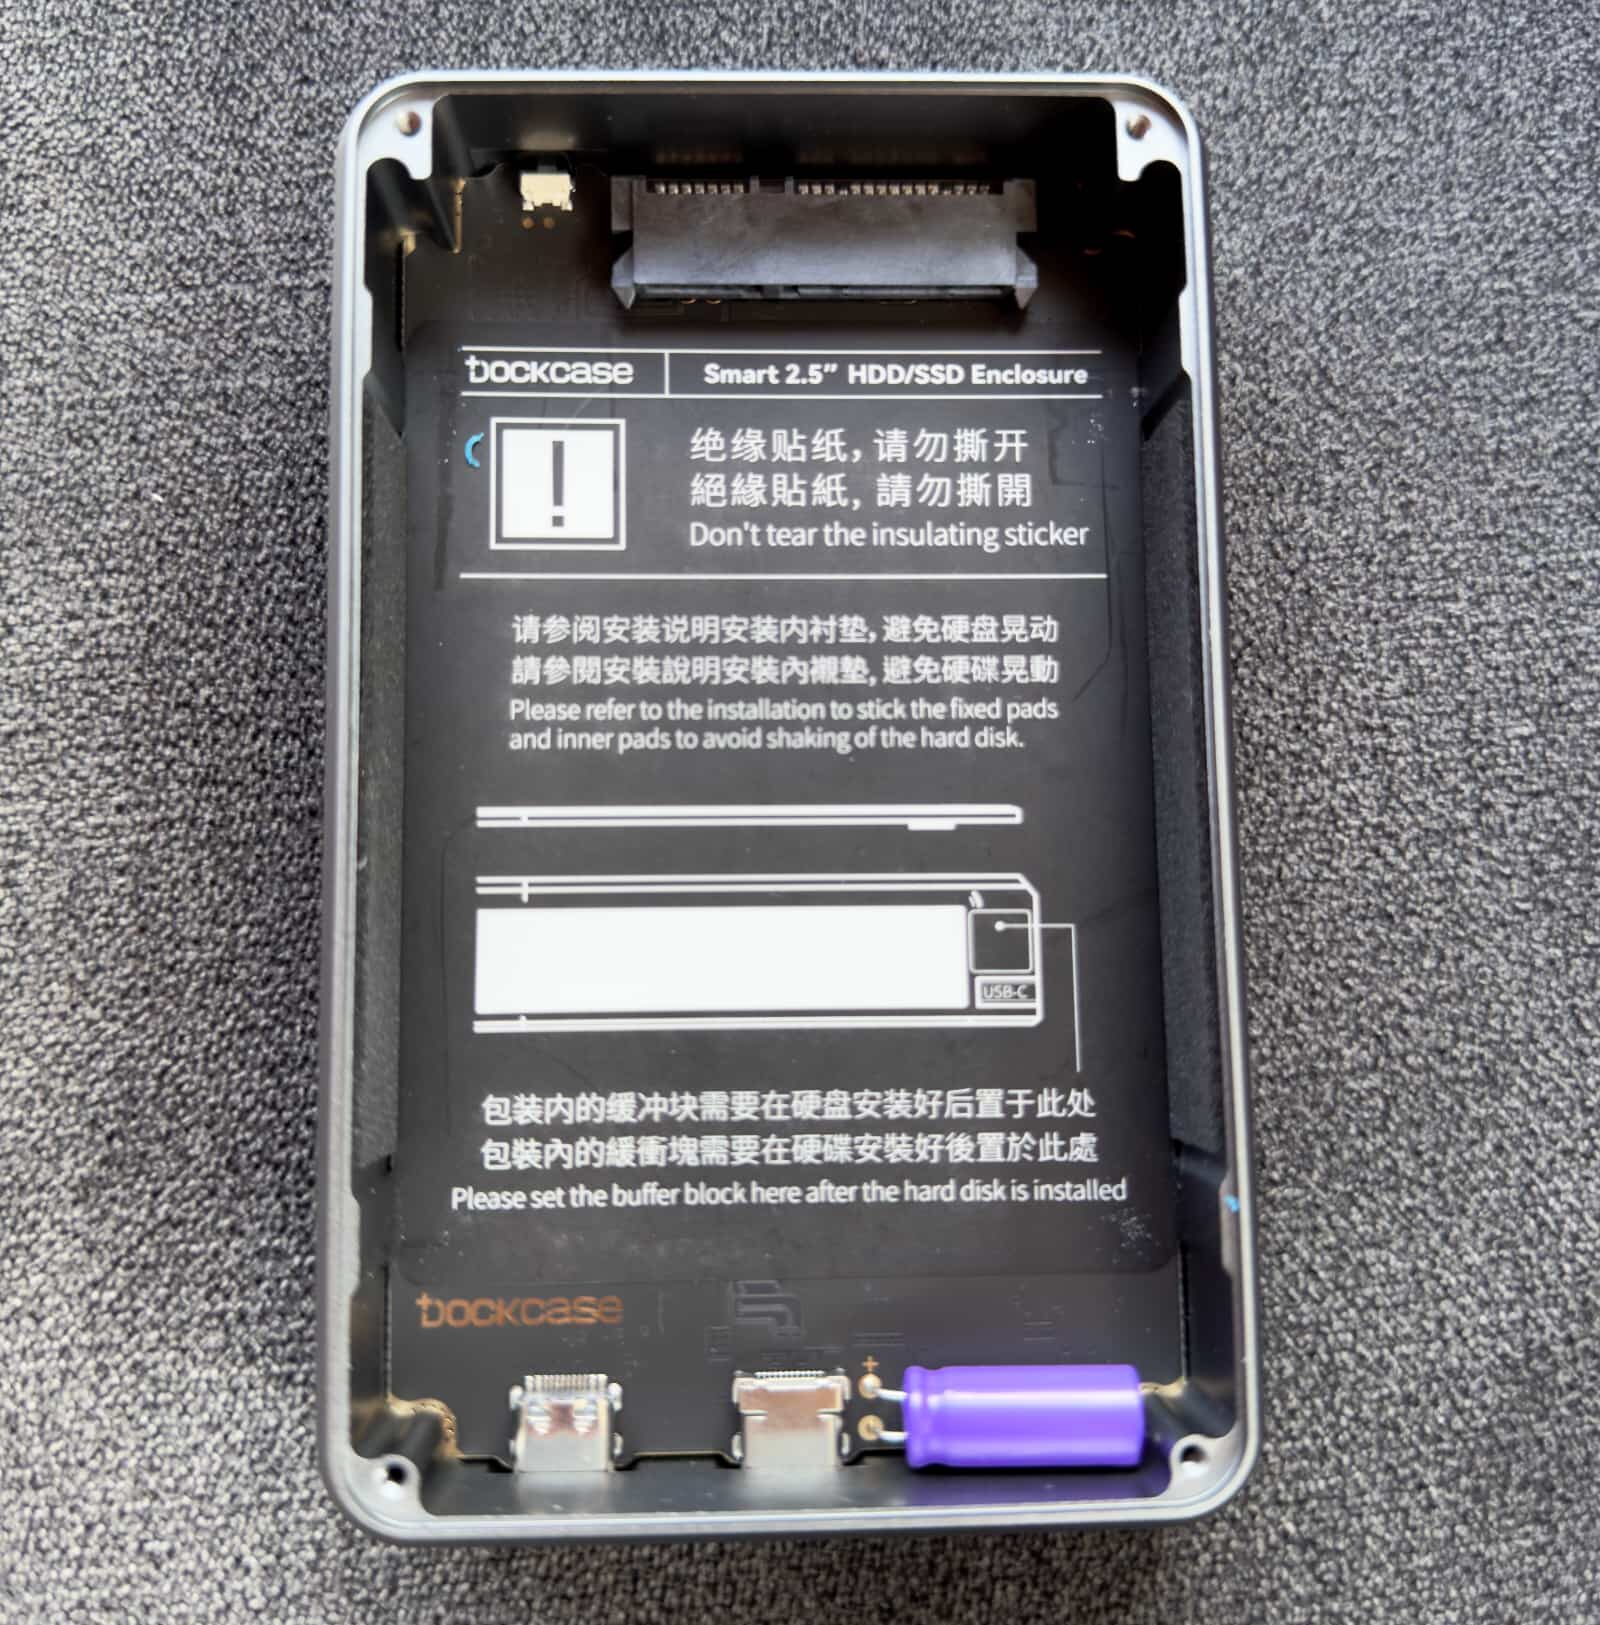
I installed my 2.5-inch hard drive in less than five minutes. Having connected the drive to the board, I placed the foam pads (included!) on its other end and the top.
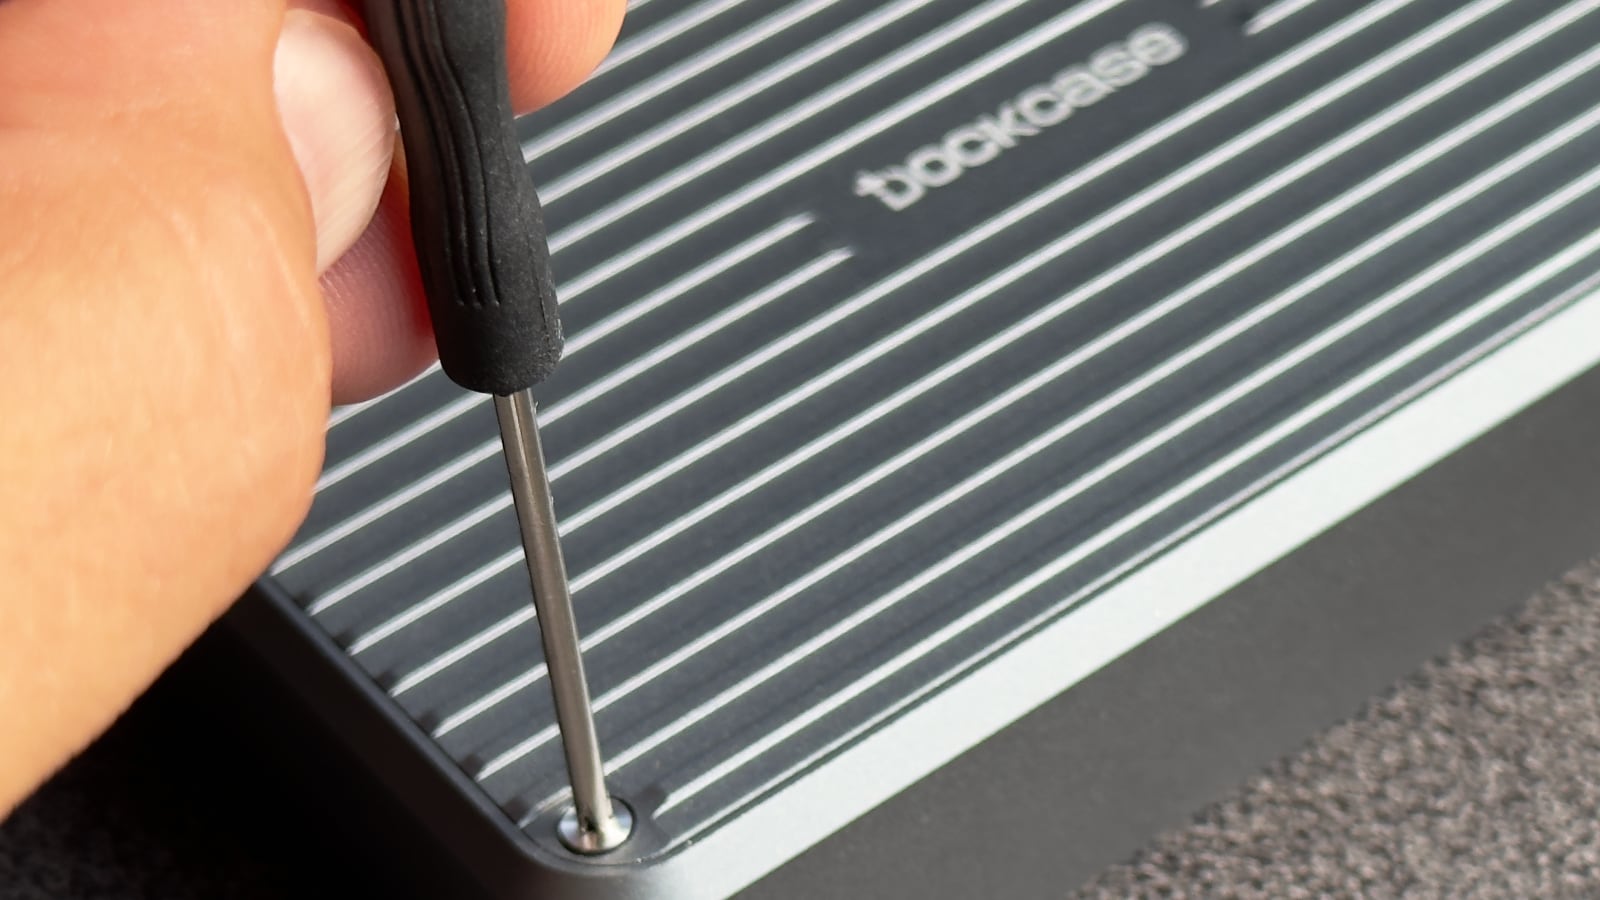
This serves as a buffer to ensure a secure fit and minimize shaking, which can affect the performance of mechanical hard drives. Finally, I put the removable cover on and tightened the four Phillips Head #00 screws at the edges. Thankfully, DockCase includes a small screwdriver in the box so you won’t need to hunt for one.
As you can see from the images, installation instructions are printed right on the insulating sticker (don’t remove it!). If I wanted to be nit-picky, I’d probably say that a latch mechanism of sorts would’ve been a much better solution because some people could be intimidated seeing four screws in the box. But it’s not a biggie.
Speed test: How fast is the SATA interface?
This enclosure supports the SATA III protocol which provides up to 6Gbps data transfer. This works out to about 750 megabytes per second in ideal conditions. Your mileage may vary, depending on the type of HDD/SSD used. You’ll hit close to the theoretical maximum by using a quality 2.5-inch SSD.
The DockCase connects to a computer via the built-in 10Gbps USB-C port, but don’t forget that the enclosure is limited to the speed of its SATA interface.
The enclosure uses accelerated UASP and TRIM transmission protocols. According to DockCase, this lets it deliver up to 70 percent faster speeds than a 5Gbps hard disk enclosure with the traditional micro-B USB3.0 port. These protocols also don’t strain the CPU as much whilst reducing data latency.
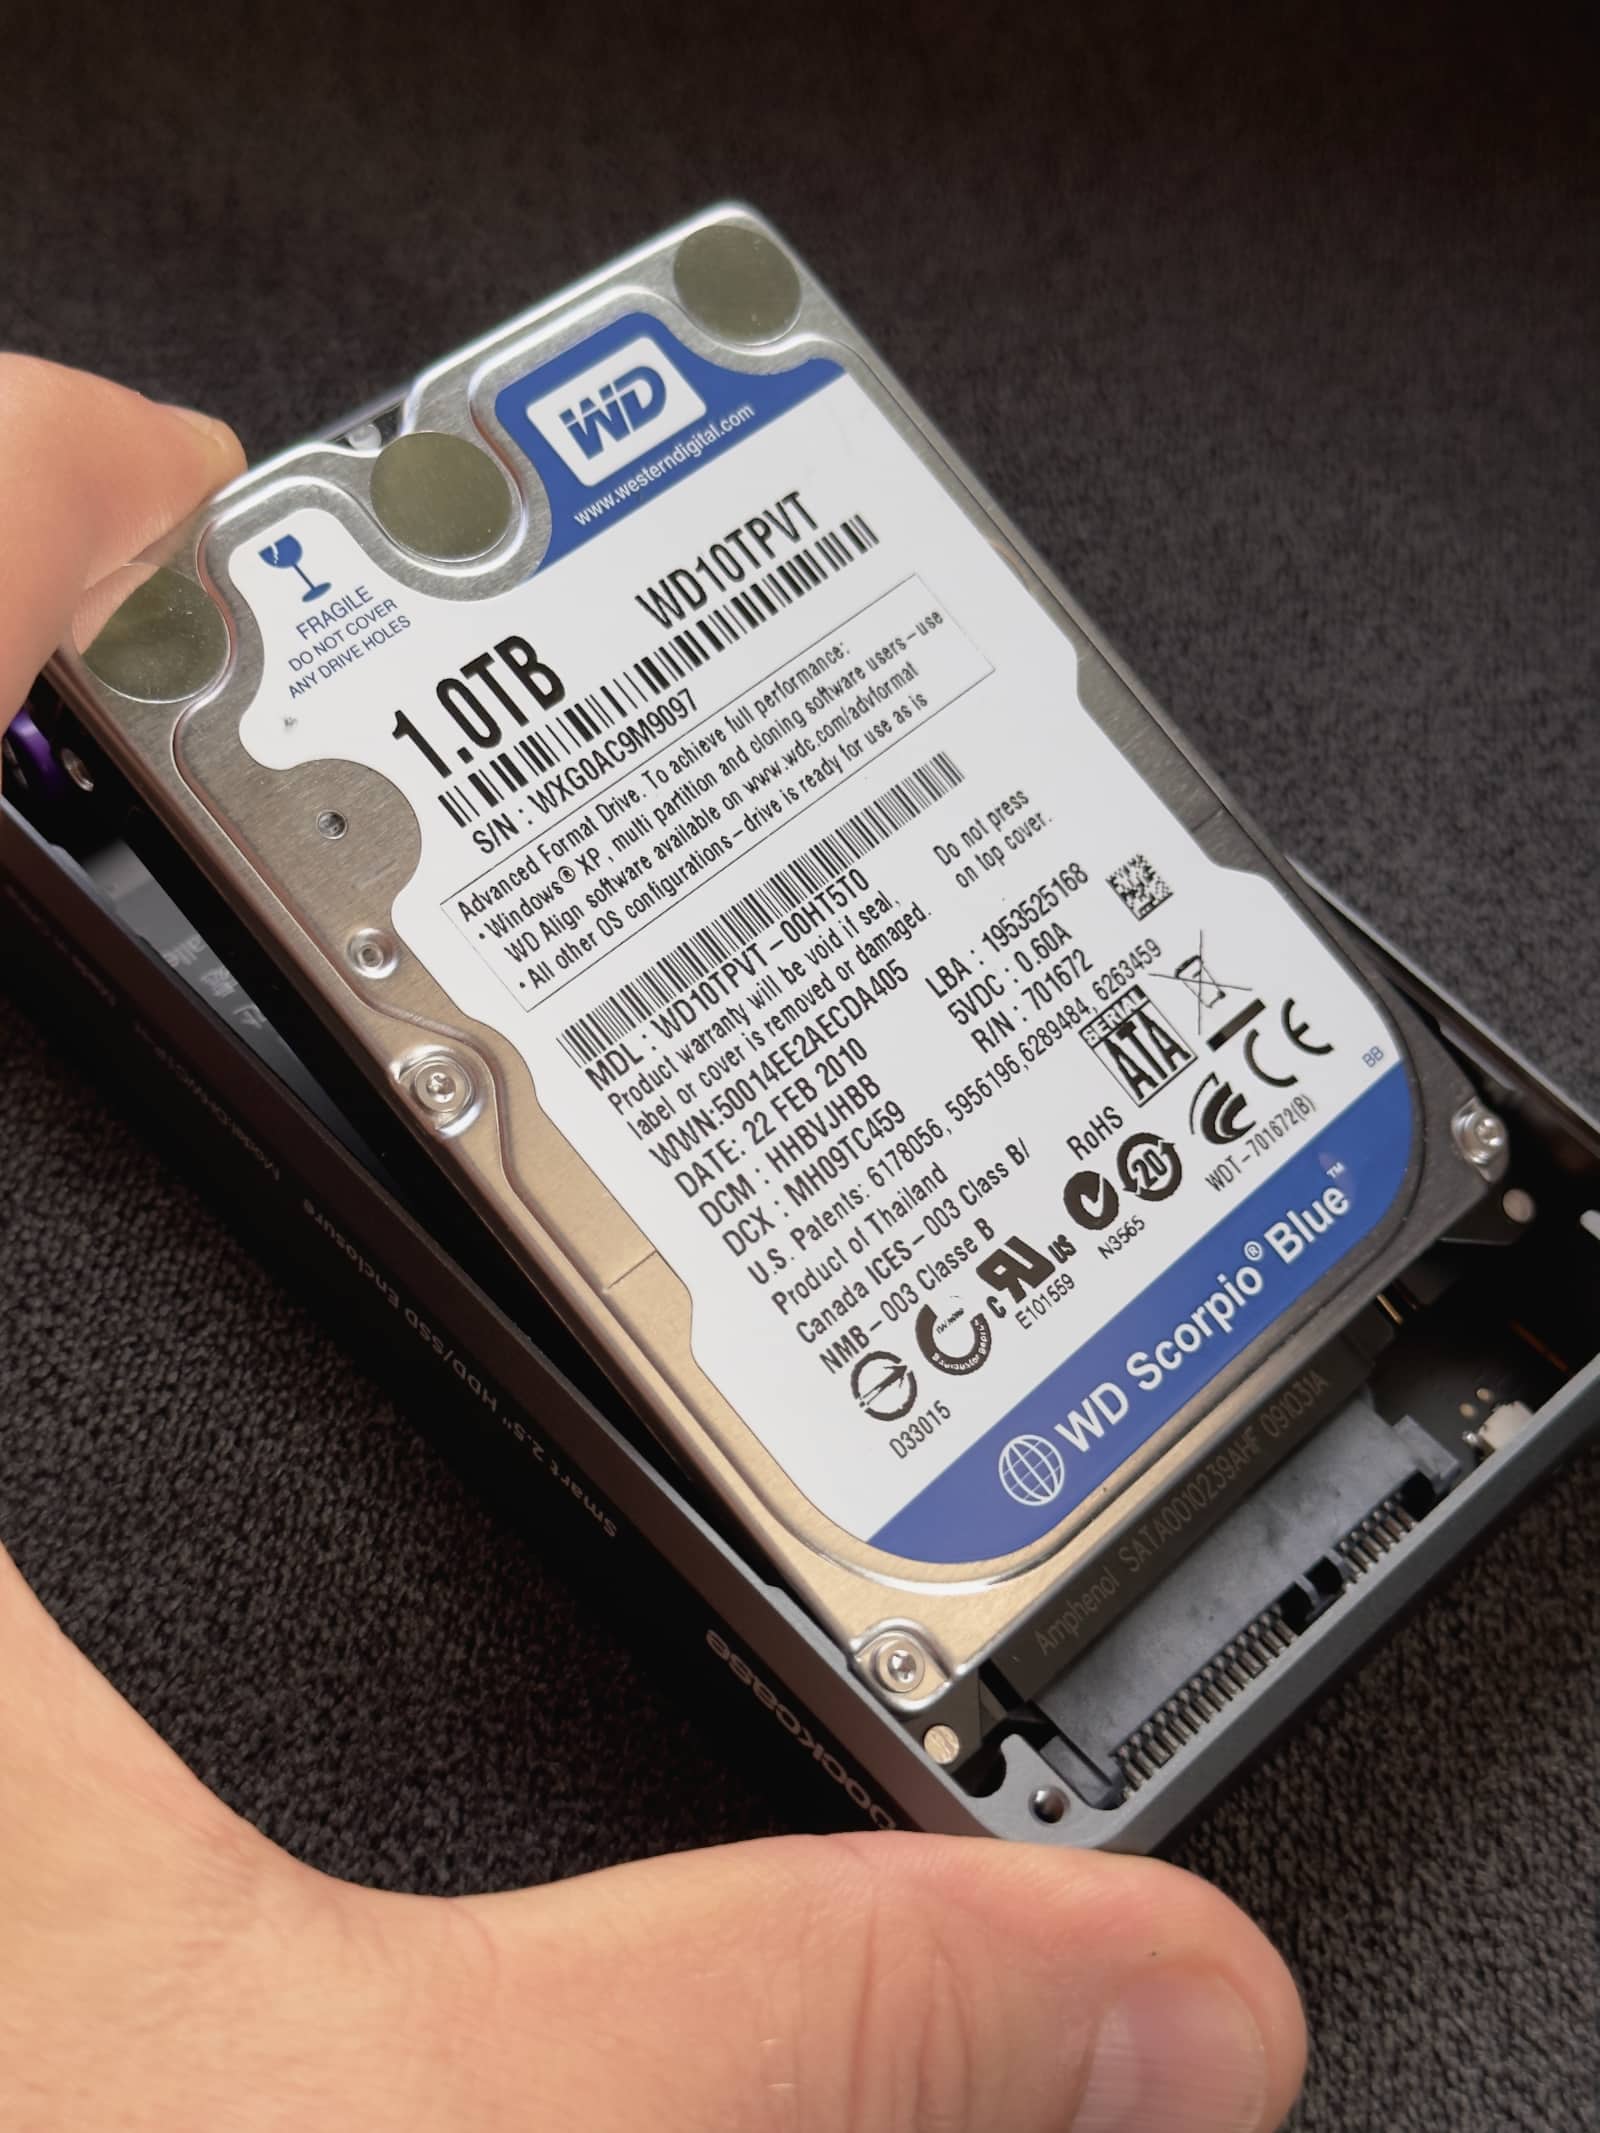
I used Blackmagic’s Speed Test app to measure the performance of the enclosure with my ancient Western Digital SATA drive. I knew what to expect because I’d used this storage device extensively in the past.
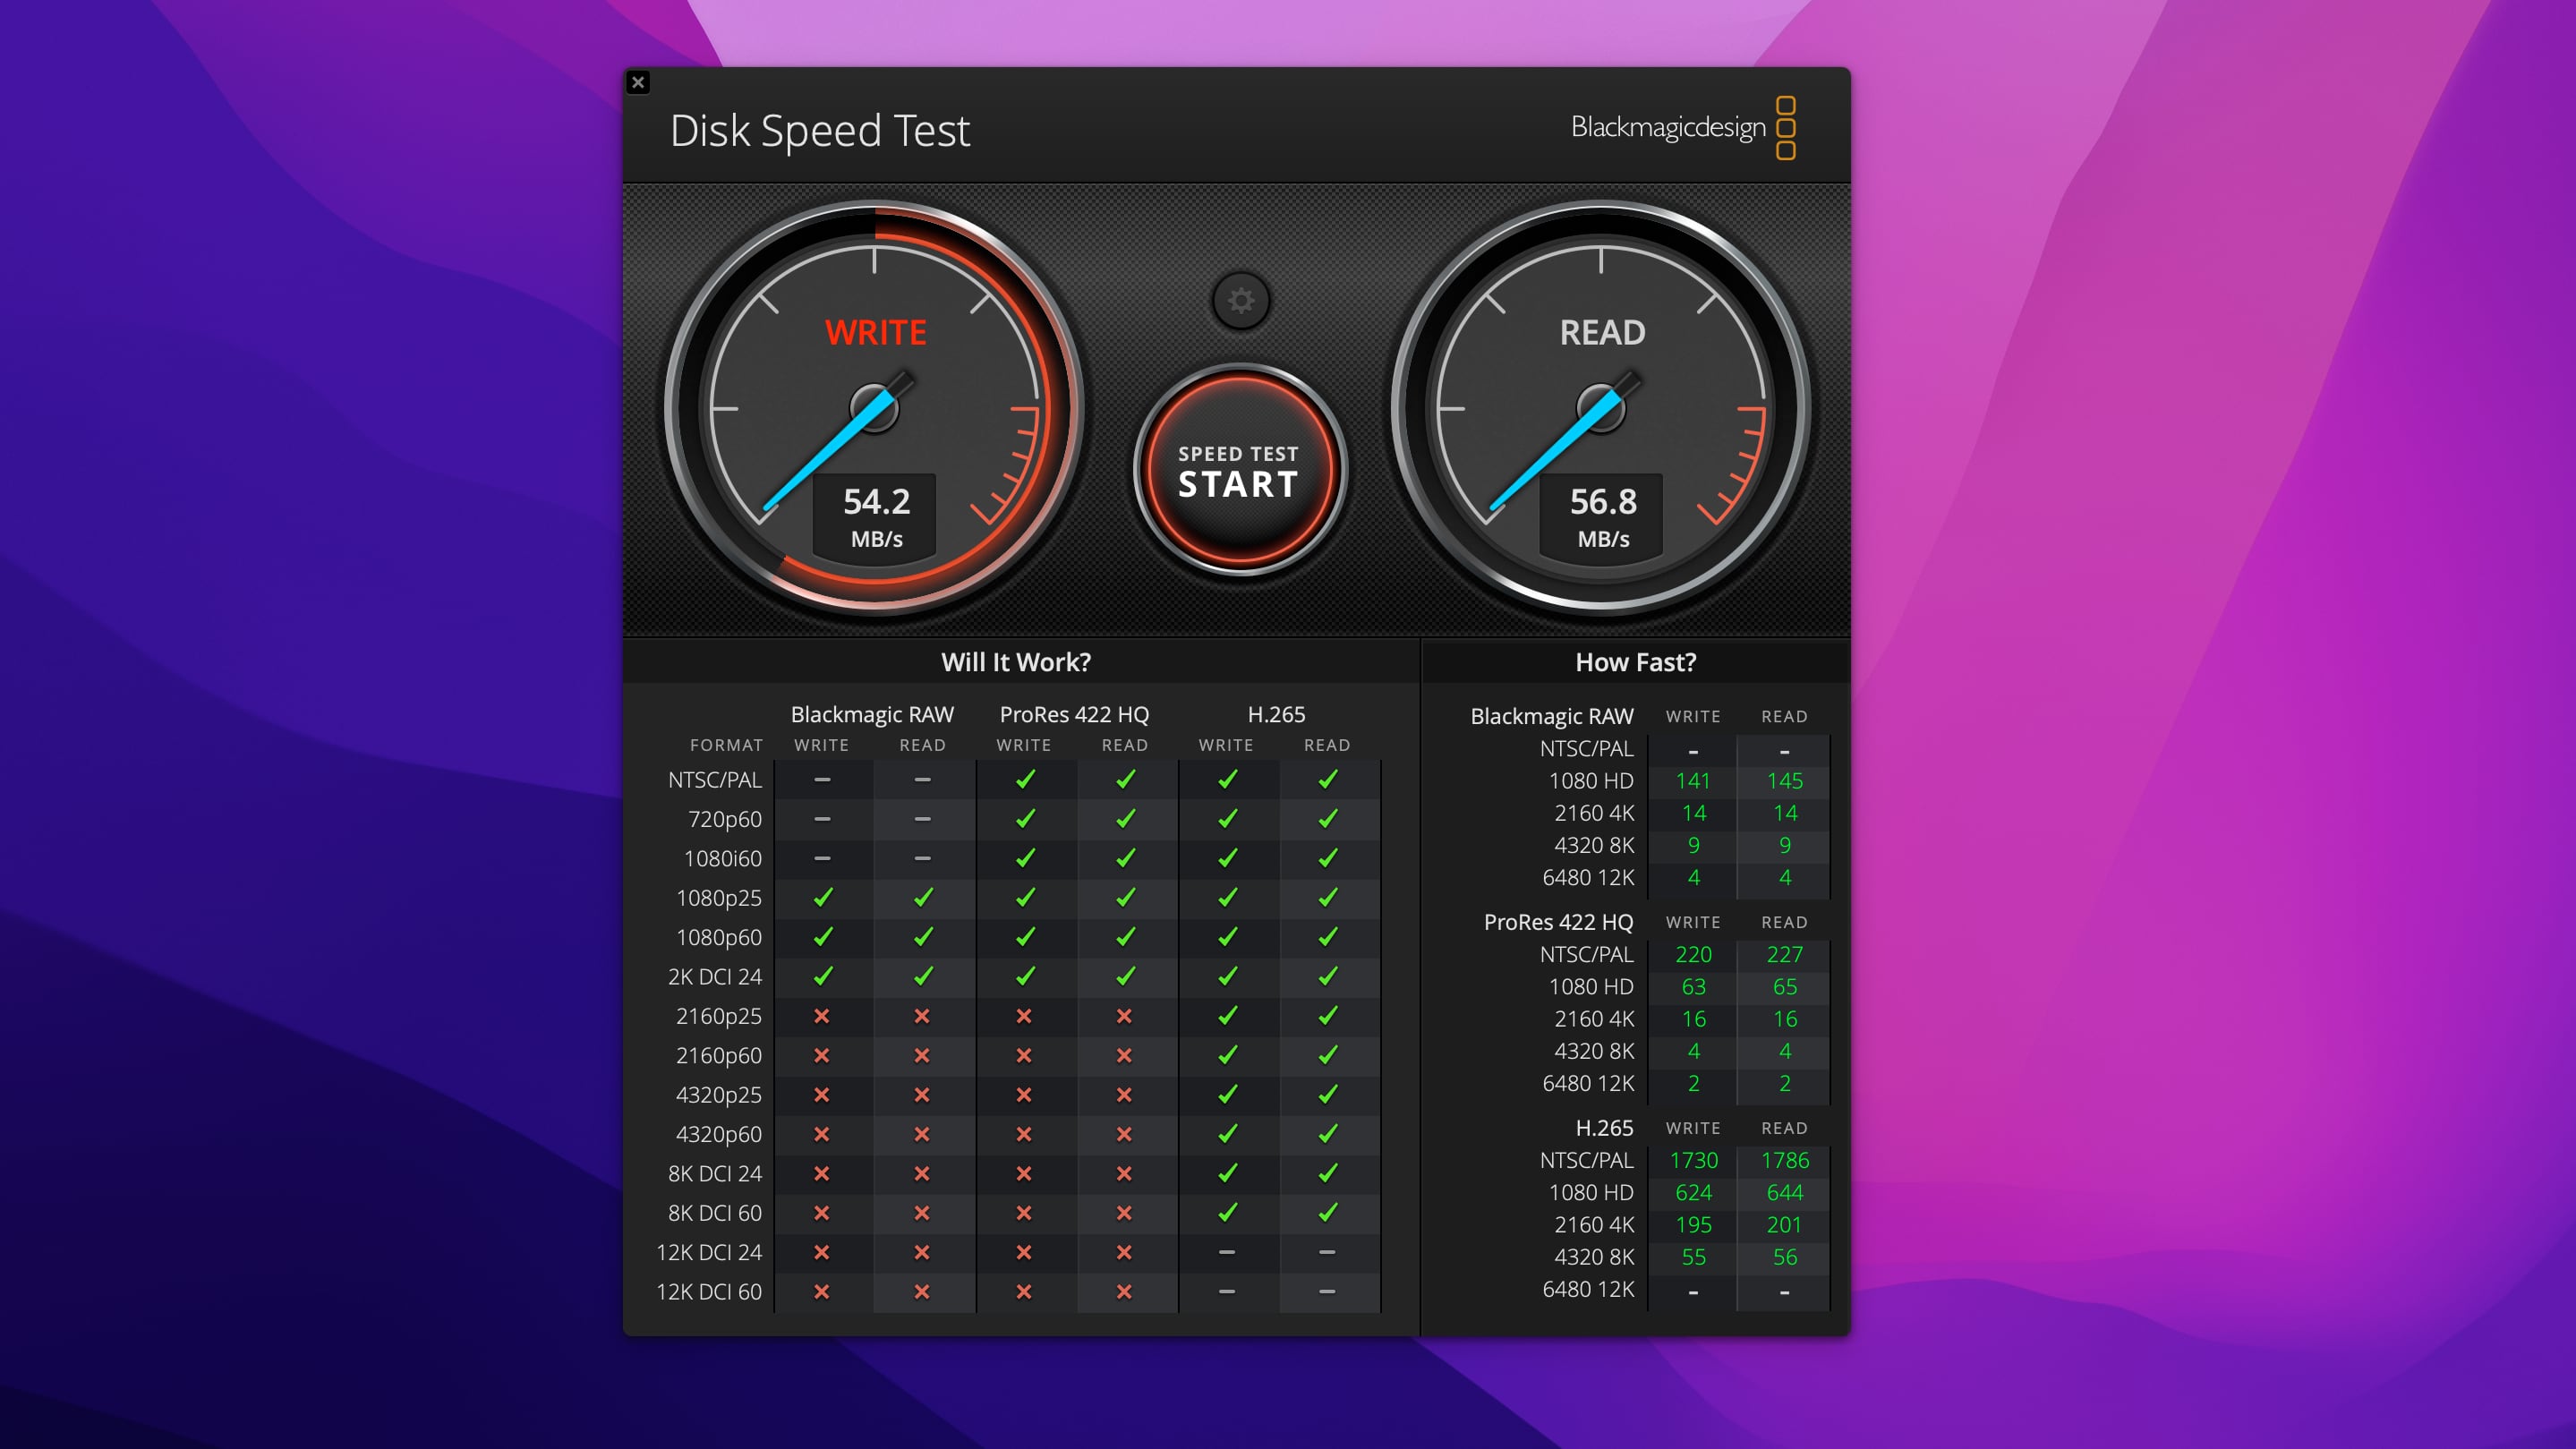
Of course I wasn’t expecting transfer speeds of 500 megabytes per second, which is what a modern hard drive typically delivers over SATA III. My drive was made in 2010, which is ancient history in the technology world.
The regular SATA interface supports a theoretical bandwidth of up to 150 megabytes per second. I was seeing both read and write speeds in the 50-60MB/s range, which isn’t bad for a heavily-used, 12 years old SATA hard drive. Not bad at all, I would say.
I don’t own a SATA II hard drive, let alone a SATA III one, so I can’t report about the DockCase performance with modern storage devices. I have no reason to suspect the official figures from the company, but I will update this review and get back to you when, and if, I get a chance to buy a SATA III HDD or SSD.
What if I want to use an NVMe SSD instead?
To achieve faster data speeds than the SATA III interface supports, you may want to consider DockCase’s M.2 enclosure which uses Realtek’s RTL9210B control chip to deliver theoretical data transmission speed of up to 10Gbps, or about 1.25Gbps.
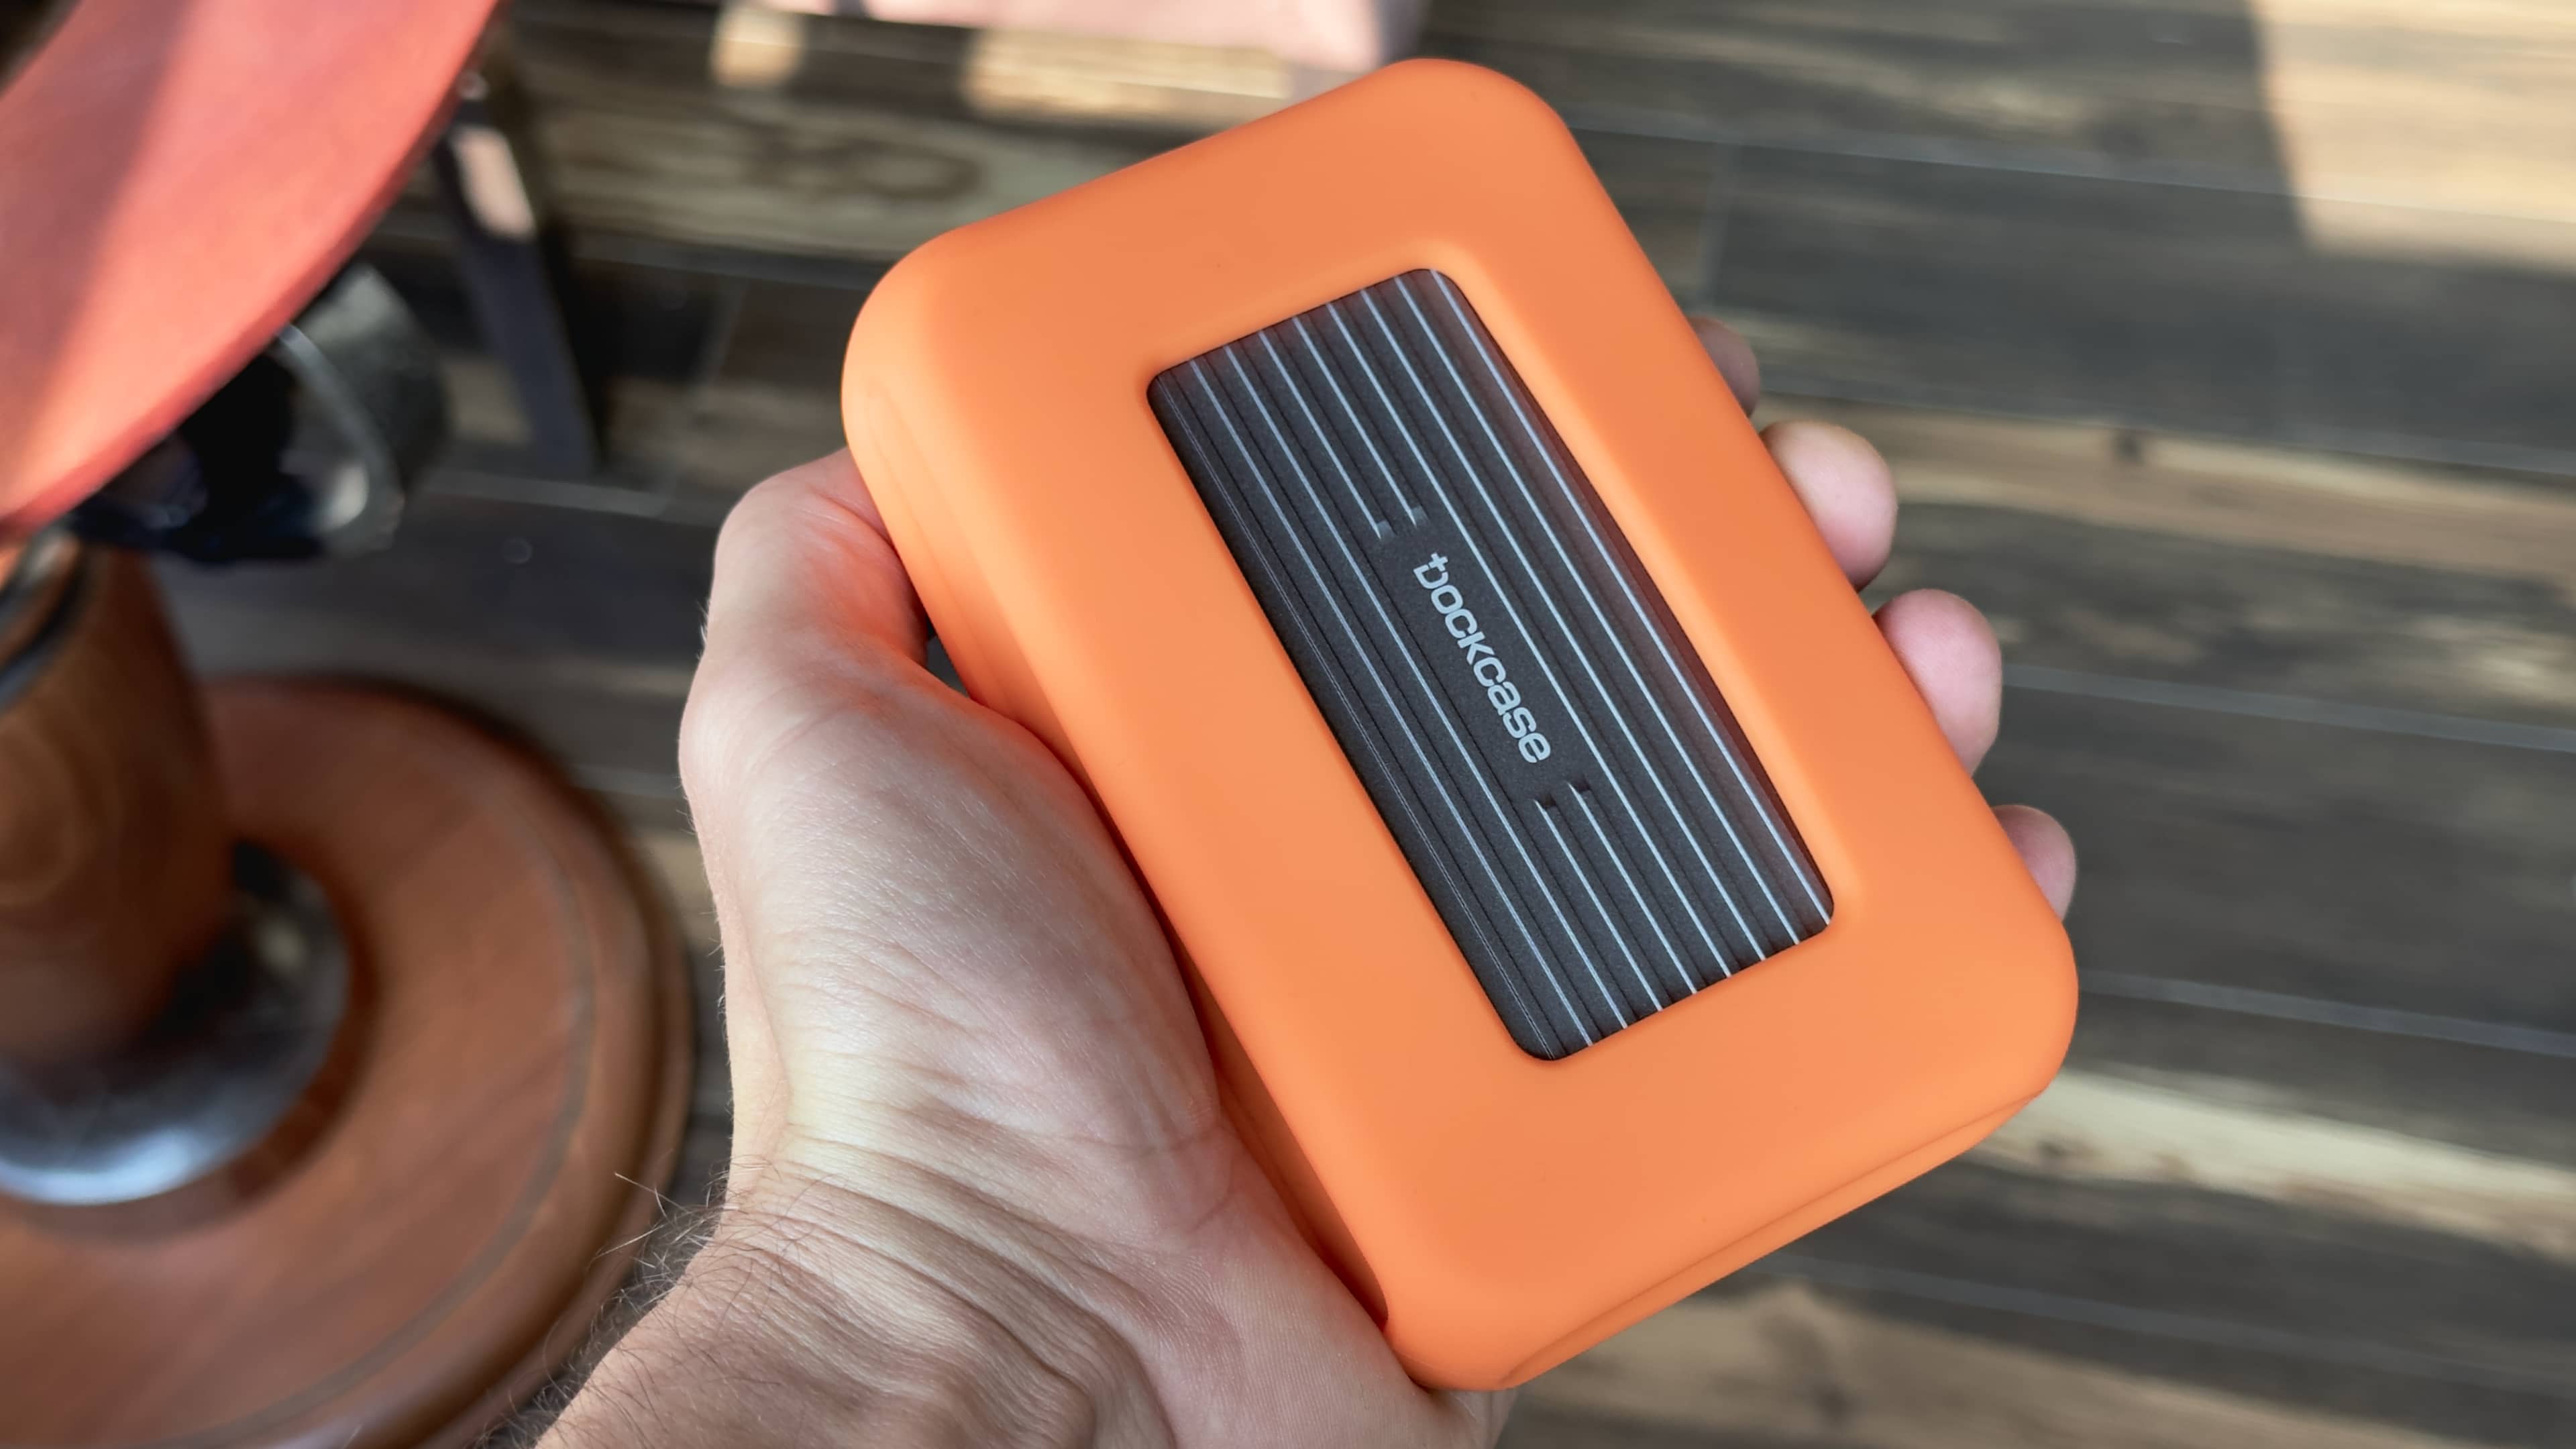
Great build quality, pity the bumper case isn’t included
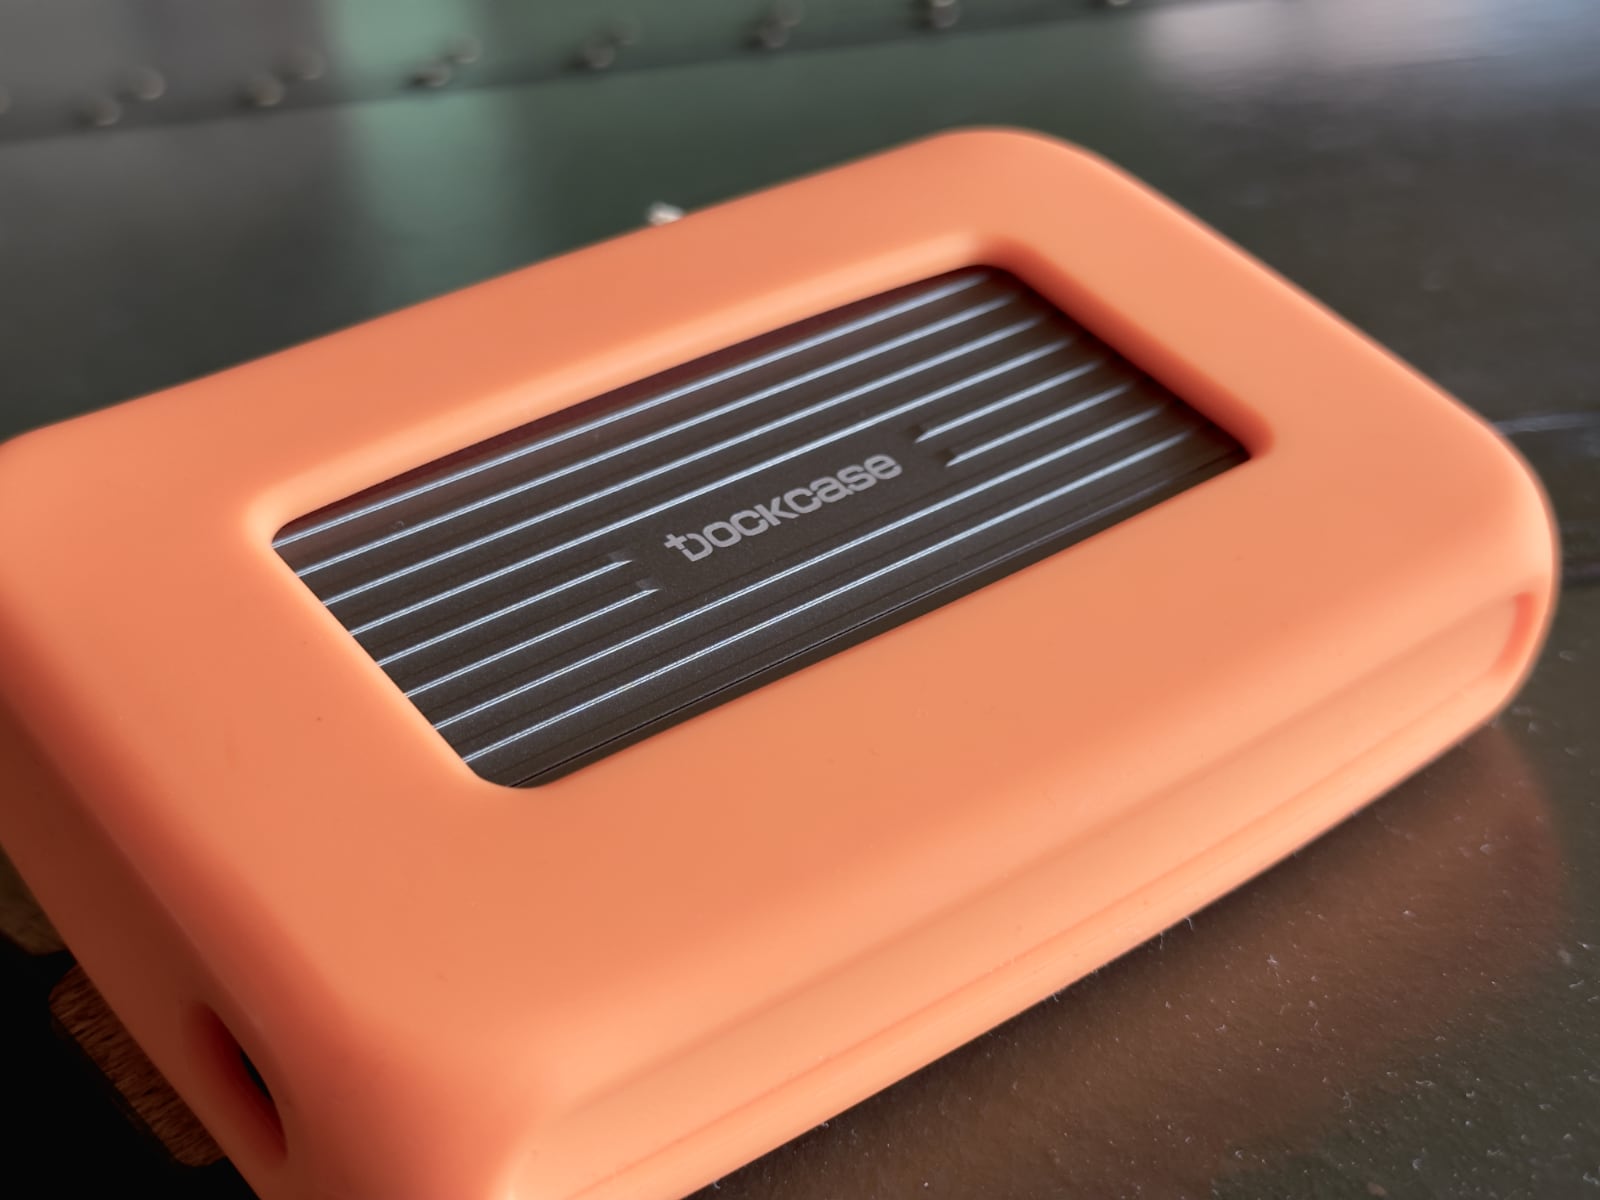
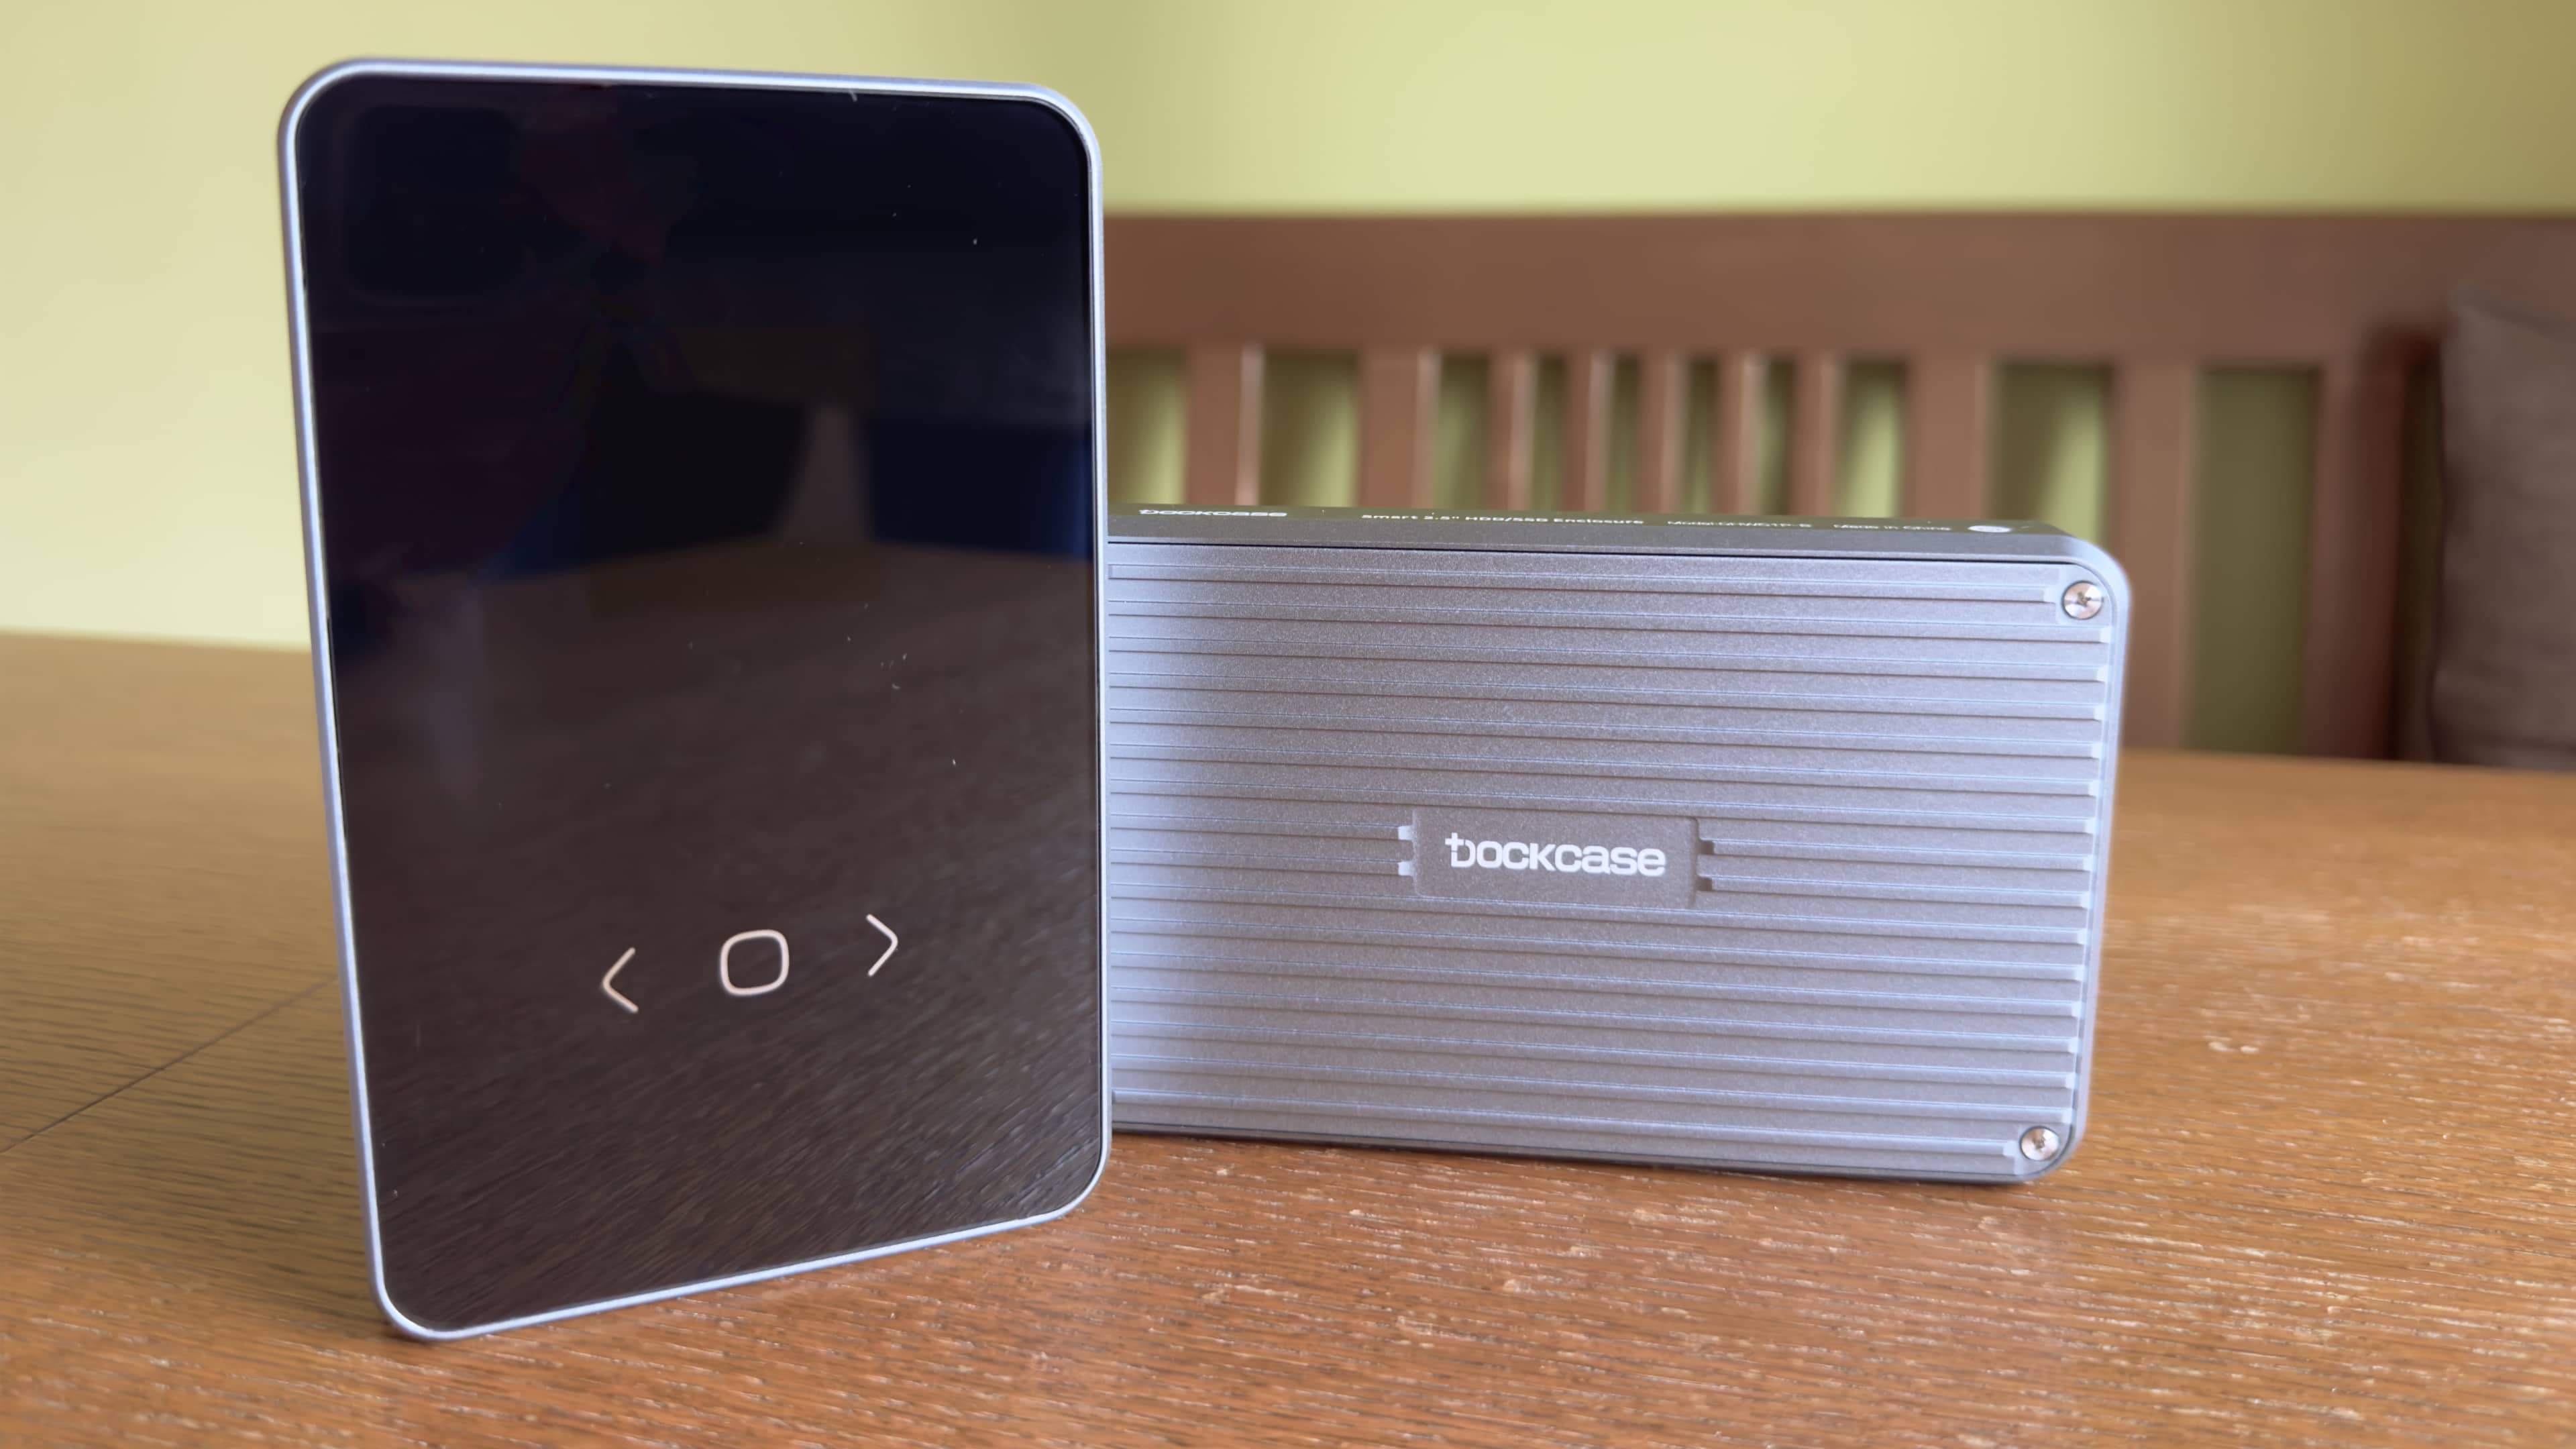
The glass and metal design looks absolutely sturdy and will match your Apple aesthetics perfectly. The removable cover with its ribbed design looks cool.
The ribs provide not only a better grip but also help dissipate heat to keep the drive cool. To protect the enclosure from drops, scratches and dings, you can purchase an optional silicone case in orange (I wish they included a case in the box).
Final thoughts: A stunning, reliable HDD/SSD enclosure
Having spent several weeks using both enclosures DockCase provided me with, I can say that I’m more than impressed. Although this isn’t the most affordable external storage enclosure, features like the attractive industrial look, great build quality and LCD screen to display SMART stats in real time justify the asking price.
I also liked the included port for auxiliary power along with the ability to switch the display between portrait and landscape. Now, I found myself wanting a Thunderbolt port but then realized it wouldn’t accomplish much because the whole thing is limited to the speed of the SATA III interface.
Of course, you can pick up more affordable alternatives from OWC, SSK, Sabrent and the like. That being said, however, keep in mind that those enclosures have their own unique selling points as well as drawbacks.
I’m not going to tell you if a product is worth the asking price because the price is a subjective category. I don’t mind paying a bit premium for quality. If I were in the market for an external SATA HDD/SSD enclosure, I’d go with the DockCase.
If you have an old SATA drive lying around somewhere and collecting dust, this is a great way to turn it into a great-looking portable storage device.
Wrapping up: The pros and cons
Pros:
- Up to 10 seconds of power loss protection
- The integrated display shows you real-time SMART info
- Firmware updates improve functionality over time
- Dual USB-C ports
- Sturdy build quality
Cons:
- No Thunderbolt support
- It costs more than other (not-so-smart) drive enclosures
- Installation requires tightening four screws
- A protective case is a separate purchase
Pricing and availability
The DockCase 2.5-inch SATA HDD/SSD enclosure is provided in two versions.
The regular DockCase can fit a hard drive or flash drive that’s up to 9.5mm thick. It provides up to five seconds of power loss protection and can house a two-terabyte hard drive or an eight-terabyte SSD.
If your drive is thicker than 9.5mm, you’ll need to pick up the DockCase Pro which can house high-capacity hard drives up to 15mm in height, as well as high-power SSDs, whilst providing up to ten seconds of power loss protection. The DockCase Pro supports up to a 2TB HDD or 8TB SSD.
The DockCase and DockCase Pro are available on Kickstarter through October 19 at 9am ET / 1pm PT. The DockCase is $69 while the DockCase Pro is currently $89 on Kickstarter. Needless to say, you’ll need to supply your own HDD or SSD. The silicon case for the DockCase is an additional $15 and for the DockCase Pro $19.
Shipping is expected to start in November.
If you’re interested, you need to hurry up if you want to save money. When it launches, the standard DockCase enclosure will retail for $99 and the DockCase Pro will be priced at $129. Check out their other gadgets at dockcase.com.