Learn how to perform an Ear Tip Fit Test so you can choose the right silicone tip size for your AirPods Pro to ensure the best possible sound and improved noise cancellation.
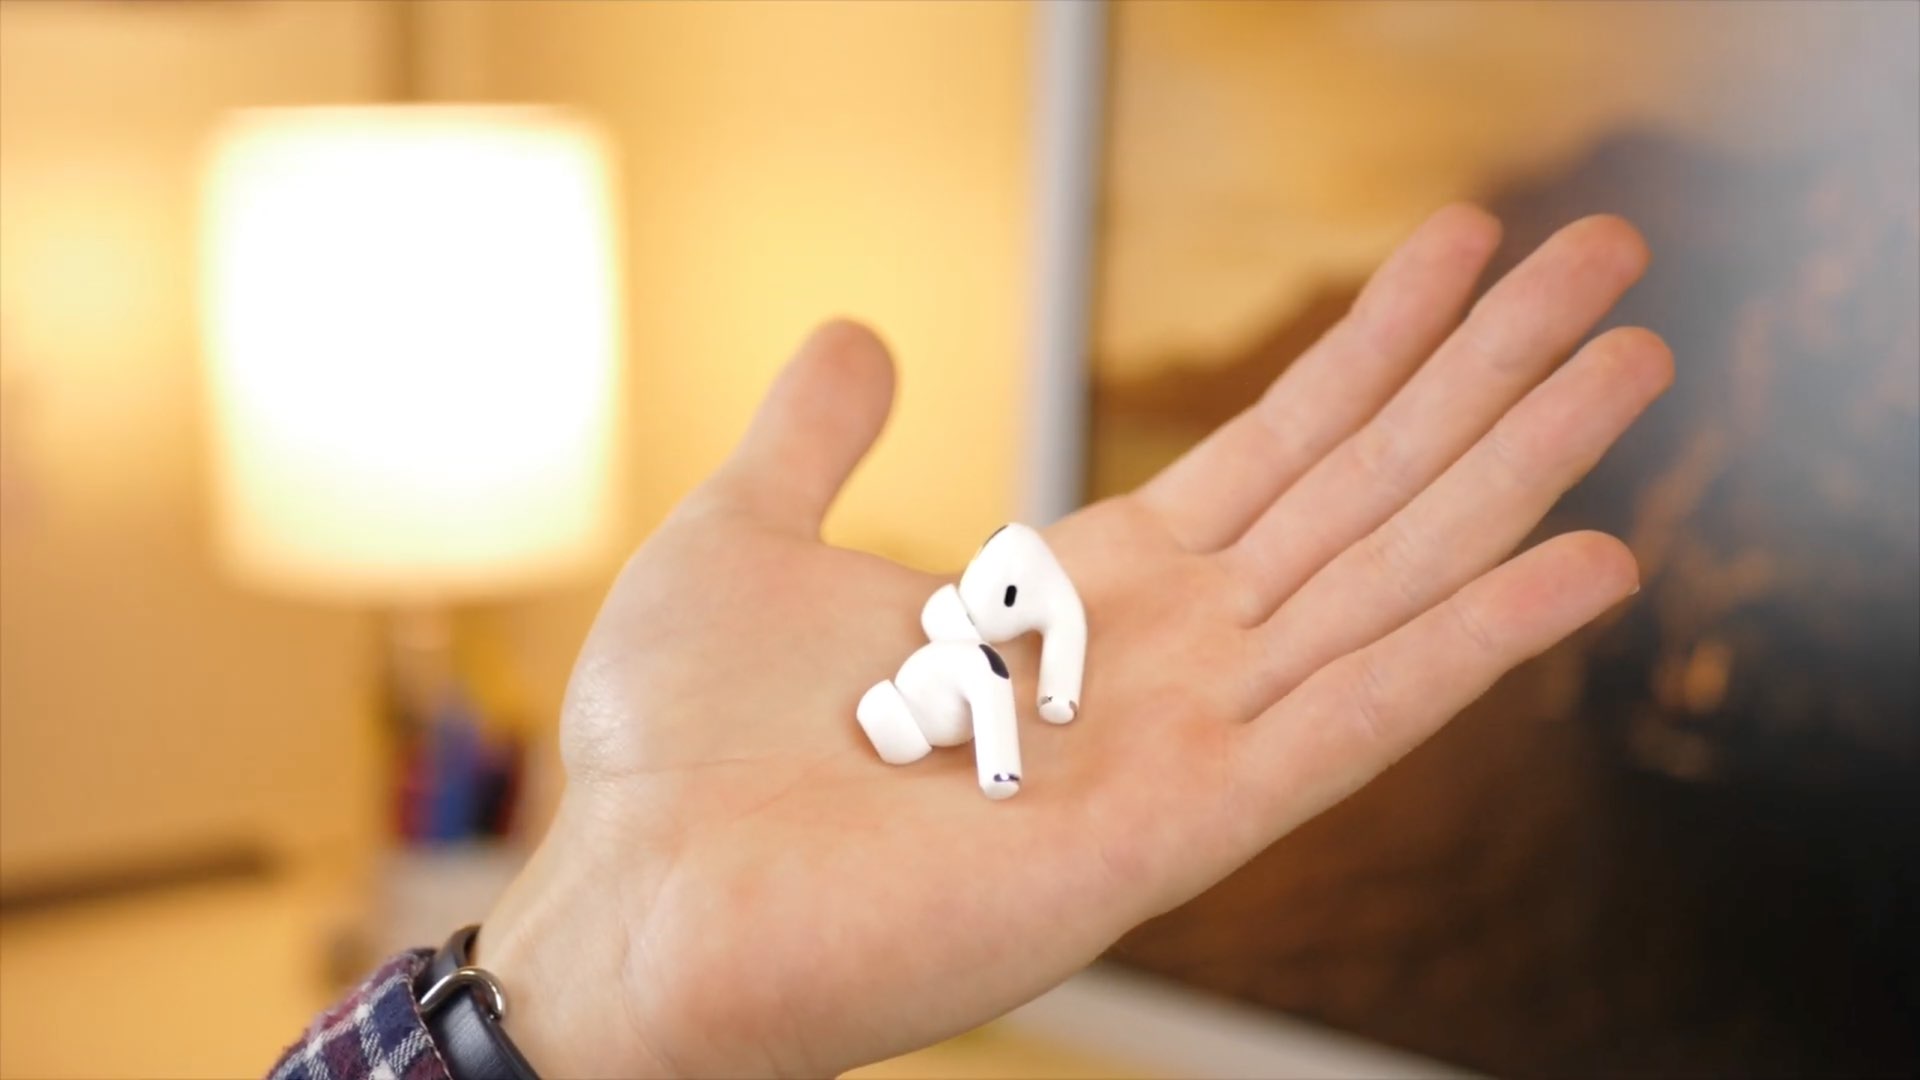
Apple’s AirPods Pros include flexible silicone cups in four sizes — extra small (XS), small (S), medium (M), and large (L) — so you can achieve a perfect custom fit for your ear.
It’s important to choose the right size cup depending on the shape of your ear canal. And to get the best possible fit, Apple has the Ear Tip Fit Test to ensure your both buds are working optimally.
Note: AirPods Pro 1st gen did not include the extra small tip. And the silicone tips for 1st and 2nd generations are different.
Snap in the right fit
First, look at the silicone ear tips included with your AirPods Pro. The medium-sized ones – suitable for the average user – are already attached. The other sizes, extra small, small, and large, are included in the packaging.
If you haven’t already tried them out, give the medium-sized ones a try and see if they rest comfortably in your ears. Give your head a good shake and move around to make sure they’re seated securely. If you feel them moving around, try adjusting them a bit to see if you can find a more comfortable position.
If they simply don’t feel right, switch to the larger or smaller tips until you find ones that work. To remove them, gently squeeze and pull the silicone tip away from the rest of the AirPod. You’ll feel it detach, and then you can attach the size you want.
You’ll feel a gentle click or snap when the silicone tip is correctly attached to the AirPods.
Bear in mind that it’s entirely possible you may find that one size works better in one ear than the other. You might find that your right ear is more comfortable with the medium silicone ear tip, for example, while your left ear works better with the large. Find a combination that’s right for you.
How to run the Ear Tip Fit Test
If you’re not sure whether you have the best ear tips for your ears, or if you want to make sure, Apple’s made it really easy to find out for sure with the Ear Tip Fit Test, a built-in function of the AirPods Pro.
1) Attach a set of silicone tips that you think fit you best. Now, make sure your AirPods are connected to your iPhone or iPad and put both of them in your ears.
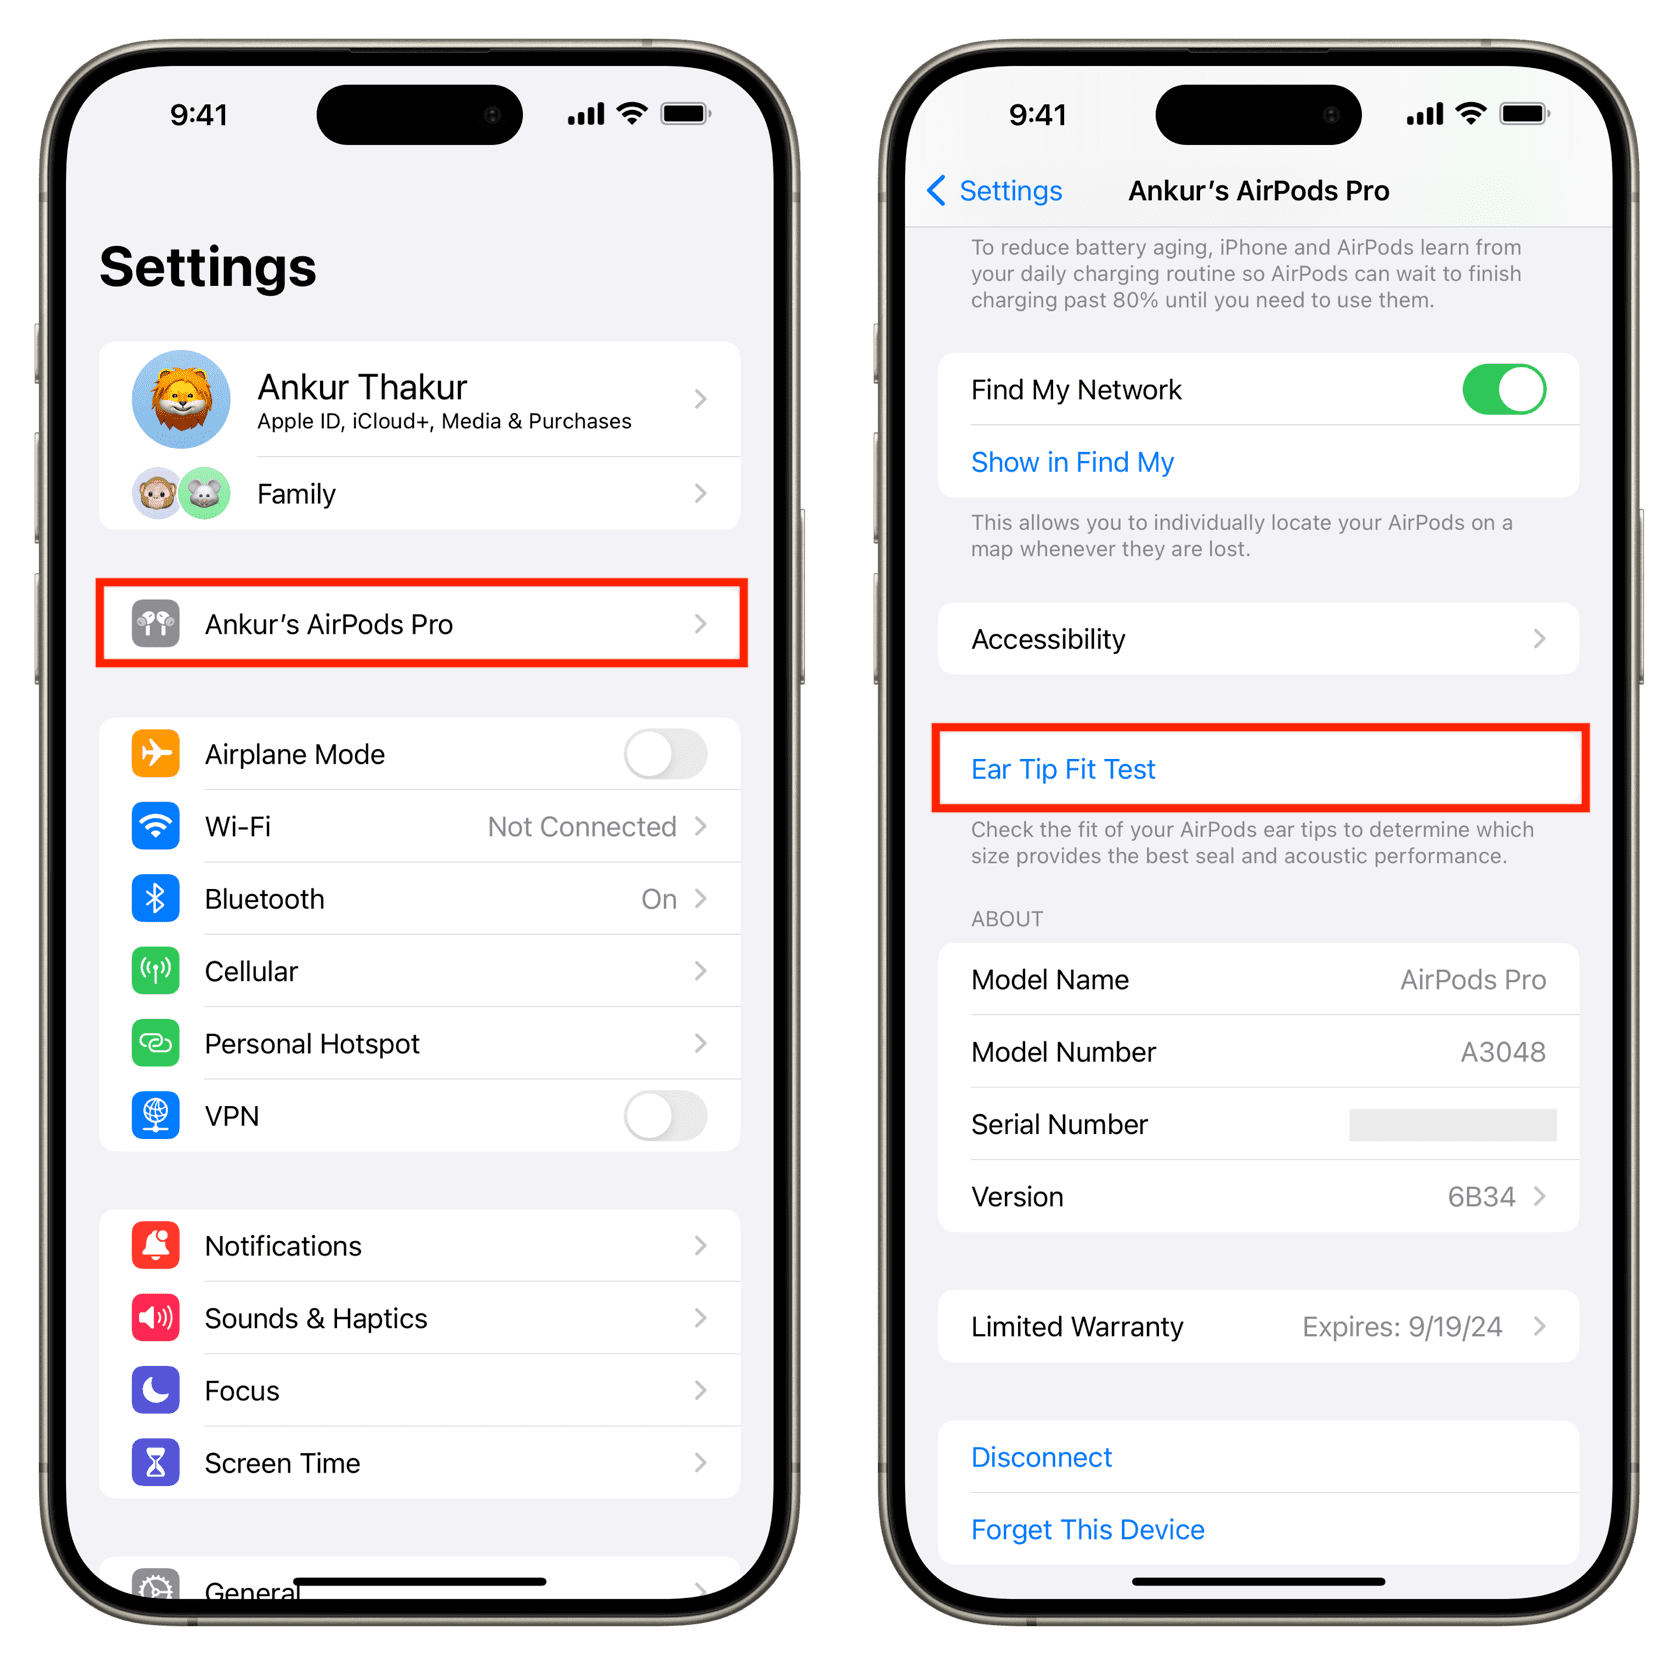
2) Open the Settings app and select your AirPods Pro from the top. You can also go to Bluetooth and hit the blue info icon ⓘ next to your AirPods.
3) Scroll down and tap Ear Tip Fit Test.
4) Tap Continue.
5) Now, tap the blue Play button.
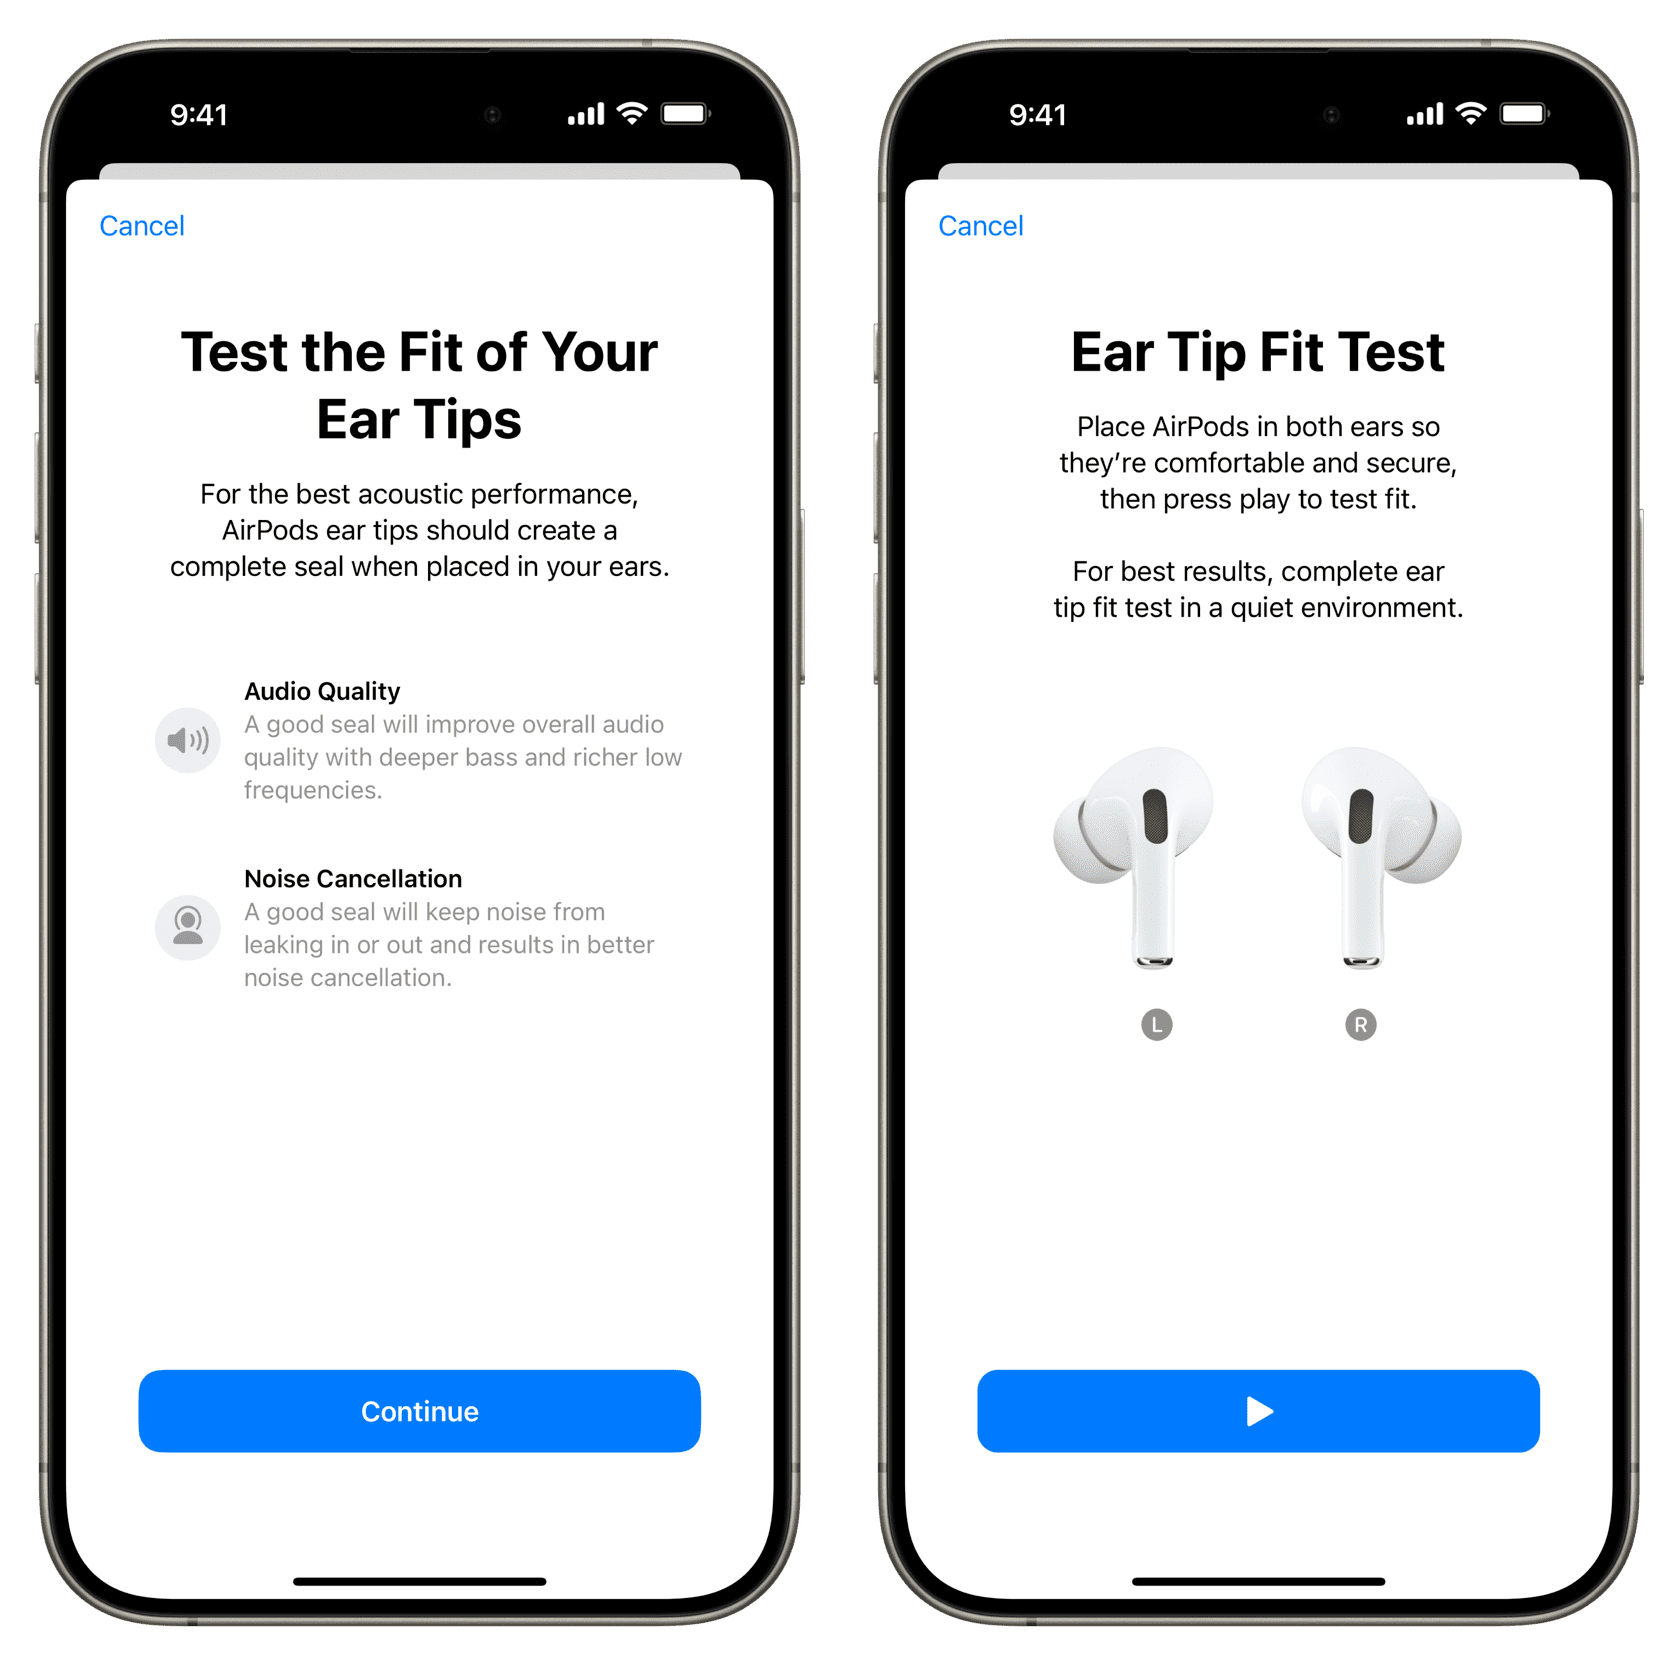
You will now hear a tone play and, after that, the test results.
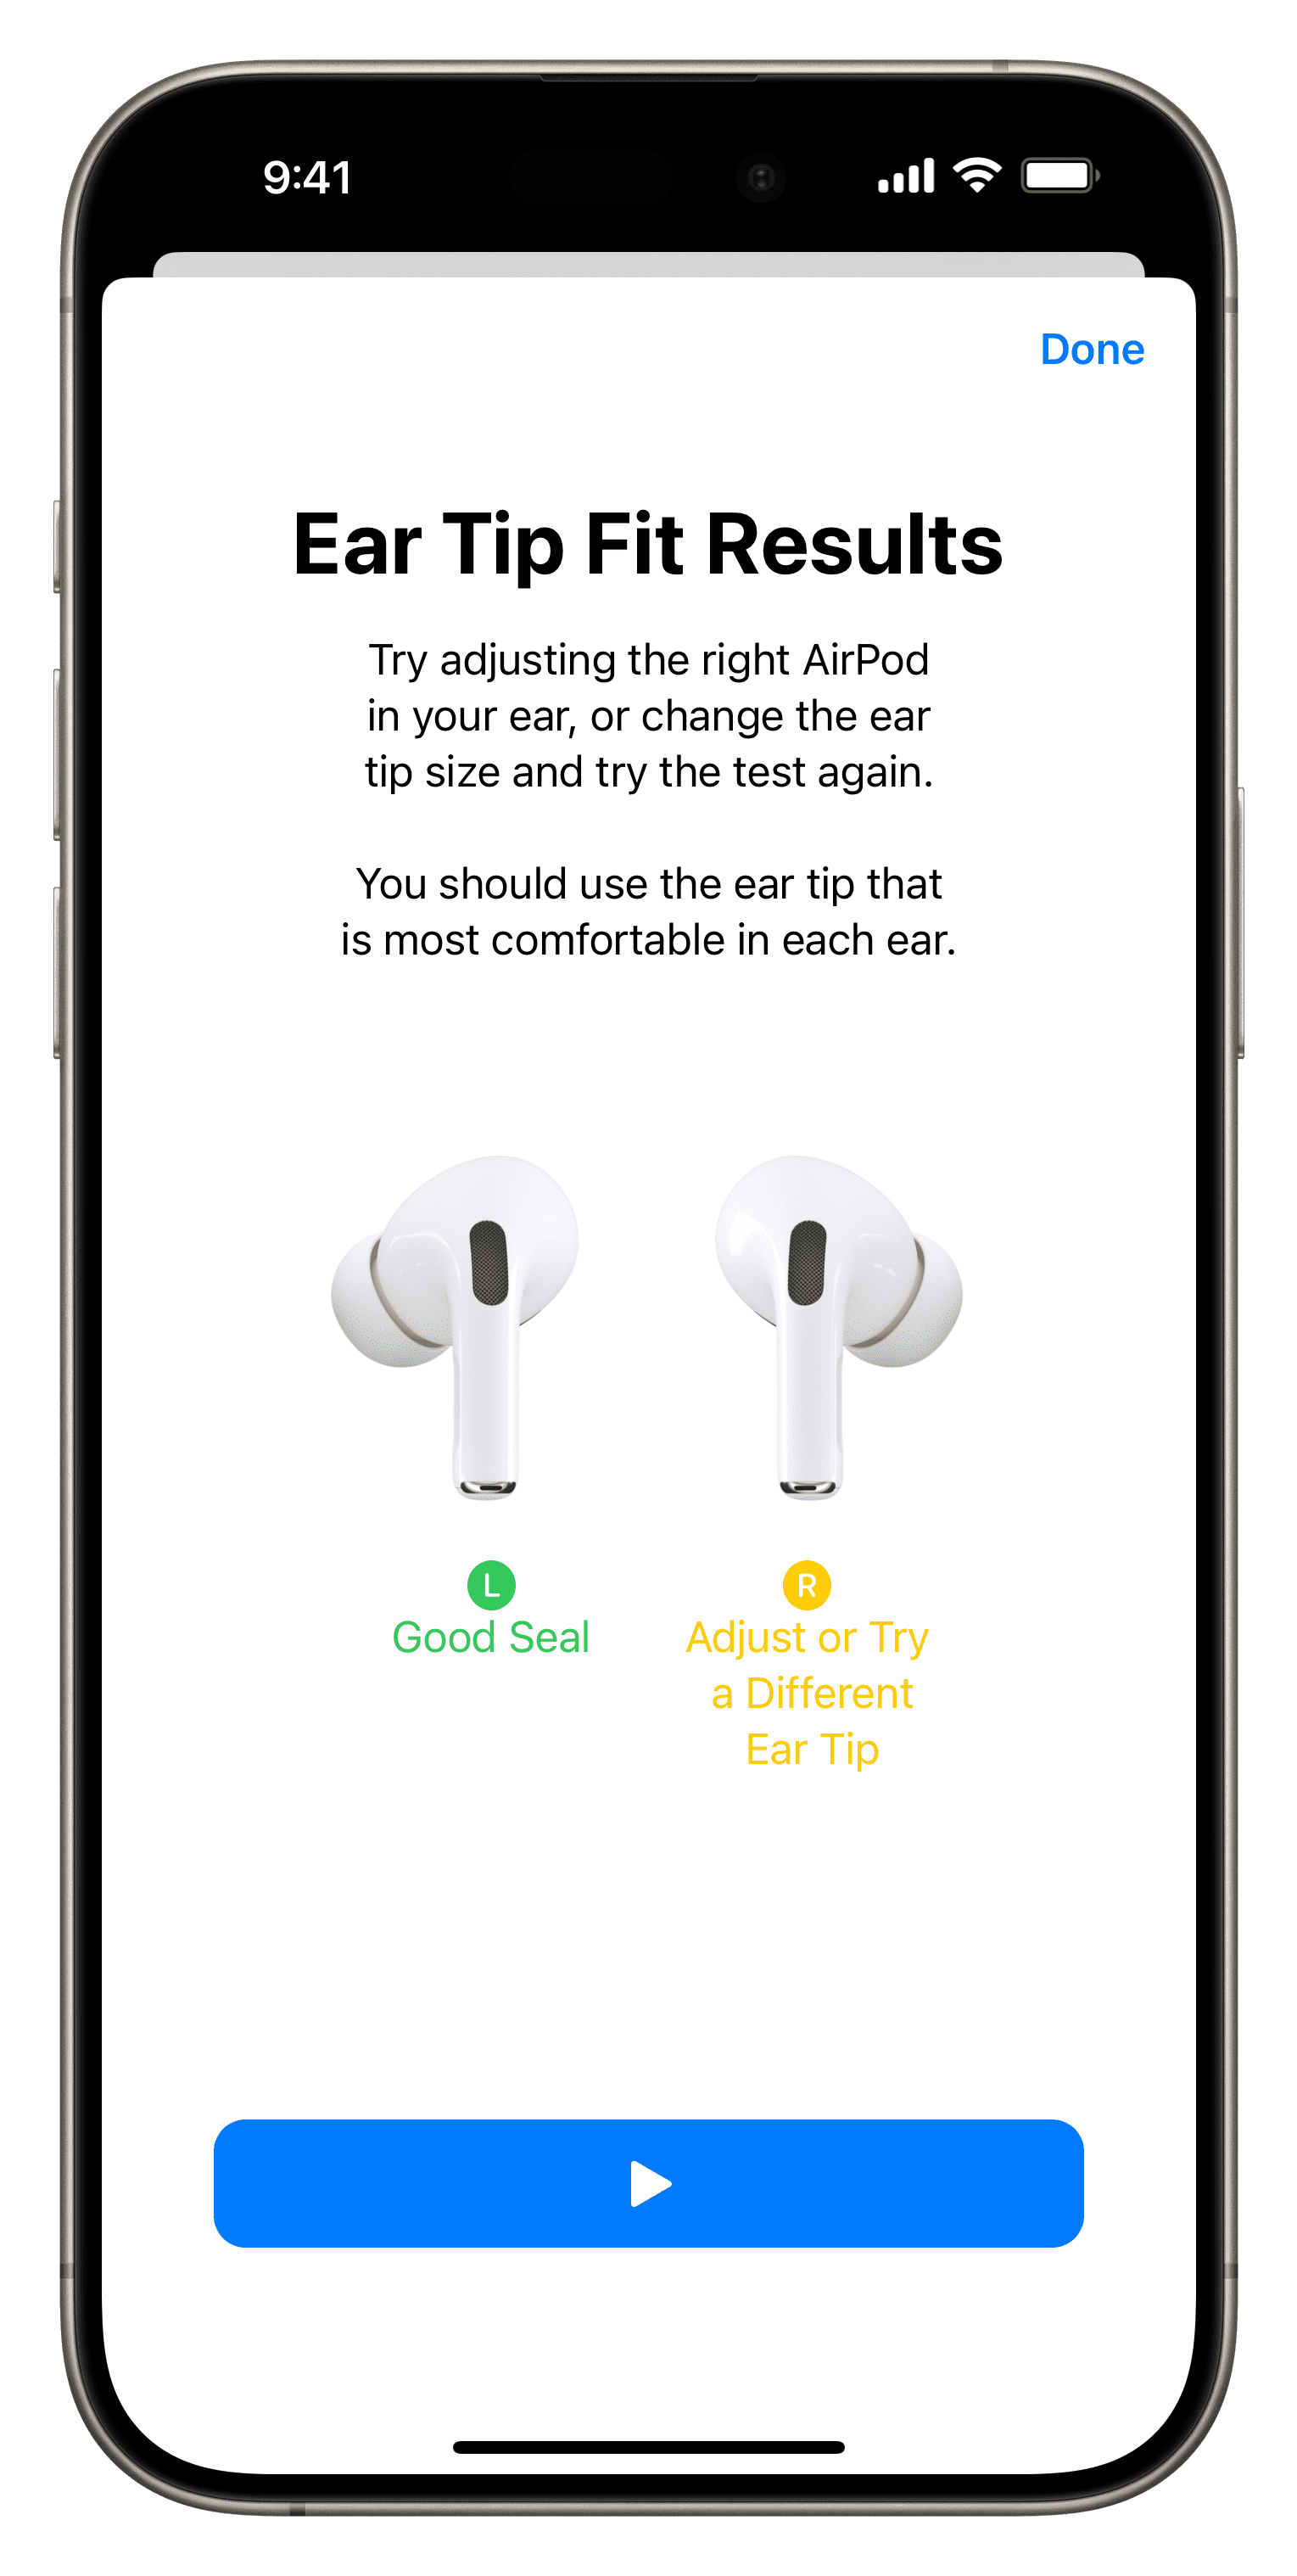
- If everything goes well, you should get green Good Seal results.

- If not, the test may suggest adjusting or trying a different ear tip. Give your AirPods Pro an adjustment, remove the silicone ear tips, try a different pair, and test again. Remember not to be afraid to mix and match different sizes if you need custom sizes for each ear.
Choose what’s comfortable for you
While you’re at it, it’s important to know that you should do what’s more comfortable for you. For instance, in my case, the Ear Tip Fit Test gives “Good Seal” results in both small and medium-sized tips. However, my ear starts to pain if I use the medium-sized tip for an hour or so. But the small tips do not cause discomfort, so I have opted for them.
In my opinion, you should choose the more comfortable silicone tip size even if the Ear Tip Fit Test does not display the perfect result for that.
On a related note: