Learn how to change the accent and highlight colors of your Mac’s user interface to customize and personalize its aesthetics to your liking.
In older versions of macOS, blue is used as the default accent color. However, in recent builds like macOS Sonoma, the default option is multicolor. But if you want to use some other style, macOS offers you the option to select from blue, purple, pink, red, orange, yellow, green, and graphite.
The accent color can even be used to distinguish between the different user account types in macOS. For instance, a savvy user could set the accent color red for their admin account and green for those times when they log in with non-admin privileges.
Secondly, you can also change the highlight color, which appears when you select text. It also kicks in when you are renaming files in Finder.
Change macOS accent and highlight colors
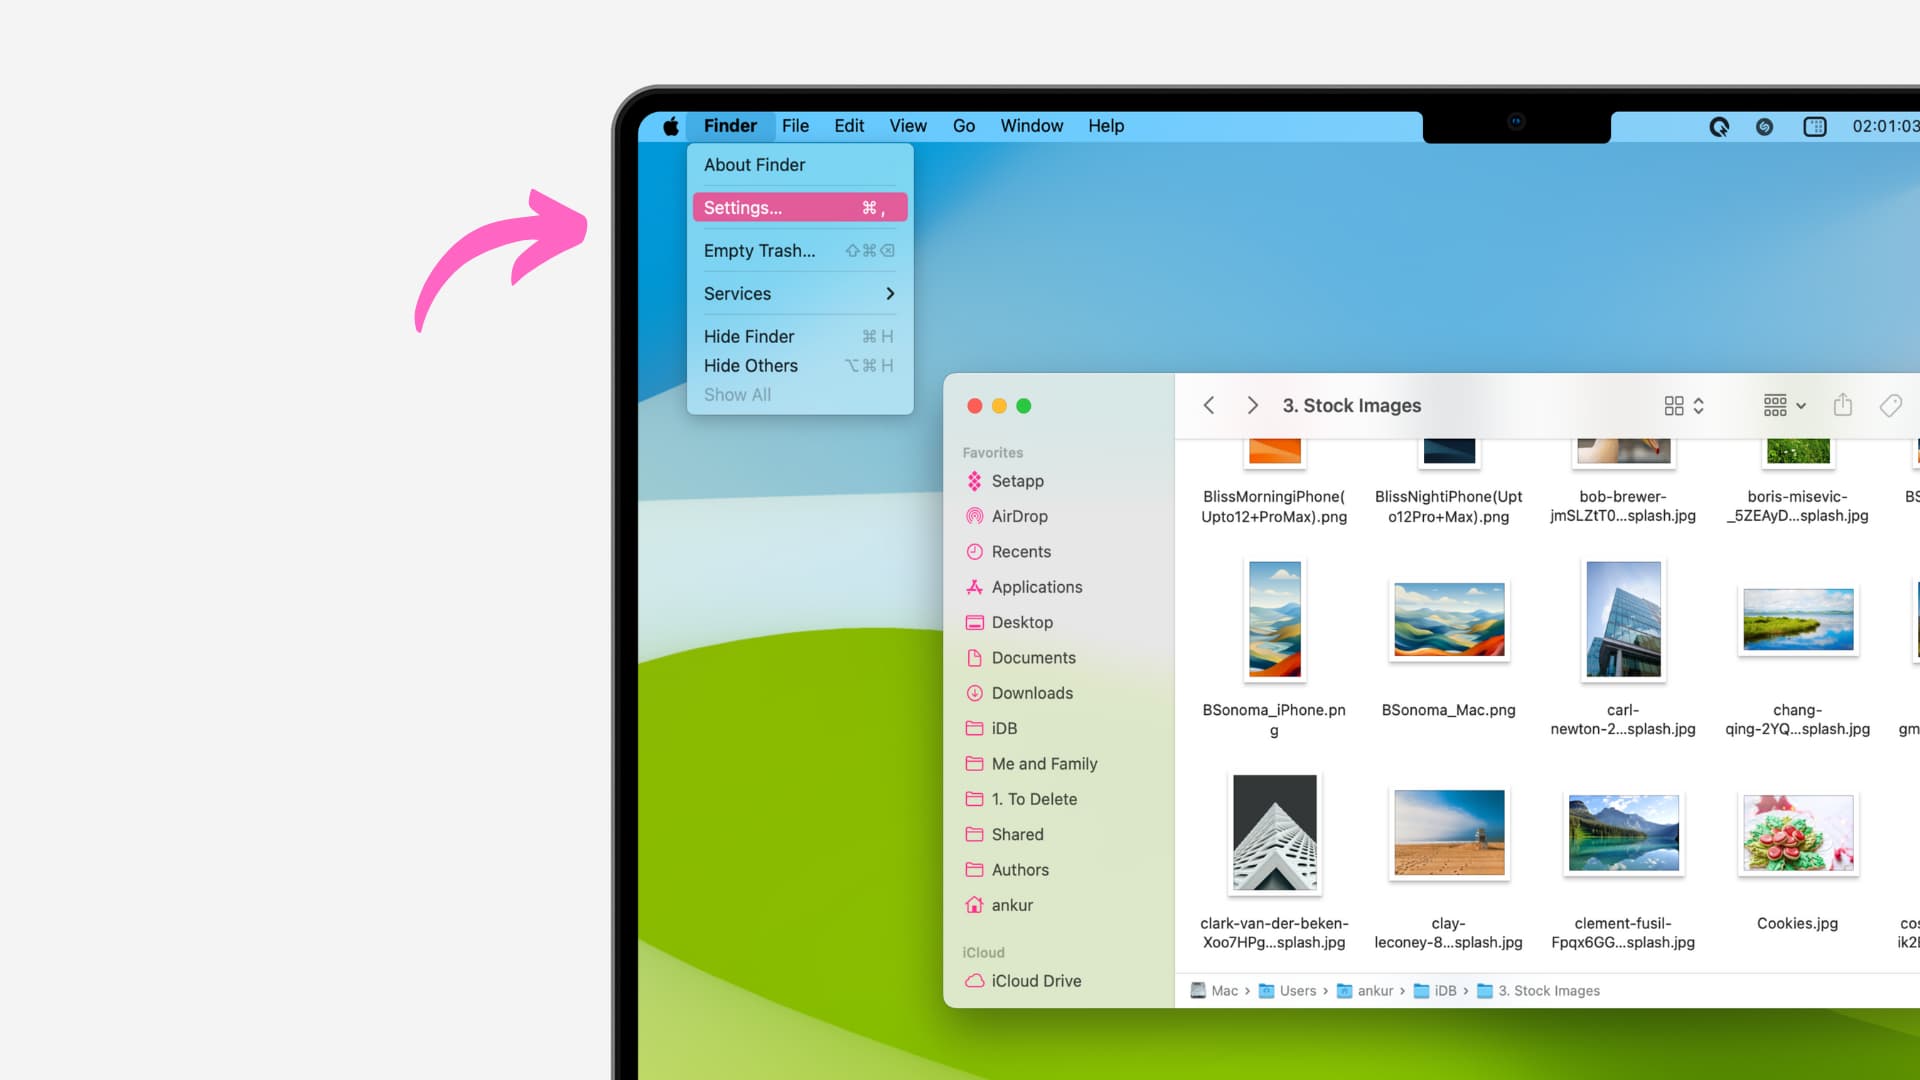
- Open System Settings on your Mac.
- Select Appearance from the left sidebar.
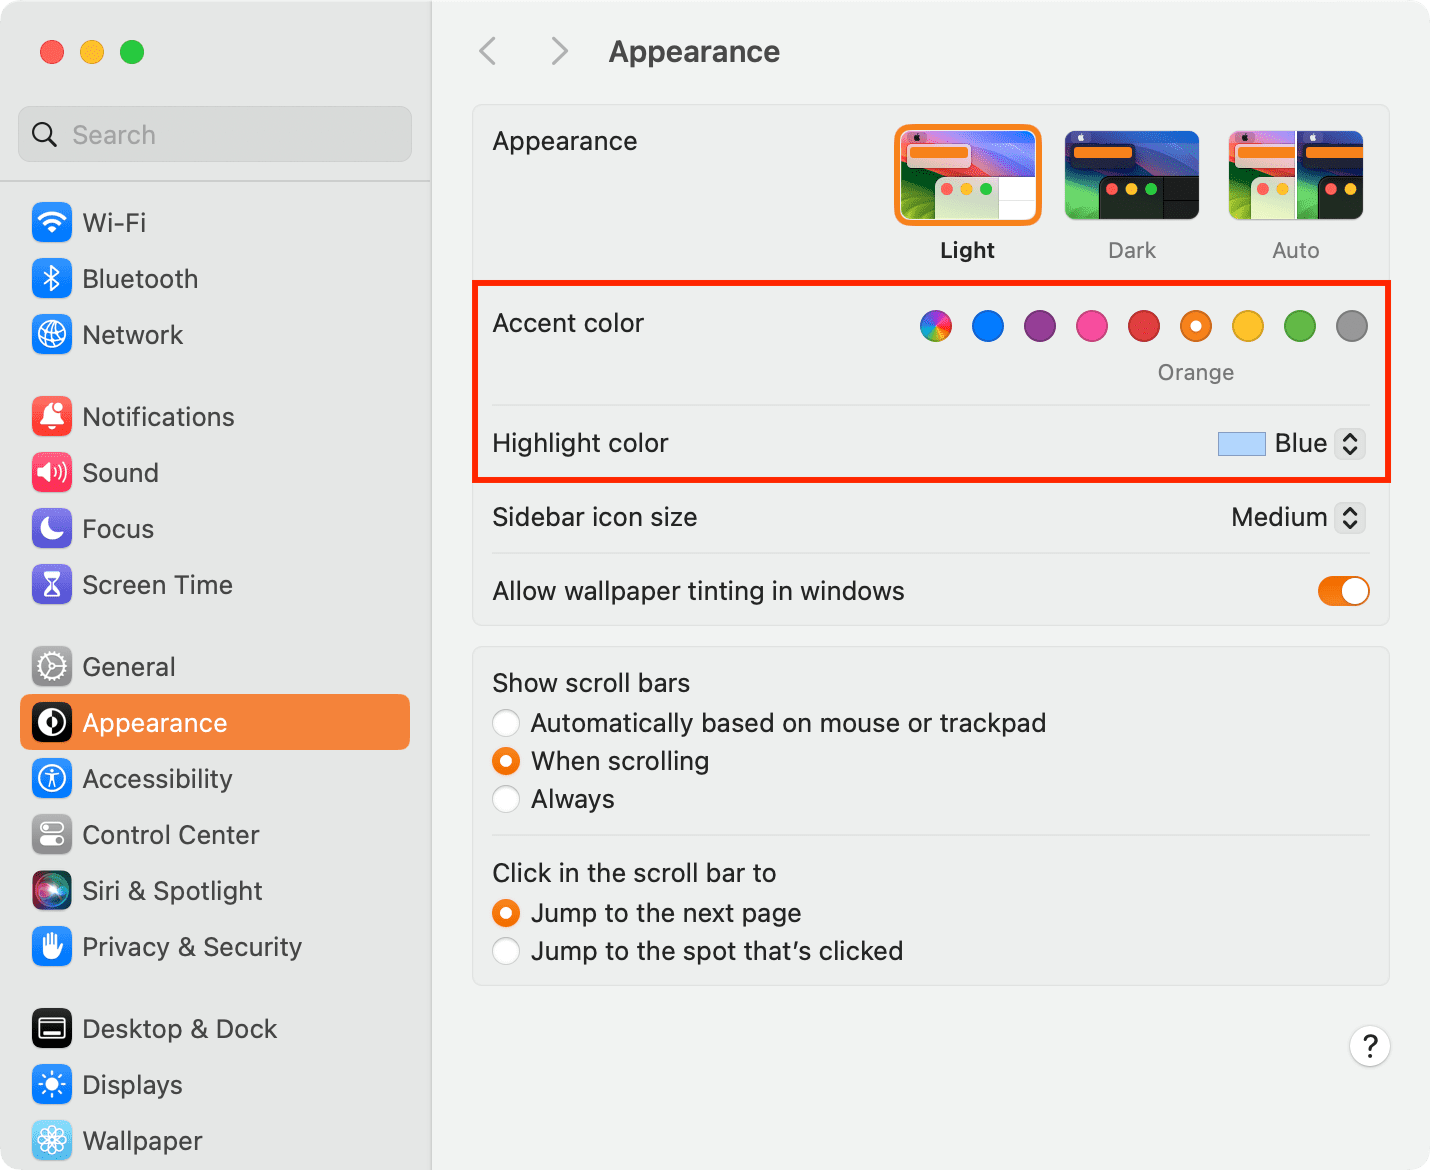
- Pick an Accent color of your choice.
- Next, you can leave the Highlight color the same as the accent color or click its dropdown menu and select something else. One thing to note is that, unlike the accent color, where you’re limited to the nine built-in options, you can select Other as the Highlight color and then pick from one of the million-plus options from the color wheel.
The moment you select another accent color, you will notice the change in the System Settings itself. Once you go out of it, you will notice it in other places like:
- App menus at the top
- Popup menus
- Radio buttons
- Text and file selections
- Focus fields
- Other parts of the operating system, like the loading circle around the favicon in Google Chrome
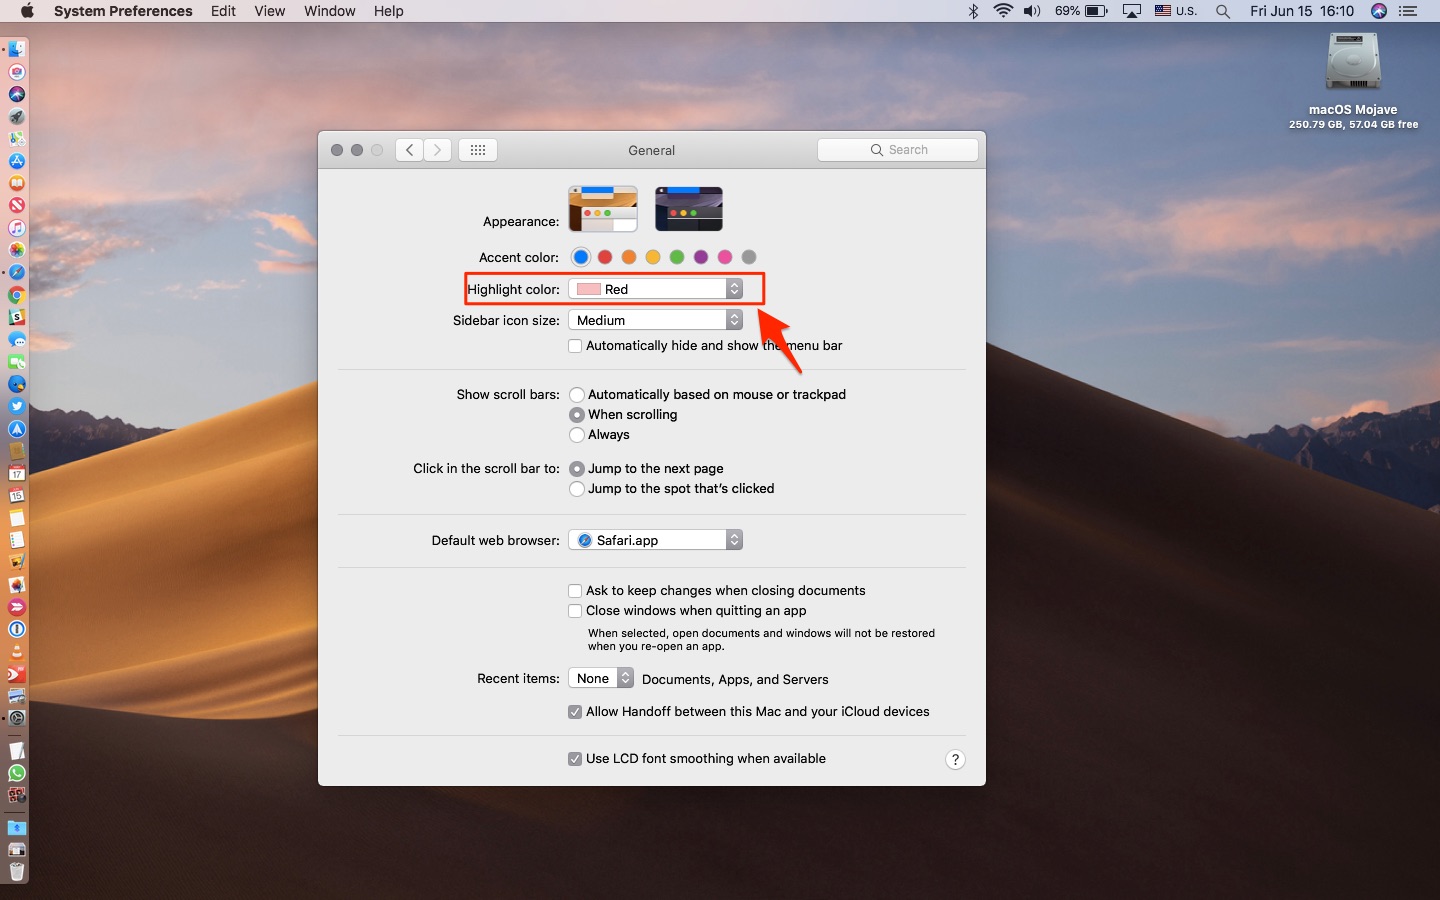
If you’re on an older version of macOS, go to System Preferences > General and click a desired color next to Accent color.
A little bit of history
The original version of Mac OS X used blue window chrome.
A graphite option was added later because creative professionals and developers were complaining that the bright blue highlights caused distractions when working in the dark.
About thirty years later, in 1991, Apple debuted Mac OS 7, which shipped with a colorized interface.
Fast forward to 2018, and macOS Mojave introduced the option to let you select the accent color. It has stayed that way in all later versions.
What’s your favorite look, and why?
On a related note: 14 tips to personalize your Mac desktop