
Now that OS X El Capitan is officially out, it’s time to update. First, though, make sure you read our post on how to prepare for OS X El Capitan. It covers basic information, such as using Time Machine to backup your data.
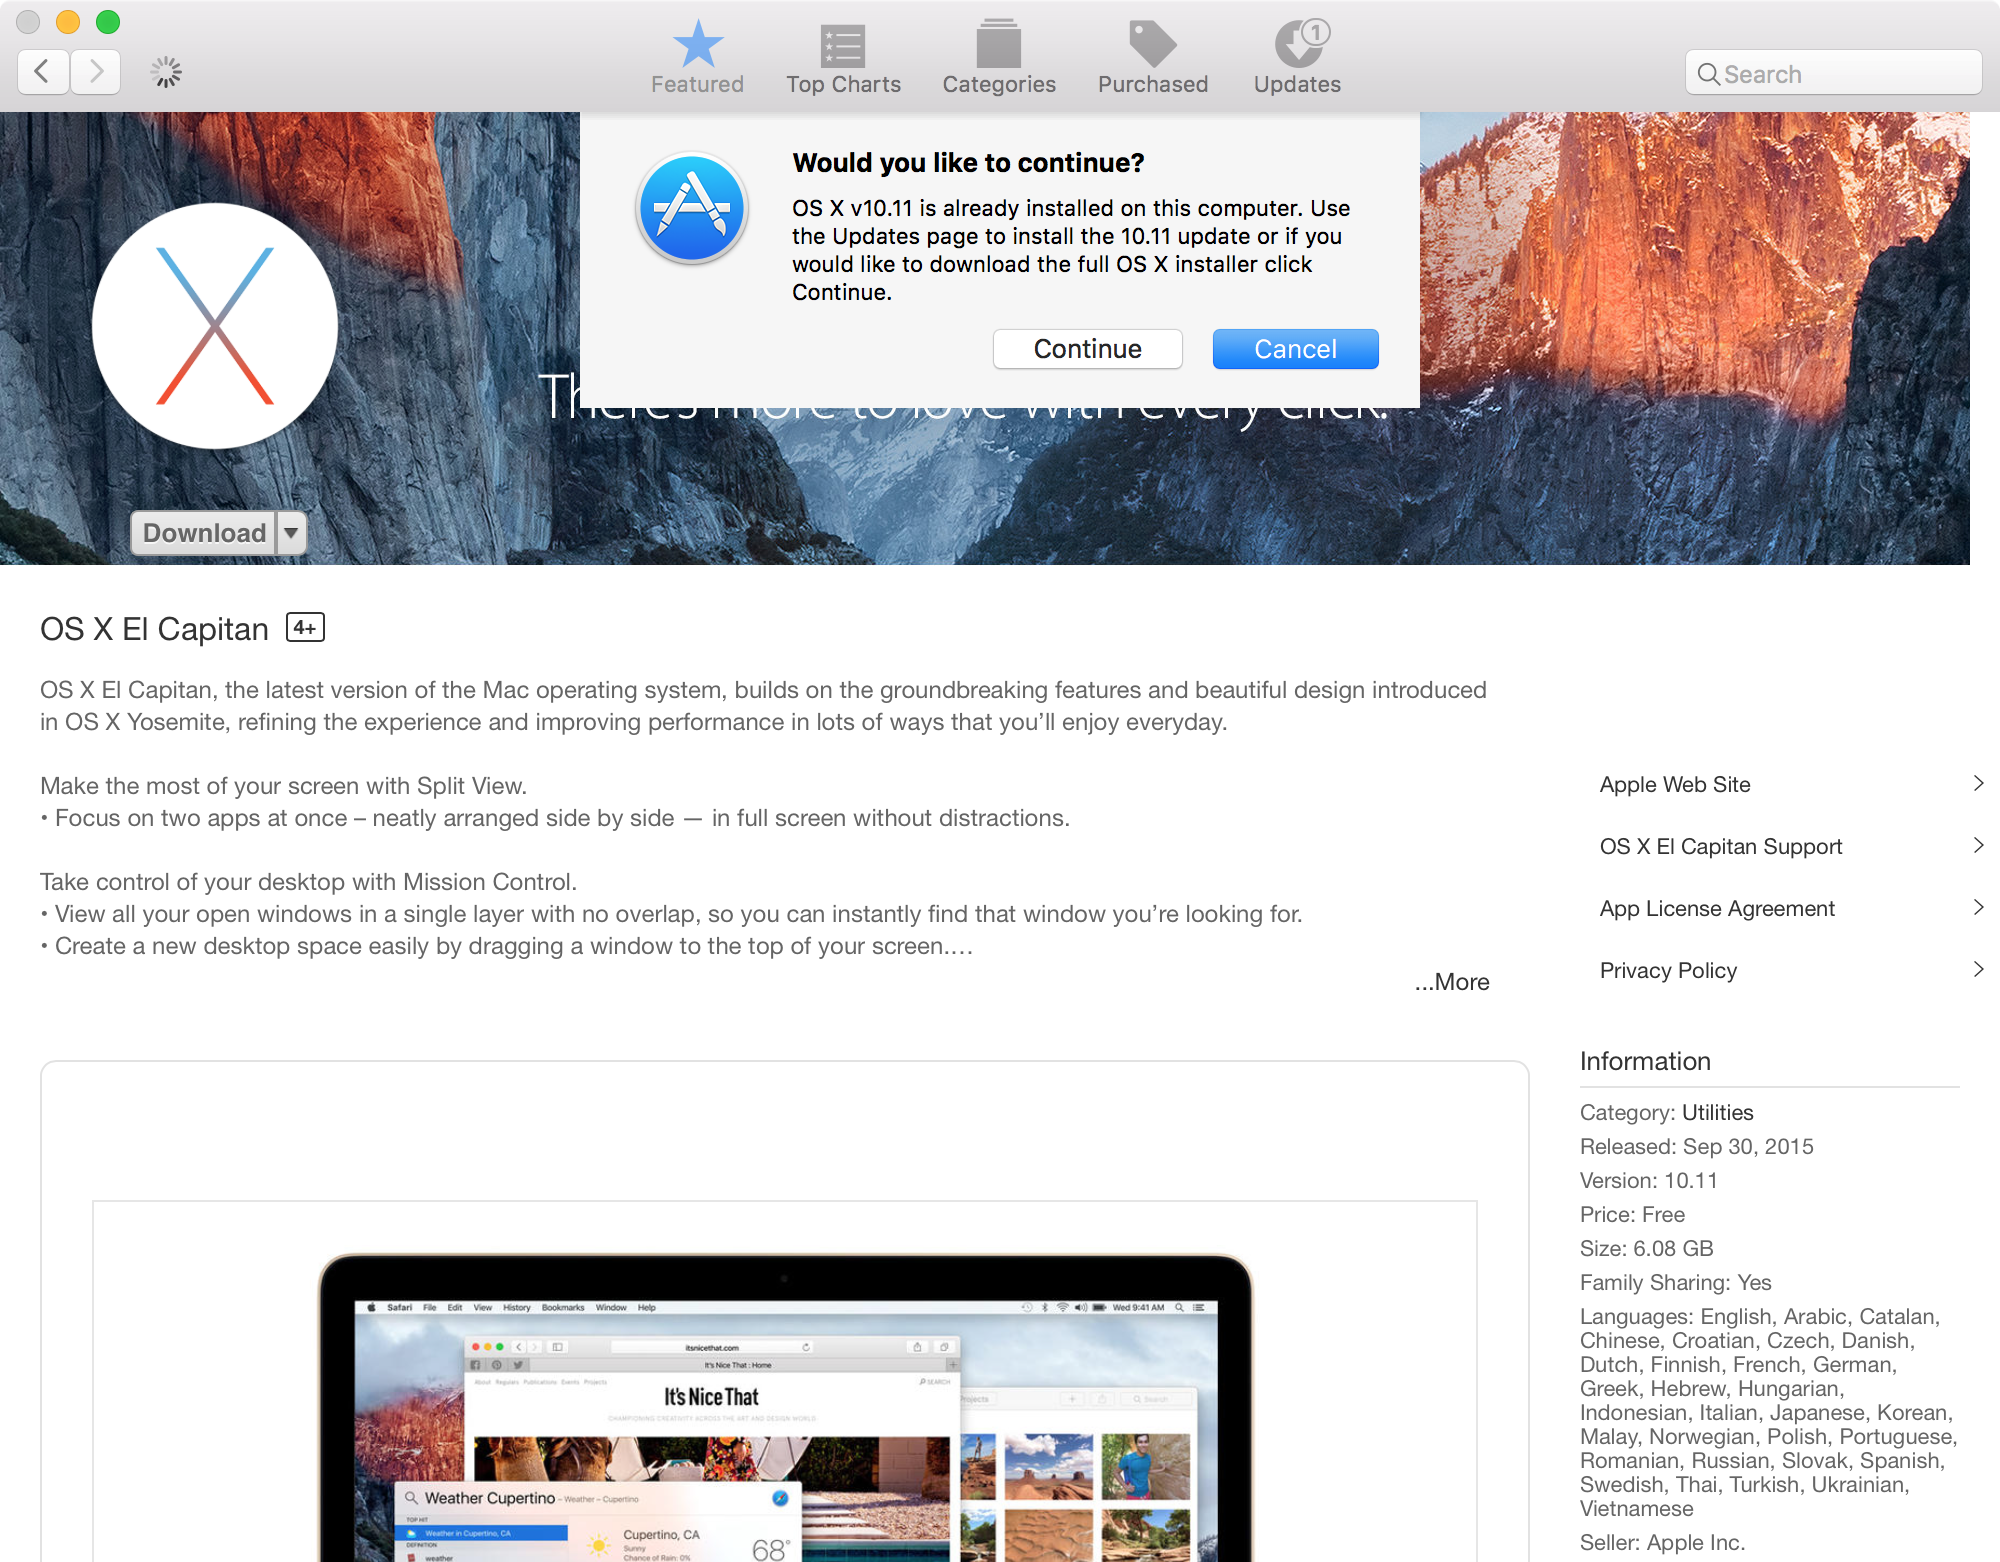
Once you do that, it’s time to download OS X El Capitan. You can do that from the Mac App Store, and like past OS X updates, it’s totally free. Fire up the Mac App Store, and get to downloading!
Upgrading the normal way
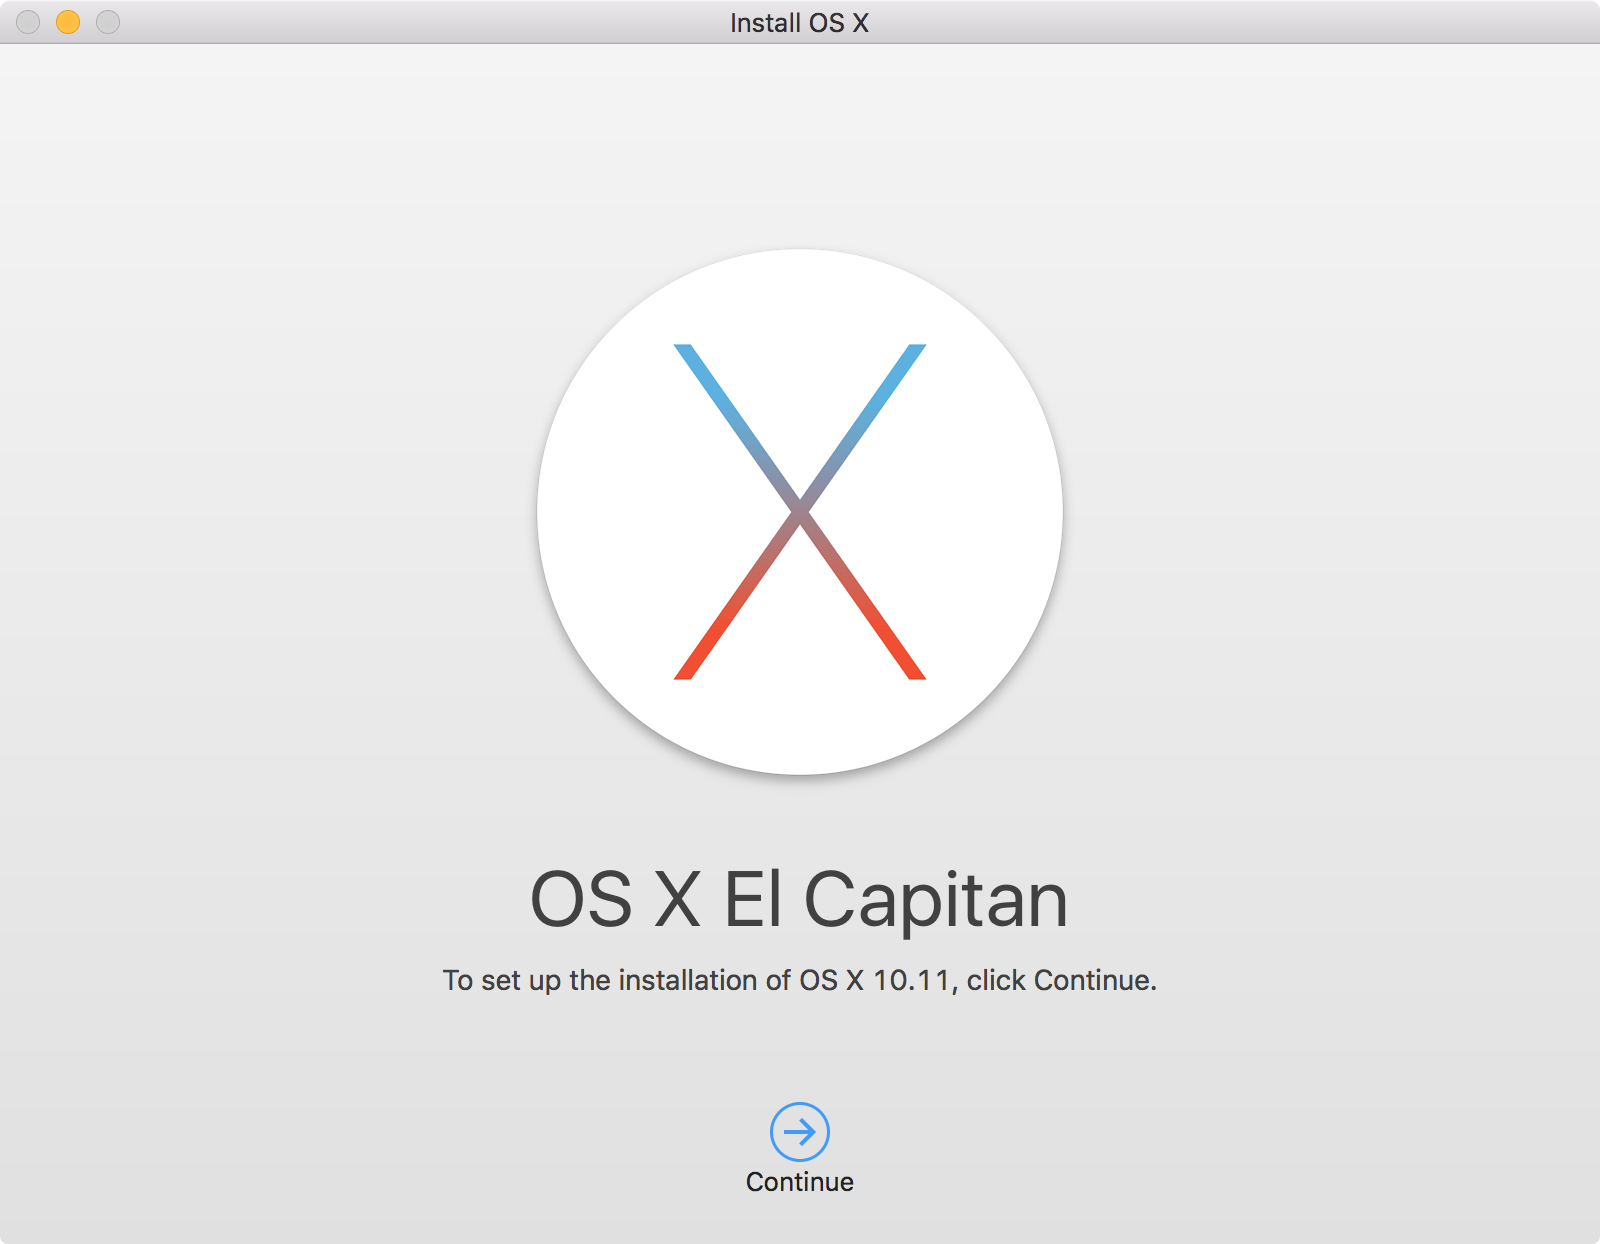
The easiest way to upgrade is to simply click on the OS X Install app once you’ve downloaded it from the Mac App Store. Actually, you shouldn’t even have to click on the app icon, as it should auto launch upon successful download. Just follow the step by step process that the installer walks you through.
Installing from scratch
First and foremost, I want to reiterate how important it is to perform a Time Machine backup before you do this. Again, backup your Mac before proceeding. If you wish to install from scratch, it involves erasing your current installation. Unless you want to go in and manually reconfigure everything, which some people like me prefer to do, you should backup using Time Machine so that you can restore your data at the end of the process.
That said, the whole point of using this method instead of the upgrade method mention above is to have a clean slate, and in that case, you may not care about restoring from backup. Still, it’s always a good idea to at least have a backup available, even if you don’t plan on actually using it.
As I mentioned in the preparation guide, it’s possible to install OS X from scratch. Doing this is more time consuming that it would be to just perform an upgrade. It also requires a bit more technical skill. All in all, however, it’s not too difficult.
The first thing you’ll want to do is create a USB Installer. Once you do that, it’s just a matter of powering off your Mac, and powering it back up while holding the Option key with the USB Installer inserted.
You will then be shown the option to boot from the USB Installer, which you should do. Once you do that, open Disk Utility from the menu bar, select your primary disk where your current version of OS X resides, and erase the disk using the options under the Erase tab.
From there, it’s just a matter of exiting Disk Utility, and proceeding through the OS X El Capitan installation, which should be on screen. The installer will walk your though the entire process step by step.
What if you’re currently running the latest beta?
If you’re running the latest beta, the Mac App Store will tell you that you’re already running the latest version. You can still download OS X if you want to, but it’s essentially the same version as the latest beta version. Instead, just wait for the first update via the Mac App Store to be placed on the public release path.
Conclusion
You should now be well on your way to running OS X El Capitan on your Mac. Check back for many more tutorials and walkthroughs regarding OS X El Capitan later today, and throughout the rest of the week.