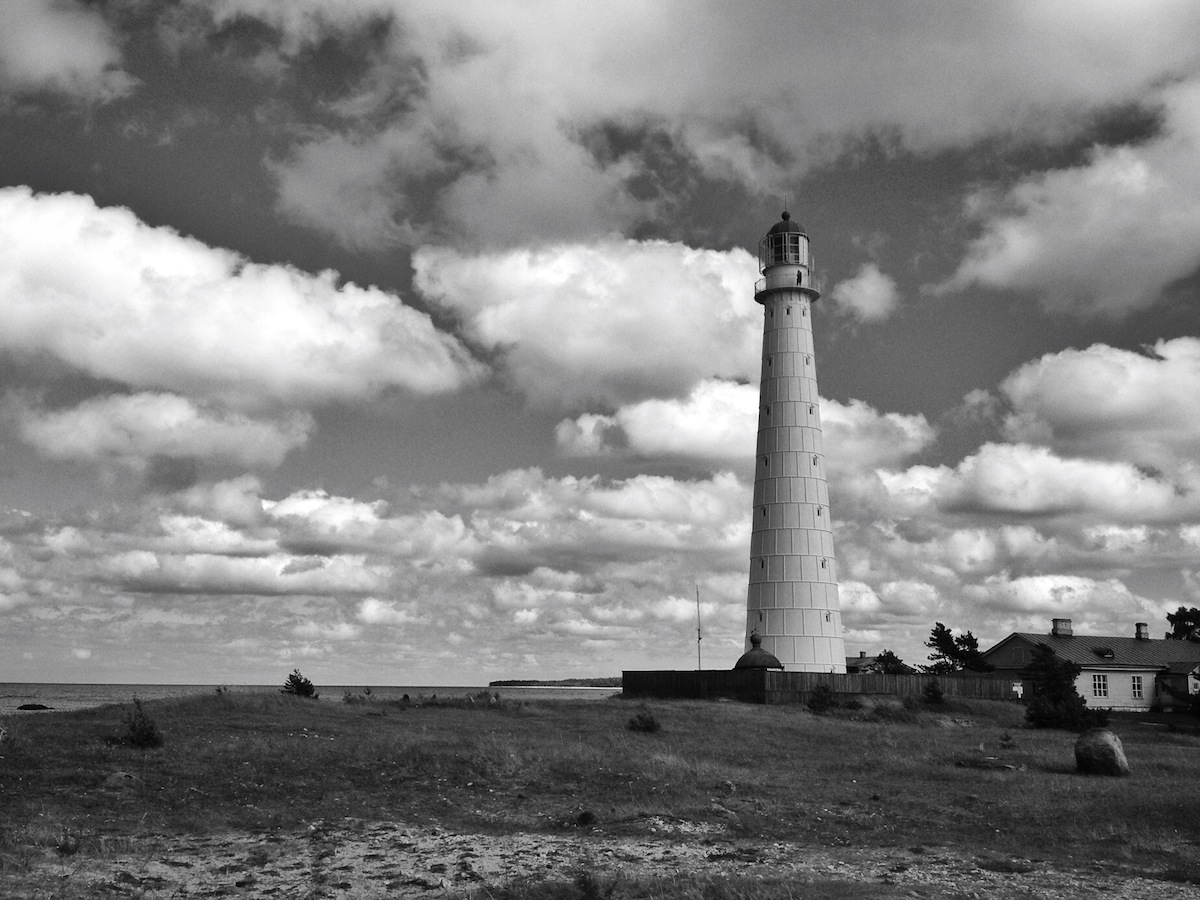
Have you ever taken a photo of a magnificent vista, only to find out that the image doesn’t look nearly as good as in real life? While all of us have experienced that at some point, there are some tips that can dramatically improve the quality of the landscape photos you take with the iPhone.
The iPhone (or any other smartphone) has a small digital sensor which inevitably leads to poor image quality in low-light conditions. However, landscape photos are almost always taken in abundant light, making them practically indistinguishable from photos taken with an expensive DSLR. If you follow the tips outlined in this article, you will be able to take landscape photos that look just as good, if not better, than the same scene in real life.
1. Have an interesting foreground
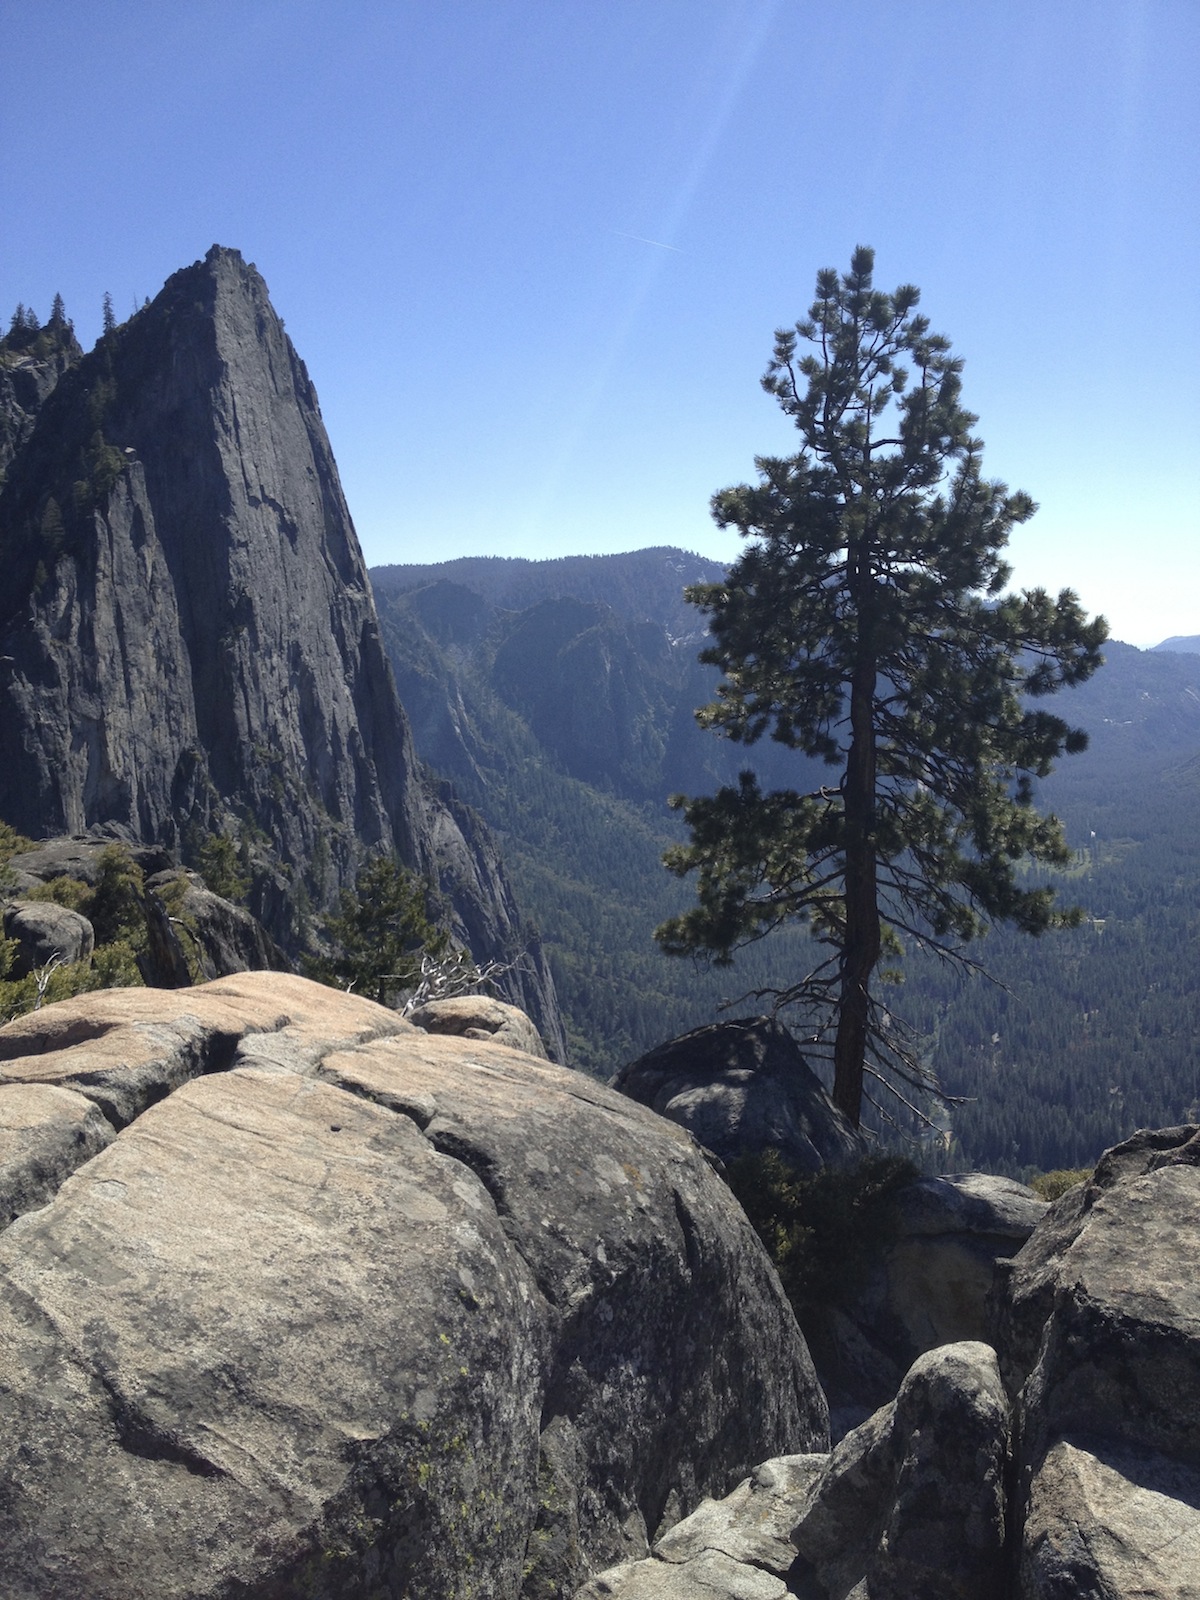
The number one mistake people make in landscape photography is focusing exclusively on the background, which is understandable because the background is usually the most significant part of the scene in real life. When I was hiking in Yosemite, I kept admiring the mountains in the distance while hardly paying attention to my immediate surroundings.
When I wanted to get the best view of the valley, I naturally sought out places where nothing obscured the view. But when I wanted to take a good landscape photo, I always did the opposite because a photo with no perspective and nothing but mountains in the distance will almost never look good.
You should always add context and perspective to the photo by including relevant details in the foreground because only in the context of these details can you accurately convey the scene’s experience. Simple details like trees or rocks can make a huge difference.
2. Enhance the story with human subjects
While most people try to get a clear scene for their landscape photos, I often like to include human subjects that add another dimension to the photo. Of course, you don’t want to have the frame full of tourists you don’t know, but having a solitary skier admire the beauty of the mountain sunset certainly adds a more emotional dimension to the photo.
The following photo was taken on a warm spring evening in a park. Since that was one of the first warm days that year, many people were enjoying the weather and spending time outside. And while the park on its own was very beautiful, this photo wouldn’t tell the full story without the people passing through the scene.

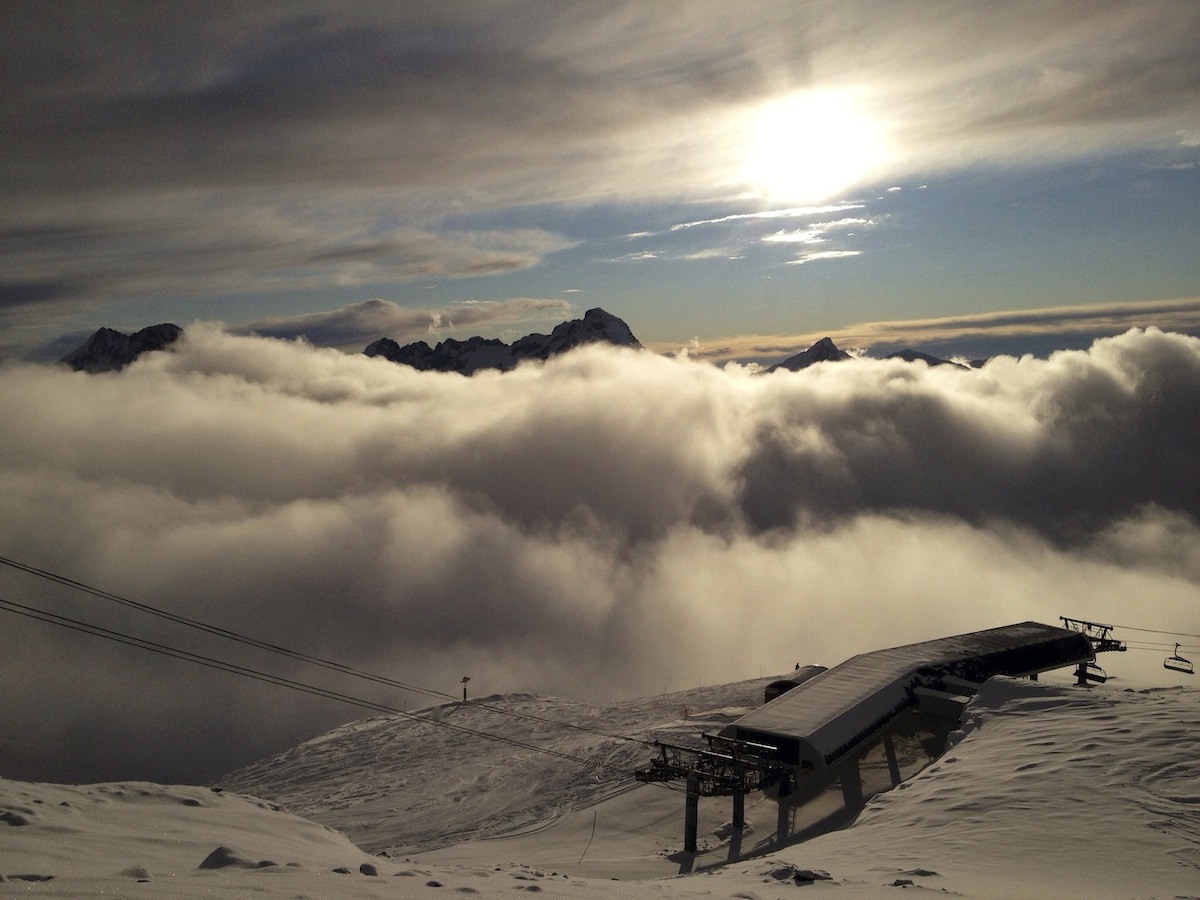
3. Pay attention to the sky
While the foreground of landscape photos is extremely important, you should also pay attention to the sky if it’s going to be inside your composition. A perfectly clear sky is quite boring, and so is a completely overcast sky.
Ideally, you should look for a partially cloudy sky, as cloud patterns can often make the photo more interesting. When that is the case, feel free to let the sky take up two-thirds of the photo or more as the primary elements in the image shift toward the sky.
4. Get the composition right
The easiest way to improve your photos is to improve composition, and landscape photos are, of course, no exception. Forget about taking quick snapshots with your iPhone. If you want to get great results, you must take composition seriously. Take a second to frame the shot right, find the best angle, and try to follow these iPhone composition tips.
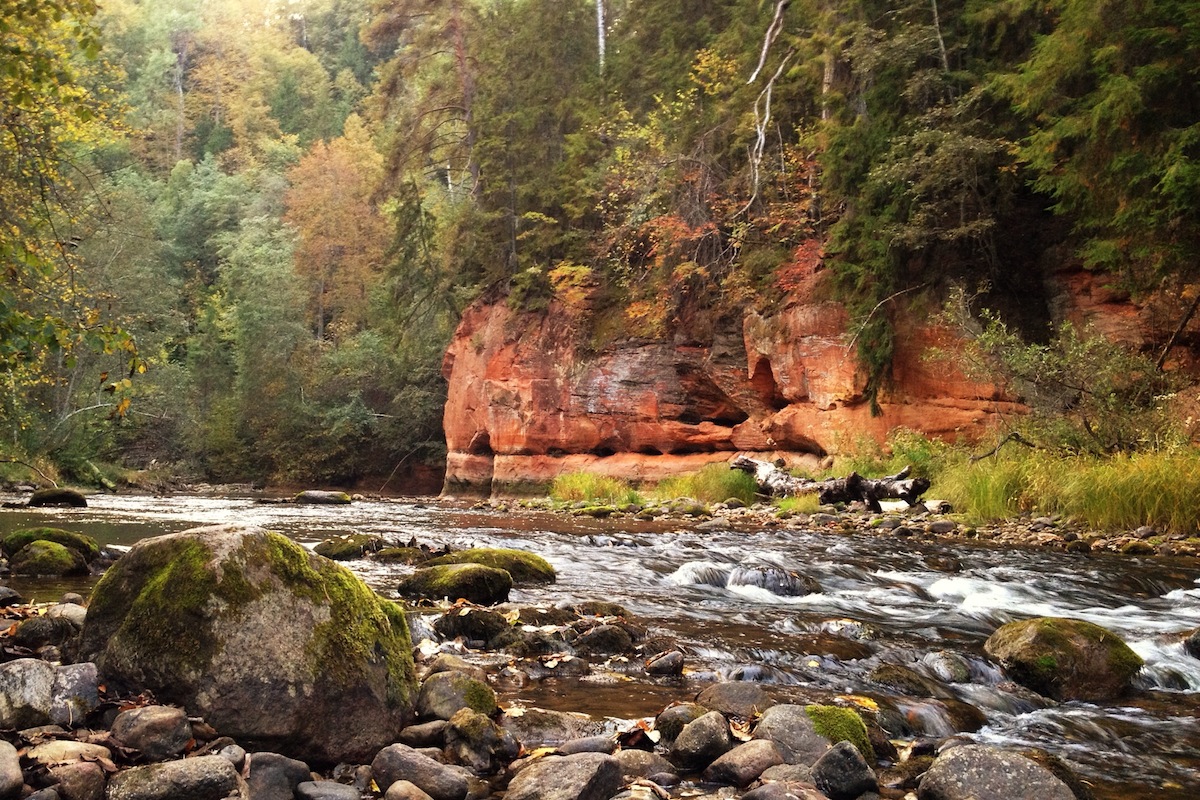
More than any other composition guideline, in landscape photography, you should pay attention to the diagonal principle. In a nutshell, the diagonal principle states that the most important elements of your composition should be placed diagonally so that the image is balanced both horizontally and vertically.
This photo is a great example of the diagonal principle. The two most essential elements of the scene – the orange rock at the top right and the regular rock at the bottom left – are placed diagonally from each other, with the river also cutting through the scene diagonally. While the rock at the bottom left may seem insignificant, it plays an important role in keeping the image balanced against the much larger orange rock.
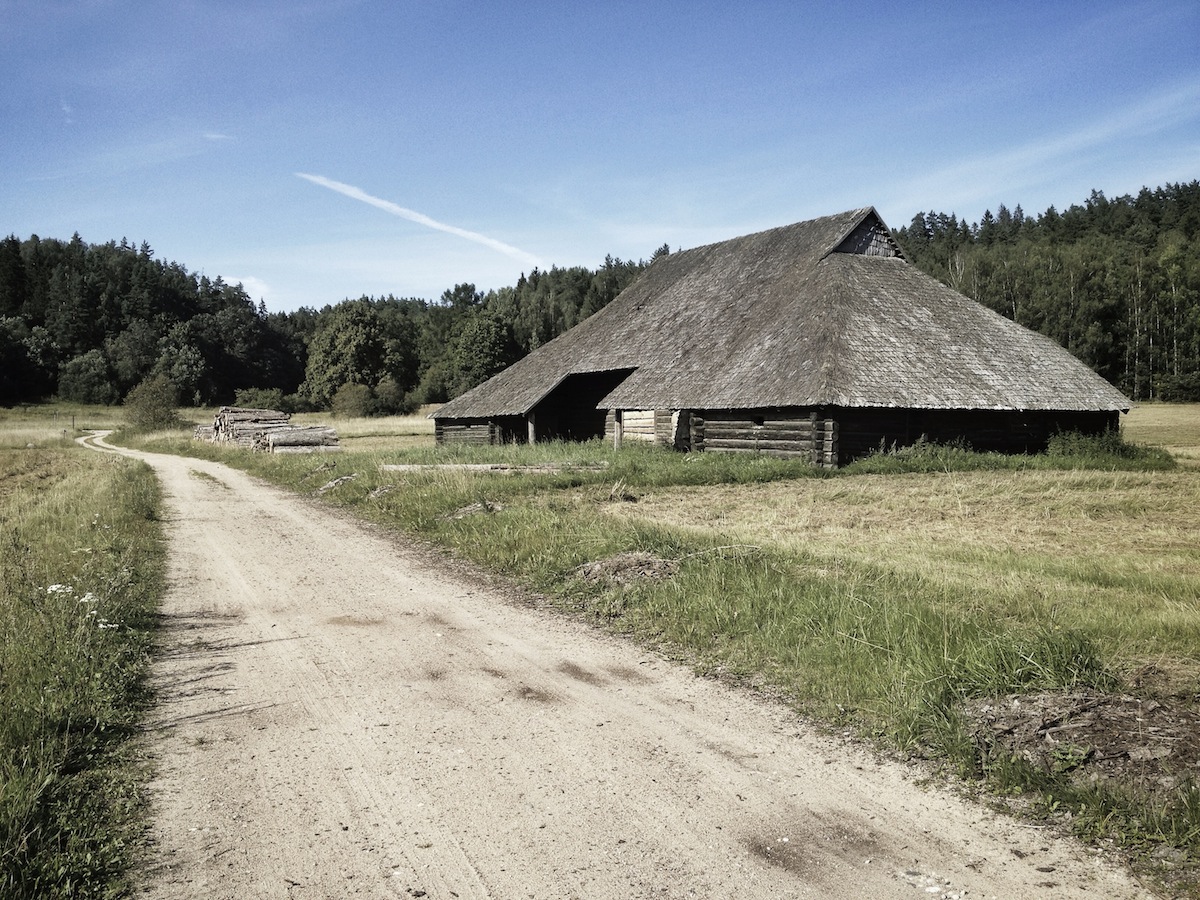
5. “The long and winding road”
Few things look better in landscape photos than roads extending into the distance. Such roads, which are examples of leading lines, add perspective to the photo and invite the viewers to subconsciously follow their path.
Roads like this can literally draw the viewer deeper into the photo, making an otherwise flat photo a lot more immersive. Besides, they just look really good.
6. Take HDR photos
HDR, which stands for high dynamic range, is a photo capture mode that automatically combines two or more exposures of the same scene to correctly expose both highlights and shadows, and landscape photography is when it can help you the most.
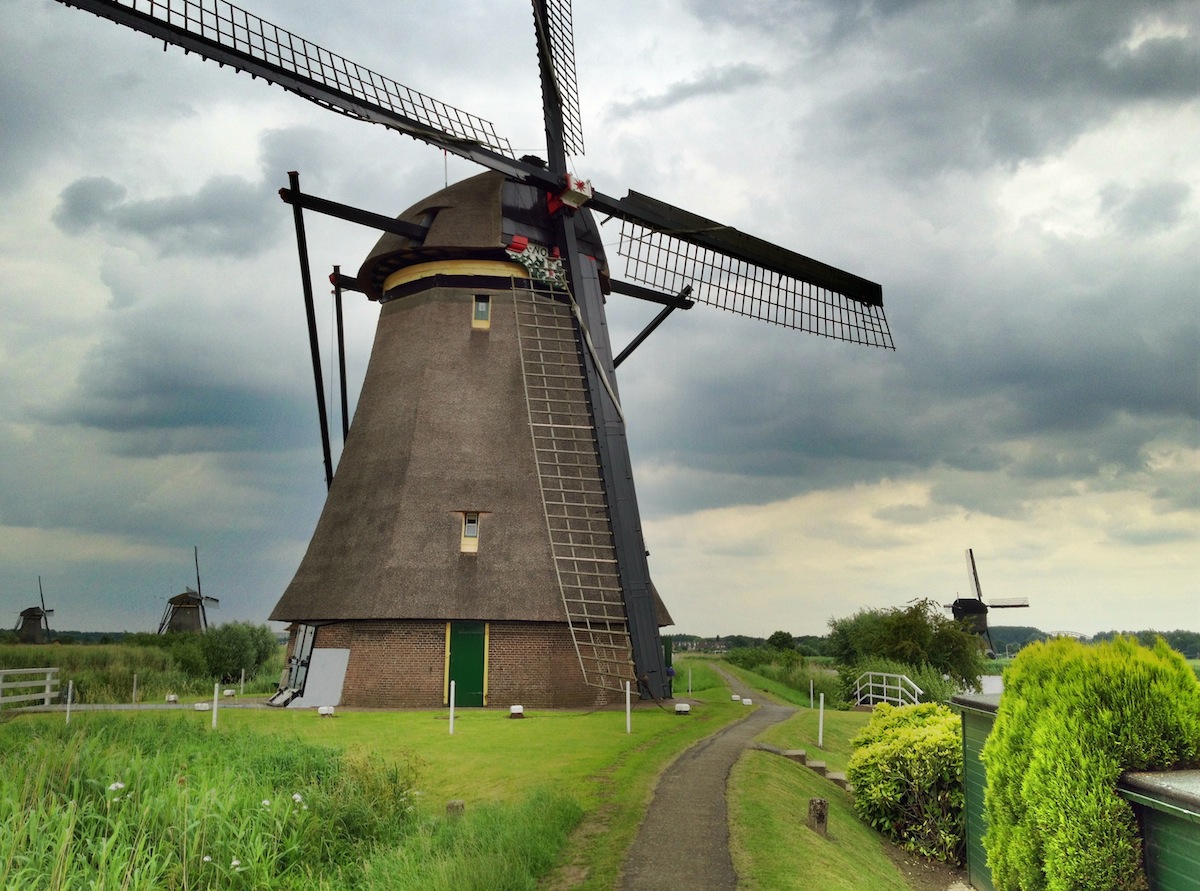
The above photo (did you notice the road?) was shot in HDR. Notice how both the highlights of the scene (the sky) and the shadows (the windmill) are properly exposed. In a non-HDR image, either the sky would be white, or the windmill would be black due to the dynamic range of the scene.
The iOS Camera app has a built-in HDR mode as well: Settings app > Camera > turn on Smart HDR.
7. Enhance the scene in post-processing
The next photo (shot with the iPhone’s built-in HDR mode) is currently rather plain. While I like the calm river scenery, this photo could do a much better job of showcasing the beautiful fall colors.
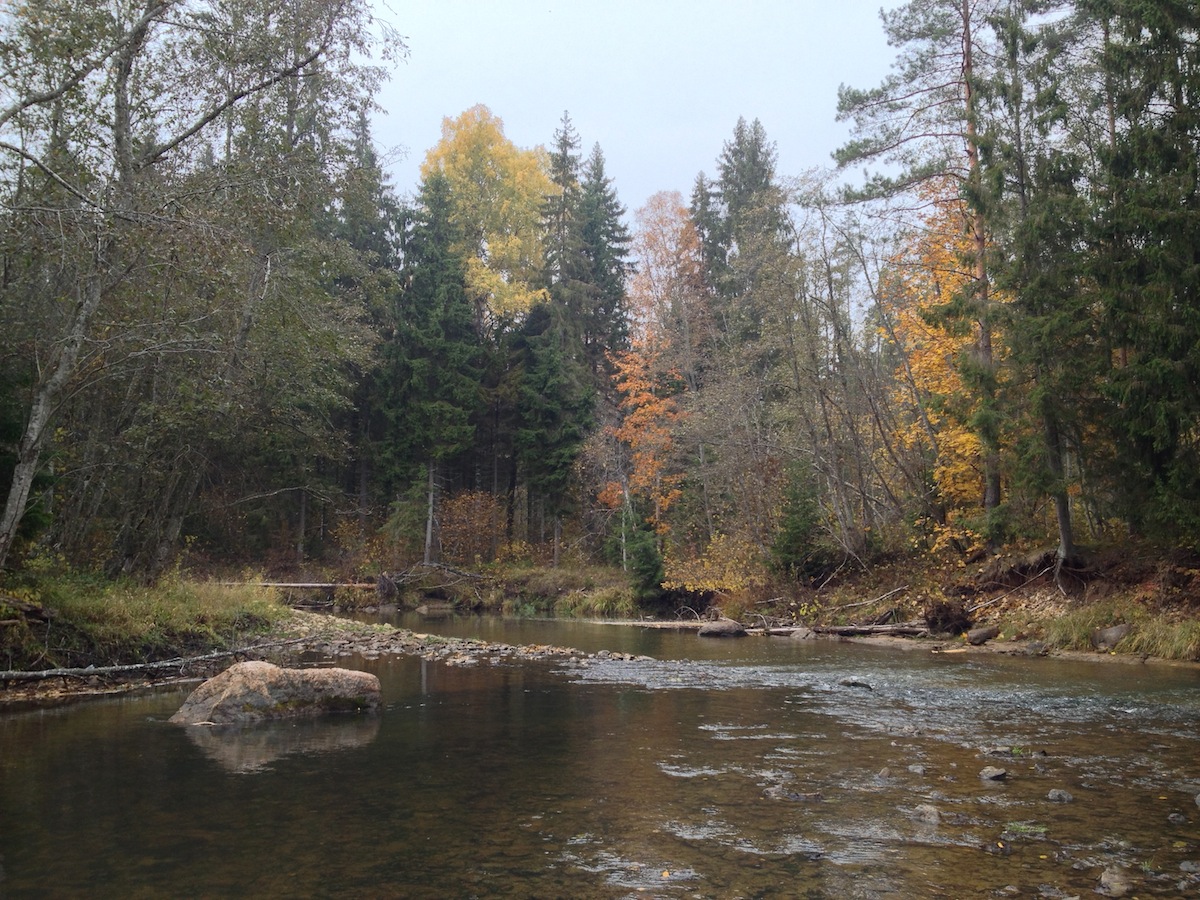
Fortunately, it’s very easy to correct issues like that using one of the many great photo apps on the App Store. For landscape photos, I recommend avoiding filter apps and making more controlled adjustments using an app like Snapseed.
The picture below is the same image after cropping and adjusting colors in Snapseed. This version does a much better job of showcasing the beautiful landscape. I would even say that this photo looks better than the same scene looked in real life.

Simple photo adjustments like this can make a huge difference, but no editing can turn a bad photo into a good one. You should focus on taking great landscape photos following all the other tips, and only afterward you can think about improving them if needed.
All photos in this article were shot and edited with iPhone 4S. Imagine what you could do with a newer iPhone like the iPhone 14 series!
You’ll also love: