This guide will show you how to jailbreak your iPad iOS 3.2.2 using GreenPois0n, the latest jailbreak tool by the Chronic Dev Team. If you have already jailbroken your iPad with LimeRa1n and it is working fine for you, then there is no need to jailbreak again using GreenPois0n.
At the time I am writing this, GreenPois0n is for Windows only, although a Mac version should be available soon.
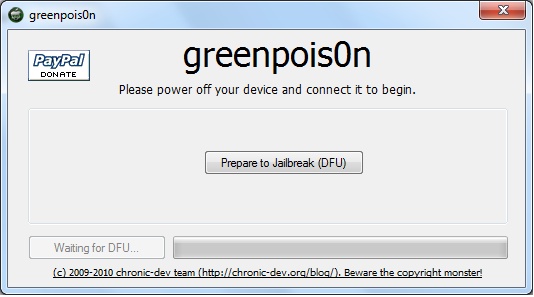
Step 1: Download GreenPois0n and run it as an administrator.
Step 2: Power off your iPad, and connect it to your PC.
Step 3: Walk through the steps to put your iPad into DFU mode to prepare for jailbreak.
Step 4: Once you’re in DFU mode, click the ‘Jailbreak!’ button to jailbreak your iPad.
Step 5: Now, just wait until the status bar shows complete, and your iPad will reboot to the home screen.
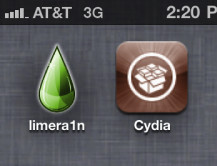
Step 7: You should now have a new “Loader” icon on your springboard. Launch Loader. Select Cydia > Install Cydia.
Step 8: One Cydia has successfully been installed, you will be asked if you want to remove Loader. Hit “Remove” and your iPad will automatically reboot.
Your iPad 3.2.2 should now be successfully jailbroken using GreenPois0n. If you have any question or comment, make sure to add them in the comments section below.