In this step-by-step tutorial, we’ll show you how to set up your new Apple HomeView smart home device using your iPhone or iPad.
HomeView is Apple’s answer to Google Nest Hub and Amazon Echo Show. It starts at $299, and if you have one or plan to buy one, here’s how to set it up.
HomeView setup is similar to Apple Watch: you need your iPhone (unlike Apple Watch, an iPad also works), scan a dotted code on the screen, then follow the setup process.
Setup is simple, but it’s a new category of device, so if you need help, here’s the full step-by-step guide.
Note: In this tutorial, I’m using the desk version of HomeView, not the wall model, which doesn’t even come with its own power adapter or mounts, yet costs the same!
Set up your new Apple HomeView
1) Update your iPhone to the latest version of iOS 27, which at the time of writing is iOS 27.2.
2) Connect your iPhone to Wi-Fi and turn on its Bluetooth (make sure the Bluetooth icon in Control Center is blue, not white).
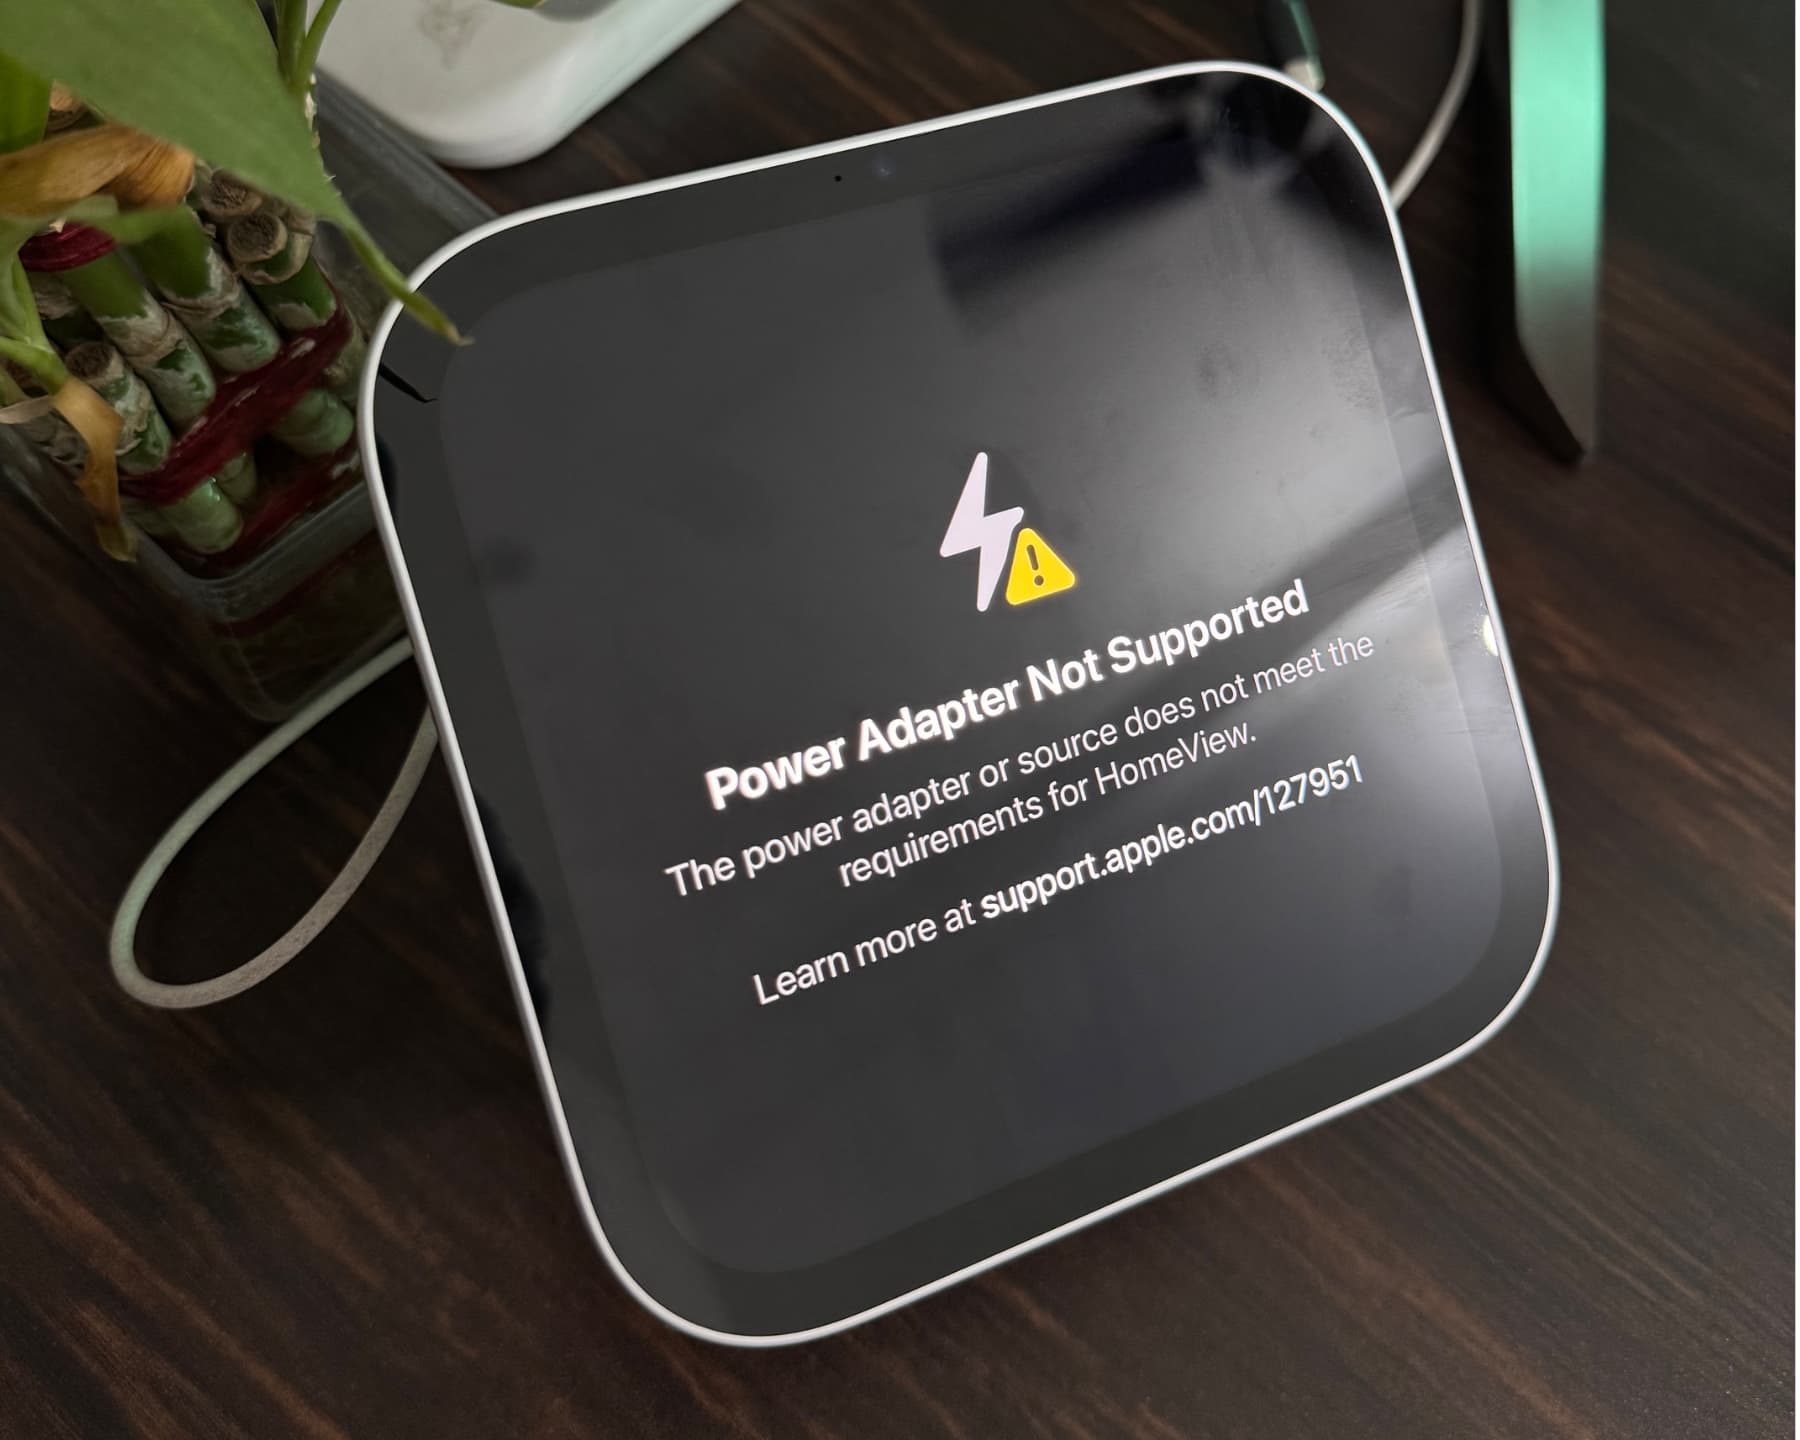
3) Take out the HomeView from its box and use the provided 30-watt power adapter (a 20-watt Apple adapter won’t work) and USB-C cable to switch it on. Plug the cable into the back of the bottom speaker base. Just like HomePod and Apple TV, there are no physical switches to power it on or off.
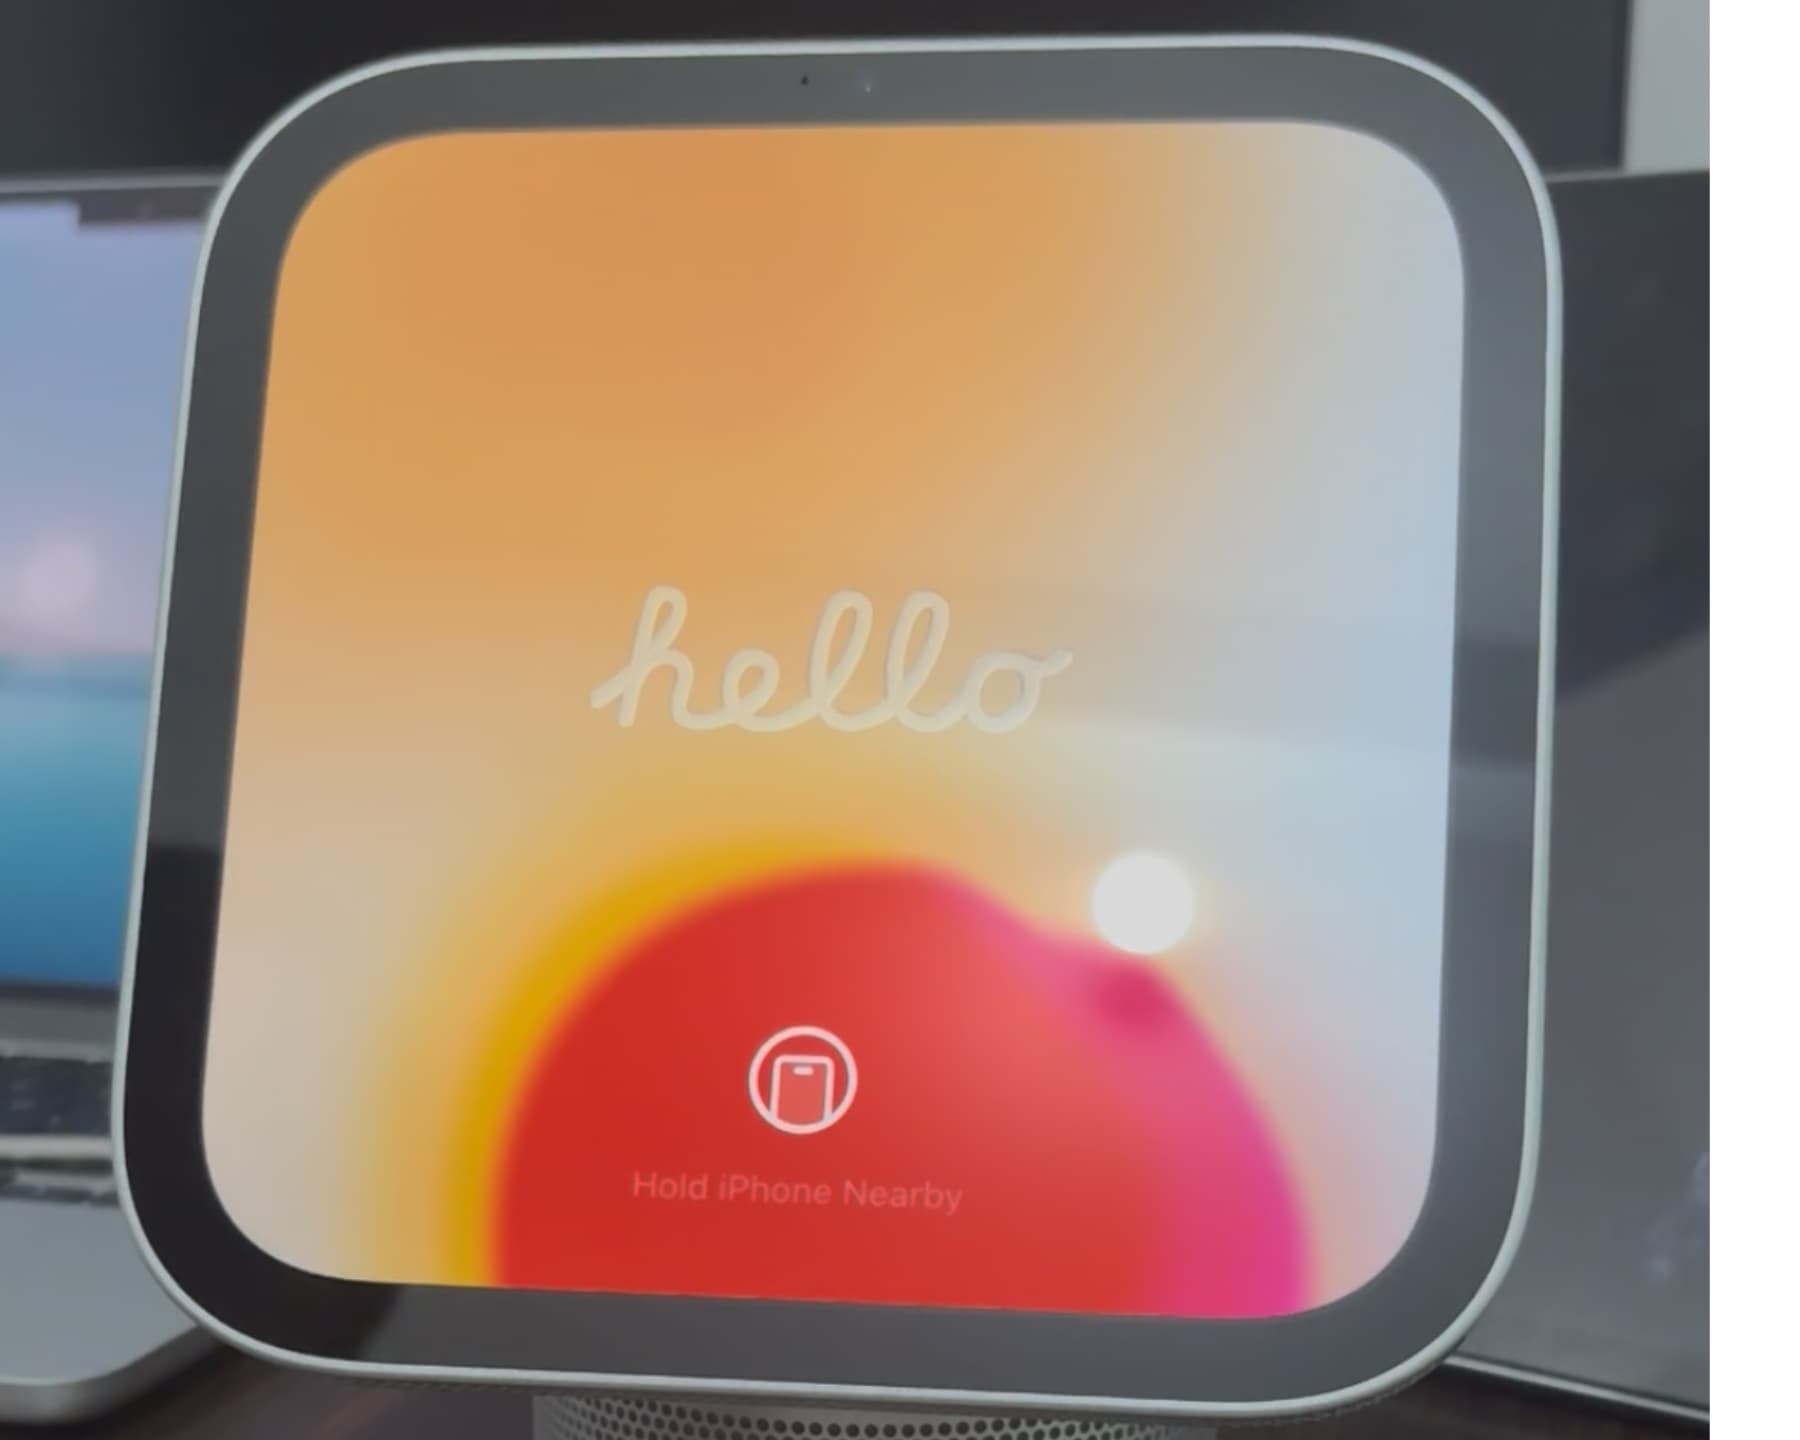
4) You’ll see the usual Apple boot-up screen with the Apple logo , followed by the ‘hello’ screen.
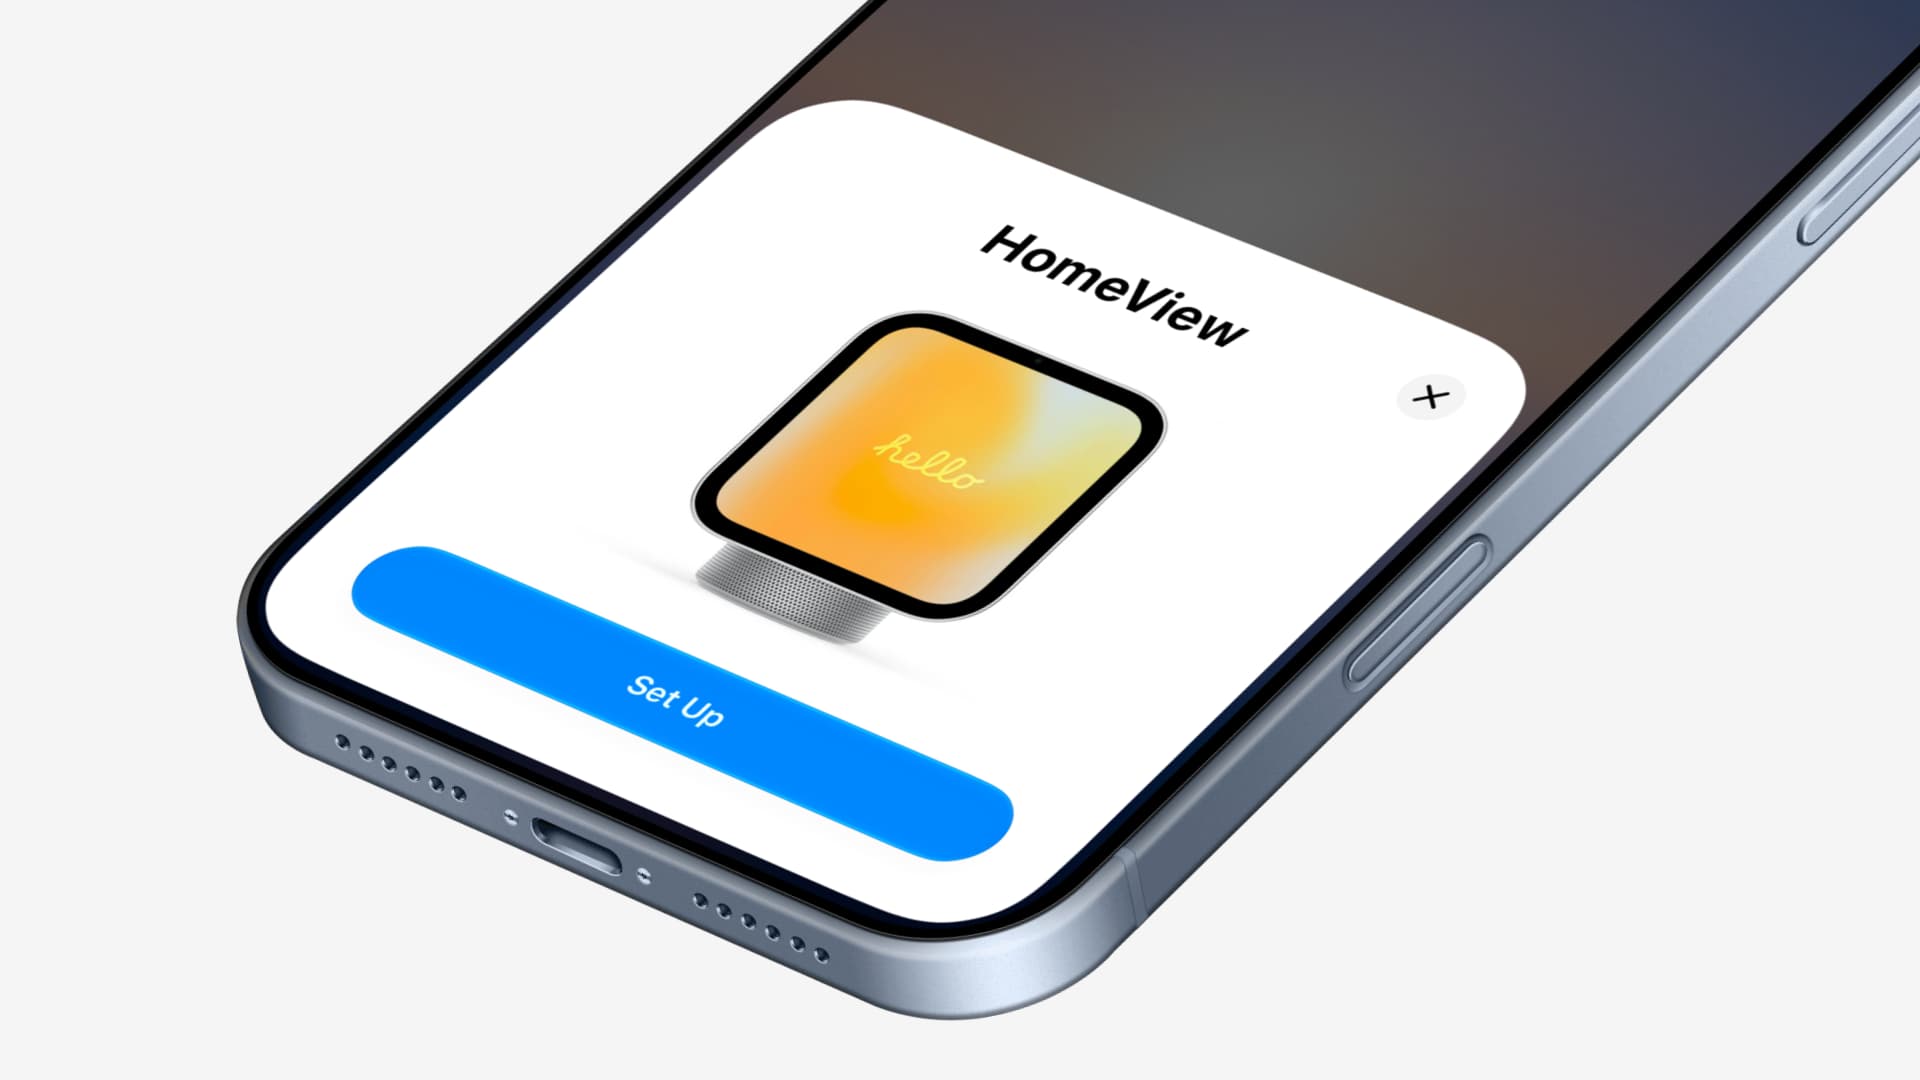
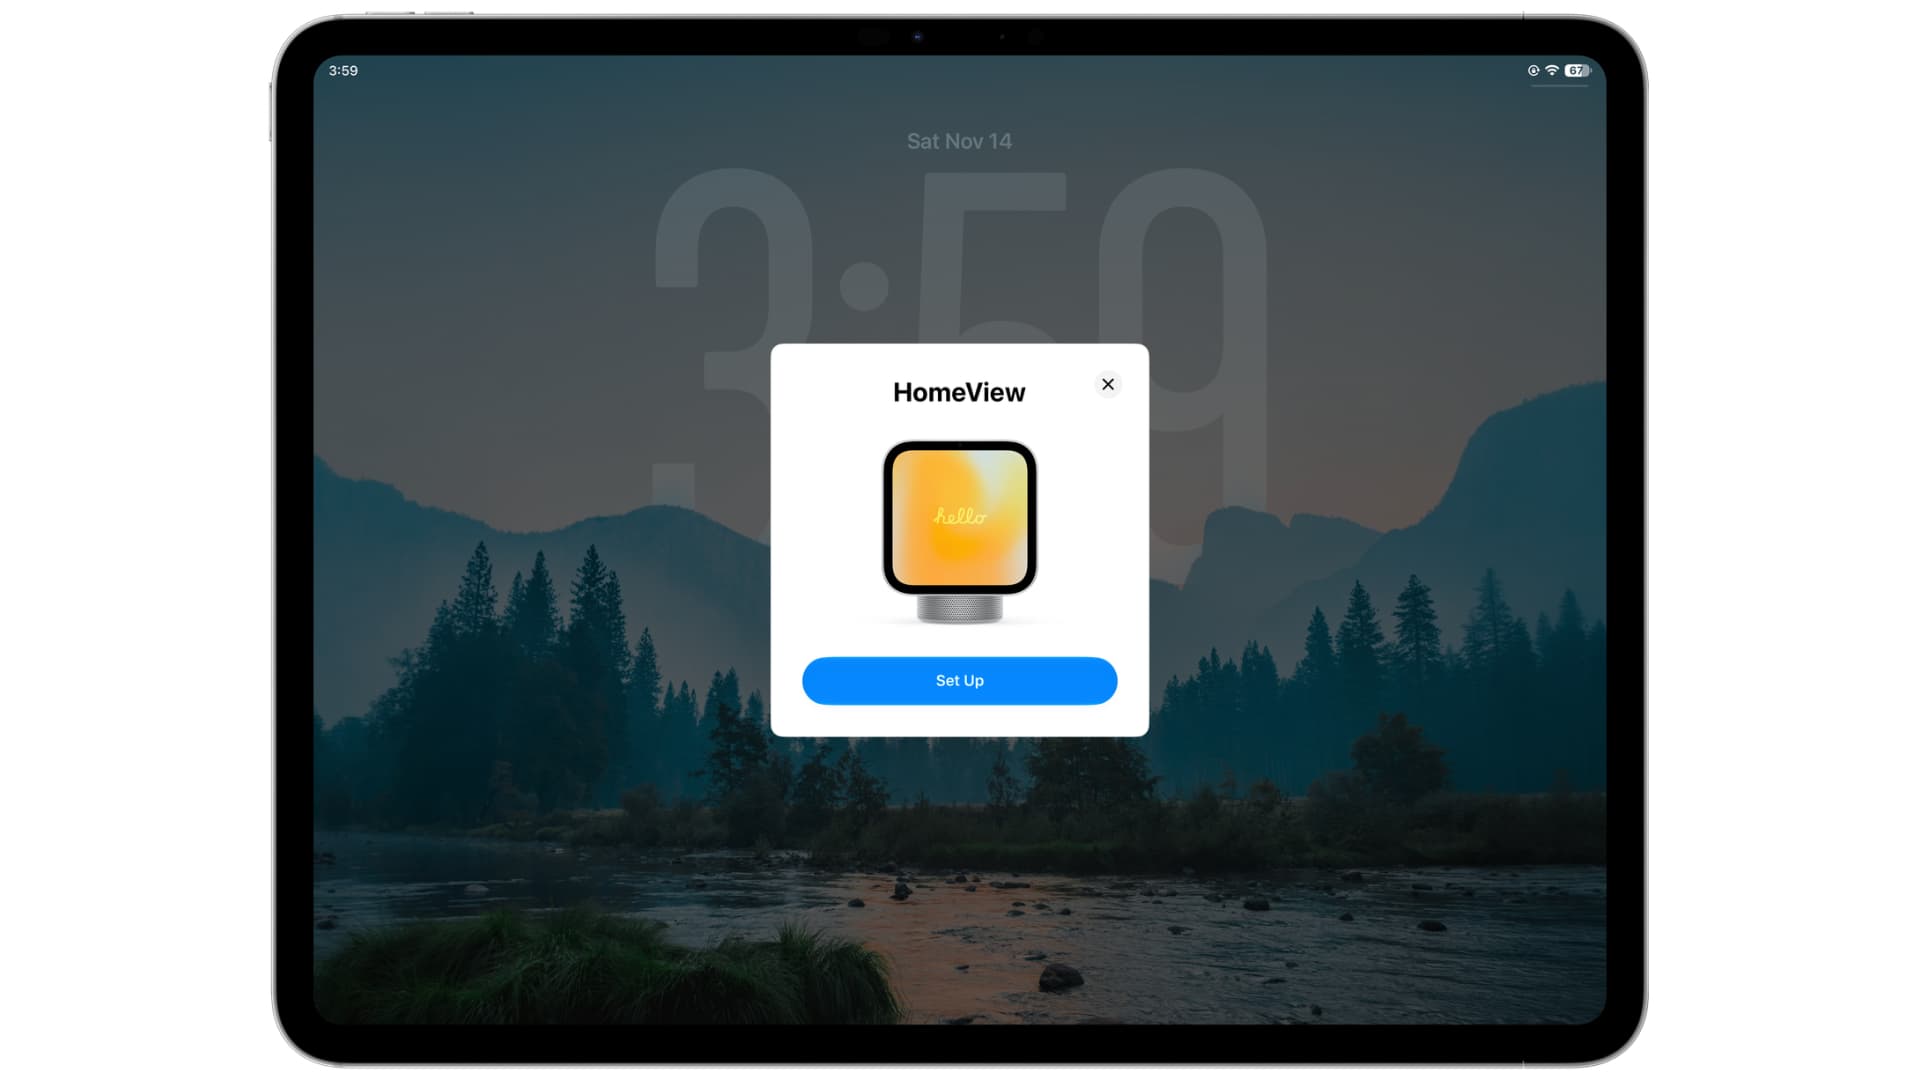
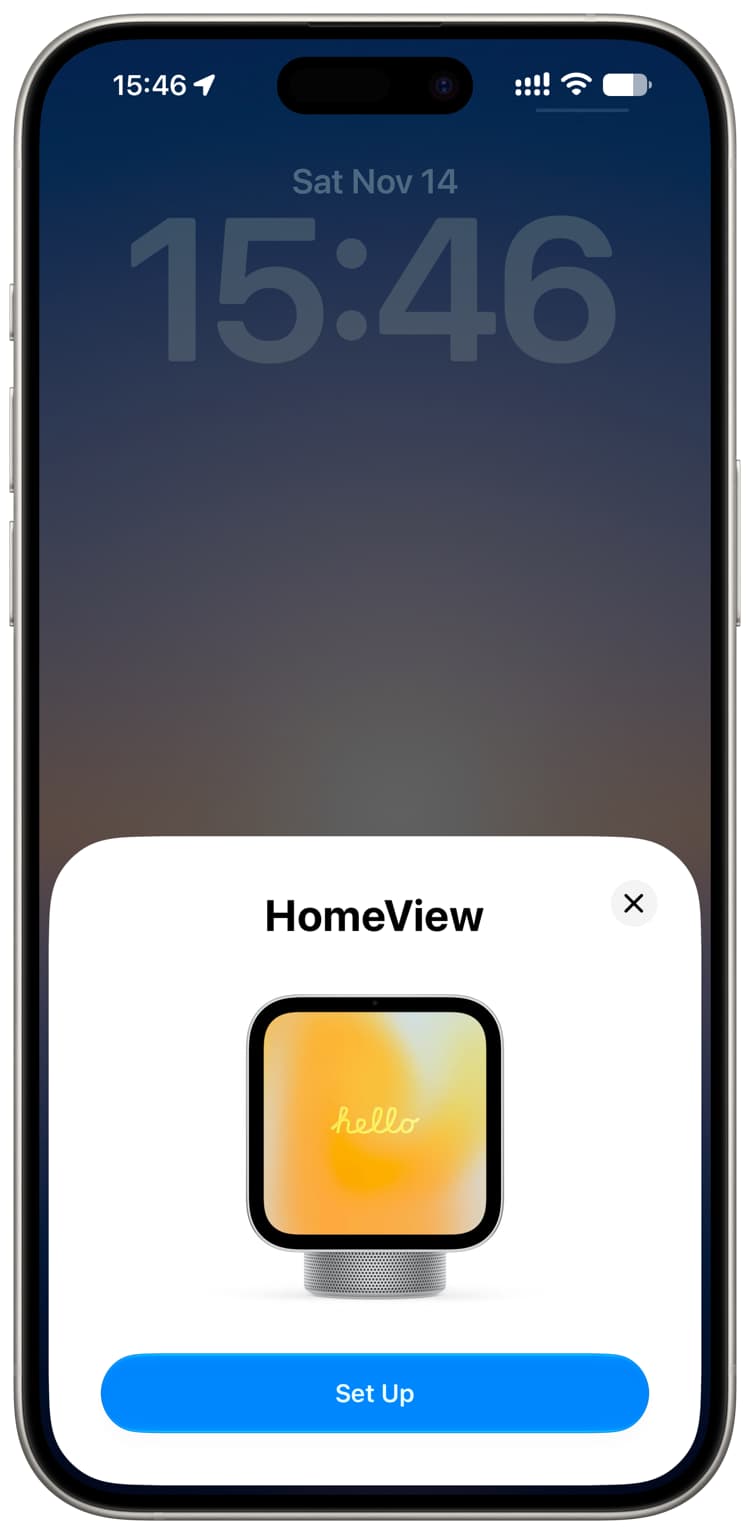
5) Wake up your iPhone or iPad, unlock it, and you should see the HomeView setup card on your iPhone or iPad screen. Tap Set Up.
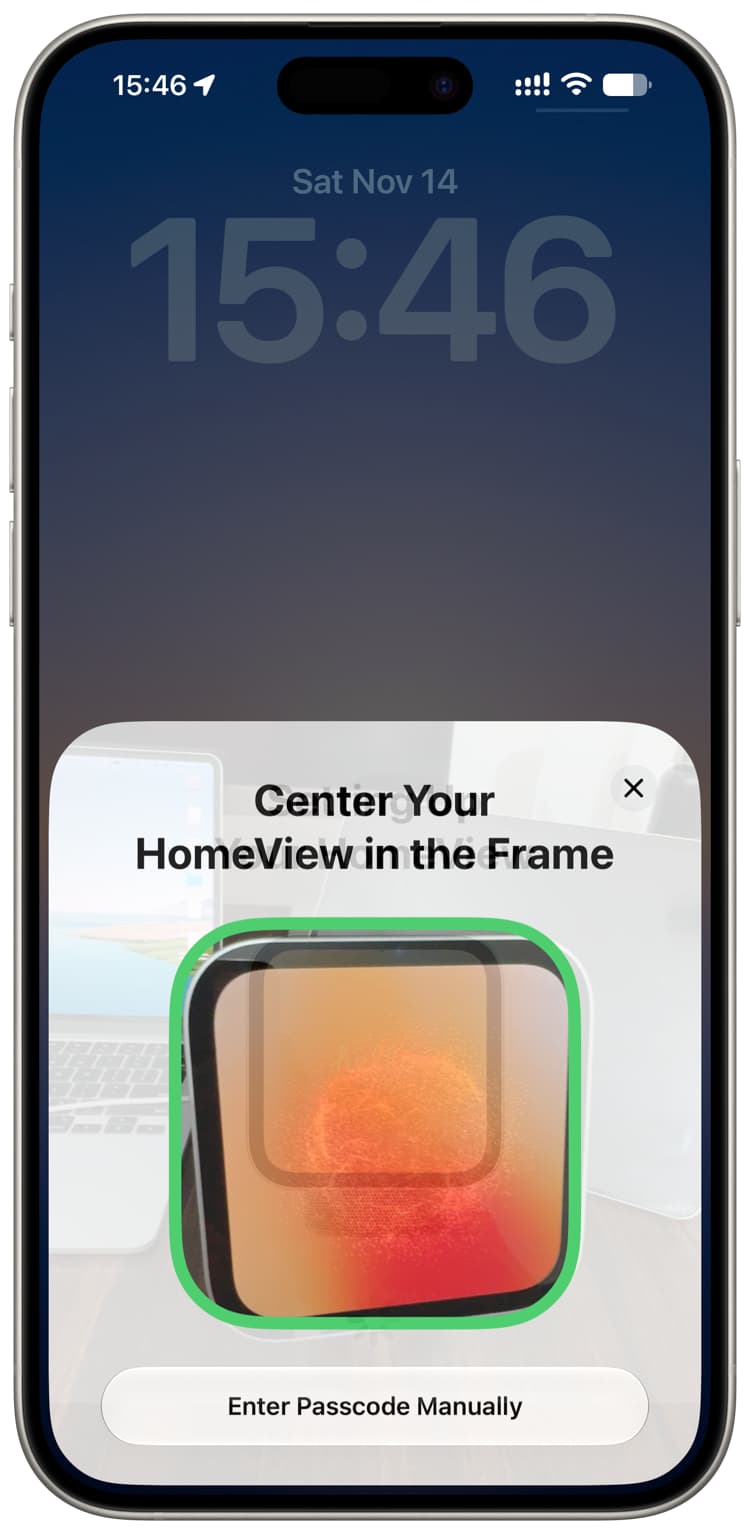
6) A small camera window will open on your iPhone or iPad. Use it to scan the dotted animation you see on the HomeView display.
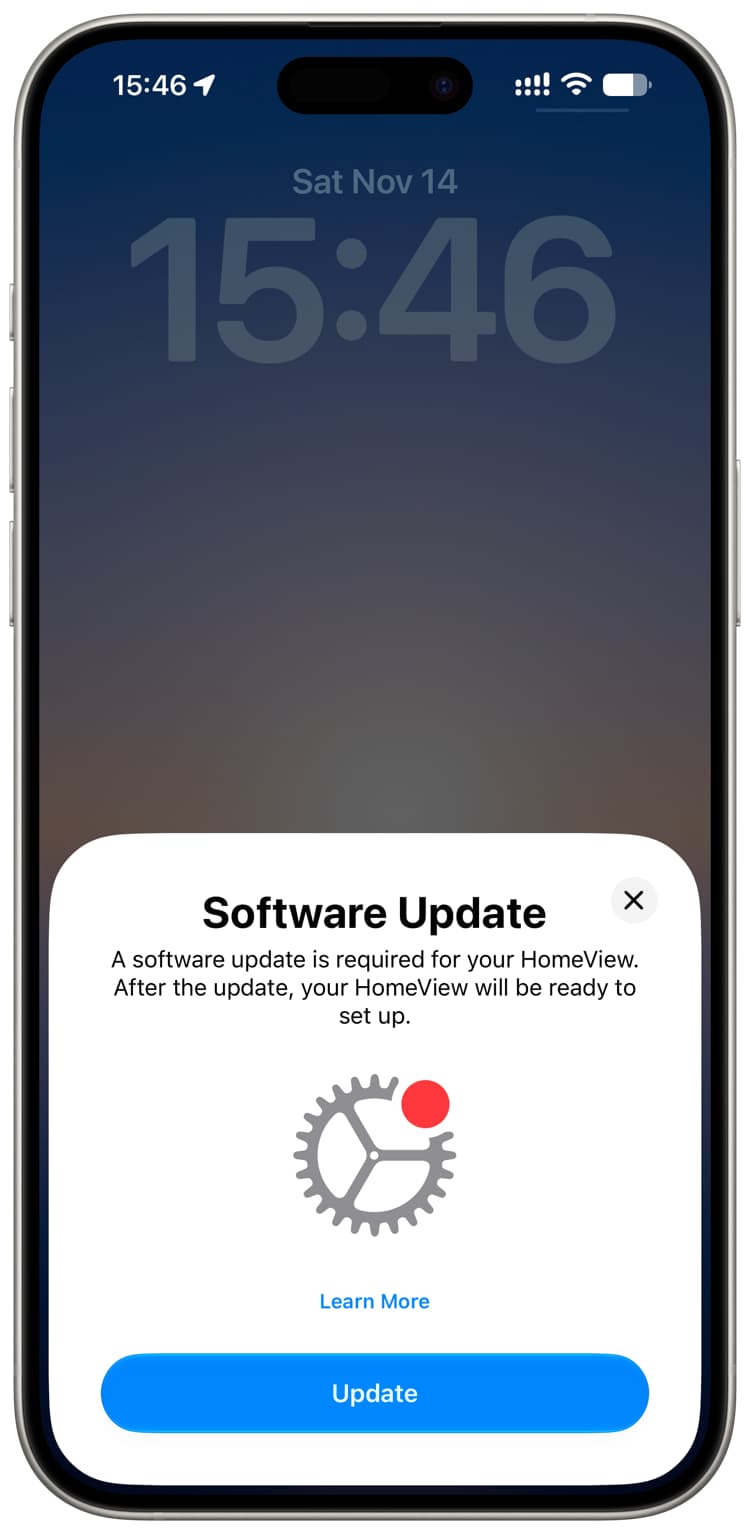
7) Next, you should see the Software Update screen. Tap Update so the latest Siri and software versions are installed. Old, out-of-the-box HomeView software is bad and can even fail at basic tasks like setting an alarm.
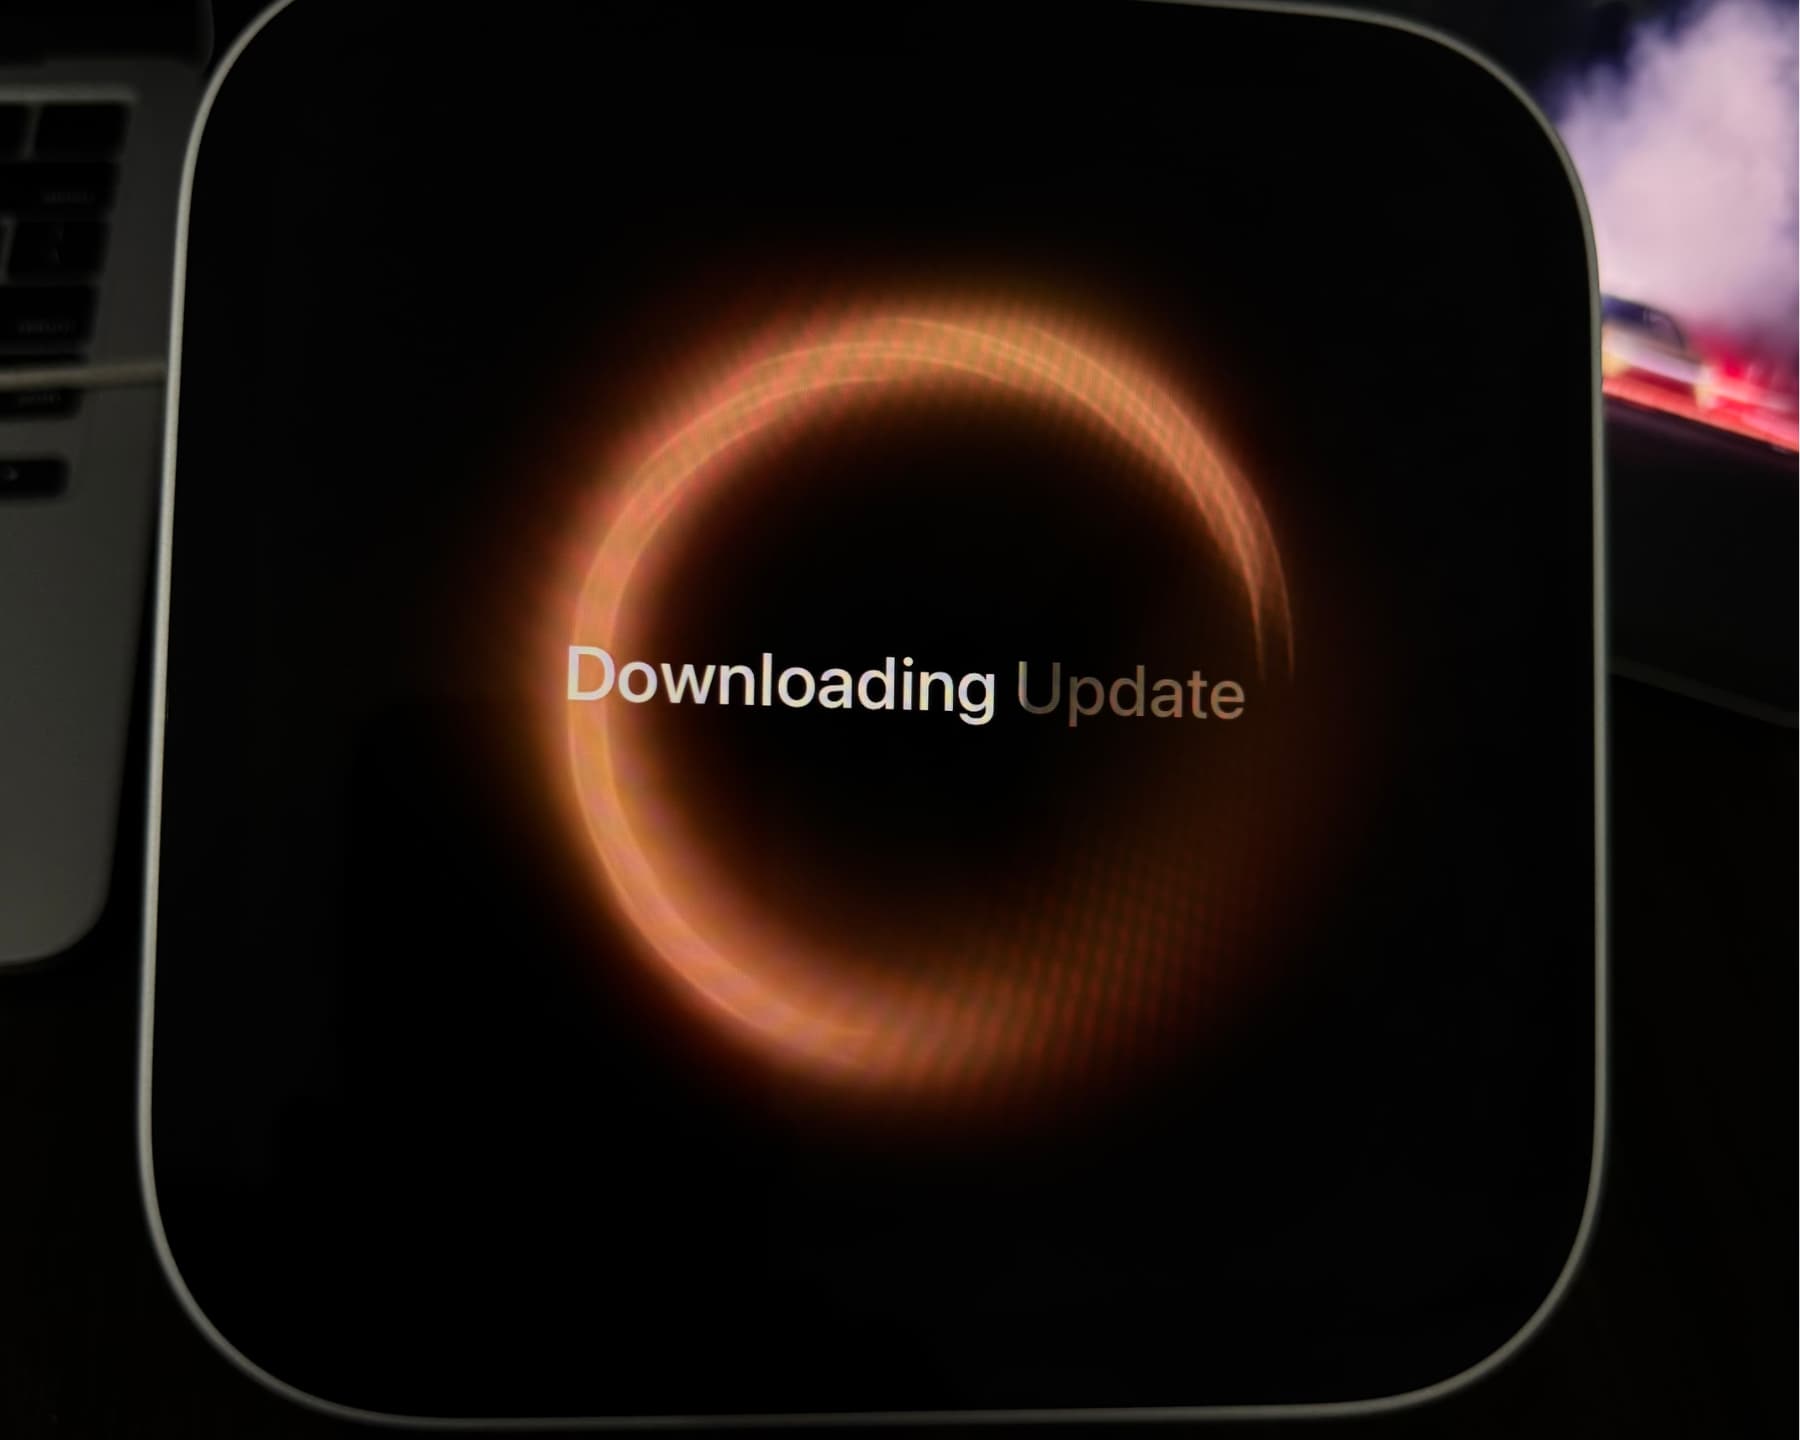
Your HomeView will start downloading, preparing, and installing the software. The text (Downloading Update or Preparing Update) color will change from gray to white to show the progress. Updating will take about 10 to 15 minutes.
8) Once the update is installed, tap Set Up again on the HomeView card on your iPhone. If this card doesn’t show, lock and unlock your iPhone or iPad.
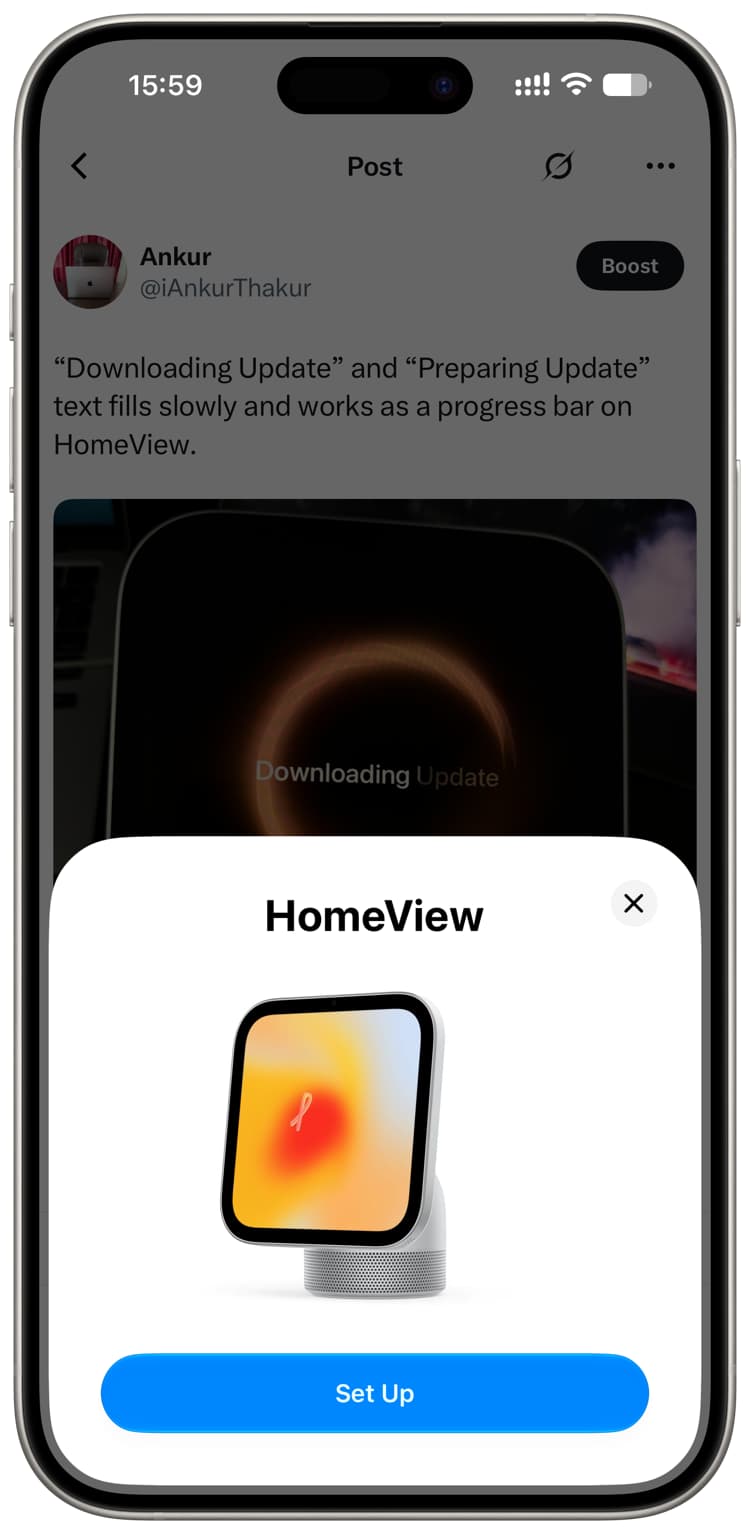
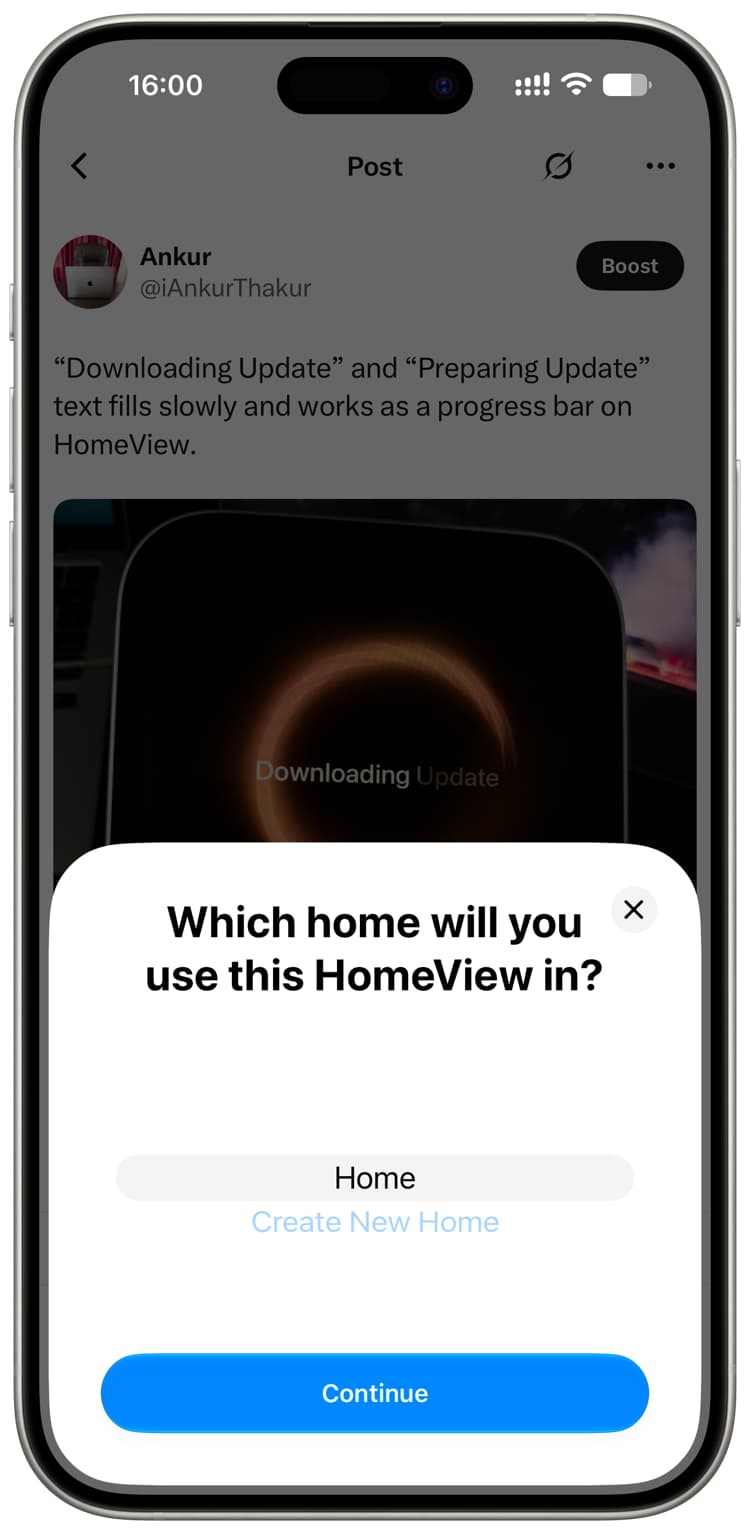
9) Select the Home where you will use it. You should see just one option here, unless you have two or more houses and have added them to the Home app.
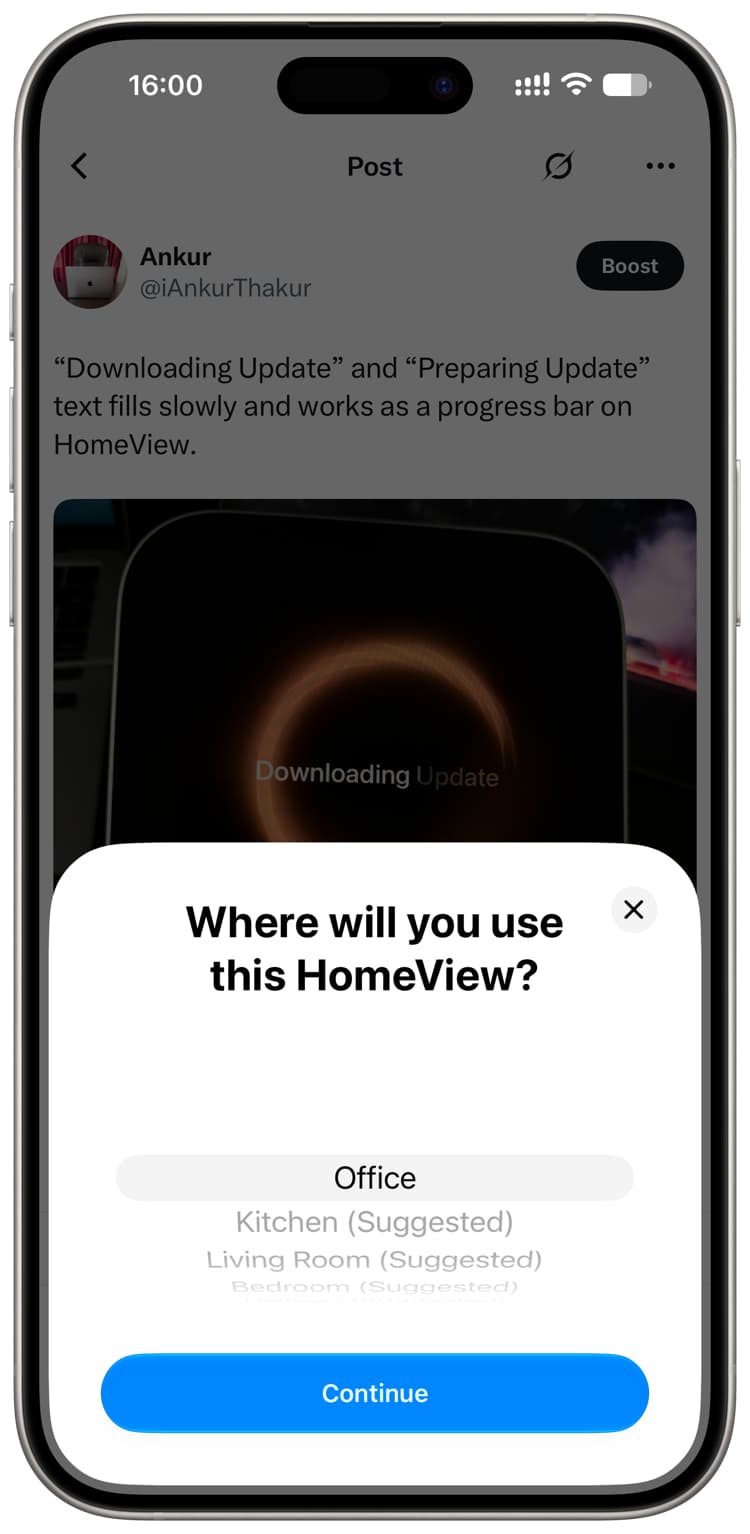
10) Next, select the room where you’ll use this HomeView device. Again, you should see the rooms you have created in the Home app, or you may see suggestions. Select one. This is similar to how you’re asked to select a room when setting up a HomePod, Apple TV, or other HomeKit smart device.
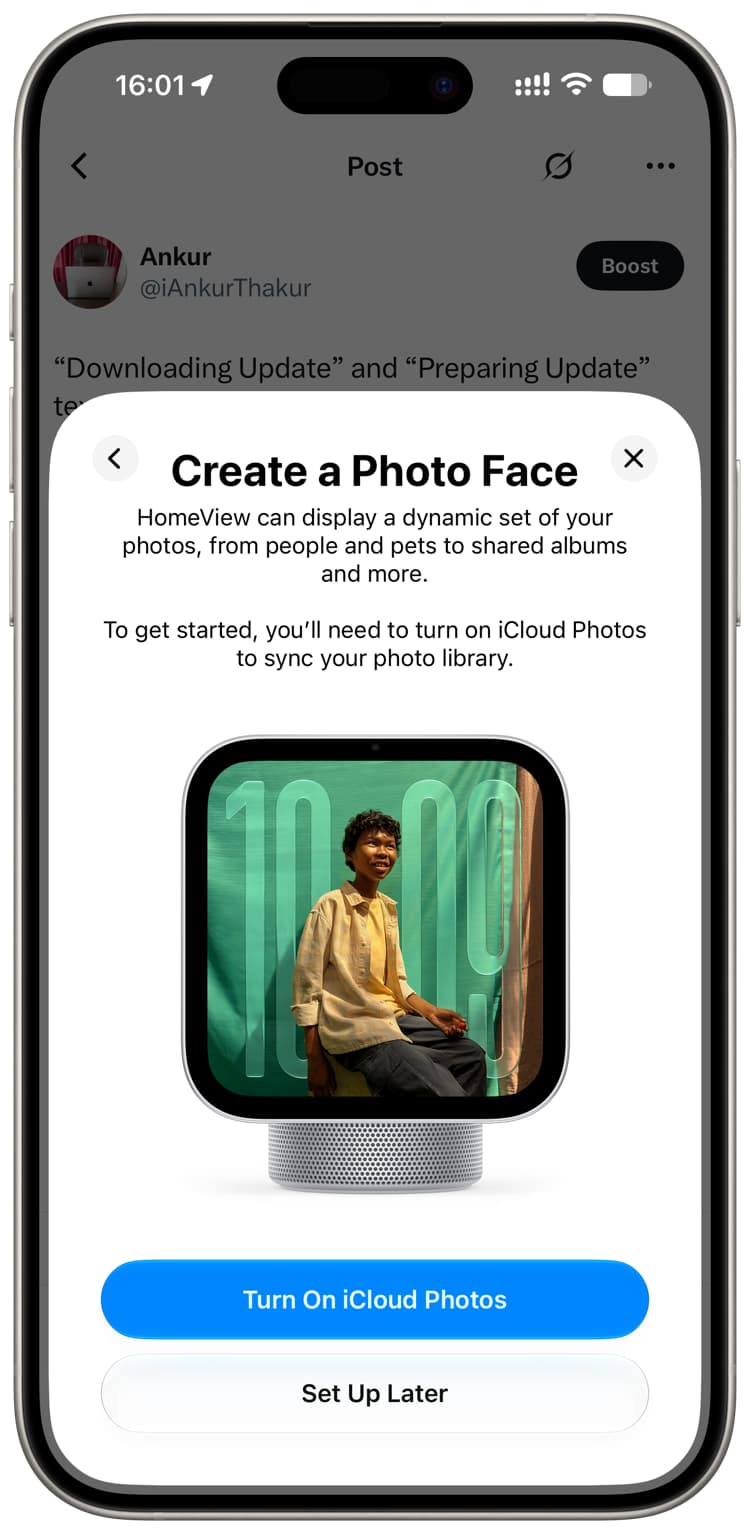
11) Go through the legal screens. You’ll then see the option to create a photo face using your iPhone or iPad Photos. This requires iCloud Photos to be enabled. You can do it now or set it up later.
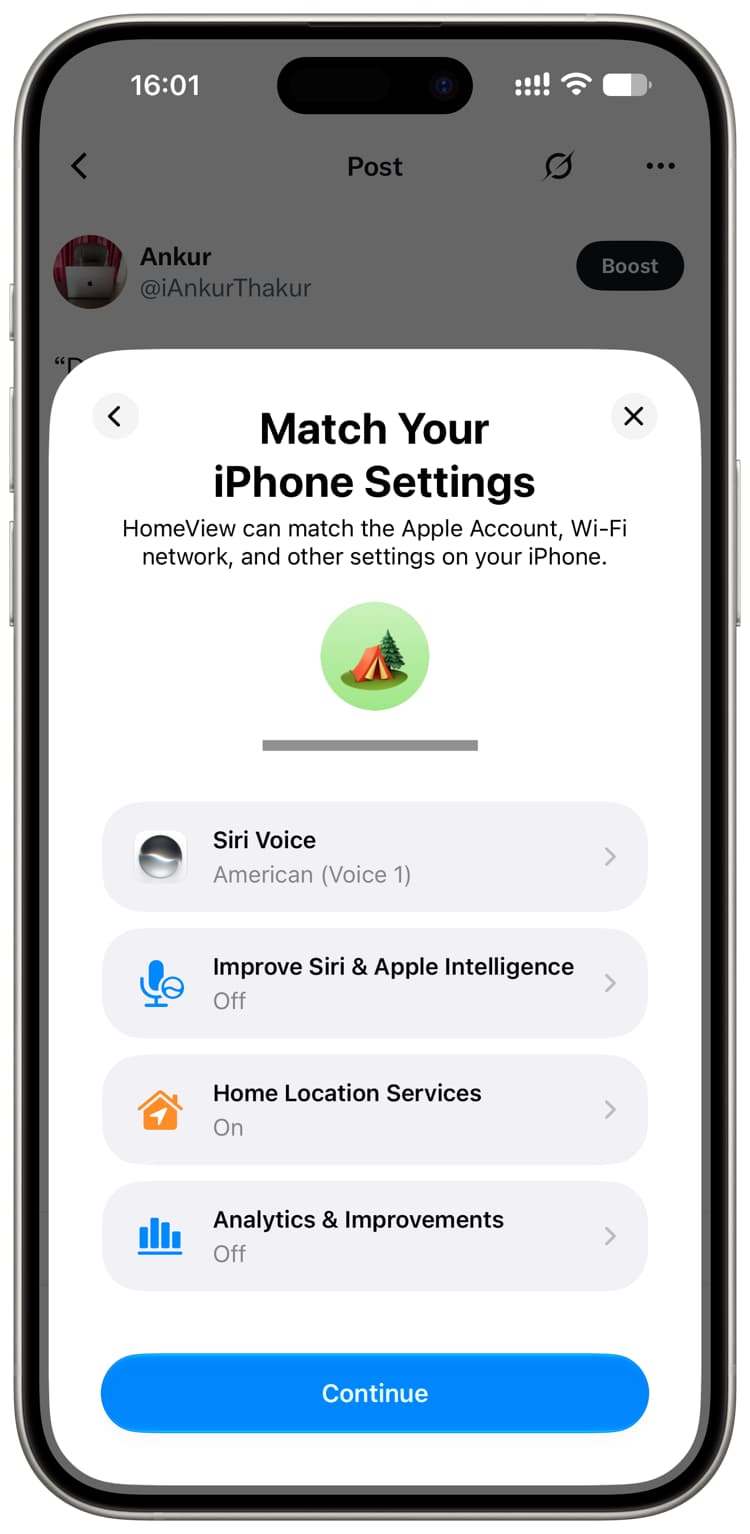
12) After that, you can match your HomeView Siri voice, location, and analytics data settings to be the same as your iPhone or iPad, or tap and customize them just for this new device.
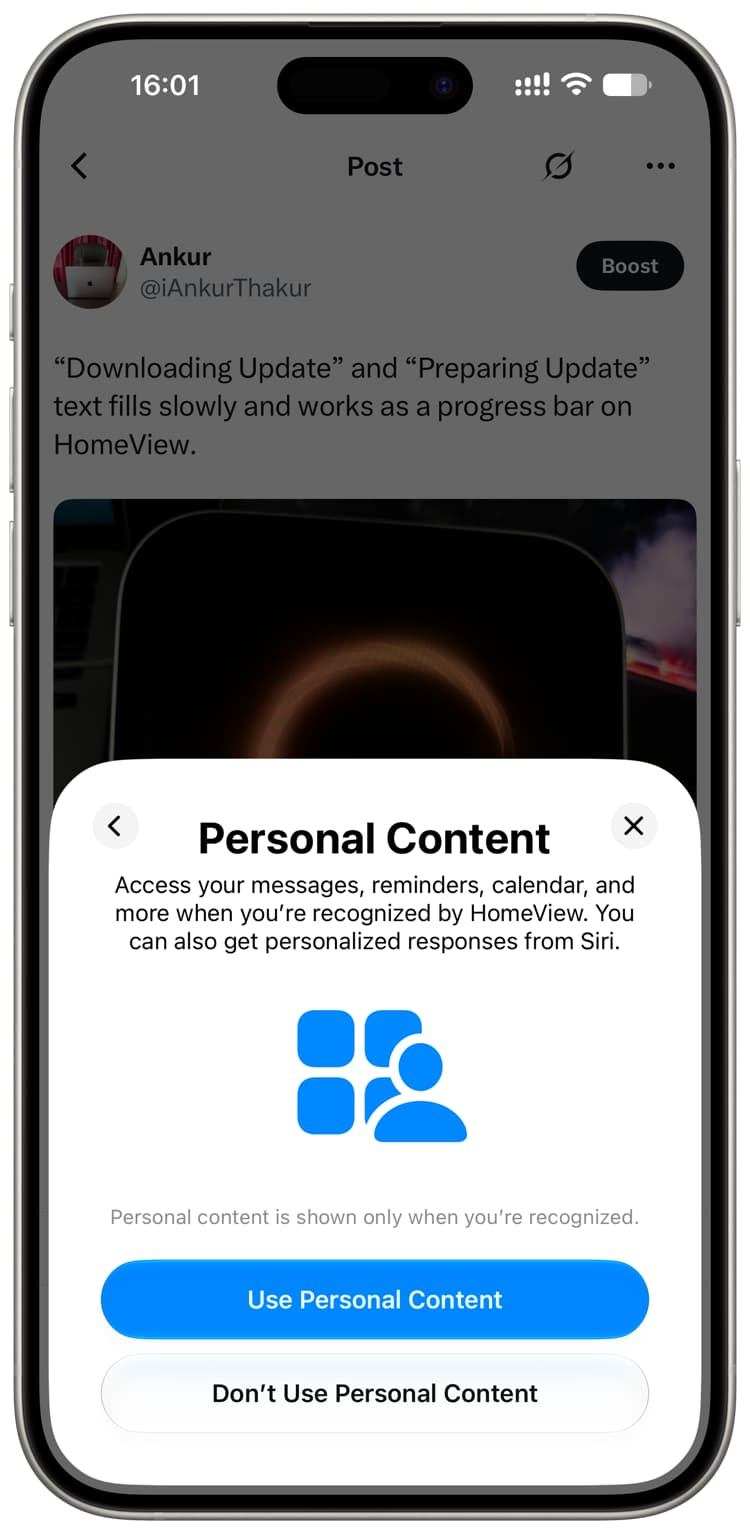
13) Then decide if you want your Personal Content like Messages, Reminders, Calendar events, etc., to show up on HomeView.
HomeView uses its front camera and your nearby device to recognize you. If it doesn’t recognize you, it blocks others from seeing your messages, reminders, etc. But in my test, I found that another user (my wife in my case) could see my Messages for about 2-3 seconds before it blocked the app, since I wasn’t in its camera frame and it couldn’t recognize my face. So tap “Use Personal Content” or “Don’t Use Personal Content,” depending on whether you want your personal stuff on this public device.
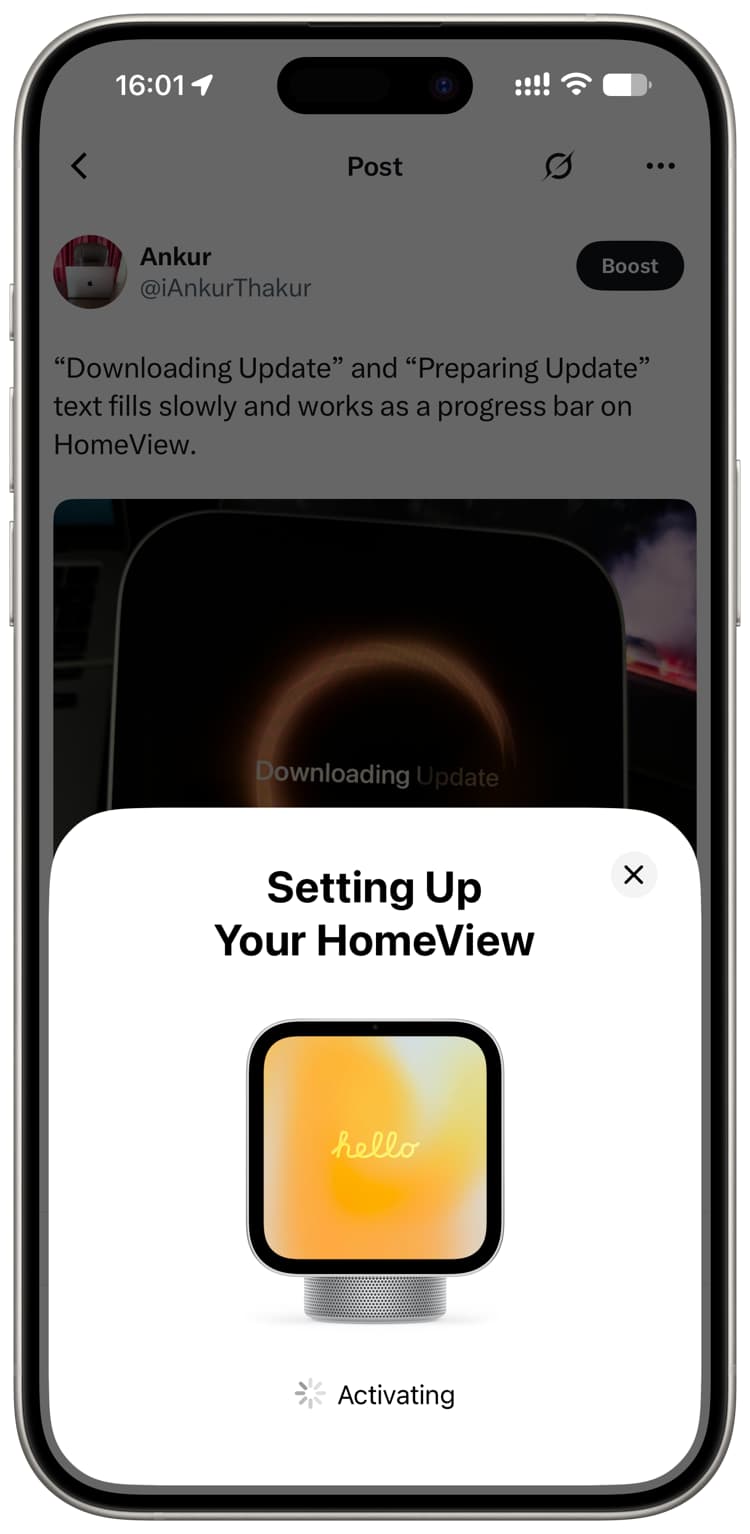
14) You’ll now see these statuses on your iOS device or/and HomeView screen: Activating > Setting Up Apple Account > Setting Up Apple Home > Setting Up Personalization > Finishing.
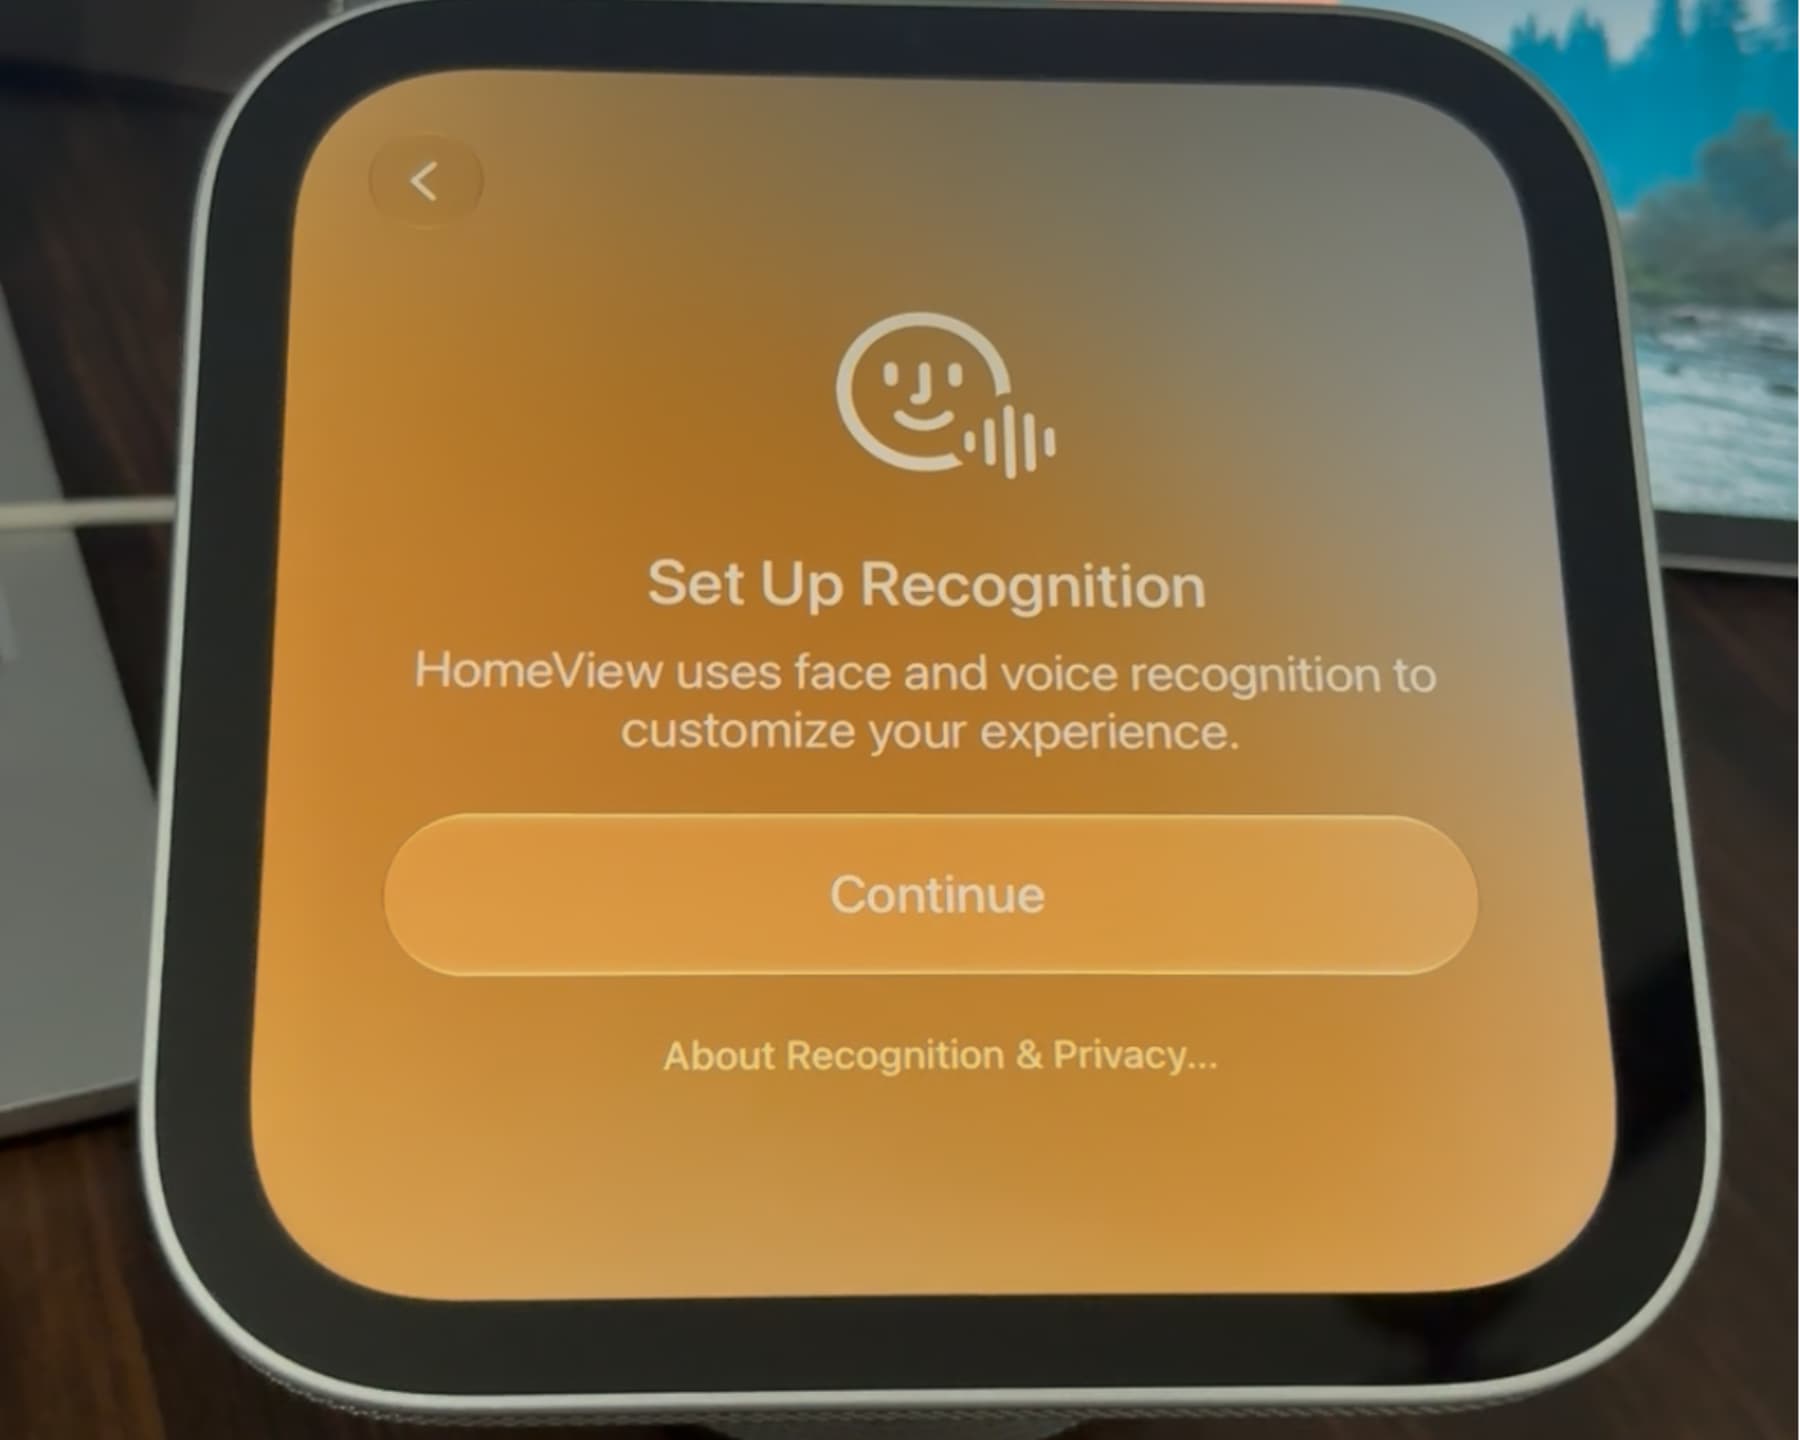
15) Once it has finished, set your iPhone or iPad aside and continue on your HomeView screen. You should see the voice and face recognition screen here. Tap Continue and say the Siri phrases shown on the screen to set up voice recognition.
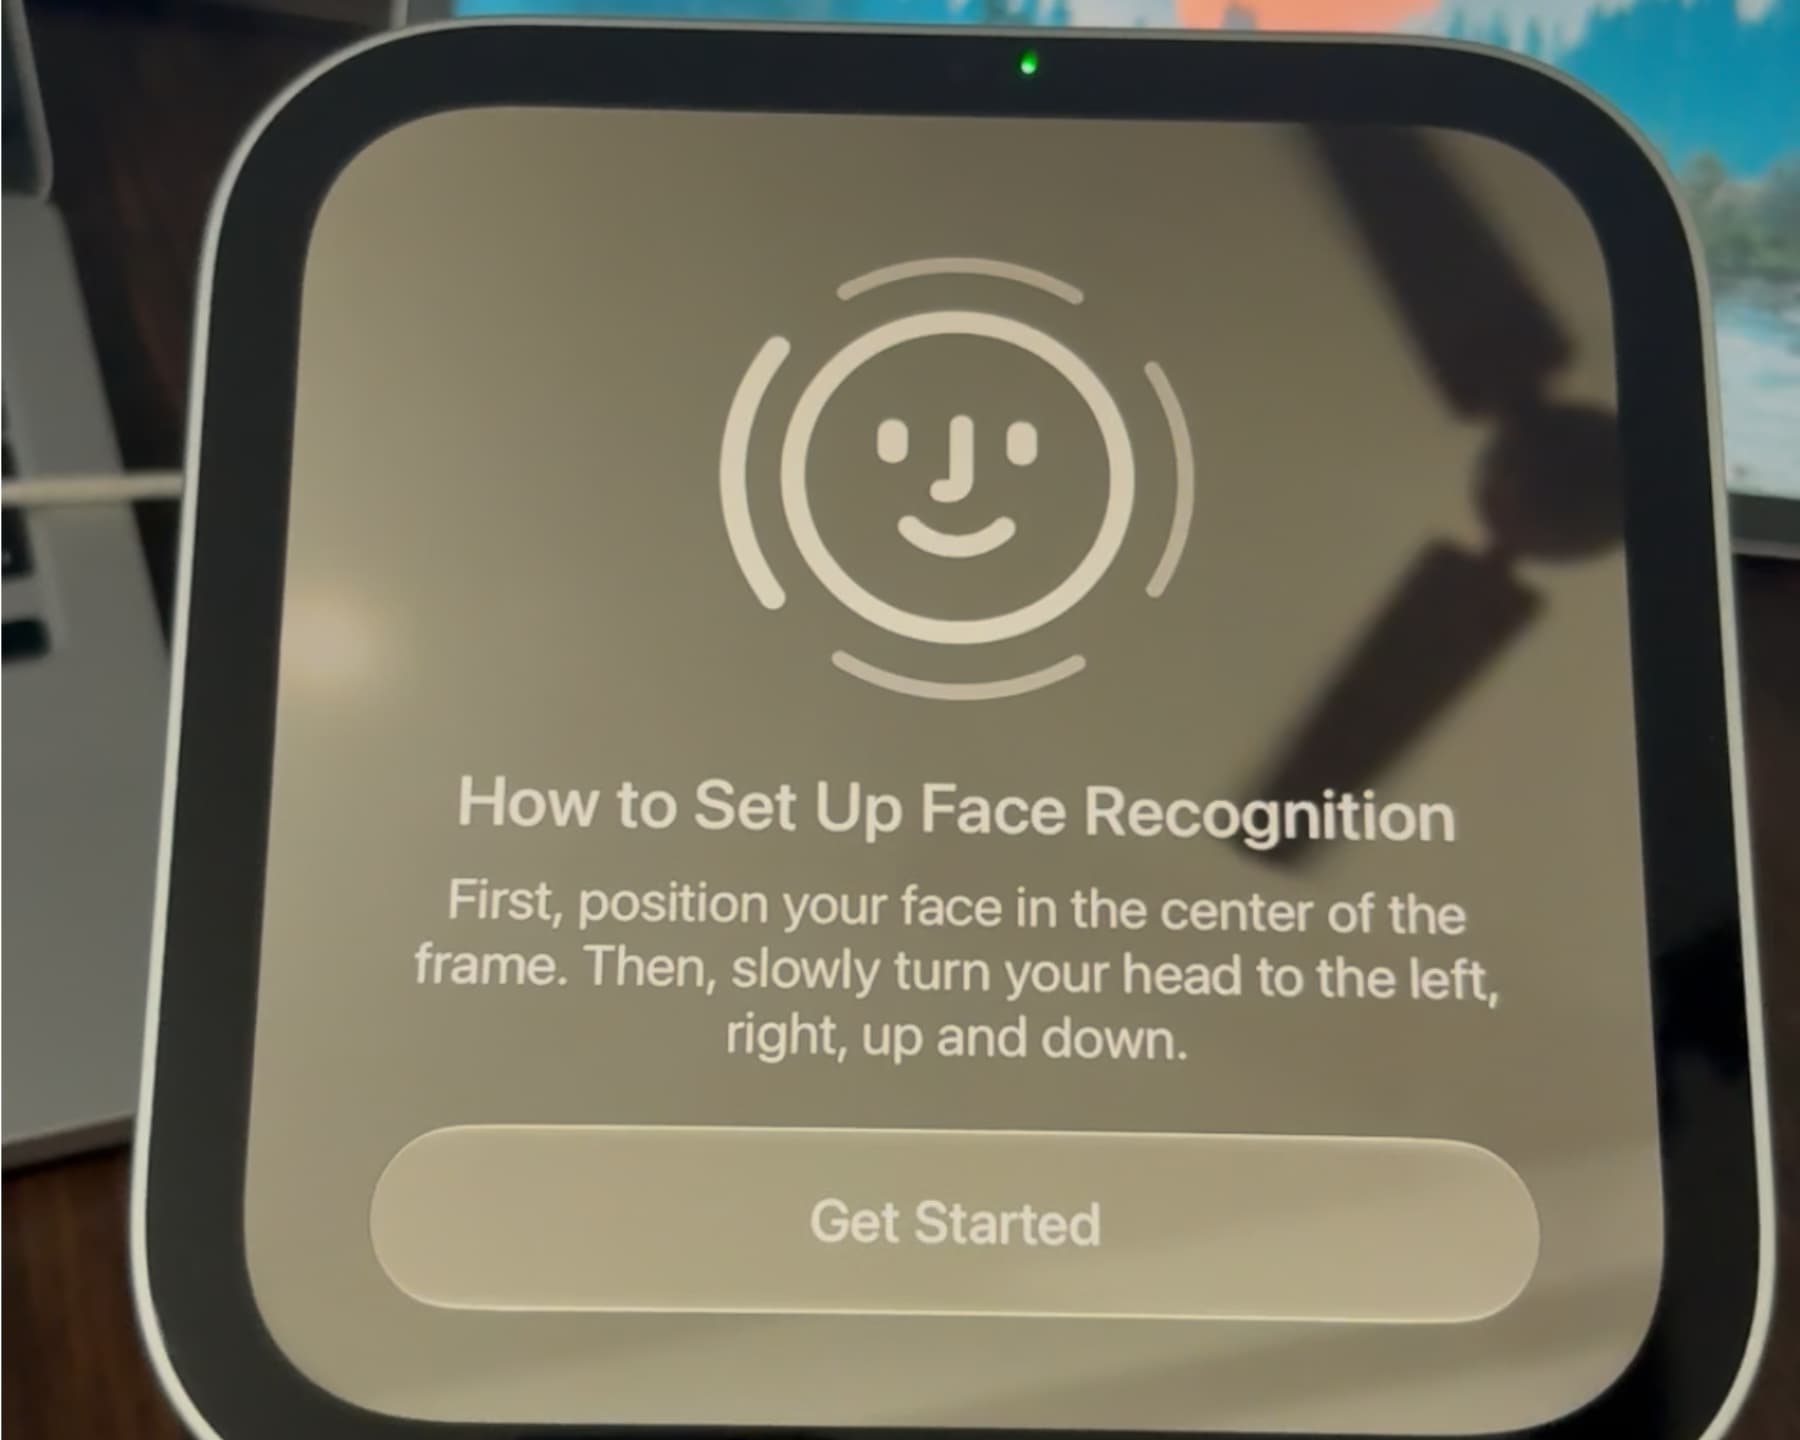
16) Then tap Get Started and set up face recognition. Position your face inside the frame on the HomeView screen and turn your head to all four sides until all four arcs turn from white to green.
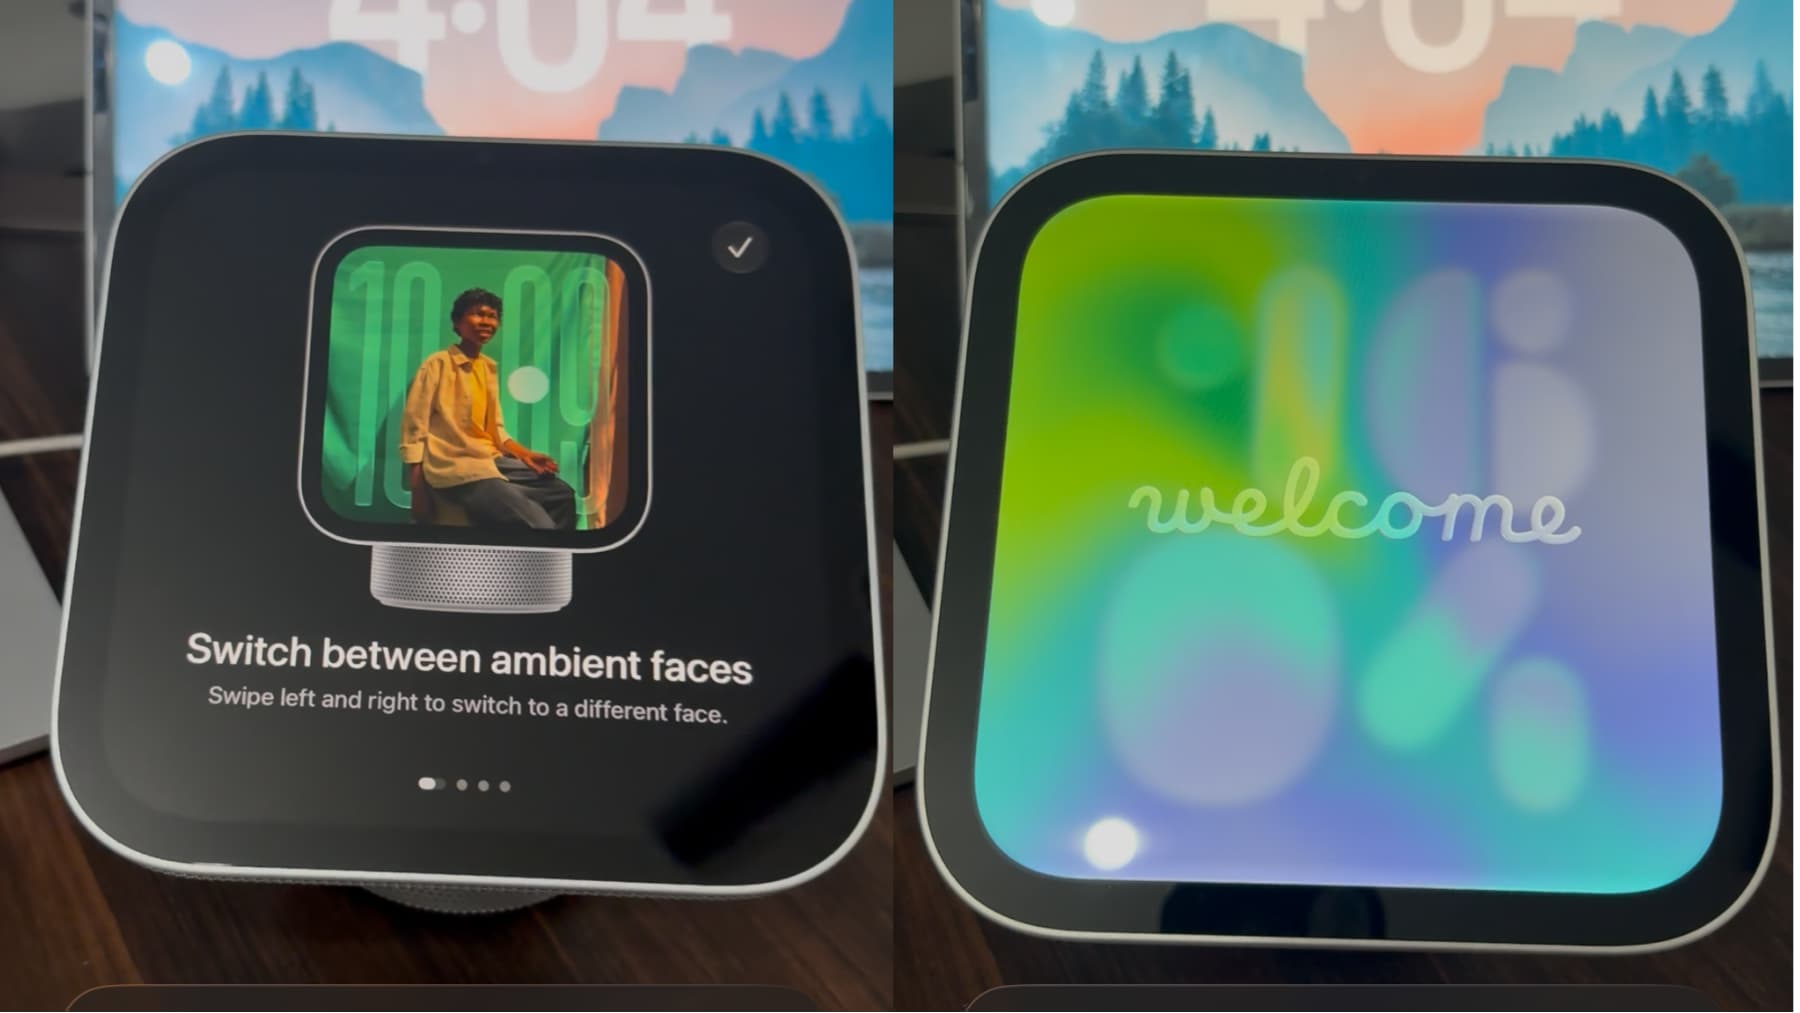
17) Go through the basic instructions splash screen informing you how to switch between faces, see your apps, open Control Center, and use Siri. Then tap the checkmark icon to finish setting up your HomeView.
You’ll now see the ‘welcome’ screen with the Liquid Glass clock interface. Swipe up to see your apps.
And this is how you can set up your HomeView. If you run into trouble, restart your iPhone or iPad, then restart the HomeView device using the main power switch, and start over.
Many more HomeView tutorials are coming soon. Connect with iDB on X and Facebook to see them when they are published.
Also check out: All about the new Apple HomeView smart home device