iOS 16 is now available for all iPhone users who have an iPhone 8 or later. In most cases, the update should download and install within minutes.
However, when updating an iPhone to iOS 16 or one of its incremental versions, such as iOS 16.0.2 or 16.1, you may face problems such as your iPhone staying stuck on the Apple logo, or the screen turning black/blue/white with no progress bar. It’s also possible that your iPhone keeps rebooting more than it should, ultimately leading to a failed iOS 16 update.
To get you out of these situations, PhoneRescue by iMobie can be a helpful companion! It’s a piece of software for your Mac and Windows PC that can fix most iOS 16 update issues.
So, if you’re unable to update your iPhone from iOS 15 to iOS 16 or iOS 16 to one of its future versions, read along and learn how to fix this.

How to fix iOS 16 upgrade issues on iPhone using PhoneRescue
In the steps below, you will see how to use the Device Rescuer option inside PhoneRescue to get you out of the following situations:
- Your iPhone is unable to install iOS 16.
- iOS update stays stuck for a very long time.
- While installing the iOS 16 update, your iPhone isn’t going past the Apple boot-up logo and is showing it indefinitely.
- Your iPhone is constantly turning off and turning since a long time, but it isn’t finishing the iOS 16 installation.
- Your iPhone is stuck in Recovery Mode or DFU Mode.
- For a long time, all you see on the iOS update settings screen is “Verifying Update” or one of its companion messages like “Preparing Update.”
Standard vs. Advanced Mode in PhoneRescue
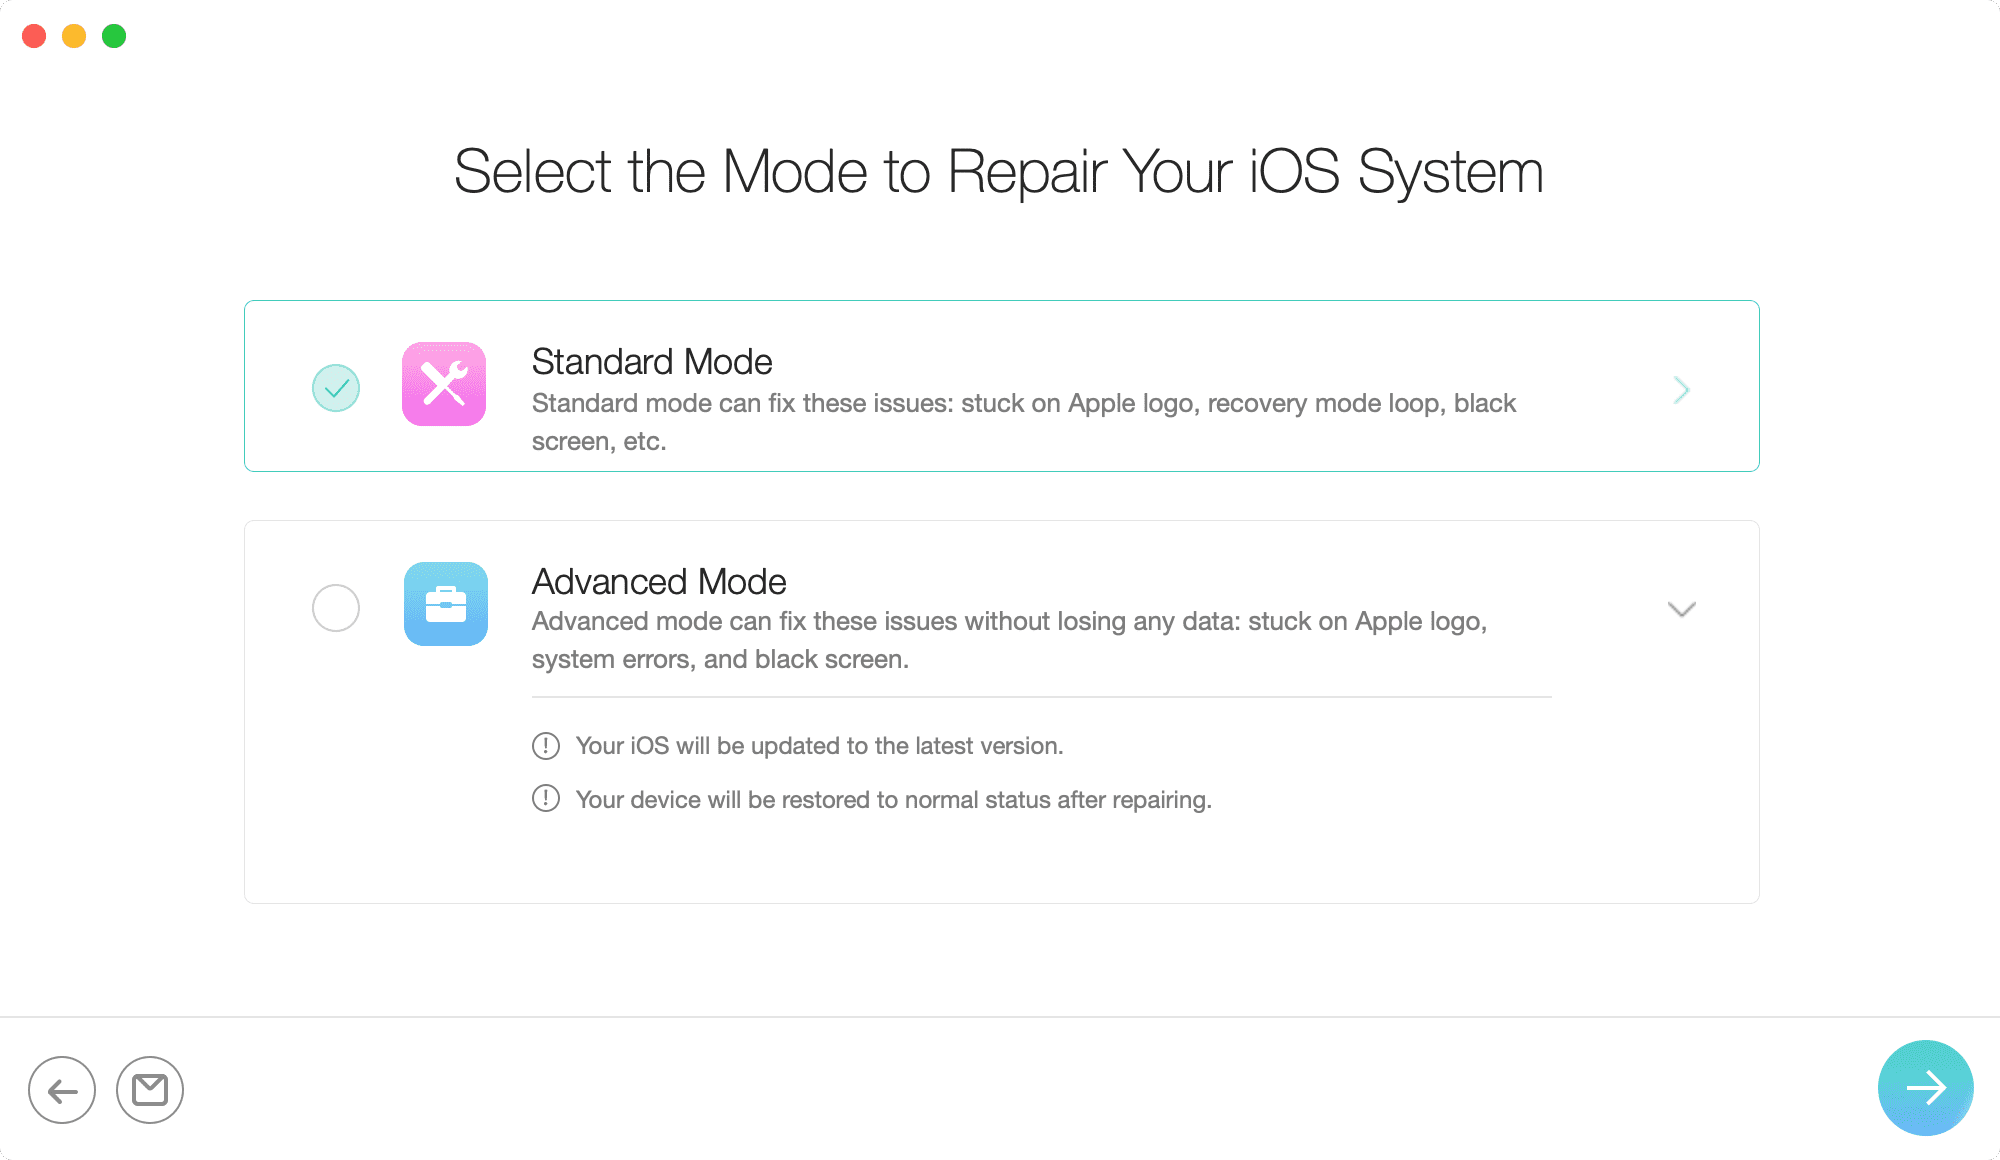
PhoneRescue has two modes called Standard Mode and Advanced Mode.
Using Standard Mode, some bigger iOS problems can be successfully fixed, but this will erase all data on your iPhone. If you have a backup, you can restore that later. And in case you don’t, you will have to set up your iPhone as new!
Advanced Mode, however, fixes your update issues without erasing the current data on your iPhone. So, in most cases, make sure you choose this option, and if it doesn’t make things better, you can decide if you want to go ahead with Standard Mode or not.
How to fix failing iOS updates on your iPhone
1) Download PhoneRescue and install it on your Mac or PC. Once that’s done, launch the app.
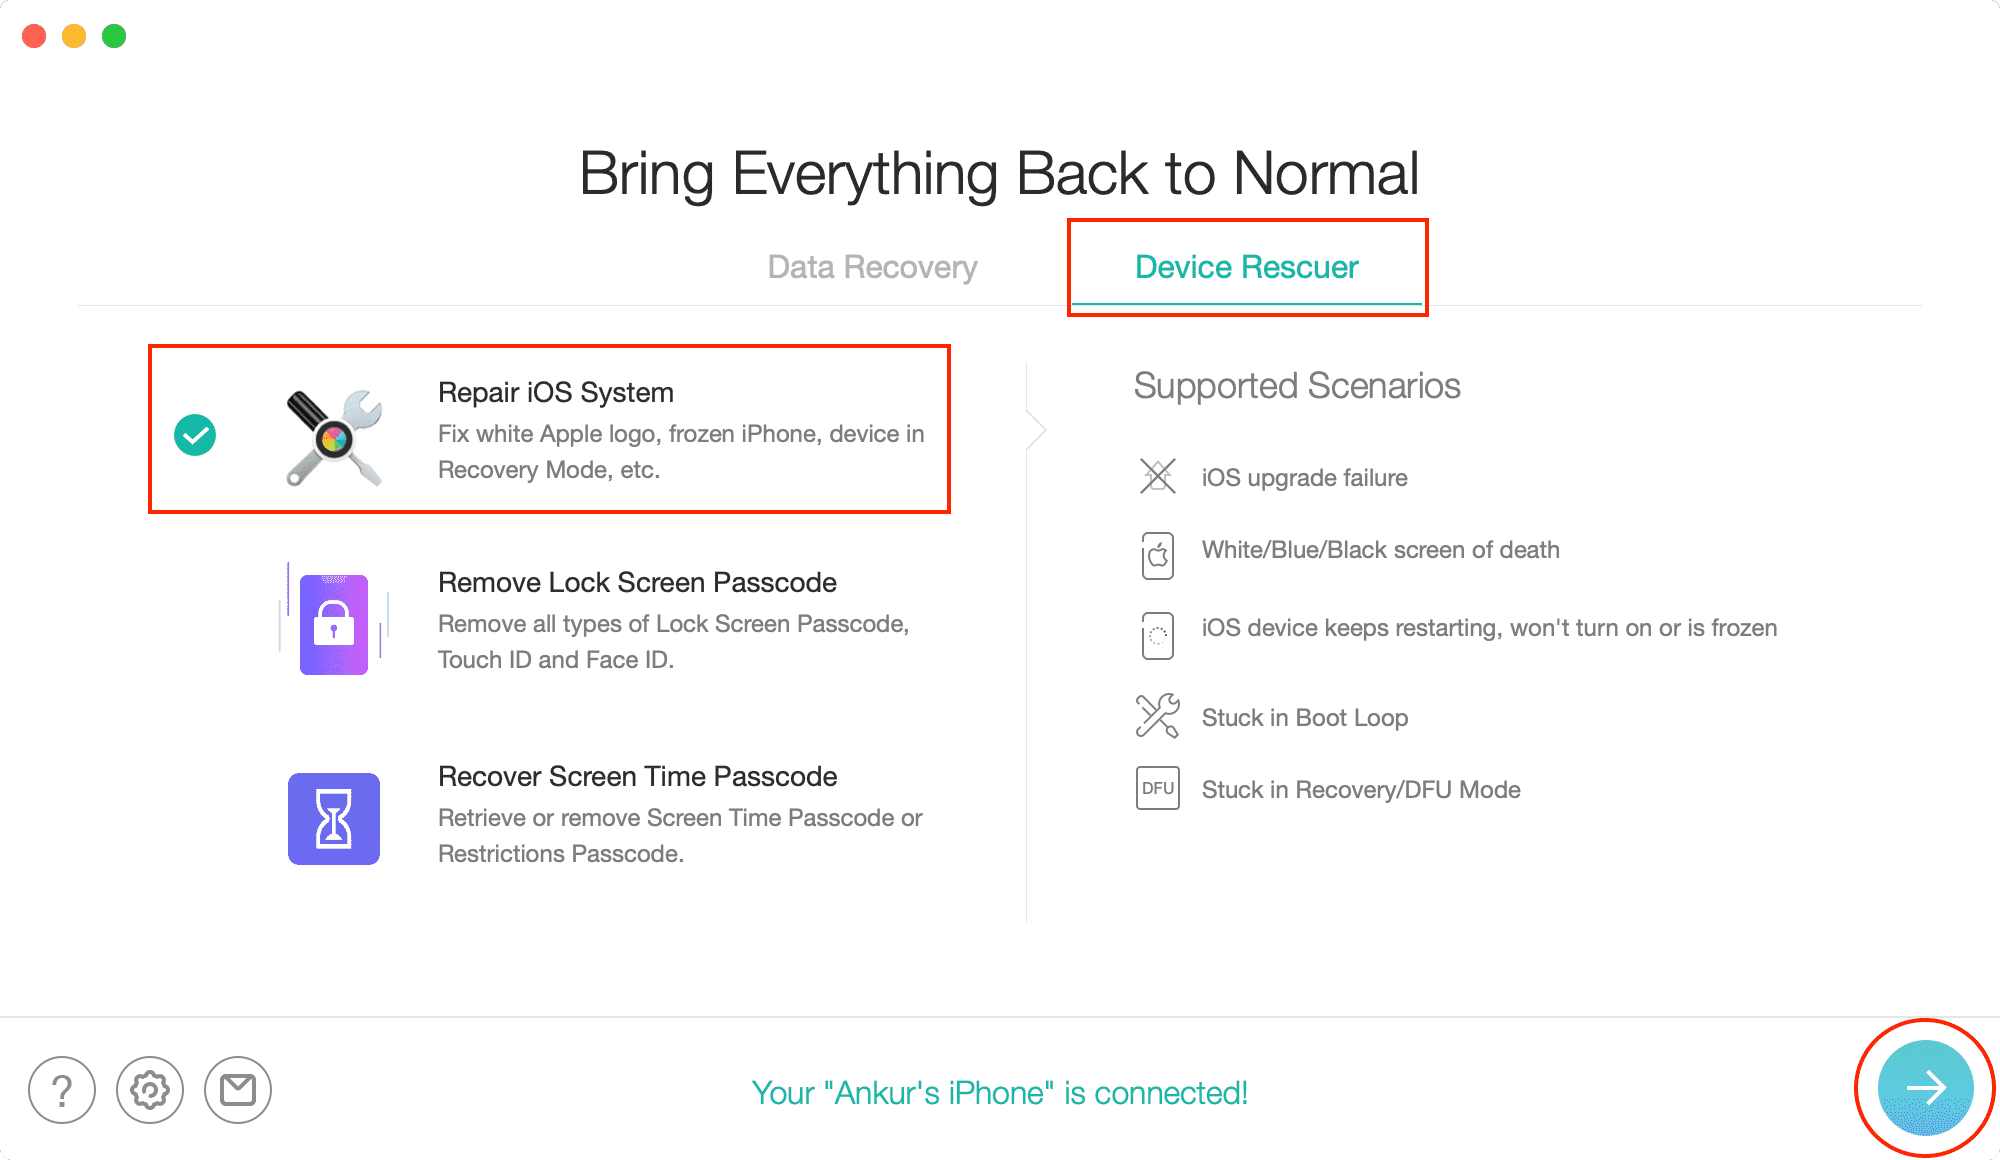
2) Inside PhoneRescue, click Device Rescuer from the top and select Repair iOS System.
3) Next, connect your iPhone to your Mac or PC using an appropriate Lightning cable.
4) Click the arrow in the bottom right to go to the next screen.
5) On the “Select the Mode to Repair Your iOS System” screen, choose Advanced Mode or Standard More. Make sure you go through the description of each mode there.
6) Now put your iPhone in Recovery Mode. The steps to enter Recovery Mode for iPhone 8 and later, including iPhone 14, are the same, which is:
- Press the volume up button and immediately release it,
- Next, press the volume down button and immediately release it,
- Finally, press and hold the right Side button until you see the Recovery Mode screen (a cable pointing towards a MacBook).
7) After following the above steps, select your iPhone model and click Download. PhoneRescue will fetch your iPhone’s firmware over the internet. So, make sure you let the process finish. To accelerate this, consider turning off background activities on your computer.
8) Once the download is completed, PhoneRescue will automatically begin its repair work and fix the ongoing problems plaguing your iPhone. While that happens, make sure not to unplug your iPhone from your computer accidentally. When PhoneRescue is done fixing your device, it will show a confirmation message on its screen. You should now be able to enjoy your updated iPhone.
PhoneRescue can do more than that…

I hope by now your iOS 16 update problems are successfully addressed. But that’s not all. PhoneRescue can do more than that, and these are some of the highlights you should know about:
- It can help remove iPhone’s Lock Screen passcode. So if you forgot your device passcode or locked it after entering the wrong passcode multiple times, PhoneRescue should be able to help.
- Similarly, you can use it to recover your Screen Time passcode.
- If you exit out of the Device Rescuer section, you have the Data Recovery option. PhoneRescue can help you recover data from your iPhone or iPad, backup file, and even iCloud.
When you click on any of the options on the right side of the PhoneRescue screen, you will see the supported scenarios in the left column. Go through them to know how this tool can help you.
Get PhoneRescue
PhoneRescue is available for free with a few restrictions. For example, you can’t repair the iOS system on the free version of the app. To unlock everything and make the most, you can choose from one of these pro plans:
- 3-month plan: $45.99
- 1-year plan: $49.99
- Lifetime plan: $69.99
You can use the above plans on one Mac. But there is no limit on the number of iOS devices you can use PhoneRescue with.