Learn how to rotate your Mac’s screen upside down (180°) or vertically (90° or 270°) to optimize screen space for coding, reading, and designing with improved visibility.
If you work in app development, design, run presentations, or read a lot of text, long web pages, articles, and documents, it could at times be practical to rotate your screen to get a better viewing angle. Using a vertical monitor may also come in handy when you don’t have enough room on your desk, as a monitor in landscape mode takes more space than one placed vertically.
Important: The option to rotate the Mac’s screen is not available on all models. For example, my iDB colleagues and I couldn’t find it on our MacBooks with Intel and Apple silicon chips, even after connecting a monitor to it. However, I can rotate the screen on my Mac mini with an M2 chip.
Rotate your Mac screen
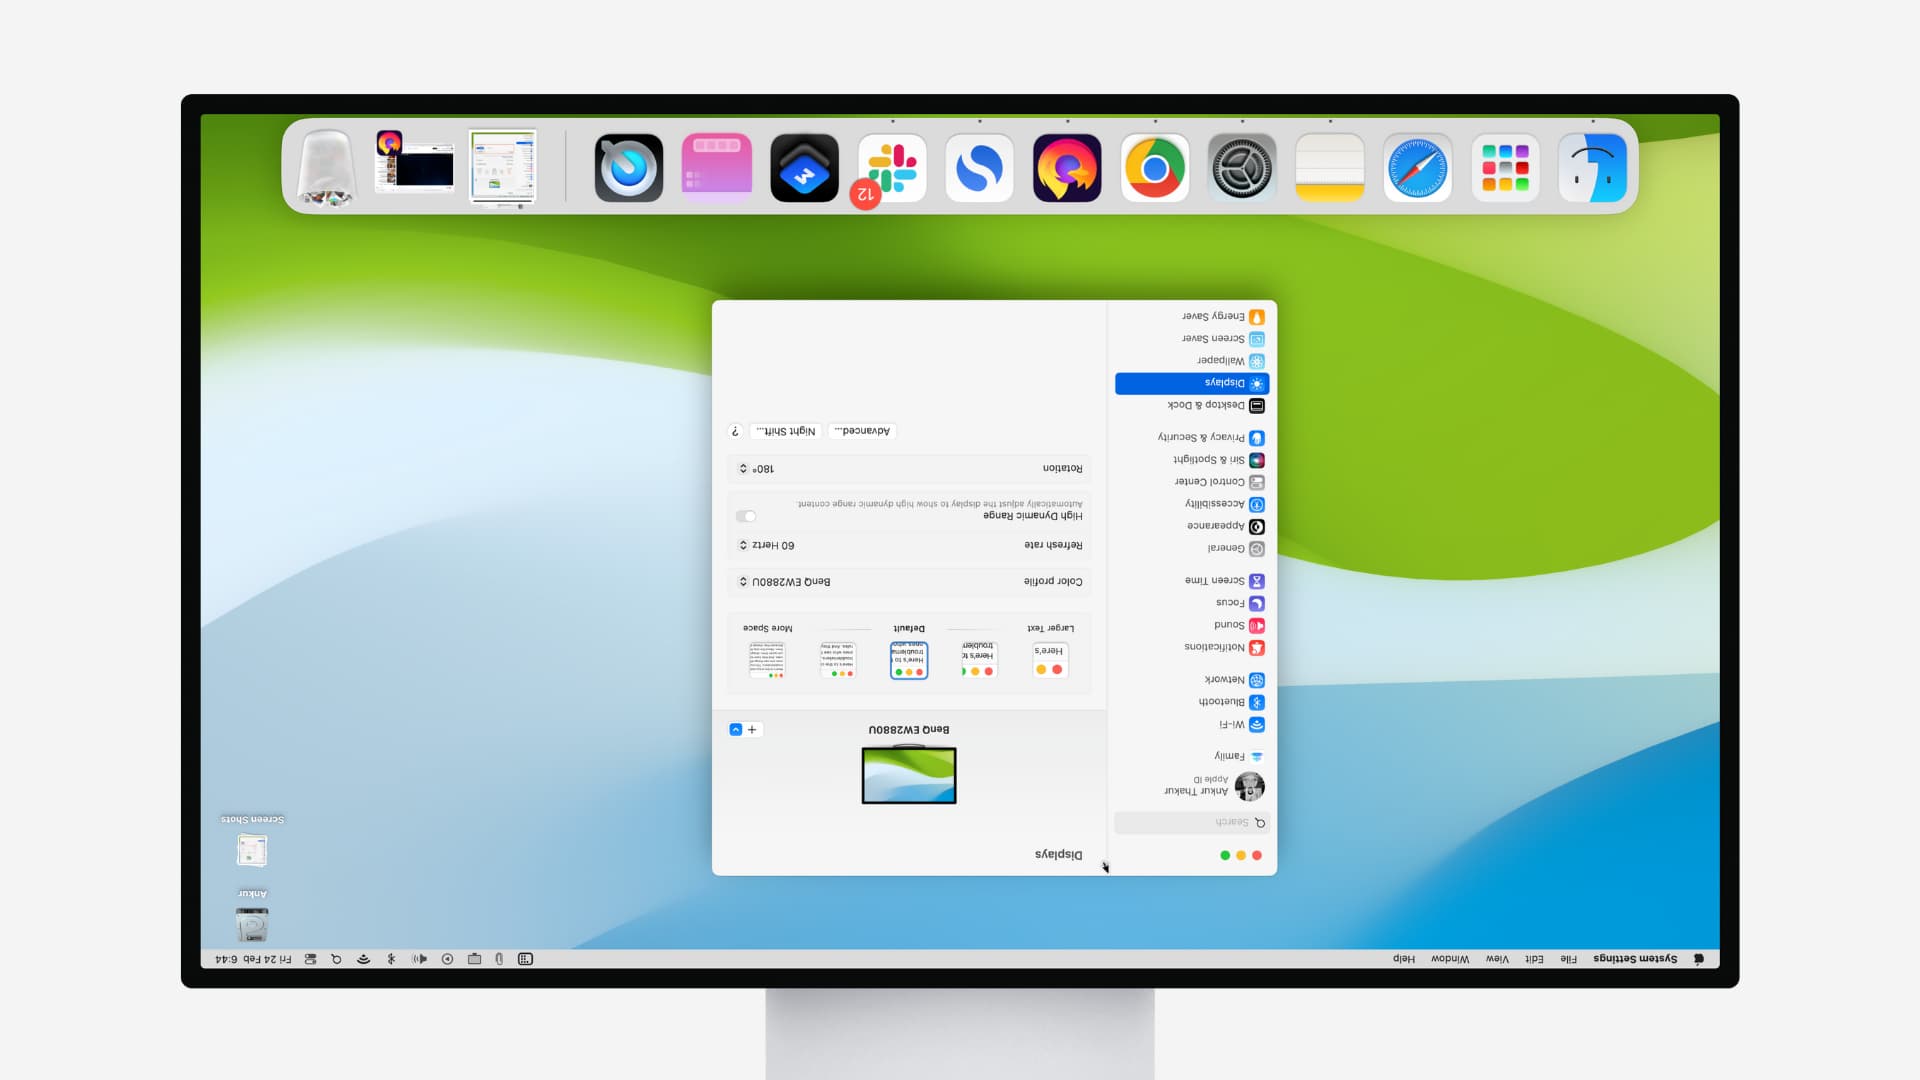
- Open System Settings and select Displays.
- Click the menu next to Rotation and select 90°, 180°, or 270° to rotate your Mac’s screen.
- Finally, click Confirm.

Note: If you don’t see the Rotation option in step 2, that means your Mac doesn’t natively support rotating the screen.
On macOS Monterey and earlier
- Open System Preferences. If you already have it open, quit and reopen the window to start fresh.
- Hold down the Command + Option keys and click Displays in the System Preferences window.
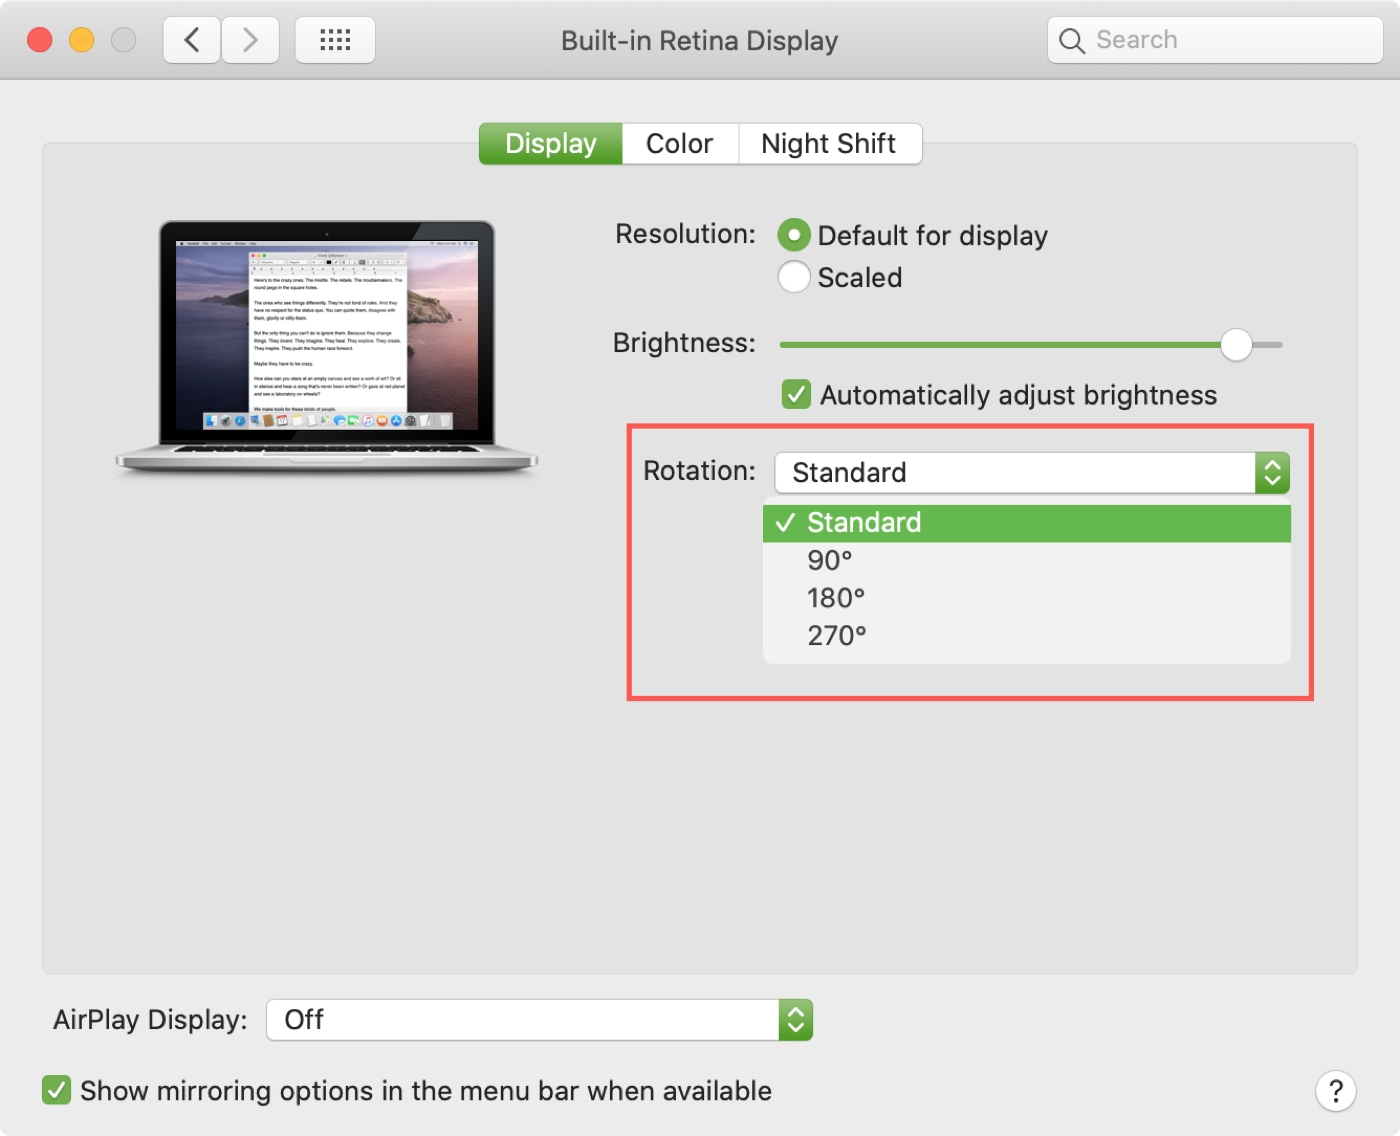
- Select Display, and you should now see an additional option for Rotation.
- Click that drop-down menu and select 90°, 180°, or 270° degrees.
Note:
- If your screen goes black, it should only be momentarily, and then you’ll see your new screen orientation.
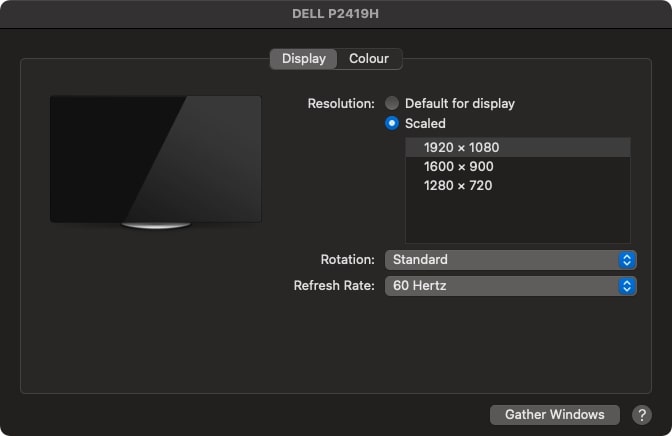
- In case the above steps don’t work on older versions of macOS, select the Scaled option to reveal the Rotation drop-down menu.
Your mouse and trackpad will behave differently
Keep in mind that rotating the screen doesn’t just look different; your mouse or trackpad will also work differently. And that part takes some getting used to because the cursor will move according to your screen orientation.
Pro tip: After rotating my Mac’s screen 180°, I also rotated my Magic Trackpad, and then pointer scrolling felt normal. Try it out. Sadly, this isn’t possible with a mouse.
Arrange your monitors
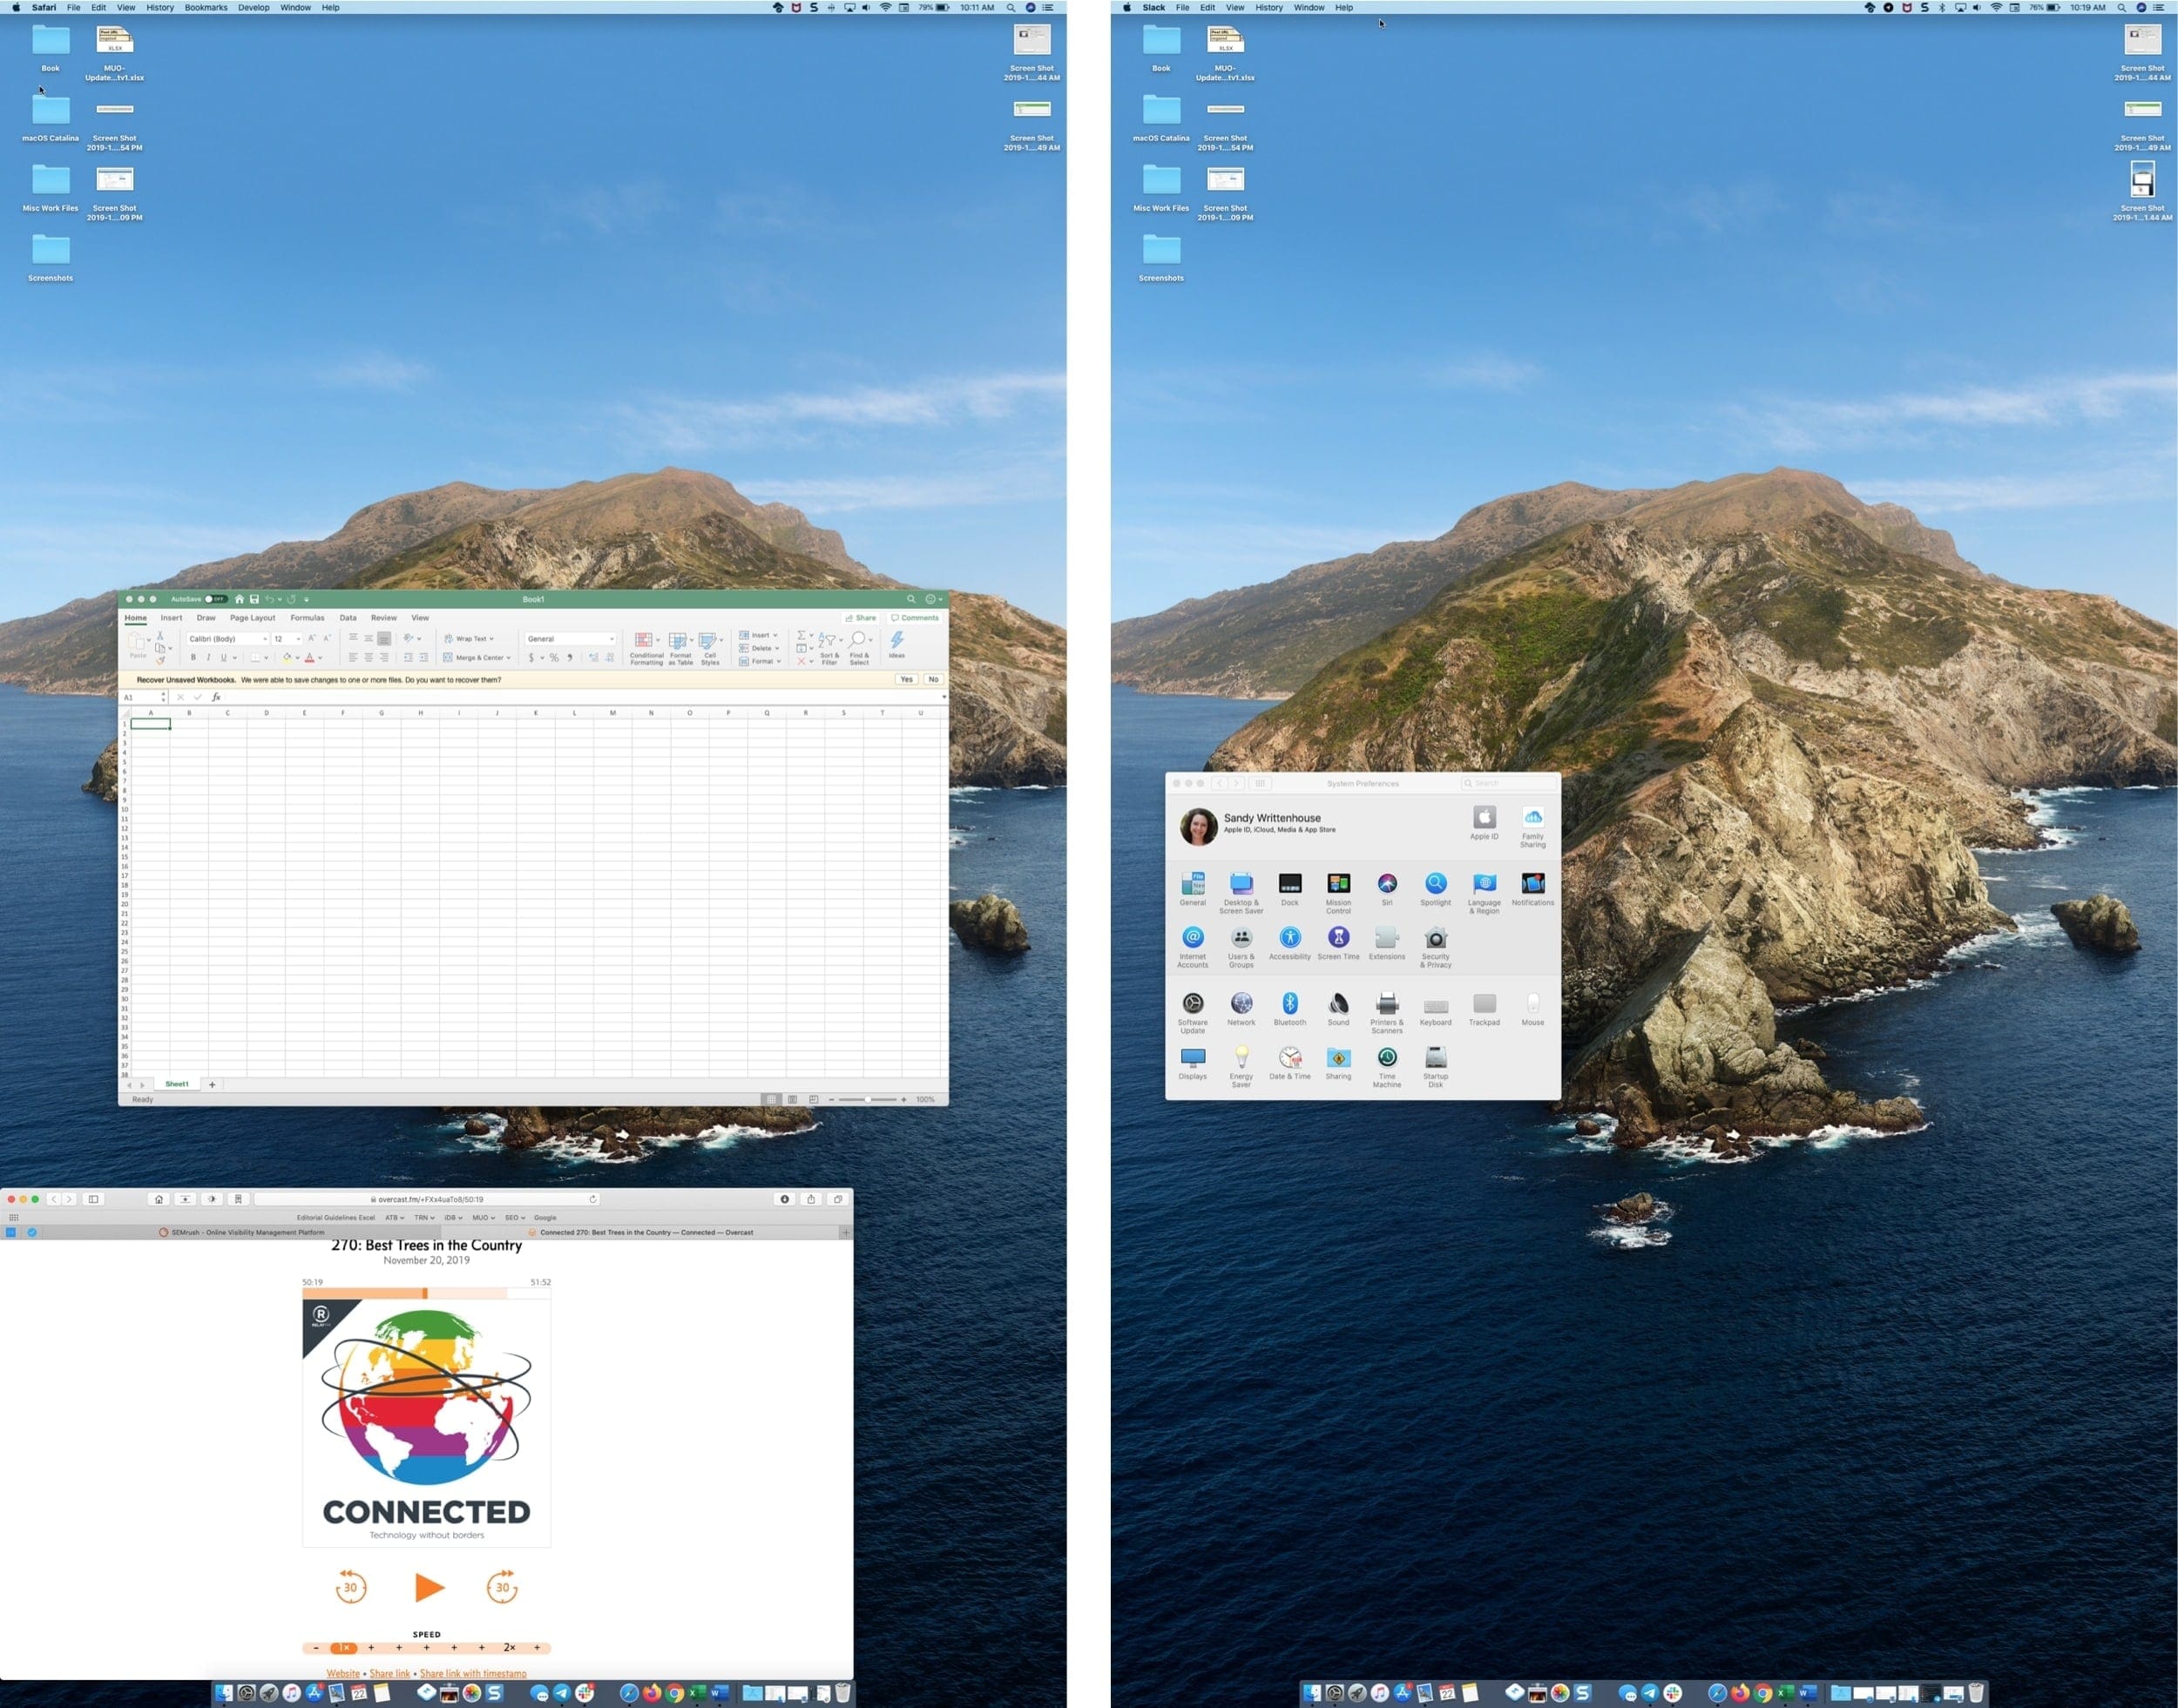
If you use more than one screen with your Mac, take a minute to make sure that the display arrangement is set properly in macOS. This will ensure your mouse/trackpad pointer works correctly when you push it to the edge of the screen.
1) Go to System Settings > Displays and click the Arrange button.

2) Drag the monitors accordingly as they are in the physical space.

If you’re on an older version of macOS, navigate to Displays in System Preferences and select the Arrangement tab. You should see your primary display and the external monitor. Now, move the external display position in the diagram shown to match the main display so it’s easy for you to move your mouse from one screen to another.
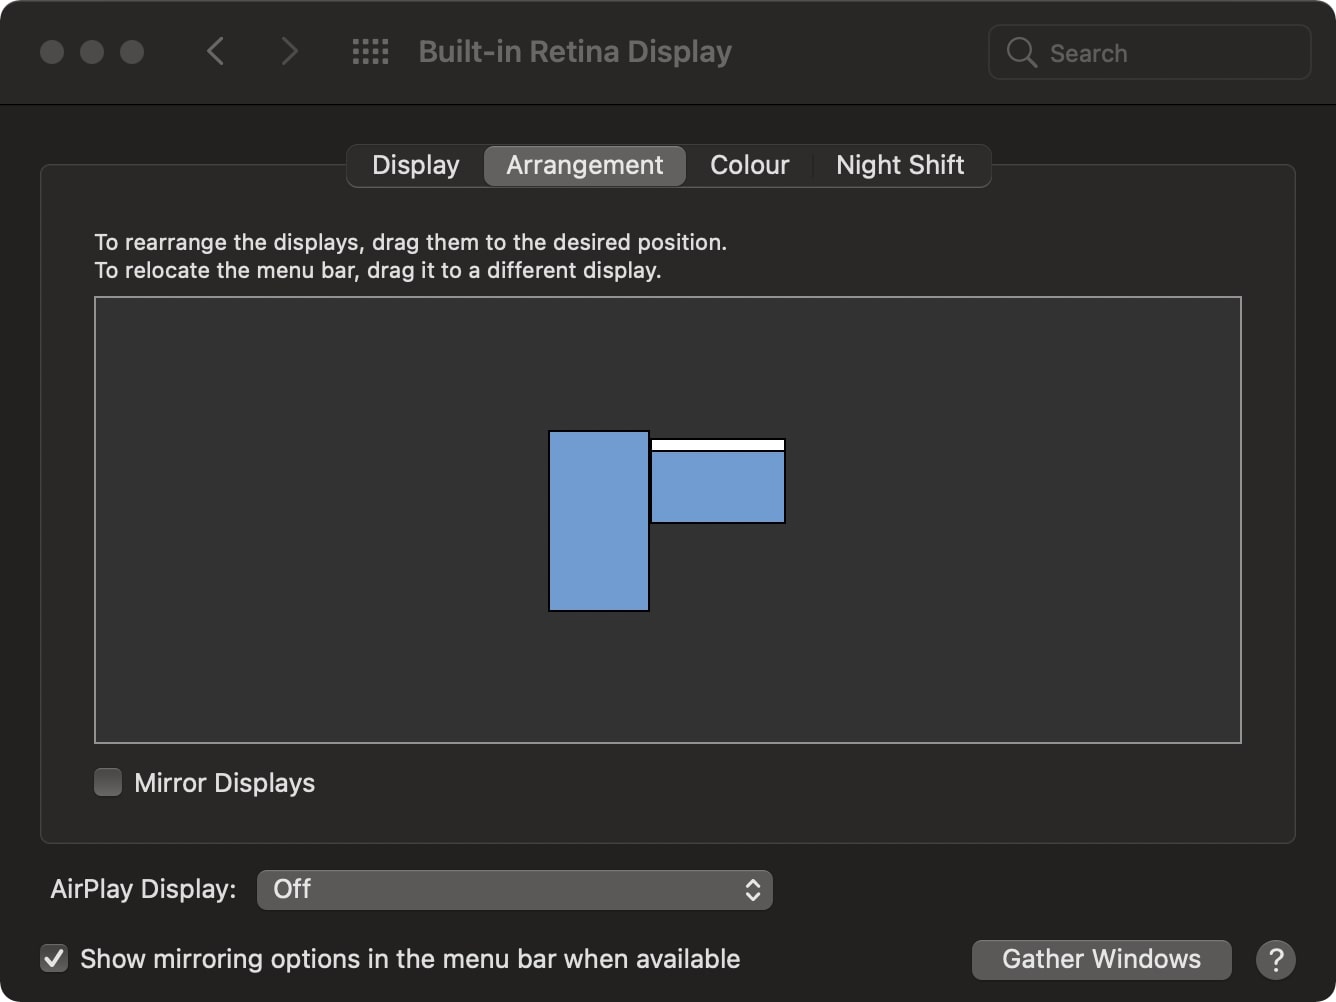
If you want to use the other monitor as your main display, then you’ll need to move the white bar from the main screen to the external display. Once everything is set, you can start using your new monitor in the vertical orientation.
Make Mac’s screen go back to normal orientation
On macOS Ventura or later: Go to System Settings > Displays and select Standard next to Rotation.
On macOS Monterey and earlier: When you’re finished working or playing around in the new view, head back to System Preferences > Displays and select Standard in the Rotation drop-down box.
Your Mac will then be back to its normal orientation.
Choosing a monitor for your Mac
You need to consider the following things while choosing an external monitor for your Mac:
- Viewing angle: Make sure the monitor has good viewing angles even when it’s placed in a vertical orientation.
- A monitor stand: Your new monitor will most likely come with a stand, but if it does not support rotating the screen vertically, a new compatible stand will offer this and much more.
- Multiple ports: Most modern monitors offer good input connections, and this is nice to have. Your new Mac with Thunderbolt connectivity can support high-resolution external displays.
- A high-resolution display: You should get an external monitor that also offers 2K or higher resolution. This works and looks great, thus improving your media and work experience.
Check out next: The best 4K monitors