AirPods Pro offers more customization options than your non-pro AirPods, thanks to a force sensor built into each stem enabling physical control. In this tutorial, we’re going to teach you how to use AirPods Pro controls to navigate your music, as well as manage calls, Active Noise Cancellation, Transparency mode, and other features.

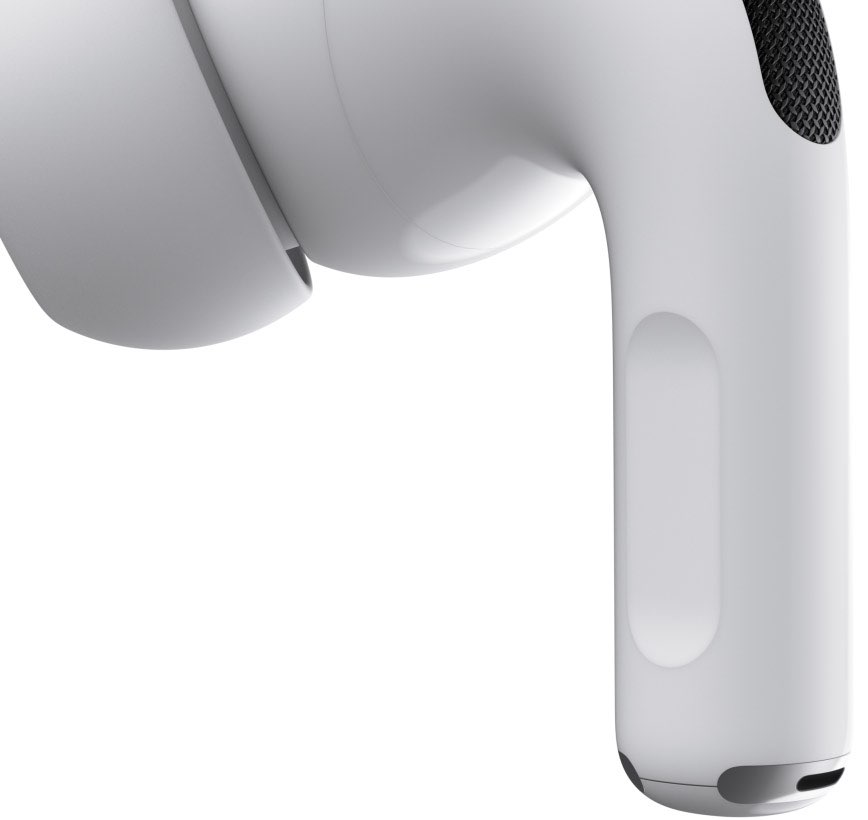
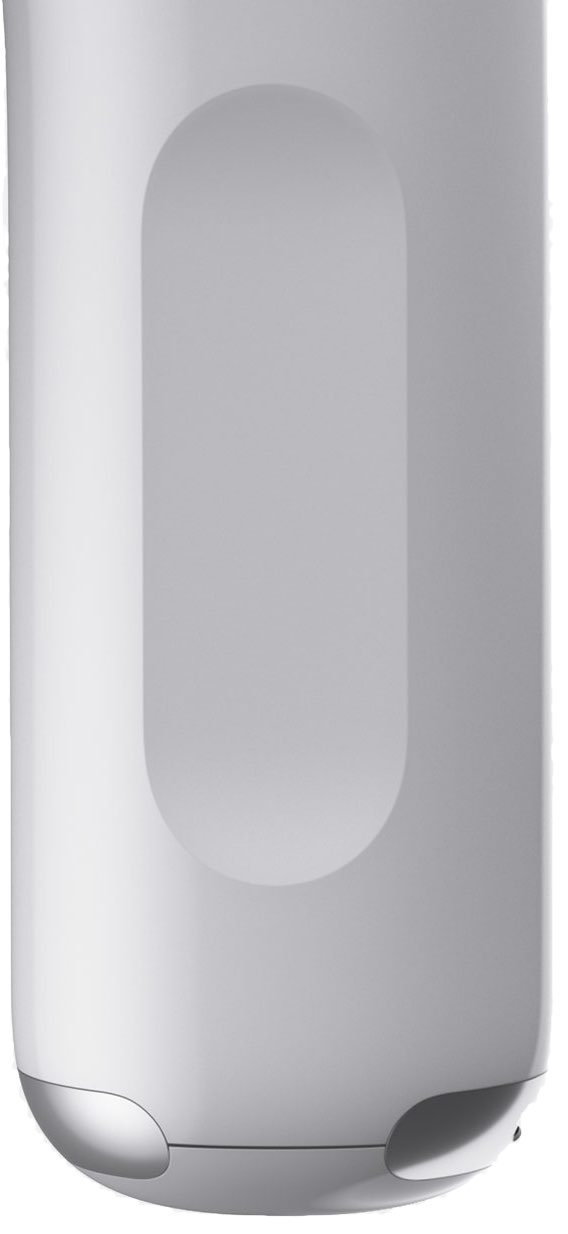
Having realized that a single virtual button is better than no physical button at all, Apple has outfitted the stem of each earbud with a force sensor. It basically turns that flat section on the stem which faces forward when in your ear into a multi-purpose button.
Force sensor on the stem lets you jump between various functions. These force sensors enable physical control for managing music and calls, as well as switching between Active Noise Cancellation and Transparency mode. Follow along as we show you how to use the force-sensing controls on your AirPods Pro.

How to use AirPods Pro controls
As mentioned, the force sensors built into each AirPod Pro make it easy to play, pause or skip tracks, answer and hang up calls, and so forth.
- Press: Press the stem once to play, pause or answer a call.
- Double-press: Press the stem twice to skip forward.
- Triple-press: Press the stem three times to skip back.
- Press and hold: Hold to switch between Noise Cancellation and Transparency mode.
Plus, you can say, “Hey Siri” at any time to do more with your AirPods Pro, including things like playing a specific song, album, or playlist, making a call, getting directions, and so forth.
Tutorial: Tips for using your AirPods like a pro
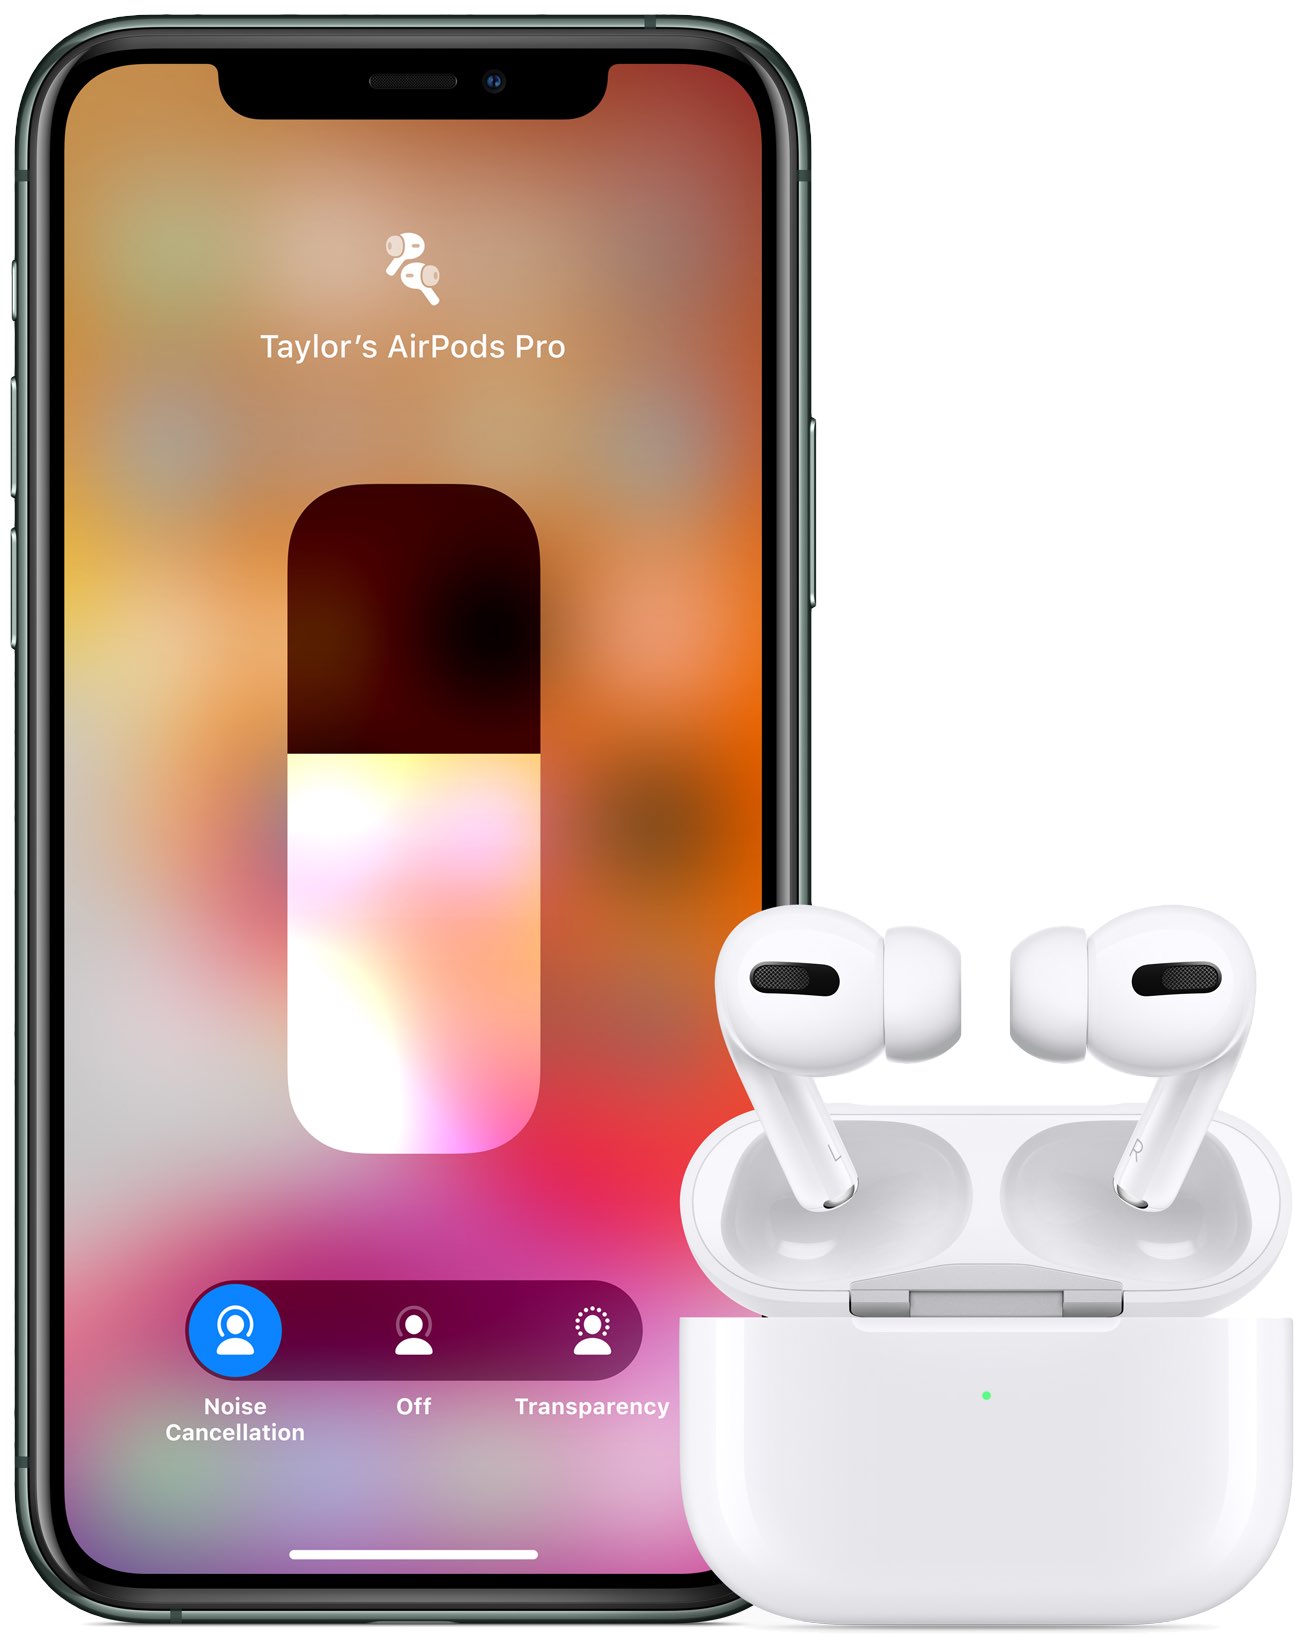
This isn’t the only way of controlling your AirPods Pro. You can switch between Active Noise Cancellation and Transparency mode by pressing the volume slider in Control Center.

Have an Apple Watch? Hit that AirPlay icon while music is playing to reveal AirPods settings.
Activating Siri instead of noise control
You can optionally choose to activate the Siri digital assistant over the noise control features when you hold that force sensor down. Here’s how:
- Open Settings on your iOS device with iOS 13.2 or later.
- Choose Bluetooth from the main list.
- Tap (i) next to your AirPods Pro.
- Tap either Left or Right underneath the heading titled Press and Hold AirPods.
- Select Siri if you’d like to invoke the assistant when pressing and holding the force sensor.
By default, your AirPods Pro will cycle through the available noise control options when pressing and holding the stem, but you can customize that behavior as well.
Choosing noise control options to cycle through
Aside from customizing the name of your earbud and controlling how each earbud responds when you tap it, your AirPods Pro settings include customizations determining which noise control options pressing and holding either stem should cycle through.
1) Open Settings on your iOS device with iOS 13.2 or later.
2) Choose Bluetooth from the main list.
3) Tap (i) next to your AirPods Pro.
4) Tap either Left or Right underneath the heading Press and Hold AirPods.
5) Tap Noise Control.
6) Select the features that pressing and holding the AirPod Pro stem should cycle through:
- Noise Cancellation: Active Noise Cancellation blocks out external sounds.
- Transparency: Transparency mode lets you simultaneously listen to music while still hearing the environment around you by letting in some external sounds.
- Off: This option turns off both Active Noise Cancellation and Transparency mode.
That’s it; pressing and holding the stem will cycle between the selected noise control modes.

For example, you may set up the force sensor on the left earbud to invoke Siri when pressed, while your right AirPod stem could cycle between Active Noise Cancellation and no Active Noise Cancellation or between Transparency mode and Noise Cancellation.
AirPods Pro tidbits
AirPods Pro offers not only impressive sound but sweat and water resistance with an IPX4 rating, too (here’s what that means). The $250 noise-canceling earbuds ship with three pairs of ear tips designed to conform to the contours of each individual (Apple will be selling replacement tips at just $4 a piece).
They also include an Ear Tip Fit Test feature in Bluetooth settings that helps determine whether the chosen ear tip is the right size for your ear.
And thanks to the optional AppleCare+ for Headphones extended warranty, which costs $29 upfront, you’ll only need to pay $29 to replace a broken earbud (it’s also just $29 to replace the wireless charging case). Without AppleCare+, it will cost you $89 to replace an earbud.
To learn more about the earphones, check out the official AirPods Pro tech specs.