When you use Microsoft Excel on your Mac for creating spreadsheets, you have plenty of layout options. But, sometimes it’s not until after you start entering your data that you wish you had structured the spreadsheet differently.
You may have entered column headers that would work better as row headers or vice versa. Luckily, you have a quick and easy way to make this type of switch with the Excel Transpose feature and here’s how to use it.
How to transpose columns and rows
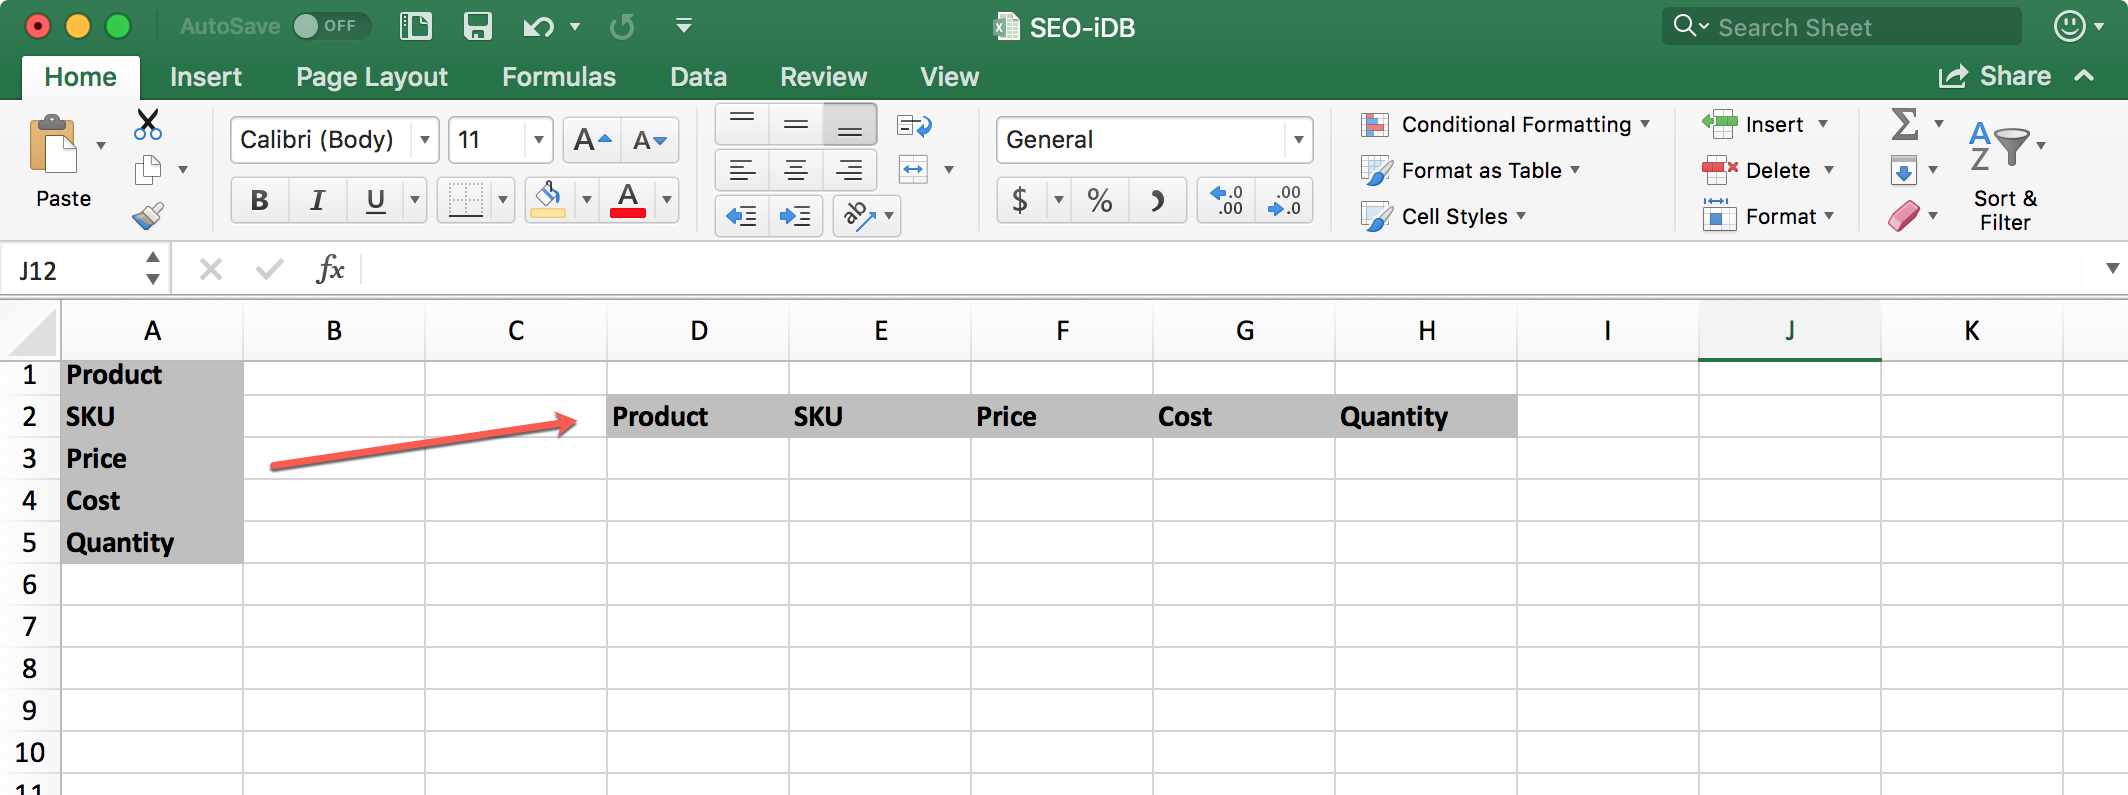
Let’s say you’ve entered column headers for your spreadsheet. Maybe it’s for a products, employees, or finances. You decide you want to convert those columns into rows.
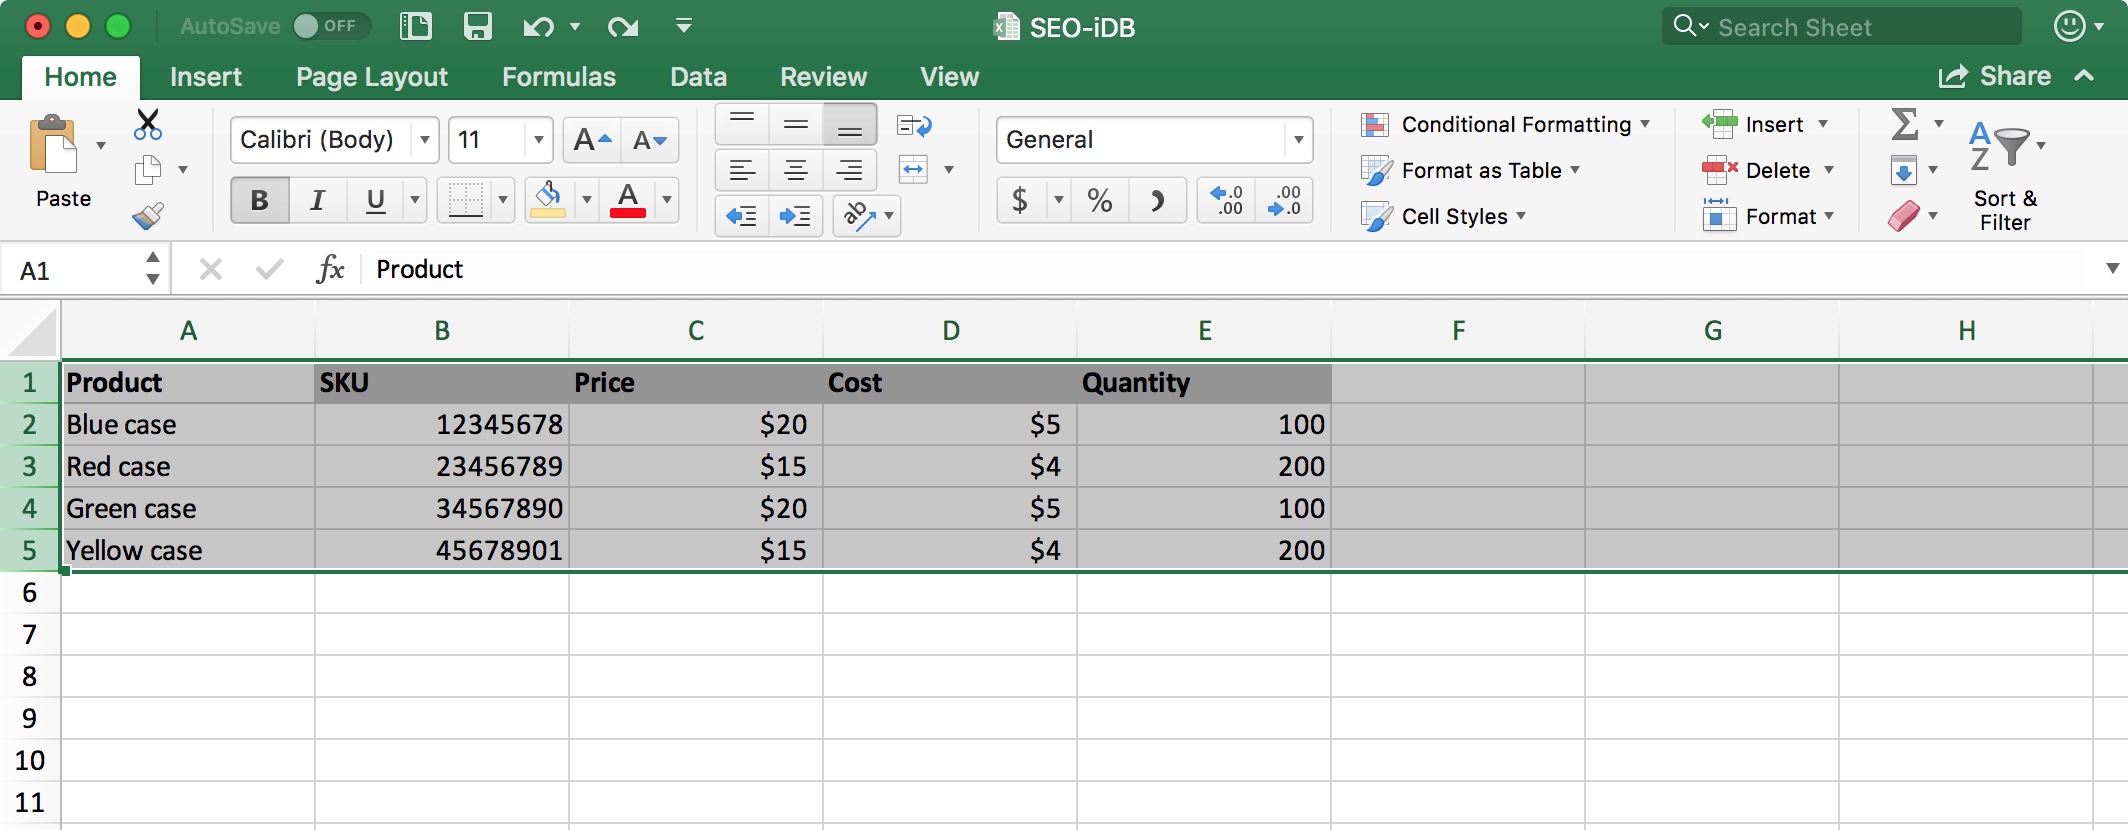
1) Select the rows for the columns that you want to transpose. You can do this by either clicking the first one and dragging through the rest or clicking the first one, holding down the Shift key, and then clicking the last one.
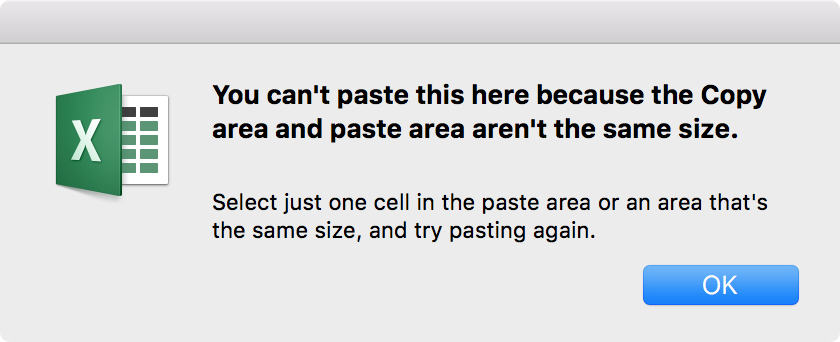
Note: If you try to select the columns and then continue with the steps below to copy and paste them, you’ll likely end up with an error message saying that the copy area and paste area aren’t the same size. This is why you need to select the rows for the columns as shown above.
2) Copy the rows. You can do this by either clicking Edit from the menu and selecting Copy or using Command + C on your keyboard.
3) Go to and click the cell where you want to paste your data.
4) Select the arrow next to the Paste button in your ribbon and choose Transpose.
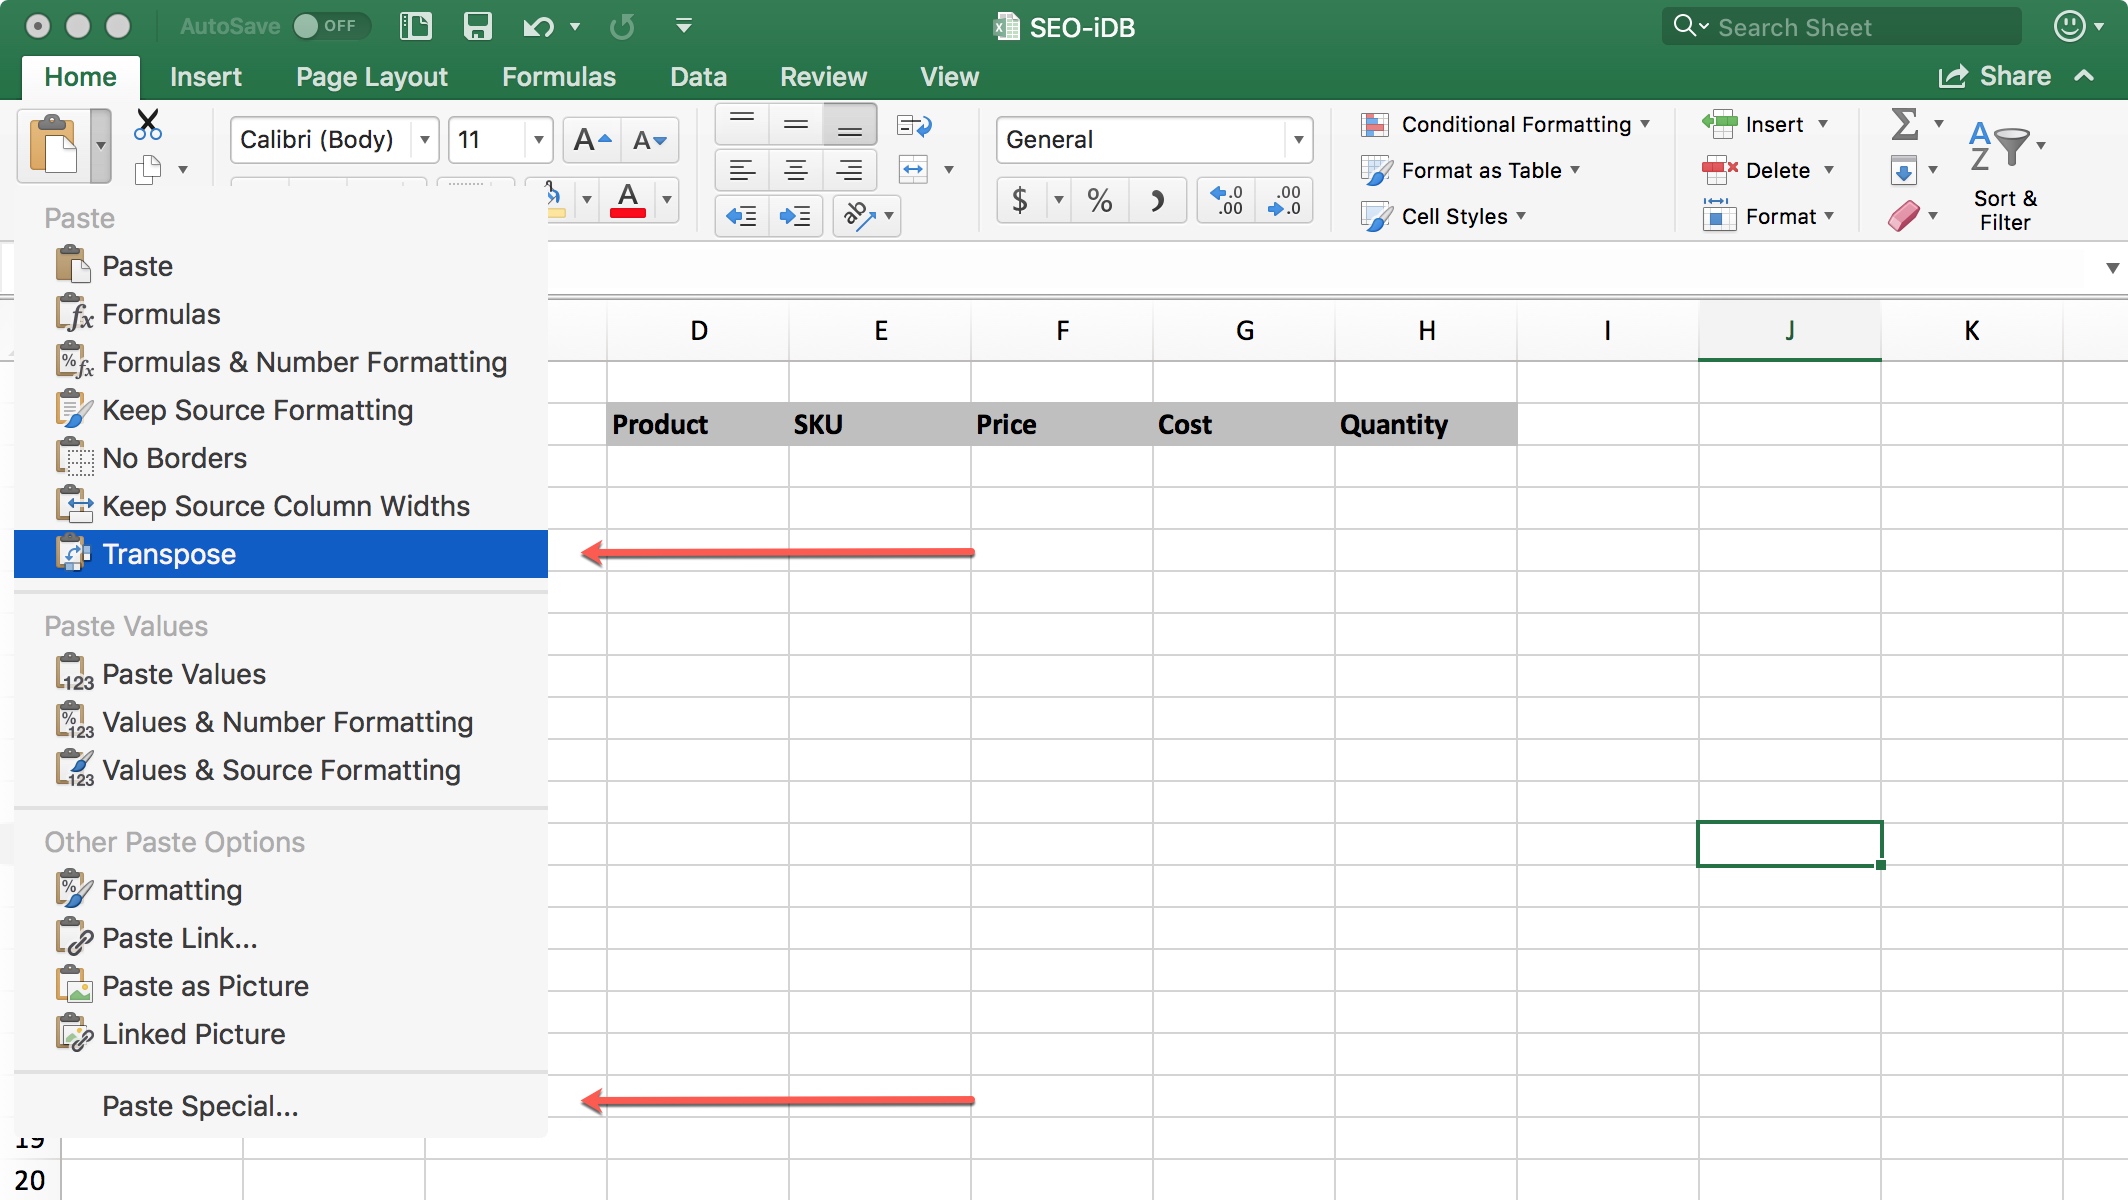
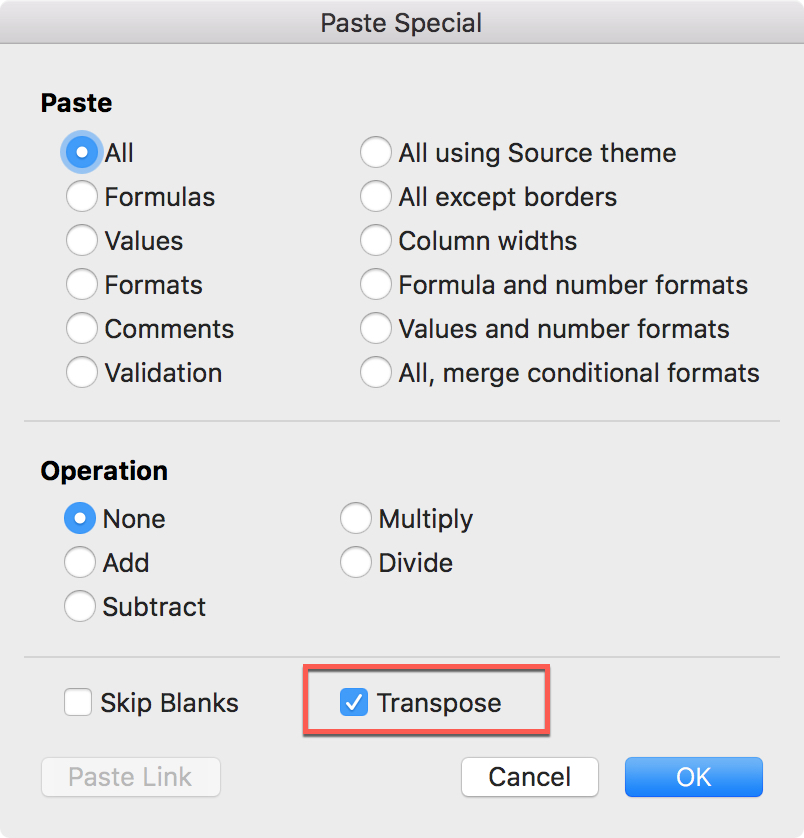
If you would like to apply additional formatting at that time, you can select Paste Special from the Paste menu instead. This will open a window where you can select your formatting options. Then, click the Transpose checkbox when you finish and hit OK.
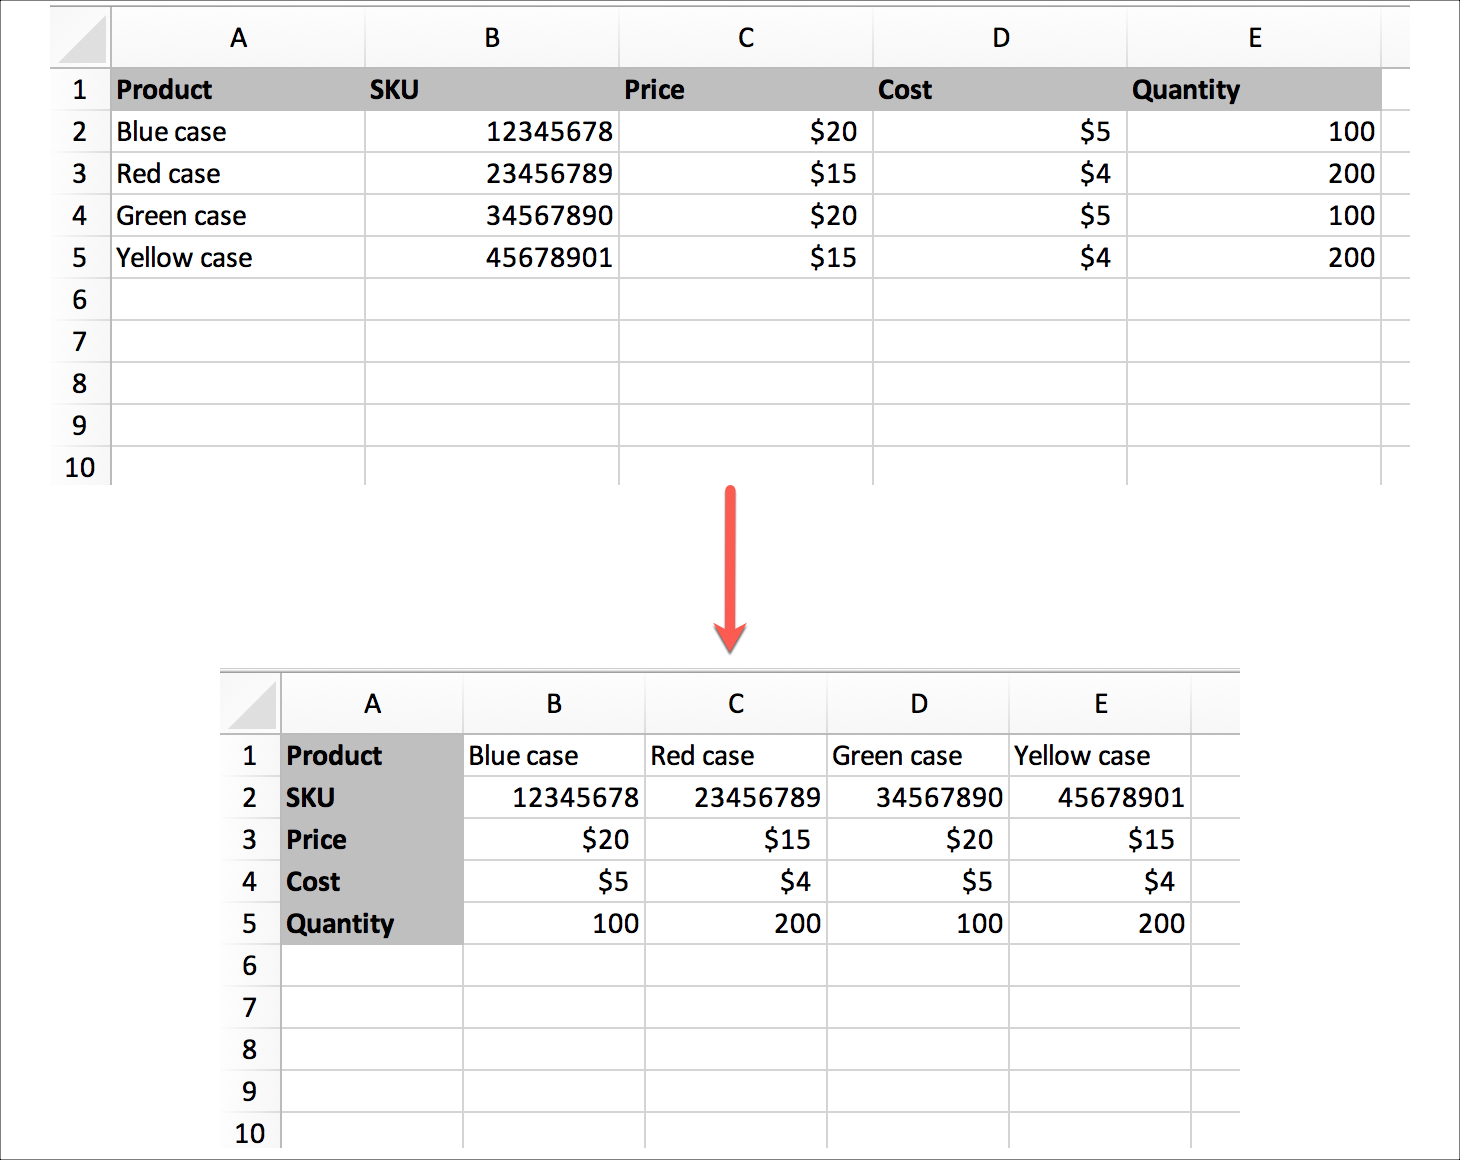
When you complete the steps above, your columns (and your data if you selected it as well) will turn into rows. And, if you want to turn rows into columns, just follow the same process.
How to transpose a group of cells
If you just have a single group of cells that you want to convert, rather than rows and columns, it’s just as simple.
Select the exact cells as you did with the rows in Step 1 above and then continue the same process to copy and paste them.
Wrapping it up
Microsoft Excel offers good flexibility for how to structure your spreadsheets. So, if you begin creating a sheet and realize you want to make some formatting changes like these, it’s easy to do. Just be sure to save a copy of your original workbook and double-check your work so that you don’t mistakenly lose any data.
Do you need help with other Excel features or would you like to see a tutorial on something specific? Let us know!