
The release of OS X Yosemite in 2014 gave the Mac’s user interface a fresh coat of paint in part through adopting much of the transparency effects that Apple added to iOS 7 in prior year.
Transparency is used throughout macOS and can be observed on the desktop and seen in drop-down menus, title bars, sidebars and toolbars.
This post will teach you how to disable transparency for all user interface elements that have a translucent appearance on your Mac.
Why reduce transparency throughout macOS
It’s of course a matter of personal preference.
Not everyone is a fan of translucency effects, which Apple uses subtly to let users see what’s behind their active windows. Still, there are definitely people out there who find macOS’ frosted glass appearance overbearing.
Also, the nostalgic types who’ve become accustomed to years of macOS’ understated grey appearance may have trouble getting used to transparent UI elements.
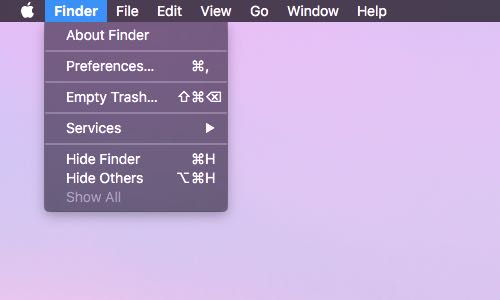
Here’s an example of how drop-down menus appear with transparency enabled…
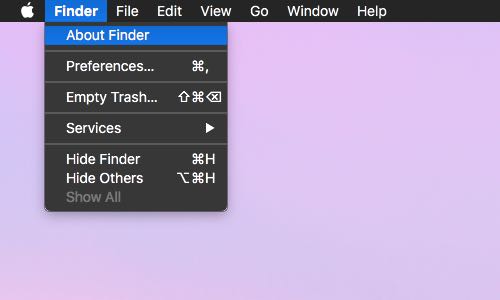
…and without transparency. As shown, after reducing transparency certain UI elements like menus will no longer pick up color cues from content behind them.
Although transparency on Mac is realized through GPU-accelerated graphics, these effect take a toll on the battery so that’s something to consider as well. In that regard, disabling transparency may even boost the frame rates of the user interface, especially on older hardware.
People who suffer from motion sickness may also prefer a more opaque appearance of their Mac’s operating system. Whatever your reason for hating frosted glass appearance may be, here’s how you can reduce transparency effects throughout macOS.
How to reduce transparency of the Mac’s user interface
Step 1: Launch System Preferences on your Mac.
Step 2: Select the Accessibility preference pane.
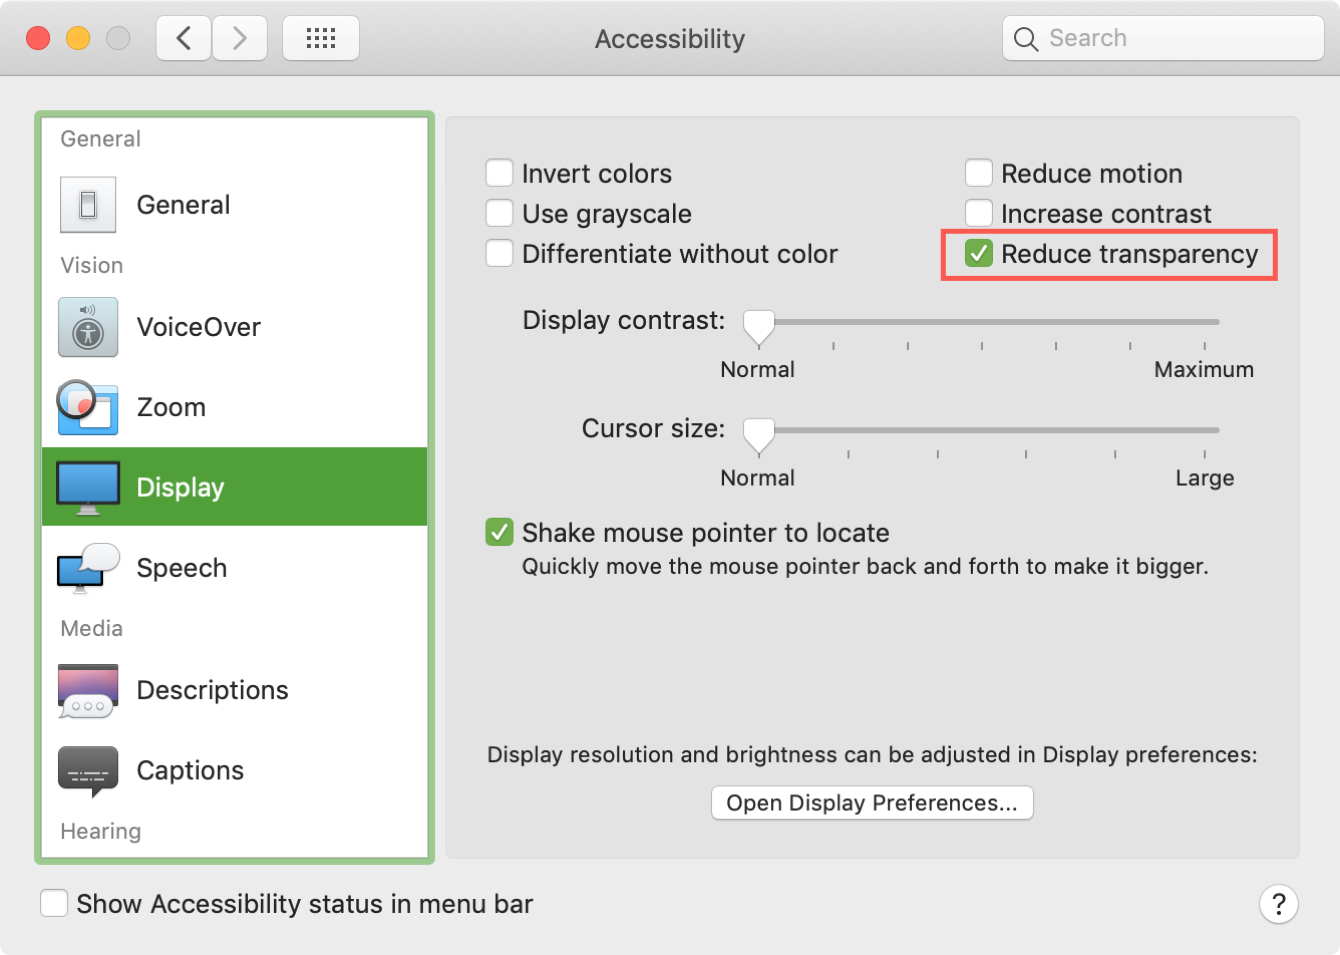
Step 3: Click Display in the lefthand column.
Step 4: Tick the box next to the Reduce transparency option.
This will turn the transparent areas of the desktop and app windows gray so instead of the default UI elements like a transparent Dock…

…You’ll now have an opaque one.

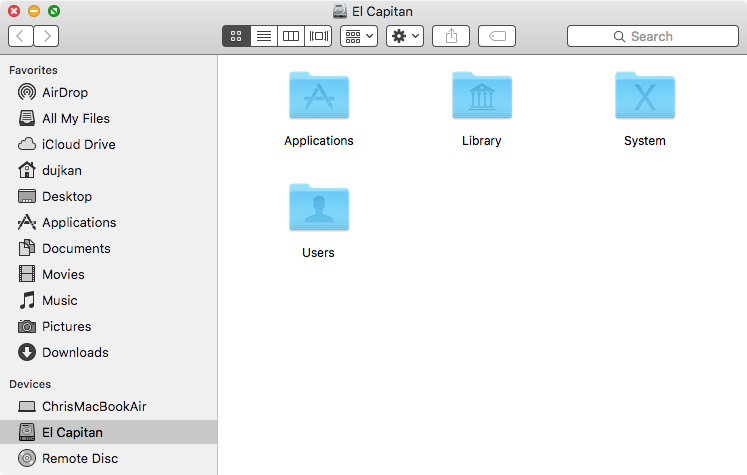
Transparent window elements like sidebars…

…will adopt an opaque appearance.

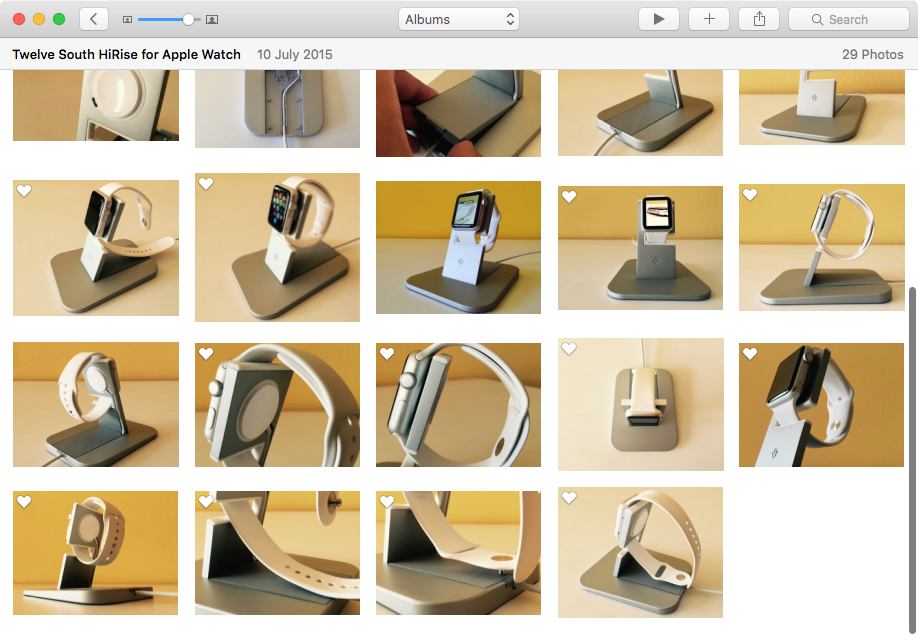
Windows titlebars that used to be transparent in apps such as Photos…
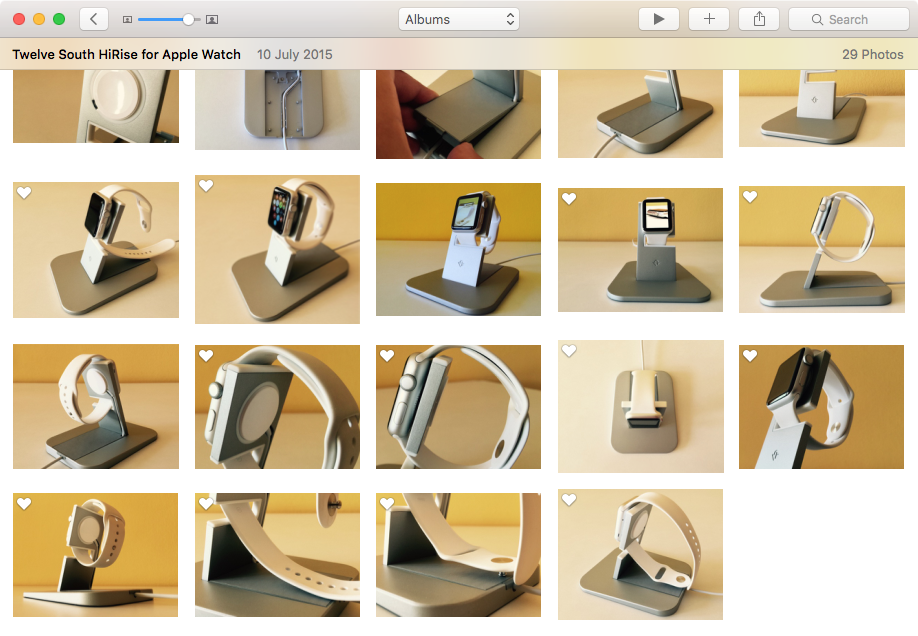
…will no longer provide visual cues as to what’s behind them.
You can also make the borders of buttons, boxes, and other items on the screen darker to make them more visible by ticking the box next to the Increase Contrast option in System Preferences → Accessibility → Display.
What are your feelings on transparency on Mac? Would you choose opaqueness over transparency or are you content with macOS’ frosted glass appearance?
For more customizations, check out how to change the look of Terminal on your Mac.
Submit your how-to suggestions at tips@iDownloadBlog.com.