In the previous podcast basics post, we talked about some of the preliminary steps that need to be taken before proceeding with creating a podcast. Those steps involved finding the right subject, format, hosts, etc.
Now that you have a good idea about the subject you’d like to podcast about, the show format, the co-hosts, and the scheduling, it’s time to start thinking about your podcast hardware. I like to include location as a part of the hardware, because the location where you record your podcasts can play a huge role in how the end product sounds.
In this post, I’ll talk about what hardware I use for podcasting, along with other general recommendations on hardware. If you’re still mulling about the subject, or co-hosts, then I urge you to read part I of this series; it covers the stuff you should consider before even getting started.
View other posts in this series
- Podcasting basics part I: finding the right topic and hosts
- Podcasting basics part III: software
- Podcasting basics part IV: recording, exporting and uploading
- Podcasting basics part V: mixing, editing and finalizing
Location
Whatever you do, don’t underestimate the way your room can affect the sound of your podcast. Generally speaking, you want to record in an area that’s relatively devoid of noises and potential interruptions. Recording in the kitchen, or right next to a high traffic area might not be the best choice.
You also want to consider the type of sound that your room generates. If you’re in a large empty room, then you’ll sound like you’re in a large empty room. Try to record somewhere that will compliment your sound acoustically. I find that smaller rooms with carpet and furniture promote a warmer sound. Of course, you can always use sound treatments like acoustic foam to help improve your sound when your recording space is non-negotiable.
Another thing to consider about location is the type of noise that makes it across your recording as you’re podcasting. If your microphone is stationed on your desk, does the sound from your typing resonate throughout the recording? Does your chair squeak? Are you picking up ambient sounds from around the room? These are all things that need to be carefully considered and planned if you want the best recording.
Voice
Next to the location, this is perhaps the most important part of your equipment, and you don’t even need to buy anything! Your voice needs to be clear (take a day off if you have a bad cold) and you need to be able to enunciate clearly. Even if English isn’t your first language, you can still enunciate your words and speak slowly and clearly. My best advice is to practice a few recordings before showcasing your voice to the world.
Also, keep lots of water next to you so that your voice is refreshed. Podcasts require a lot of talking, even more so if it’s a solo effort, so keep yourself hydrated.
Microphones
Although the microphone is the third item on this list, it’s still an extremely important part of your podcasting setup. In fact, it’s by far the most important piece of physical hardware in the whole chain. A good microphone can make a so-so voice and environment sound ok. A bad microphone can make a perfect voice and a perfect location sound awful.
For example, don’t even think about using Apple’s iPhone EarPods as a microphone; your listeners will notice and will hate you for it. In fact, there’s a good chance that a first time listener will be a last time listener if you skimp on your microphone.
That’s not to say that you have to go out and spend a fortune on a microphone in pursuit of good sound. On the contrary; you can buy some really good sounding microphones for a lot less than you may think. Here are three recommendations that I can make. I’ve used all three, and all three are good for different levels of podcasting and different applications.
- Apogee MiC (for traveling and mobile applications)
- Blue Yeti
- Heil PR 40
There are definitely other microphones that perform better or may cost more than these mics do, but these selections are what I can personally recommend for new podcasters. Whenever we record a podcast episode for Let’s Talk iOS or Let’s Talk Jailbreak, we’re using a combination of these microphones.
The Apogee MiC is my go-to microphone when it comes to recording sound on the go. If I’m traveling, which I do from time to time, I take my Apogee MiC with me on the road. Not only does the MiC allow me to record video voiceovers, but it also gives me a competent podcasting microphone. The main benefit of the Apogee MiC is its diminutive size and quick connectivity via USB. This thing is tiny, but with the right pop-filter and voice inflection, it can sound much better than its size alludes to.
Let’s Talk Jailbreak Episode 58 recorded with Apogee MiC
The Apogee MiC definitely wouldn’t be the first microphone that I’d buy if I didn’t already own a microphone, but it’s a good secondary travel microphone to have. If you already have a primary microphone, I can absolutely recommend it as a great travel/backup microphone. In the podcast embed above, I was in Japan and was able to record the podcast using my Apogee MiC. It didn’t sound as great as my full size mic, but it was definitely serviceable.
The Blue Yeti was my first “real” microphone. It’s a big all-in-one microphone that can connect directly to your Mac’s USB port for instant connectivity. The Blue Yeti comes with a stand and everything you need to get started out of the box. It even features a headphone jack for monitoring your voice, and a pattern knob for selecting from four available pattern modes. Although most podcasters should stick to the cardioid pattern, the others, stereo, omnidirectional, and bi-directional, are handy to have for special applications.
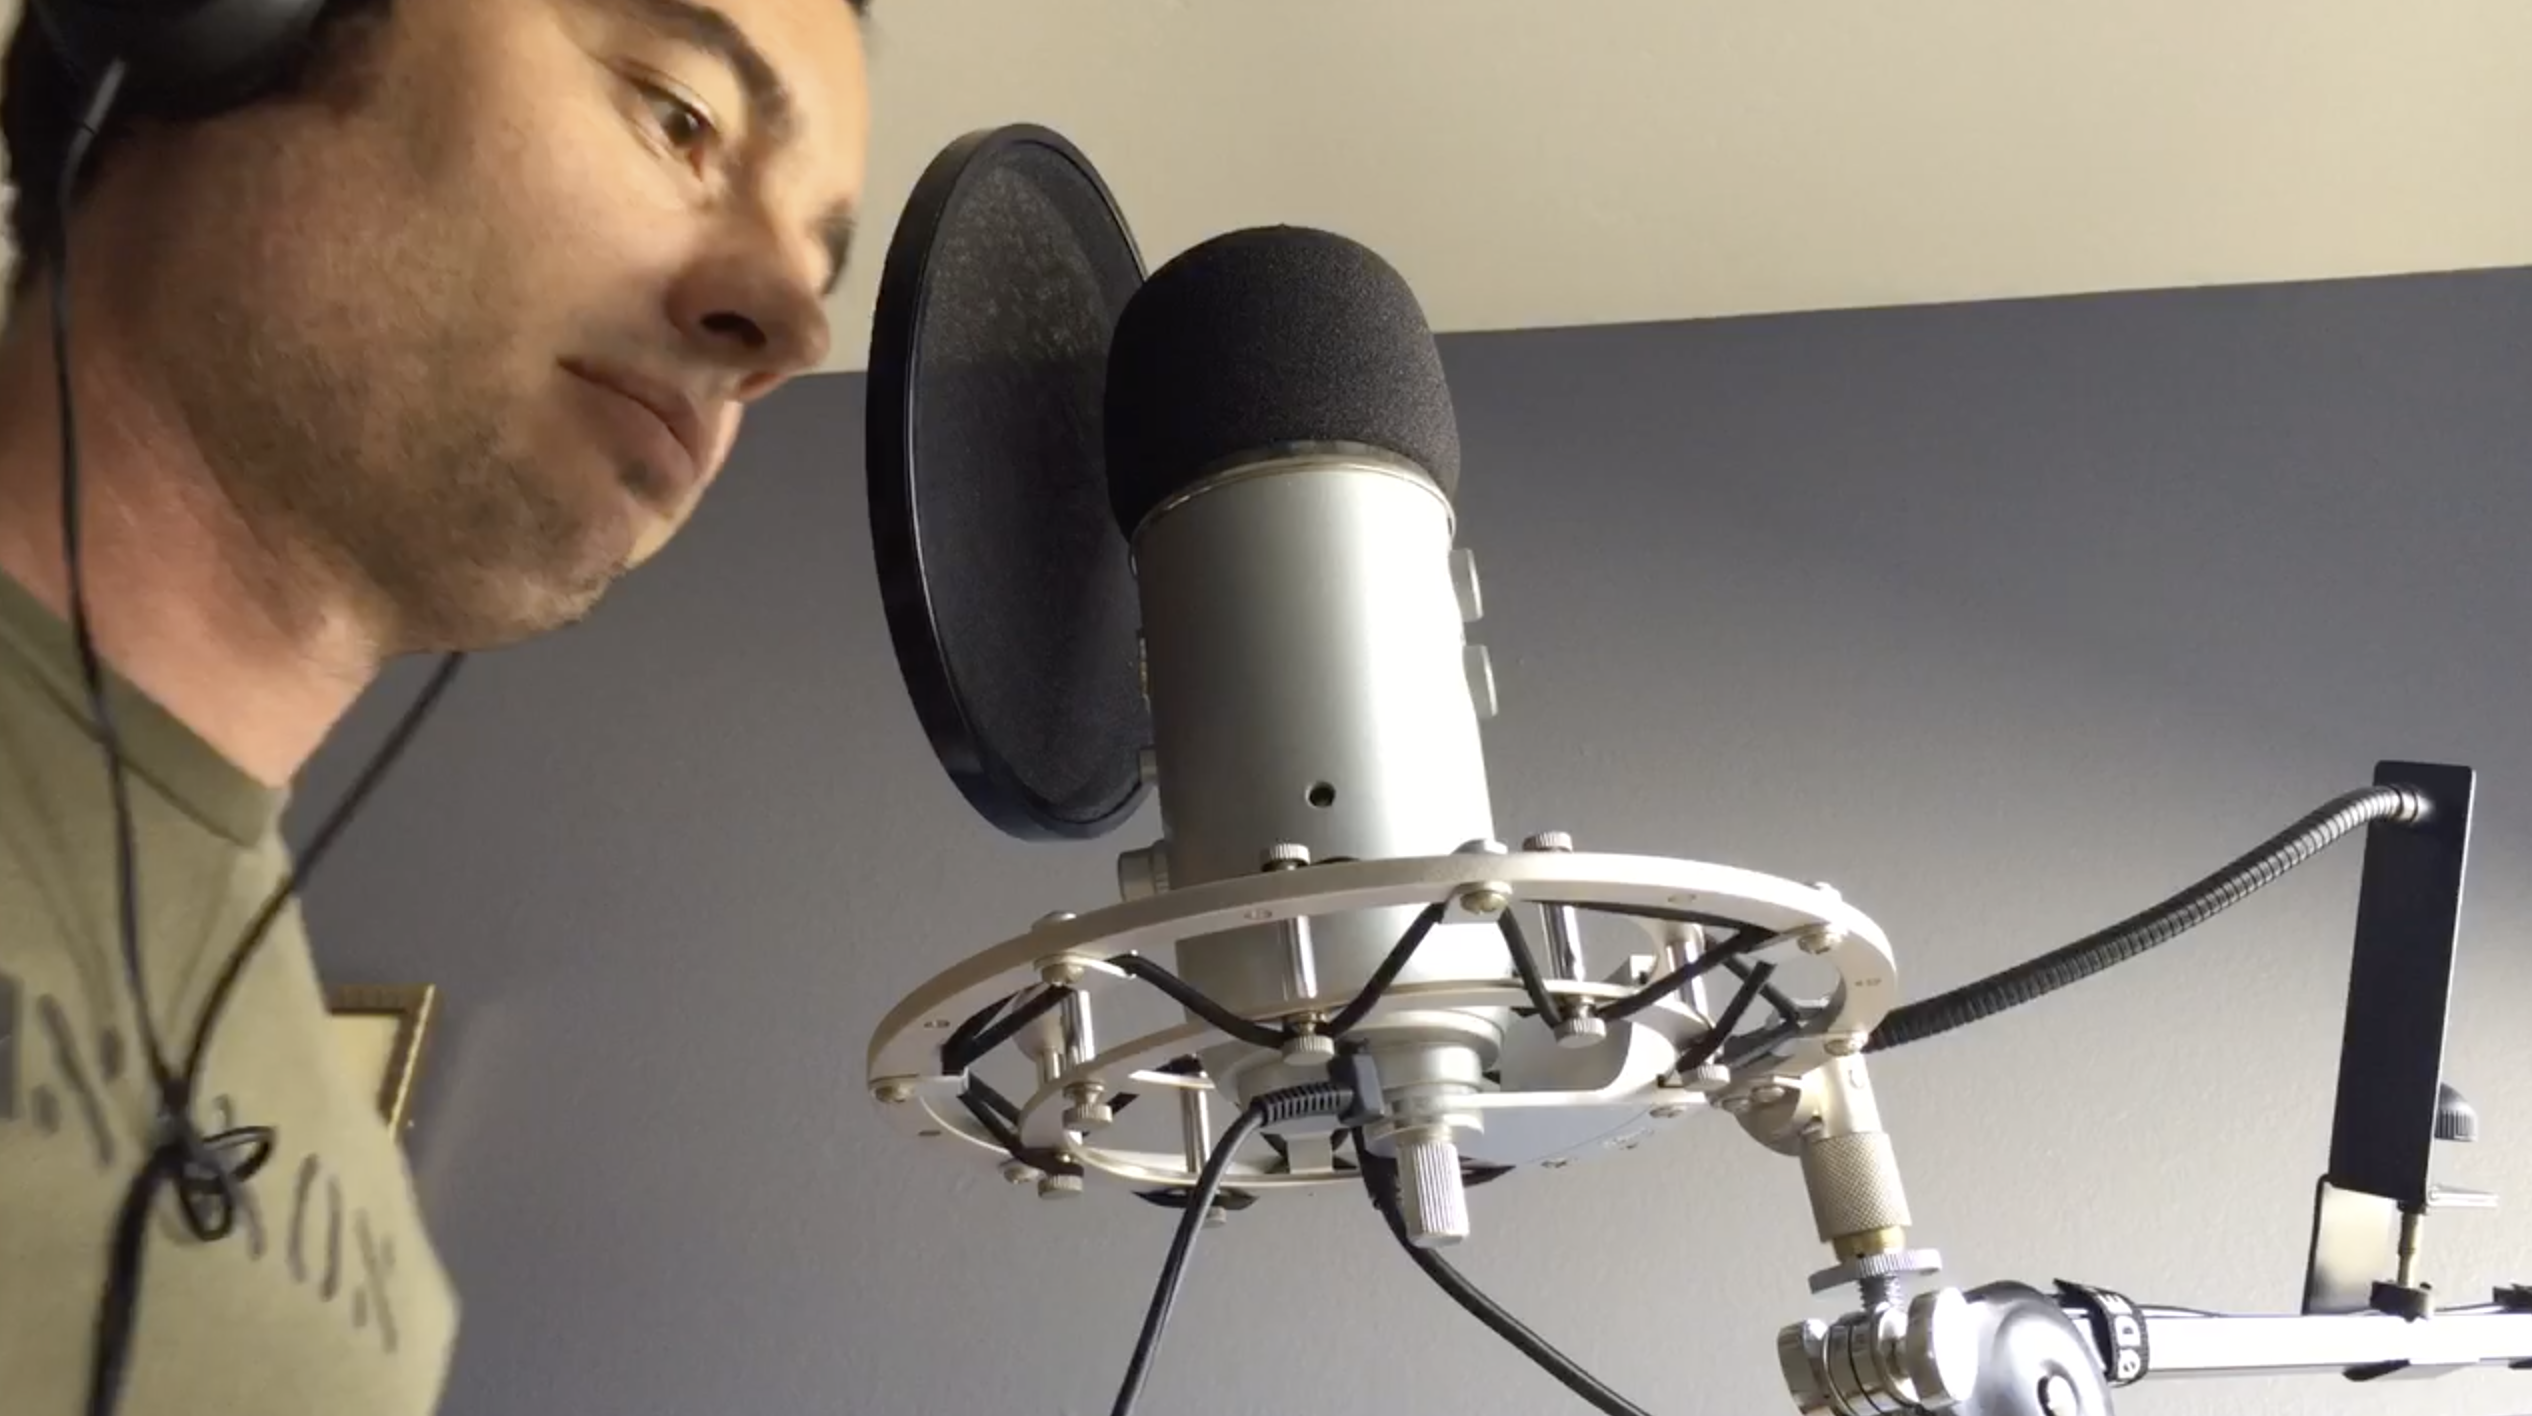
Sebastien Page with his Blue Yeti
The Blue Yeti microphone is as close to a “jack of all trades” microphone that you’ll find. If you’re new to podcasting, you simply can’t go wrong here. Even seasoned podcasters use Blue Yetis due to ease of use, simple setup, and solid sound quality.
Lastly, I’d like to talk about the Heil PR 40. The PR 40 is what I use to record just about everything on a day-to-day basis. I use it for podcasting, I use it for videos, I even use it for Skype conversations. I love this microphone. It has wonderful sound, it’s small enough to not take over your recording area, and it looks good to boot.
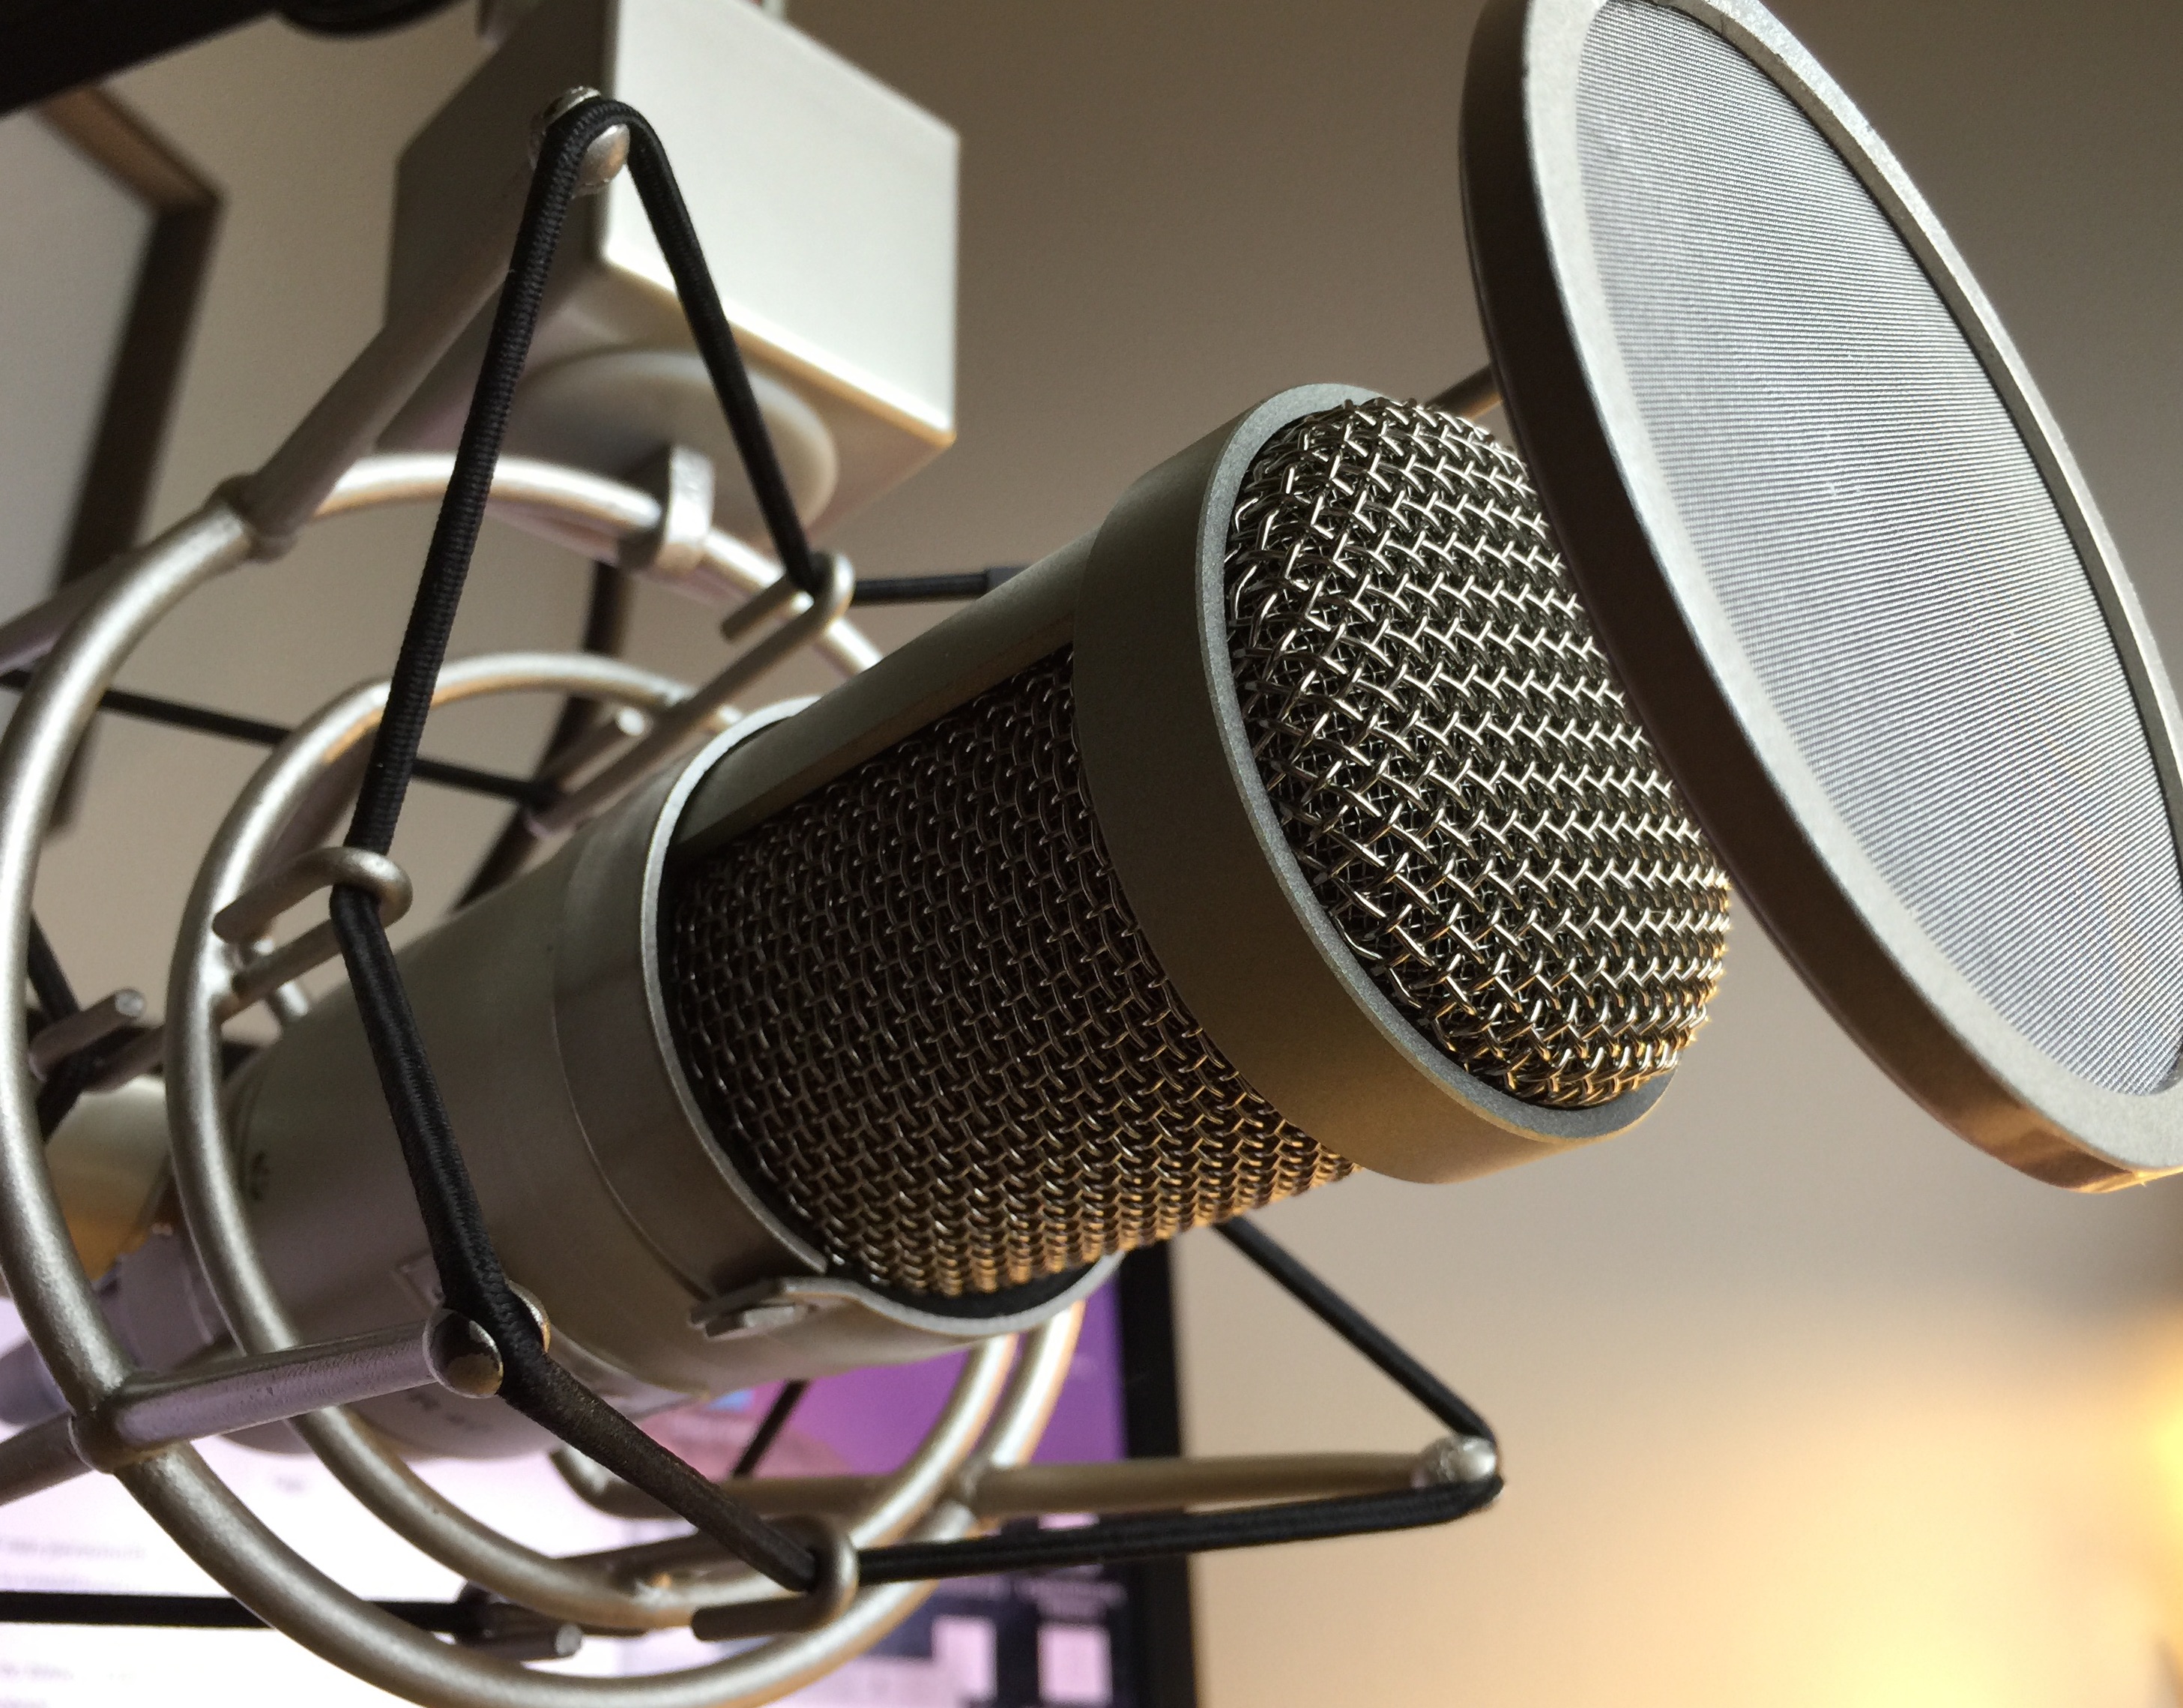
My Heil PR 40 with shock mount and pop filter
The PR 40 is definitely more of an investment than the Blue Yeti. For starters, it doesn’t feature USB connectivity, so it’s not exactly plug and play. You’ll need an audio interface that is capable of converting the analog signal to a digital signal. The Heil PR 40 features a single XLR connection, which you can use to connect an XLR cable to the input on your audio interface. I use an Apogee One as my audio interface, and I think it and the PR 40 make a good pair. The One is a little on the pricey side of the scale, but it provides you with dead simple operation, a handy knob to adjust gain, headphone volume for monitoring, and separate gain for a guitar or other instrument/input.
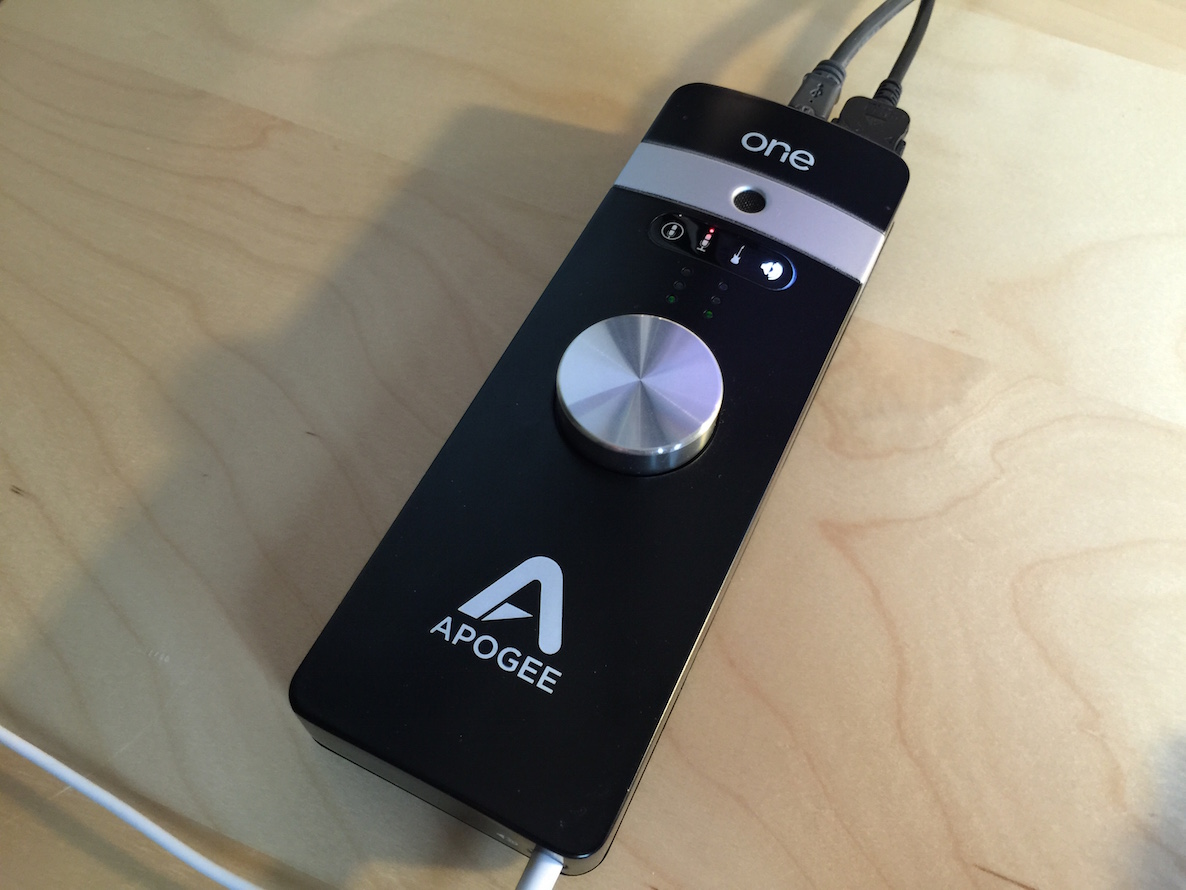
The Apogee ONE allows you to connect an XLR mic to your Mac
The Heil PR 40 doesn’t come with a stand, so you’ll need some sort of stand to make it suitable for recording. I prefer to use a simple microphone boom arm that’s connected to my desk. This makes it easy to adjust the microphone on the fly, and helps keep movement on my desk from creeping into the mix.
As I stated, the PR 40 is a much bigger investment than the other two options, but if you’re looking to upgrade or graduate your sound, it’s a moderately price option that likely won’t disappoint you or your listeners.
Headphones
I like the Sony MDR7506 headphones for recording podcasts. My pair eventually developed a short after about a year of use, but that’s probably because I was way too hard on them and thought that they were indestructible—they aren’t. When I get my next pair, I’ll treat them with better care. That said, the 7506’s are great cans that are versatile, deliver true sound, and are relatively inexpensive.
In the meantime, I’m using standard Apple EarPods to monitor my recordings. I know that sounds insane, but they work. As long as you can manage the sound output and the sound from the headphones don’t leak and get to the microphone, you can use any type of headphones to monitor sound while your record.
Other hardware
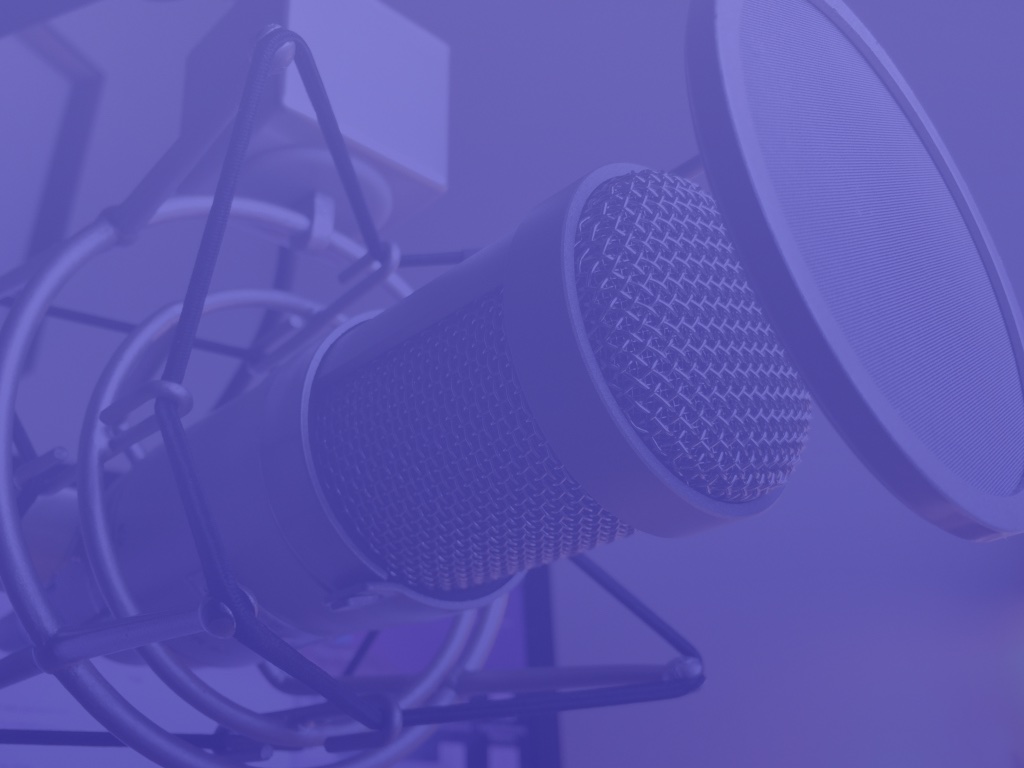
If there’s one thing that should always be a part of your recording setup, it’s the pop filter. A pop filter is a noise protection filter that prevents the popping sound when speaking words that cause fast moving air to travel towards the microphone. For example, when speaking words that begin with the letter P or B. Pop filters can also prolong the life of your microphone, as they prevent saliva build up from accumulating on and inside the microphone itself…pretty disgusting, I know.

My Heil PR 40 pop filter
Don’t even try recording without a pop filter. You’ll just make your listeners mad, and you’ll sound extremely amateurish in the process.
Where appropriate, you should also consider investing in a microphone boom arm and a shock mount. With some desktop microphones like the Blue Yeti, these items aren’t necessarily needed to achieve a decent sounding recording, but some microphones, like the Heil PR 40, require them. At any rate, you’ll always be able to achieve a better sounding recording with these items than you would without them.
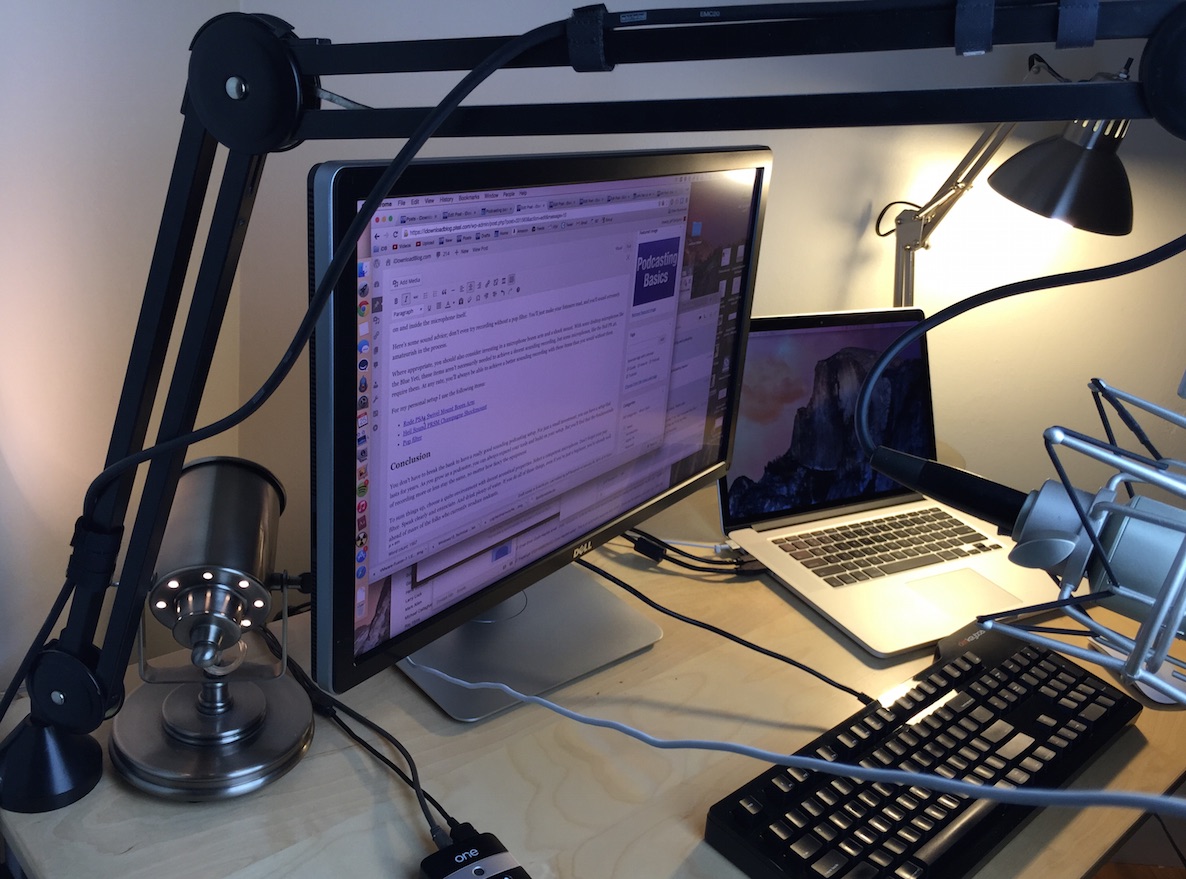
The Rode PSA1 boom arm makes it easy to adjust my microphone
For my personal setup I use the following items:
Conclusion
You don’t have to break the bank to have a really good sounding podcasting setup. For just a small investment, you can have a setup that lasts for years. As you grow as a podcaster, you can always expand your tools and build on your setup. But you’ll find that the fundamentals of recording more or less stay the same, no matter how fancy the equipment.
To sum things up, choose a quite environment with decent acoustical properties. Select a competent microphone. Don’t forget your pop filter. Speak clearly and enunciate. Make sure sound isn’t leaking from your headphones. And drink plenty of water. If you do all of these things, even if you’re just a beginner, you’re already well ahead of many of the folks who currently produce podcasts.
View other posts in this series