Learn how to set up multiple email signatures in the Spark email app on your iPhone or Mac and use them based on the email you are composing.
If you use Spark as your preferred email application for iOS and Mac, you might use it for both work and personal communications. So, setting up multiple email signatures can save you time and ensure you’re signing your messages correctly.
For instance, if you are sending an email to a client, your signature can include your phone number and business address. And for personal emails, something like an informal salutation and name should be enough.
Create email signatures in the Spark app
You can do it on your iPhone, iPad, and Mac. But remember that your signatures sync automatically to all your devices. So, if you have the same account set up everywhere, creating the signature on one of them is enough.
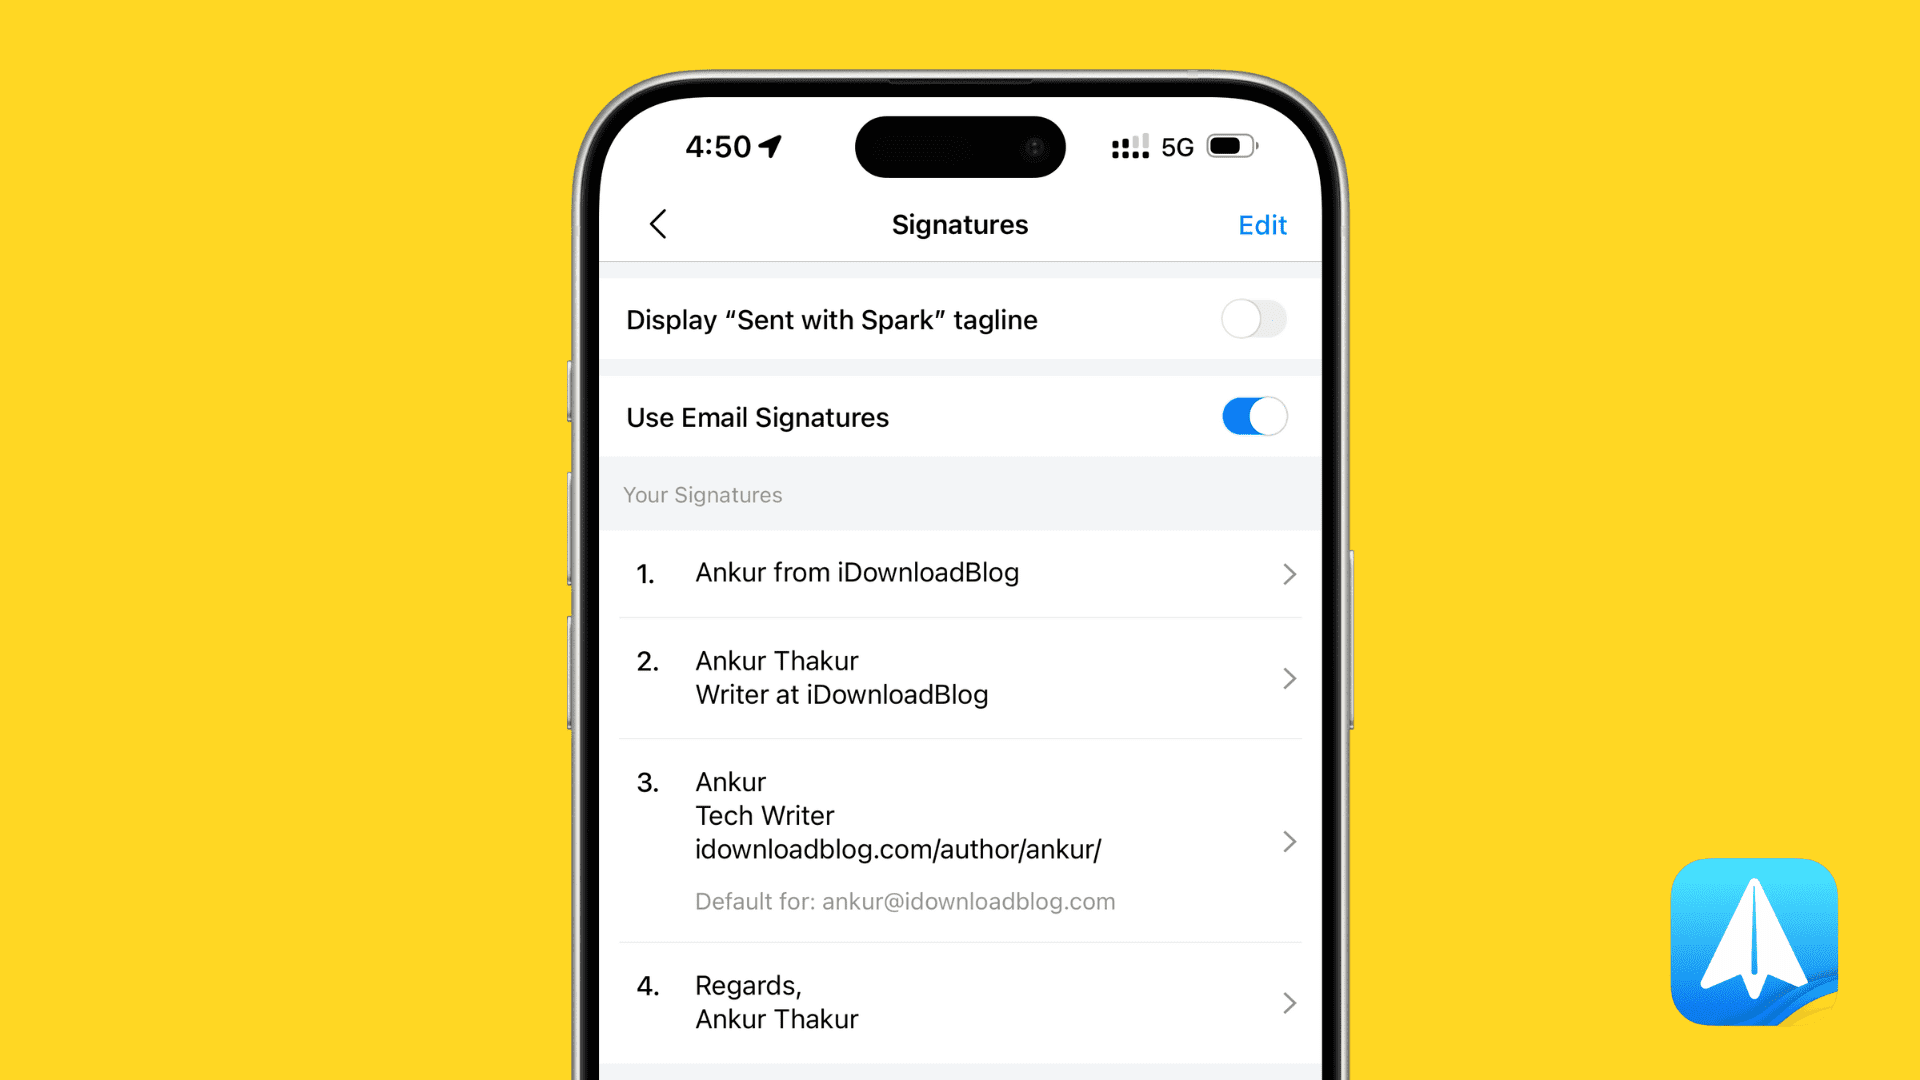
Secondly, when you are creating a signature, you can also choose to set it as the default, but you will continue to have the option to pick a different signature when you are writing an email.
On iPhone and iPad
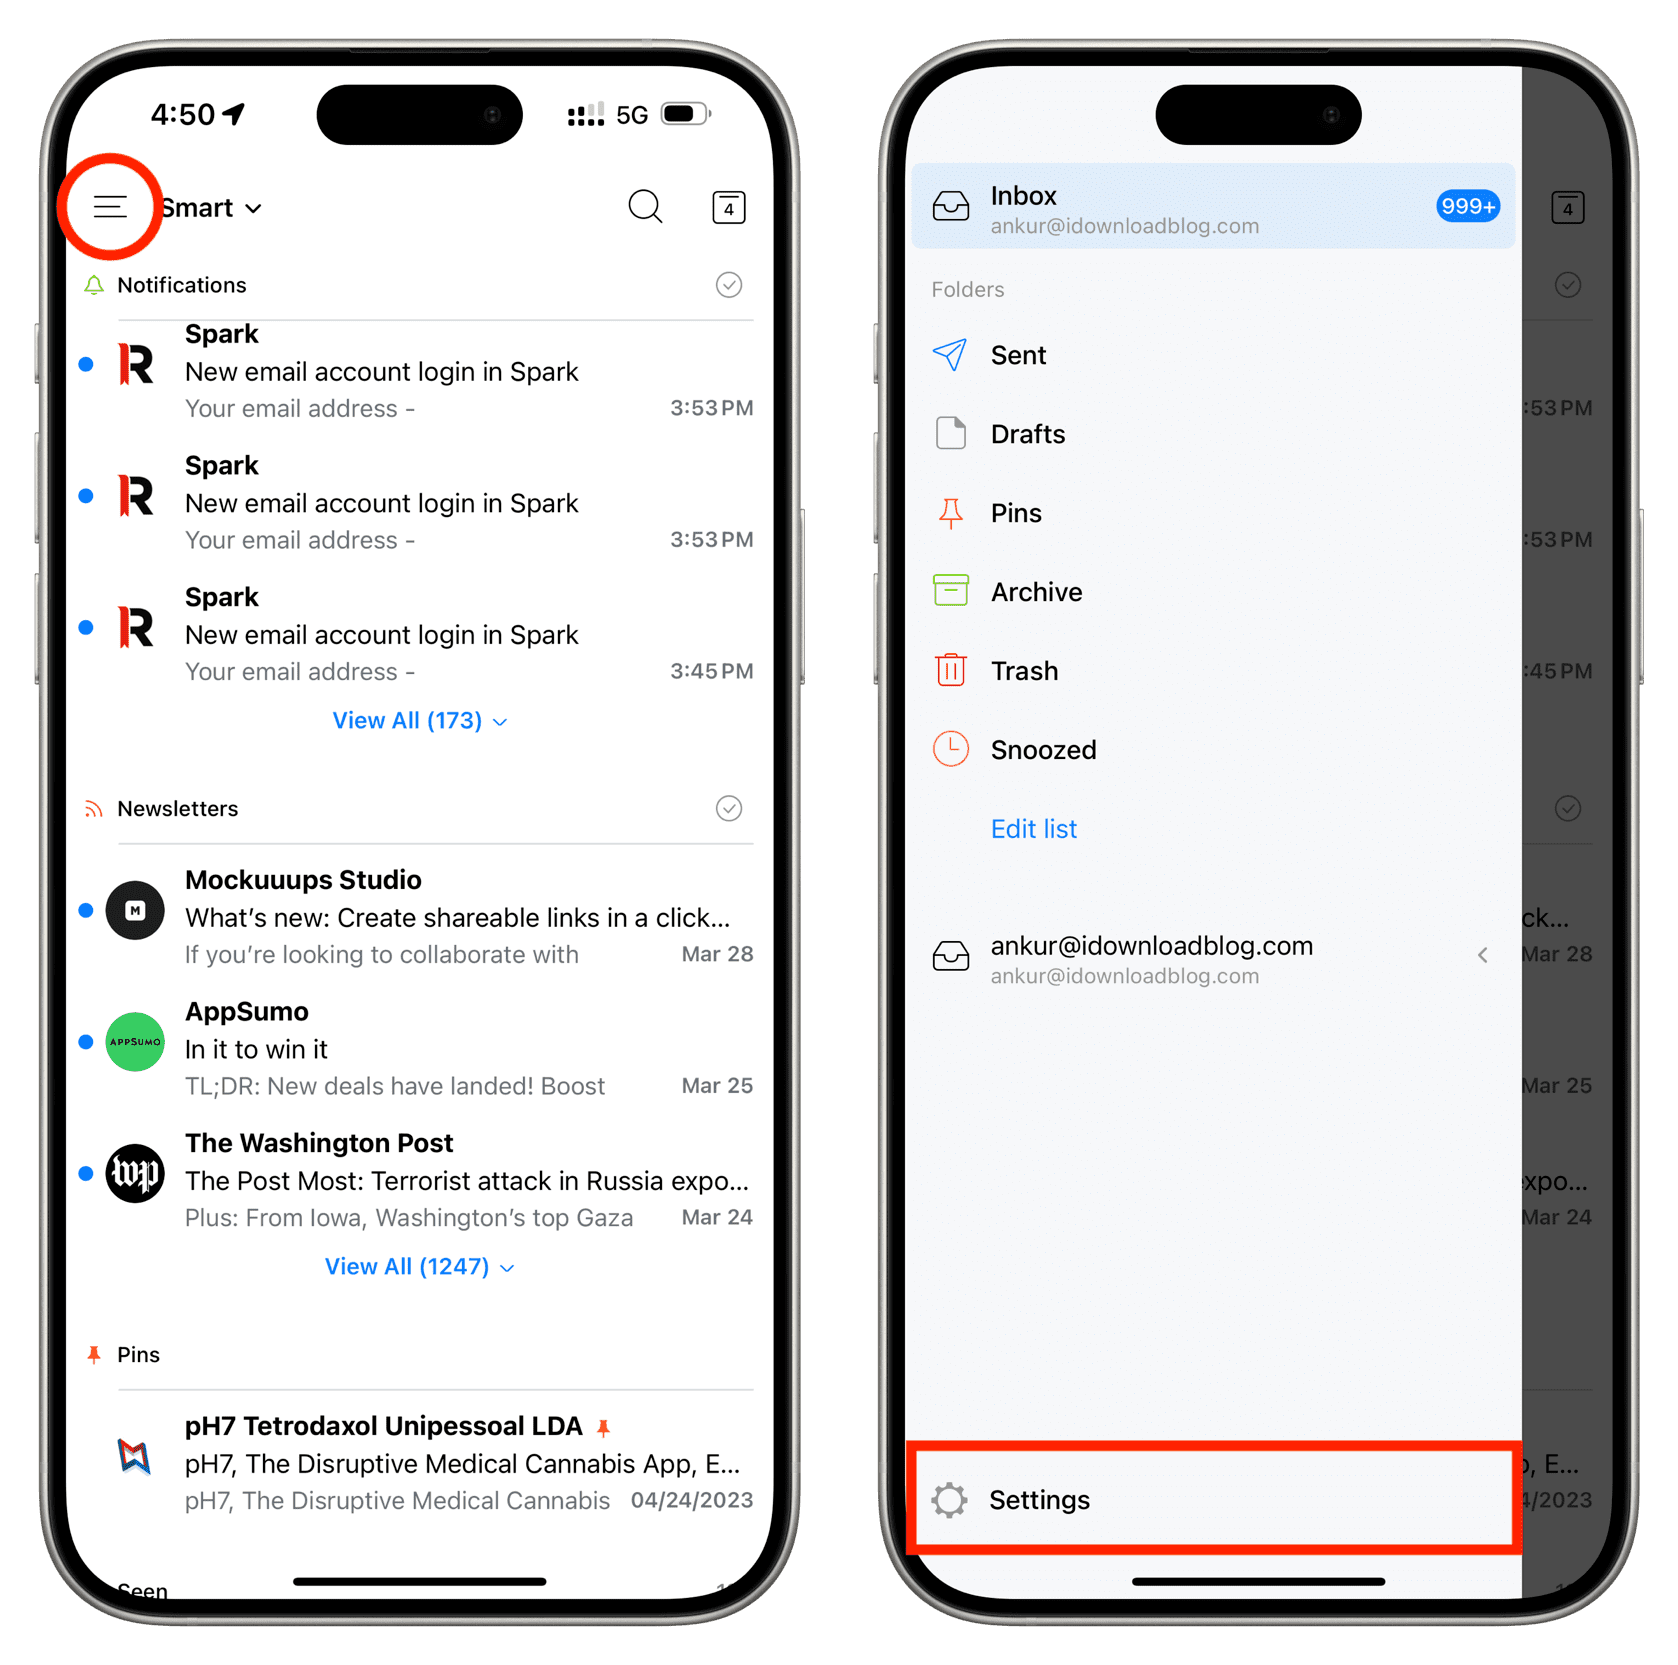
1) Open the Spark email app and tap the menu icon from the top left corner of the screen.
2) Tap Settings.
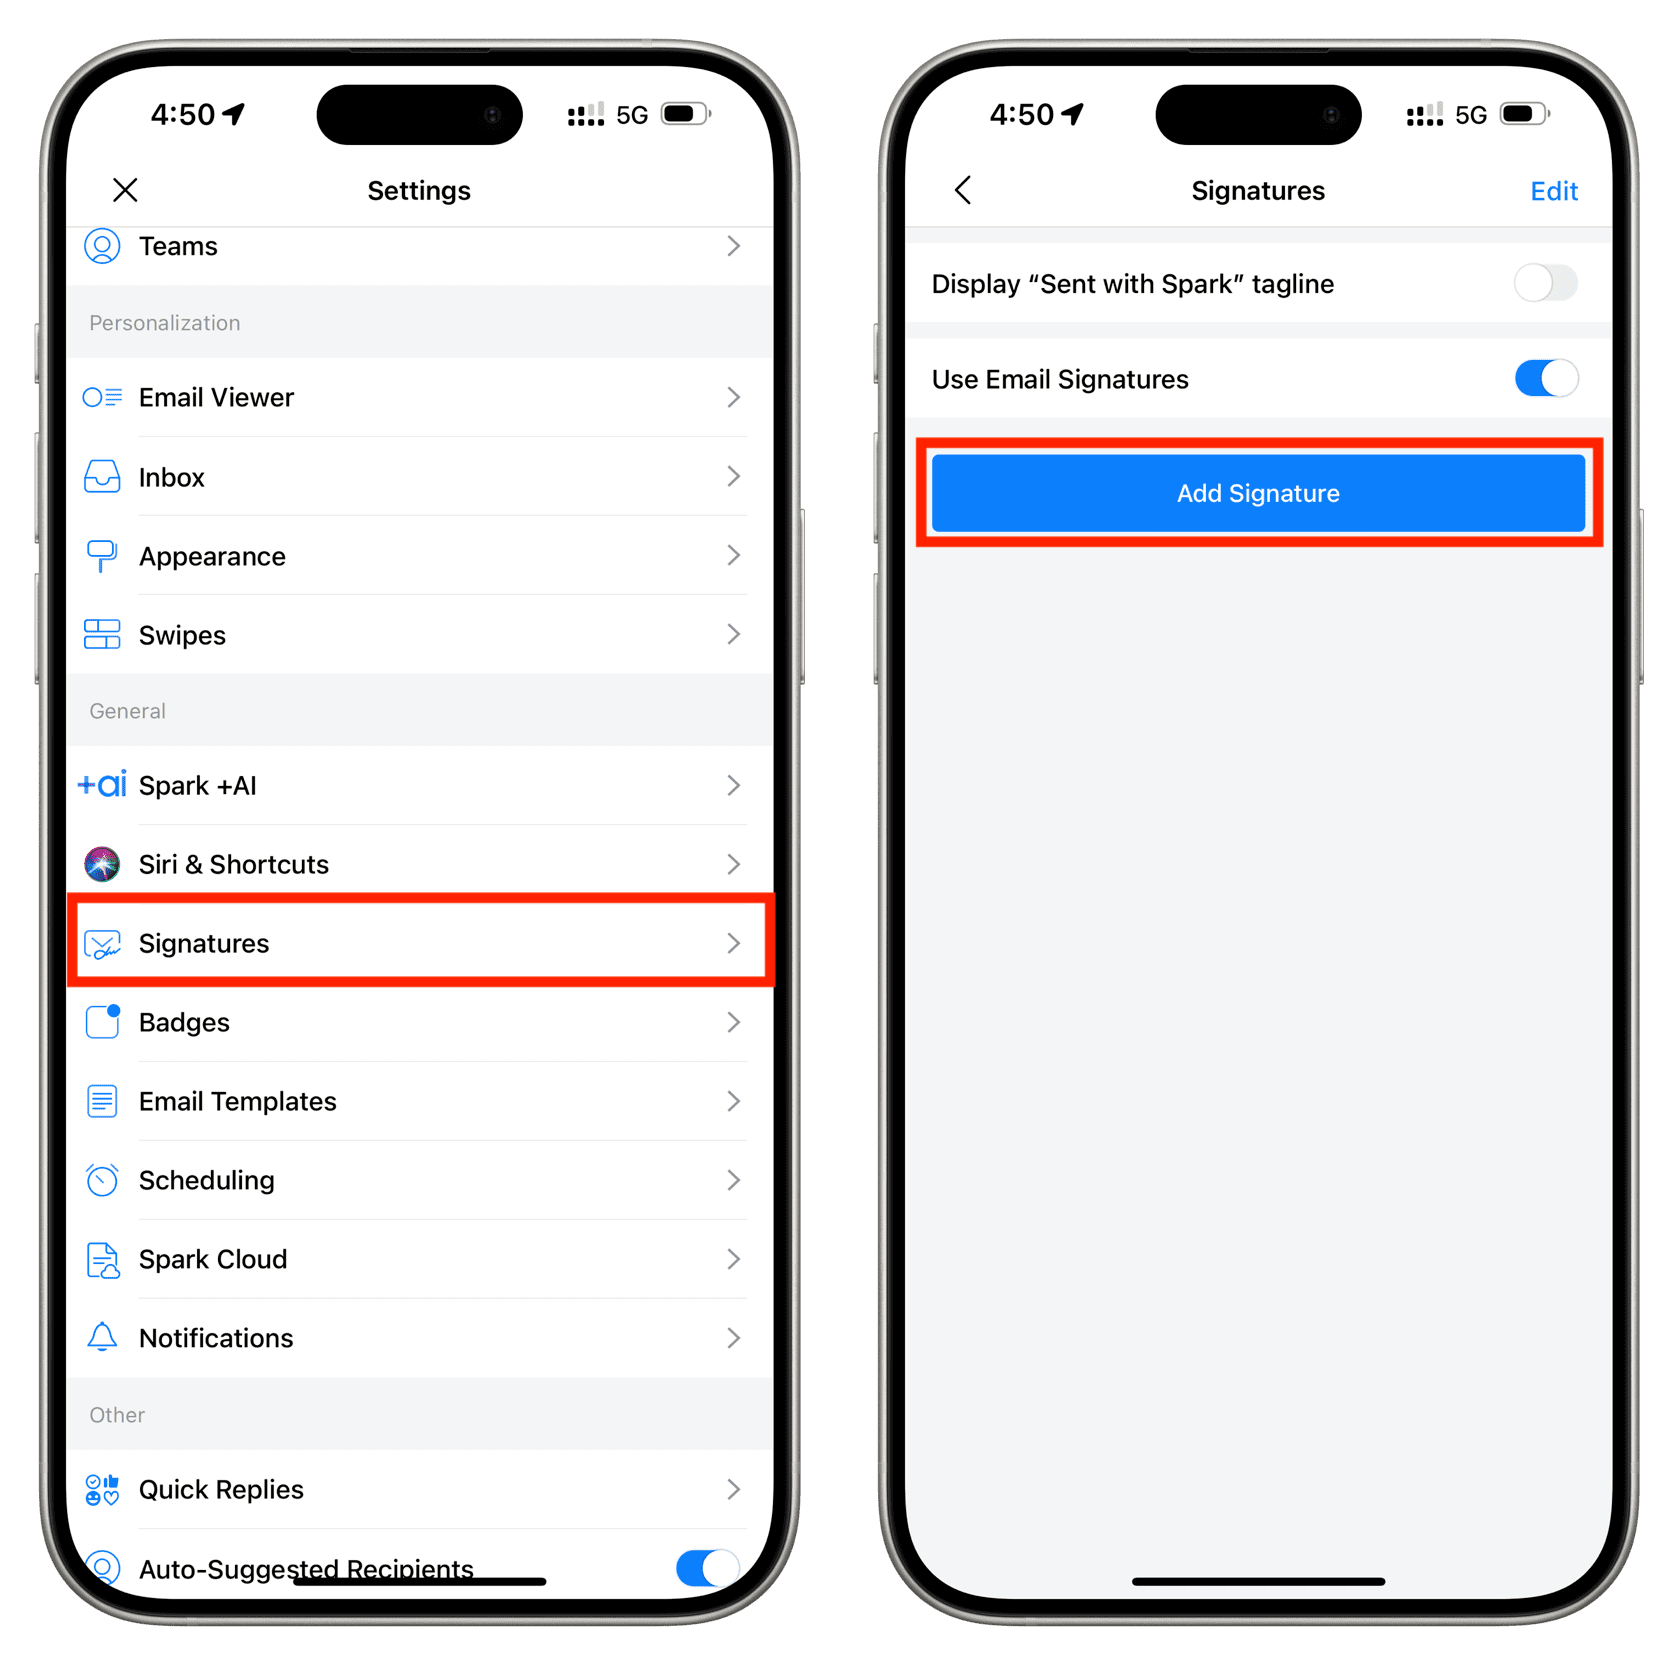
3) Select Signatures under the General heading.
4) Tap Add Signature.
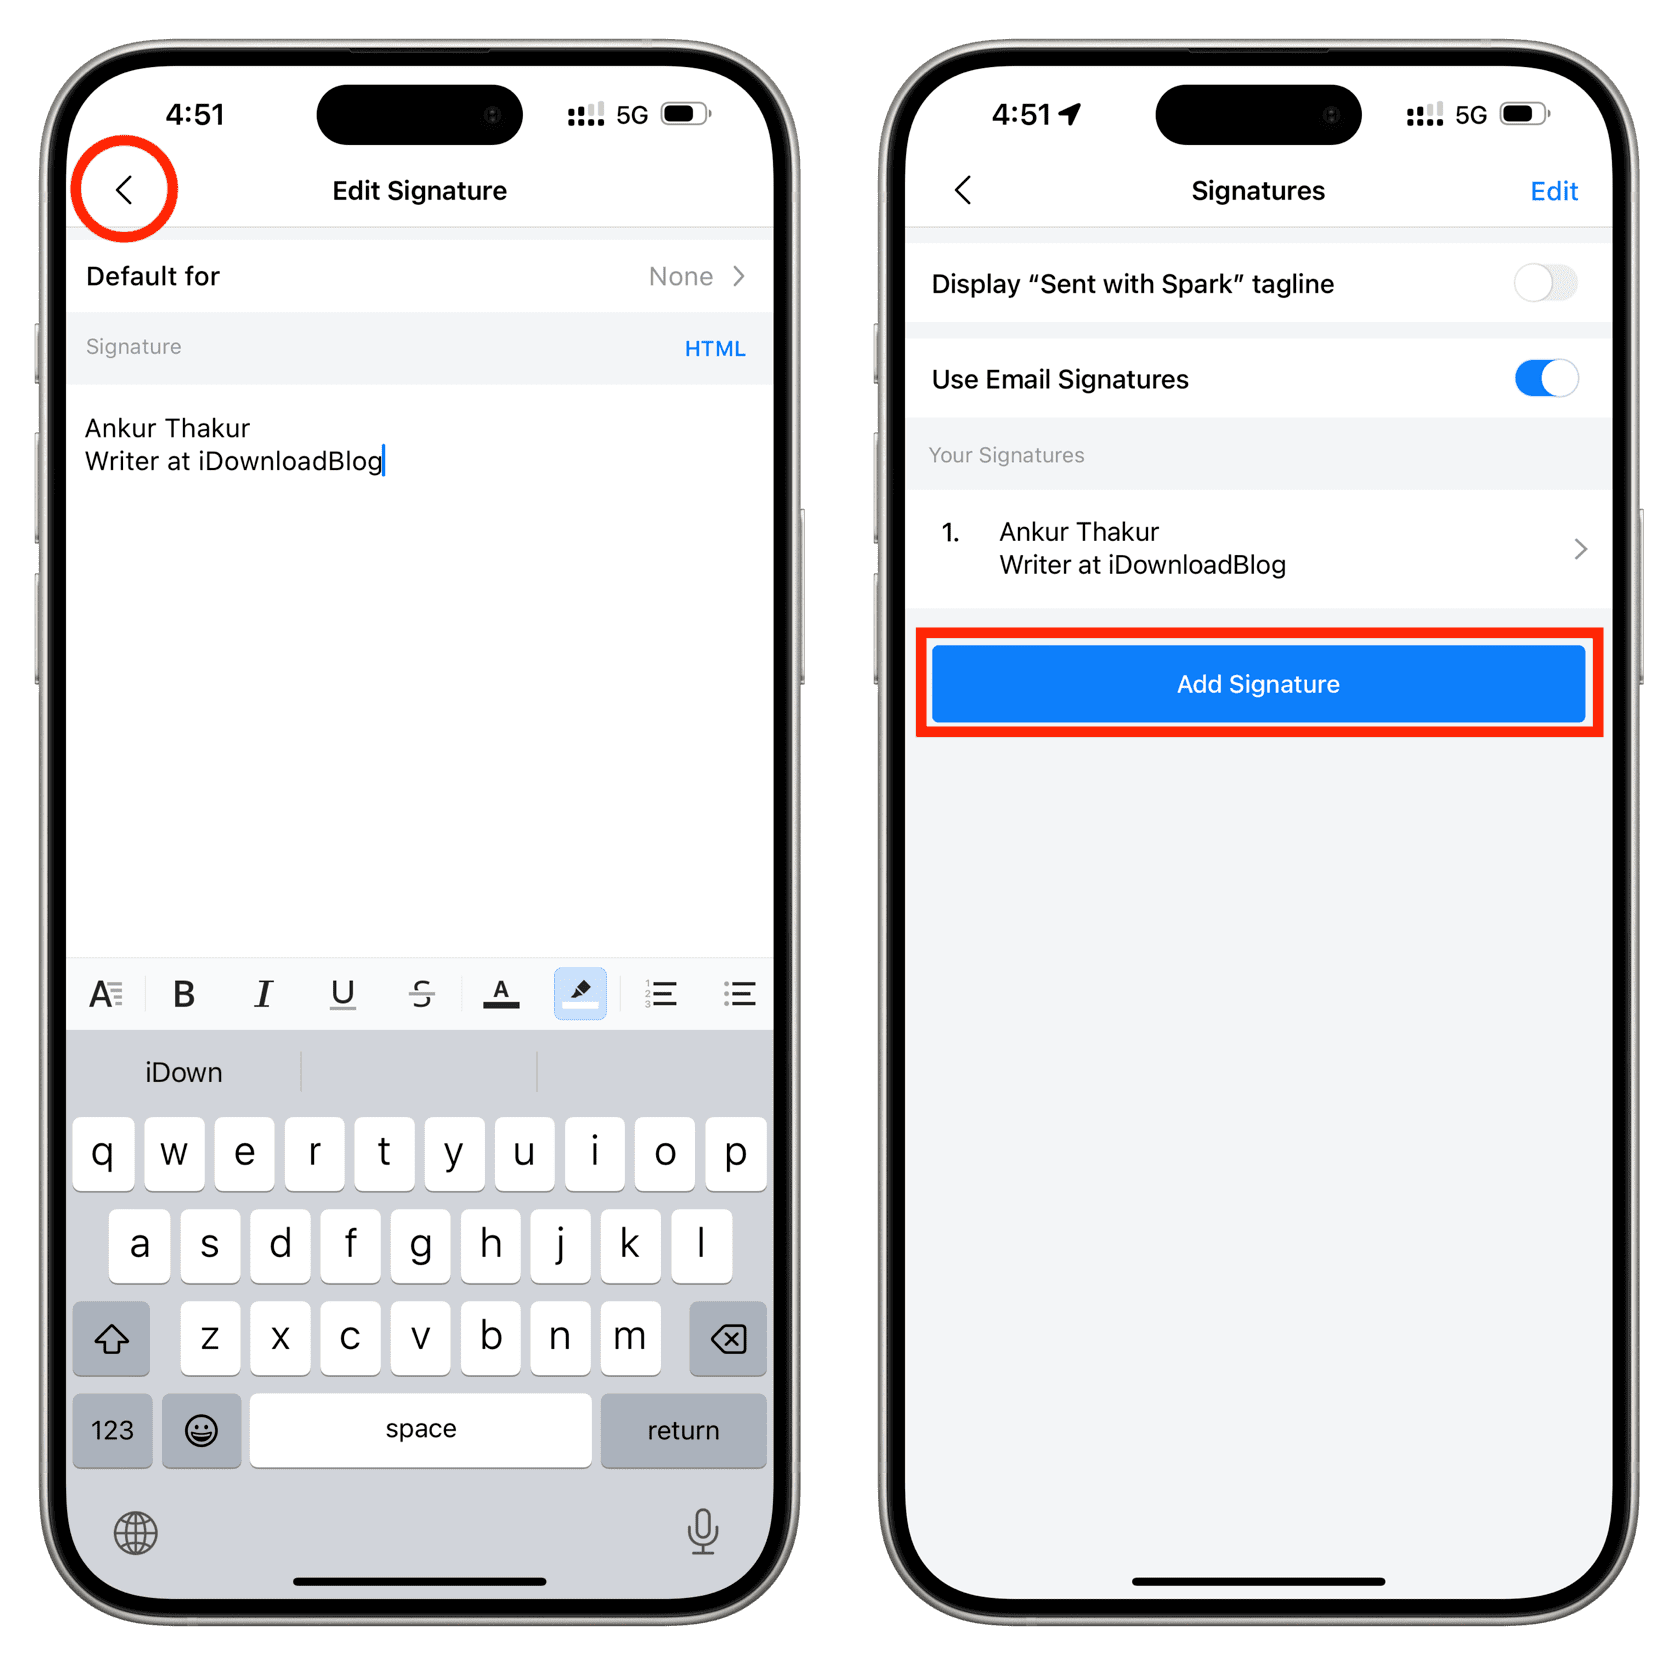
5) Create your signature. You can keep it simple or style it using the various formatting options available there.
6) Once you finish creating your first signature, tap the back button (<) and hit Add Signature to create another one.
You can also edit the signatures in the list by rearranging or deleting them. Tap Edit at the top to make either of these changes.
Spark Classic on Mac
As of writing this, the Mac App Store has two Spark email apps.
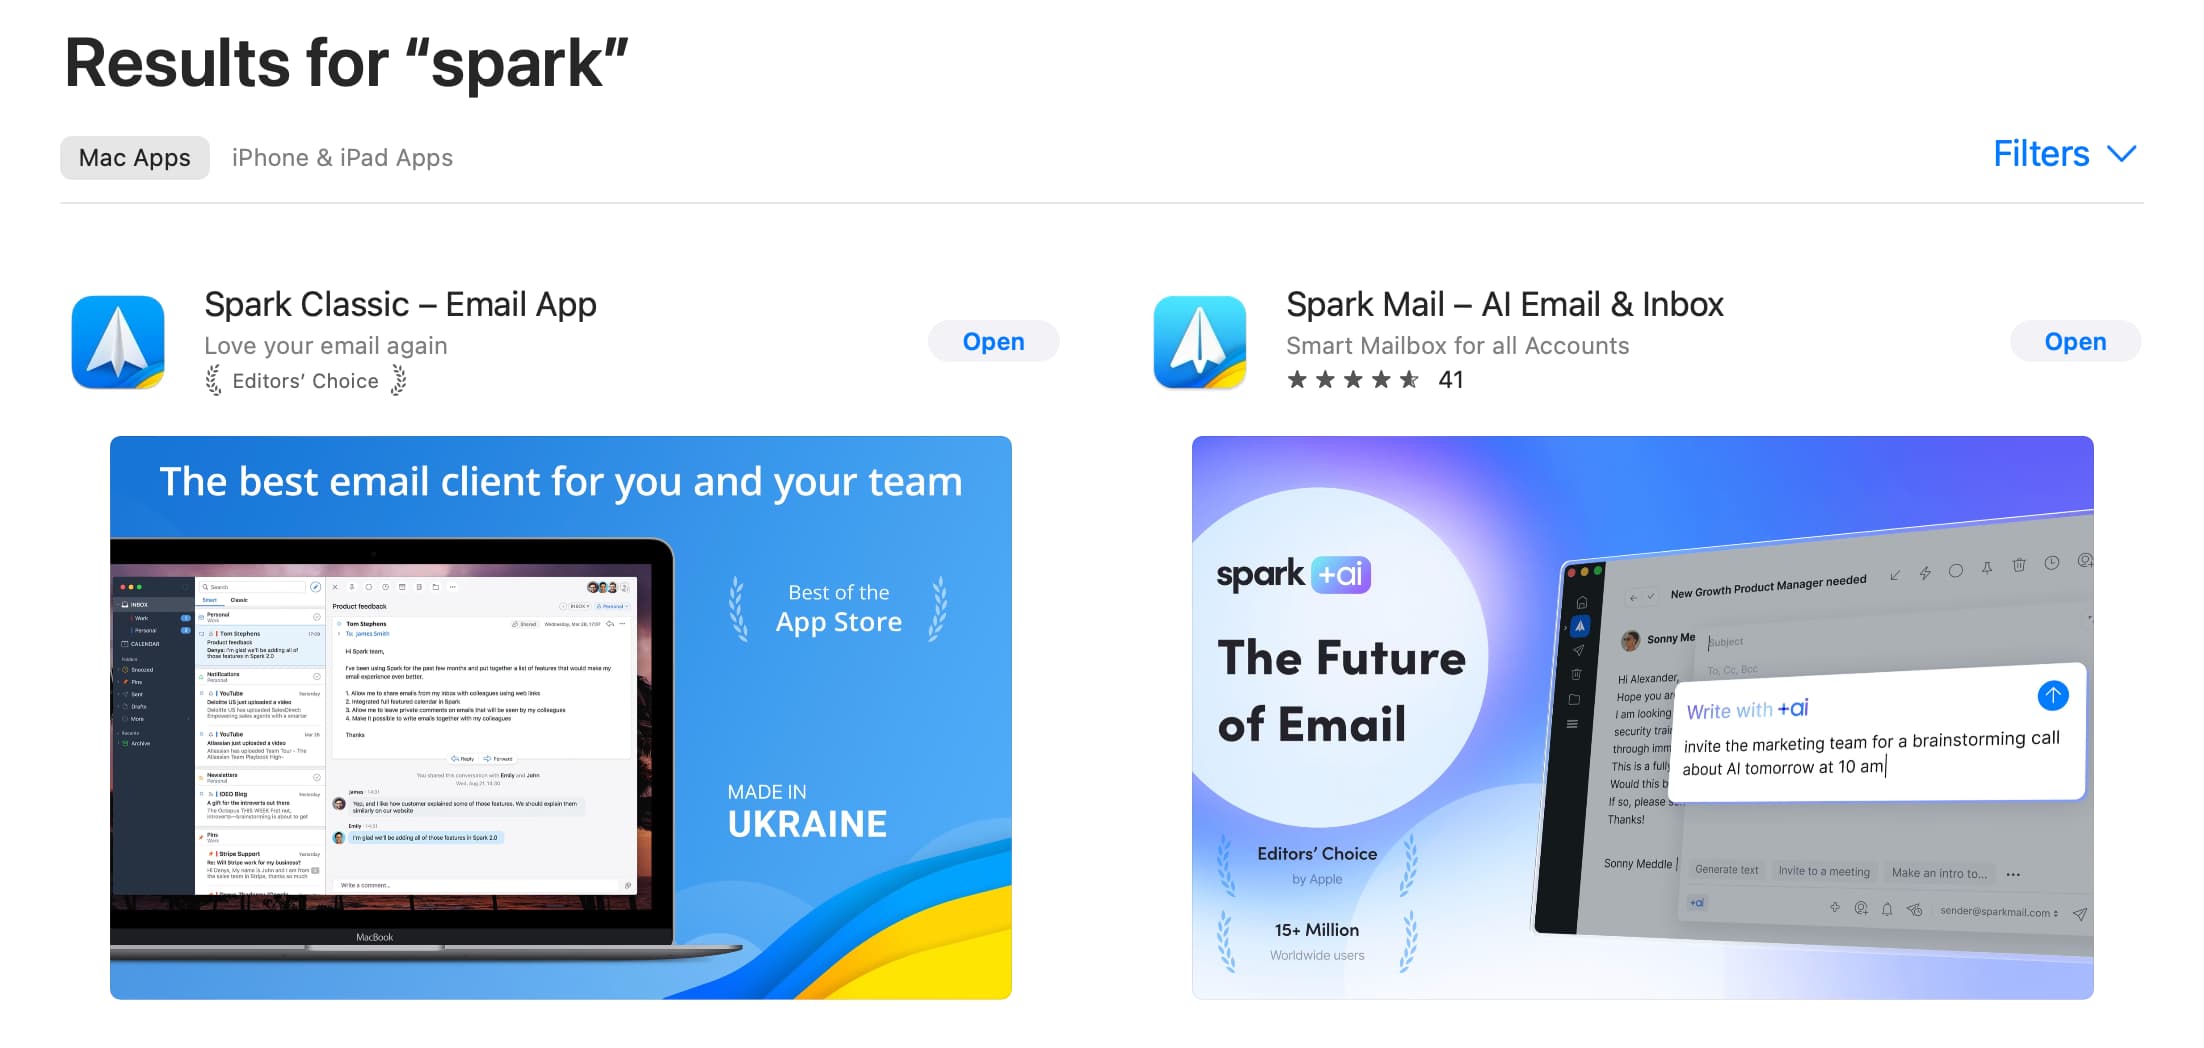
Even though you may be using just one of these apps, you should know that the signatures sync among them as well as your iPhone.
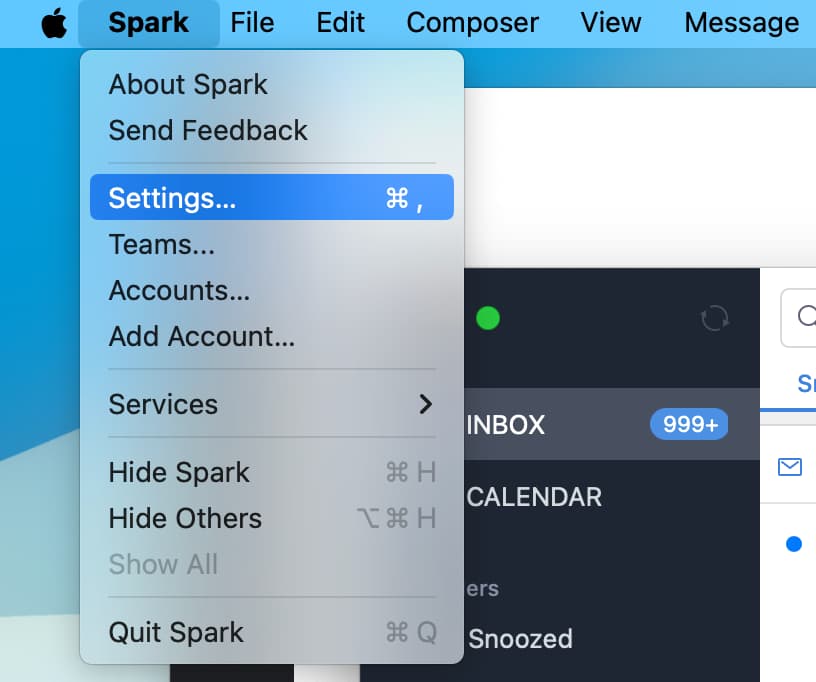
1) Open Spark Classic on your Mac and click Spark > Settings from the top menu bar.
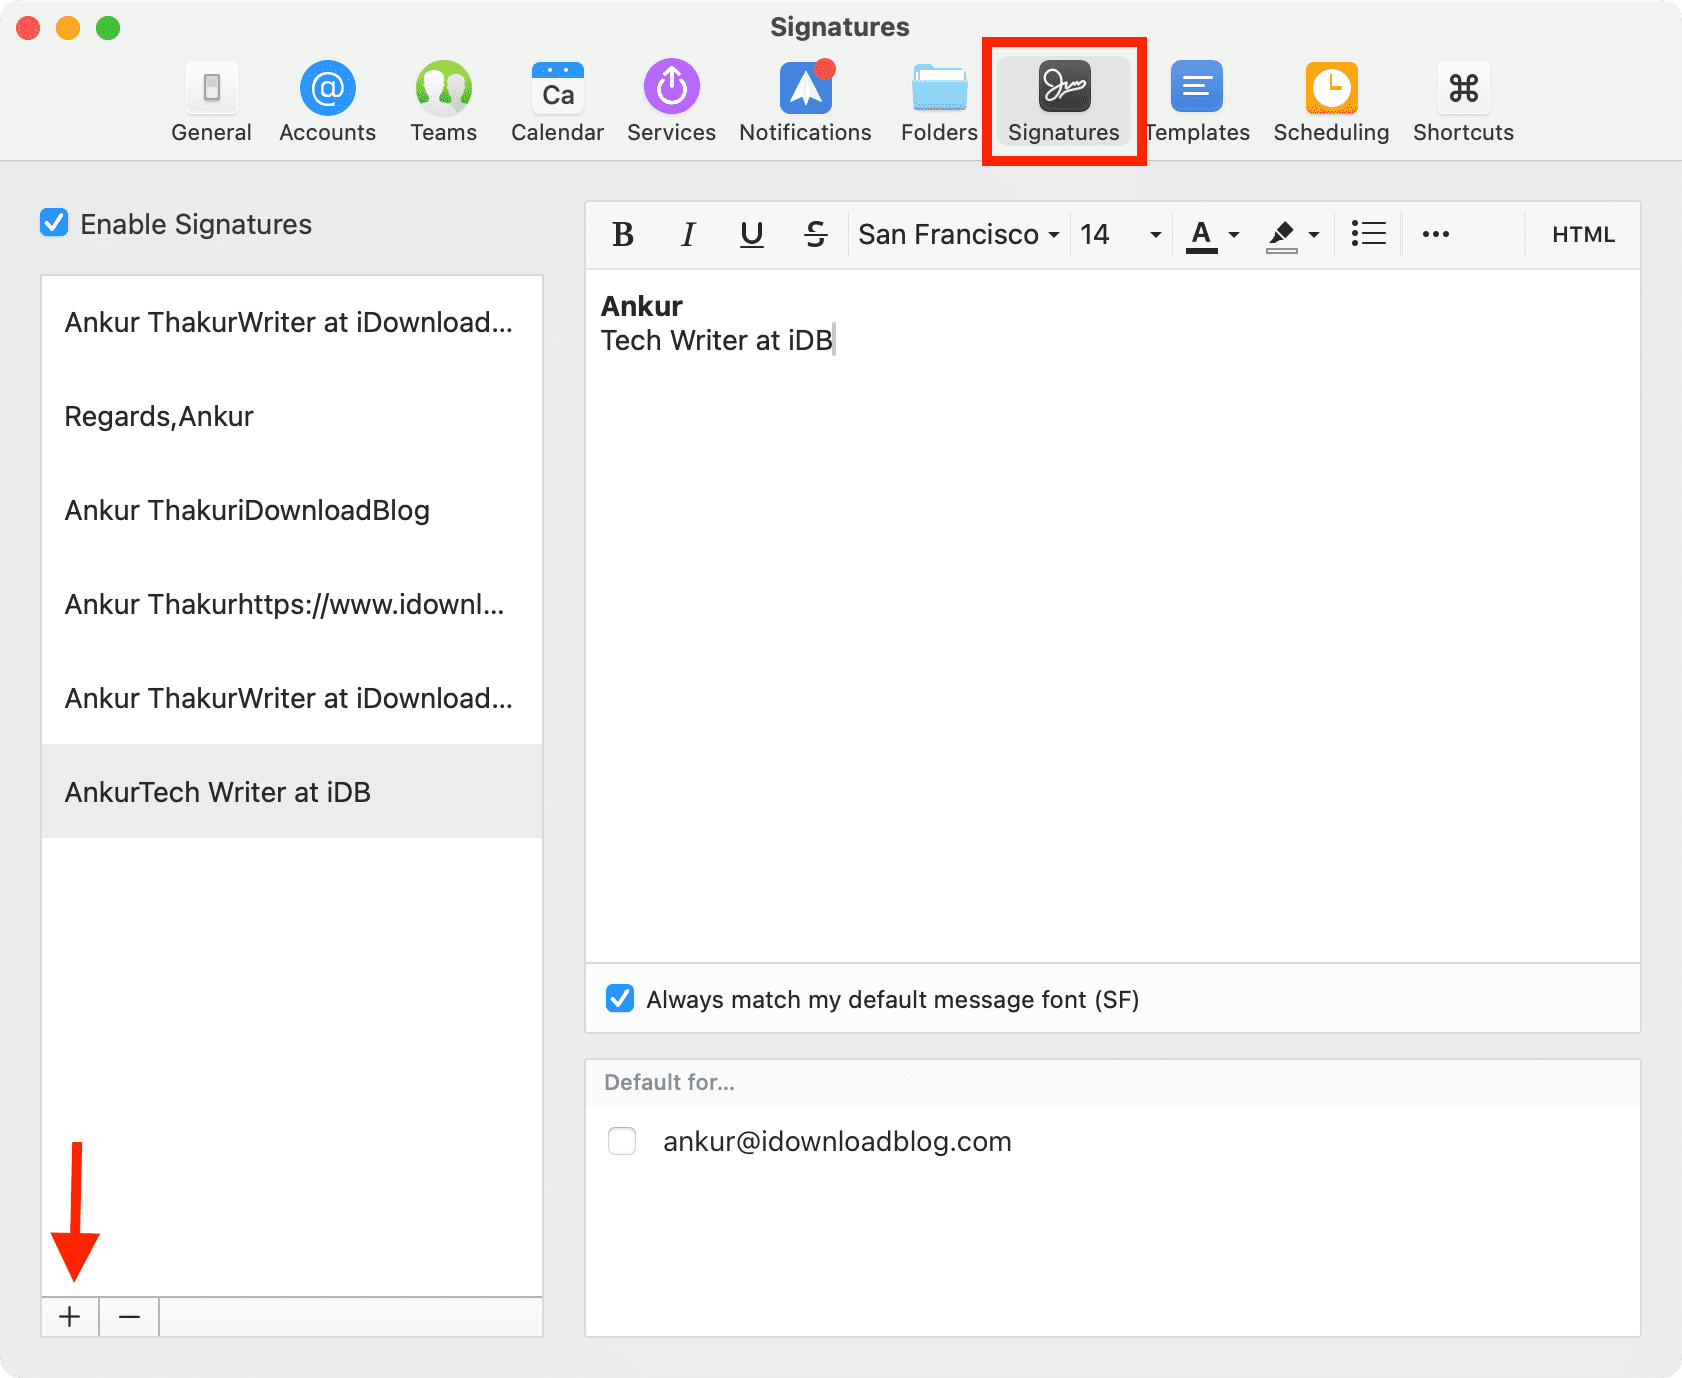
2) Select Signatures from the top.
3) Make sure the box for Enable Signatures is checked, and click the plus (+) button.
4) Now, add your signature.
5) Repeat the steps to add more signatures.
Spark AI Email on Mac
1) Go inside the Spark AI Email app on your computer and click Spark Desktop > Settings from the top menu bar.
2) Click Composer > Signatures.
3) Hit Create Signature.
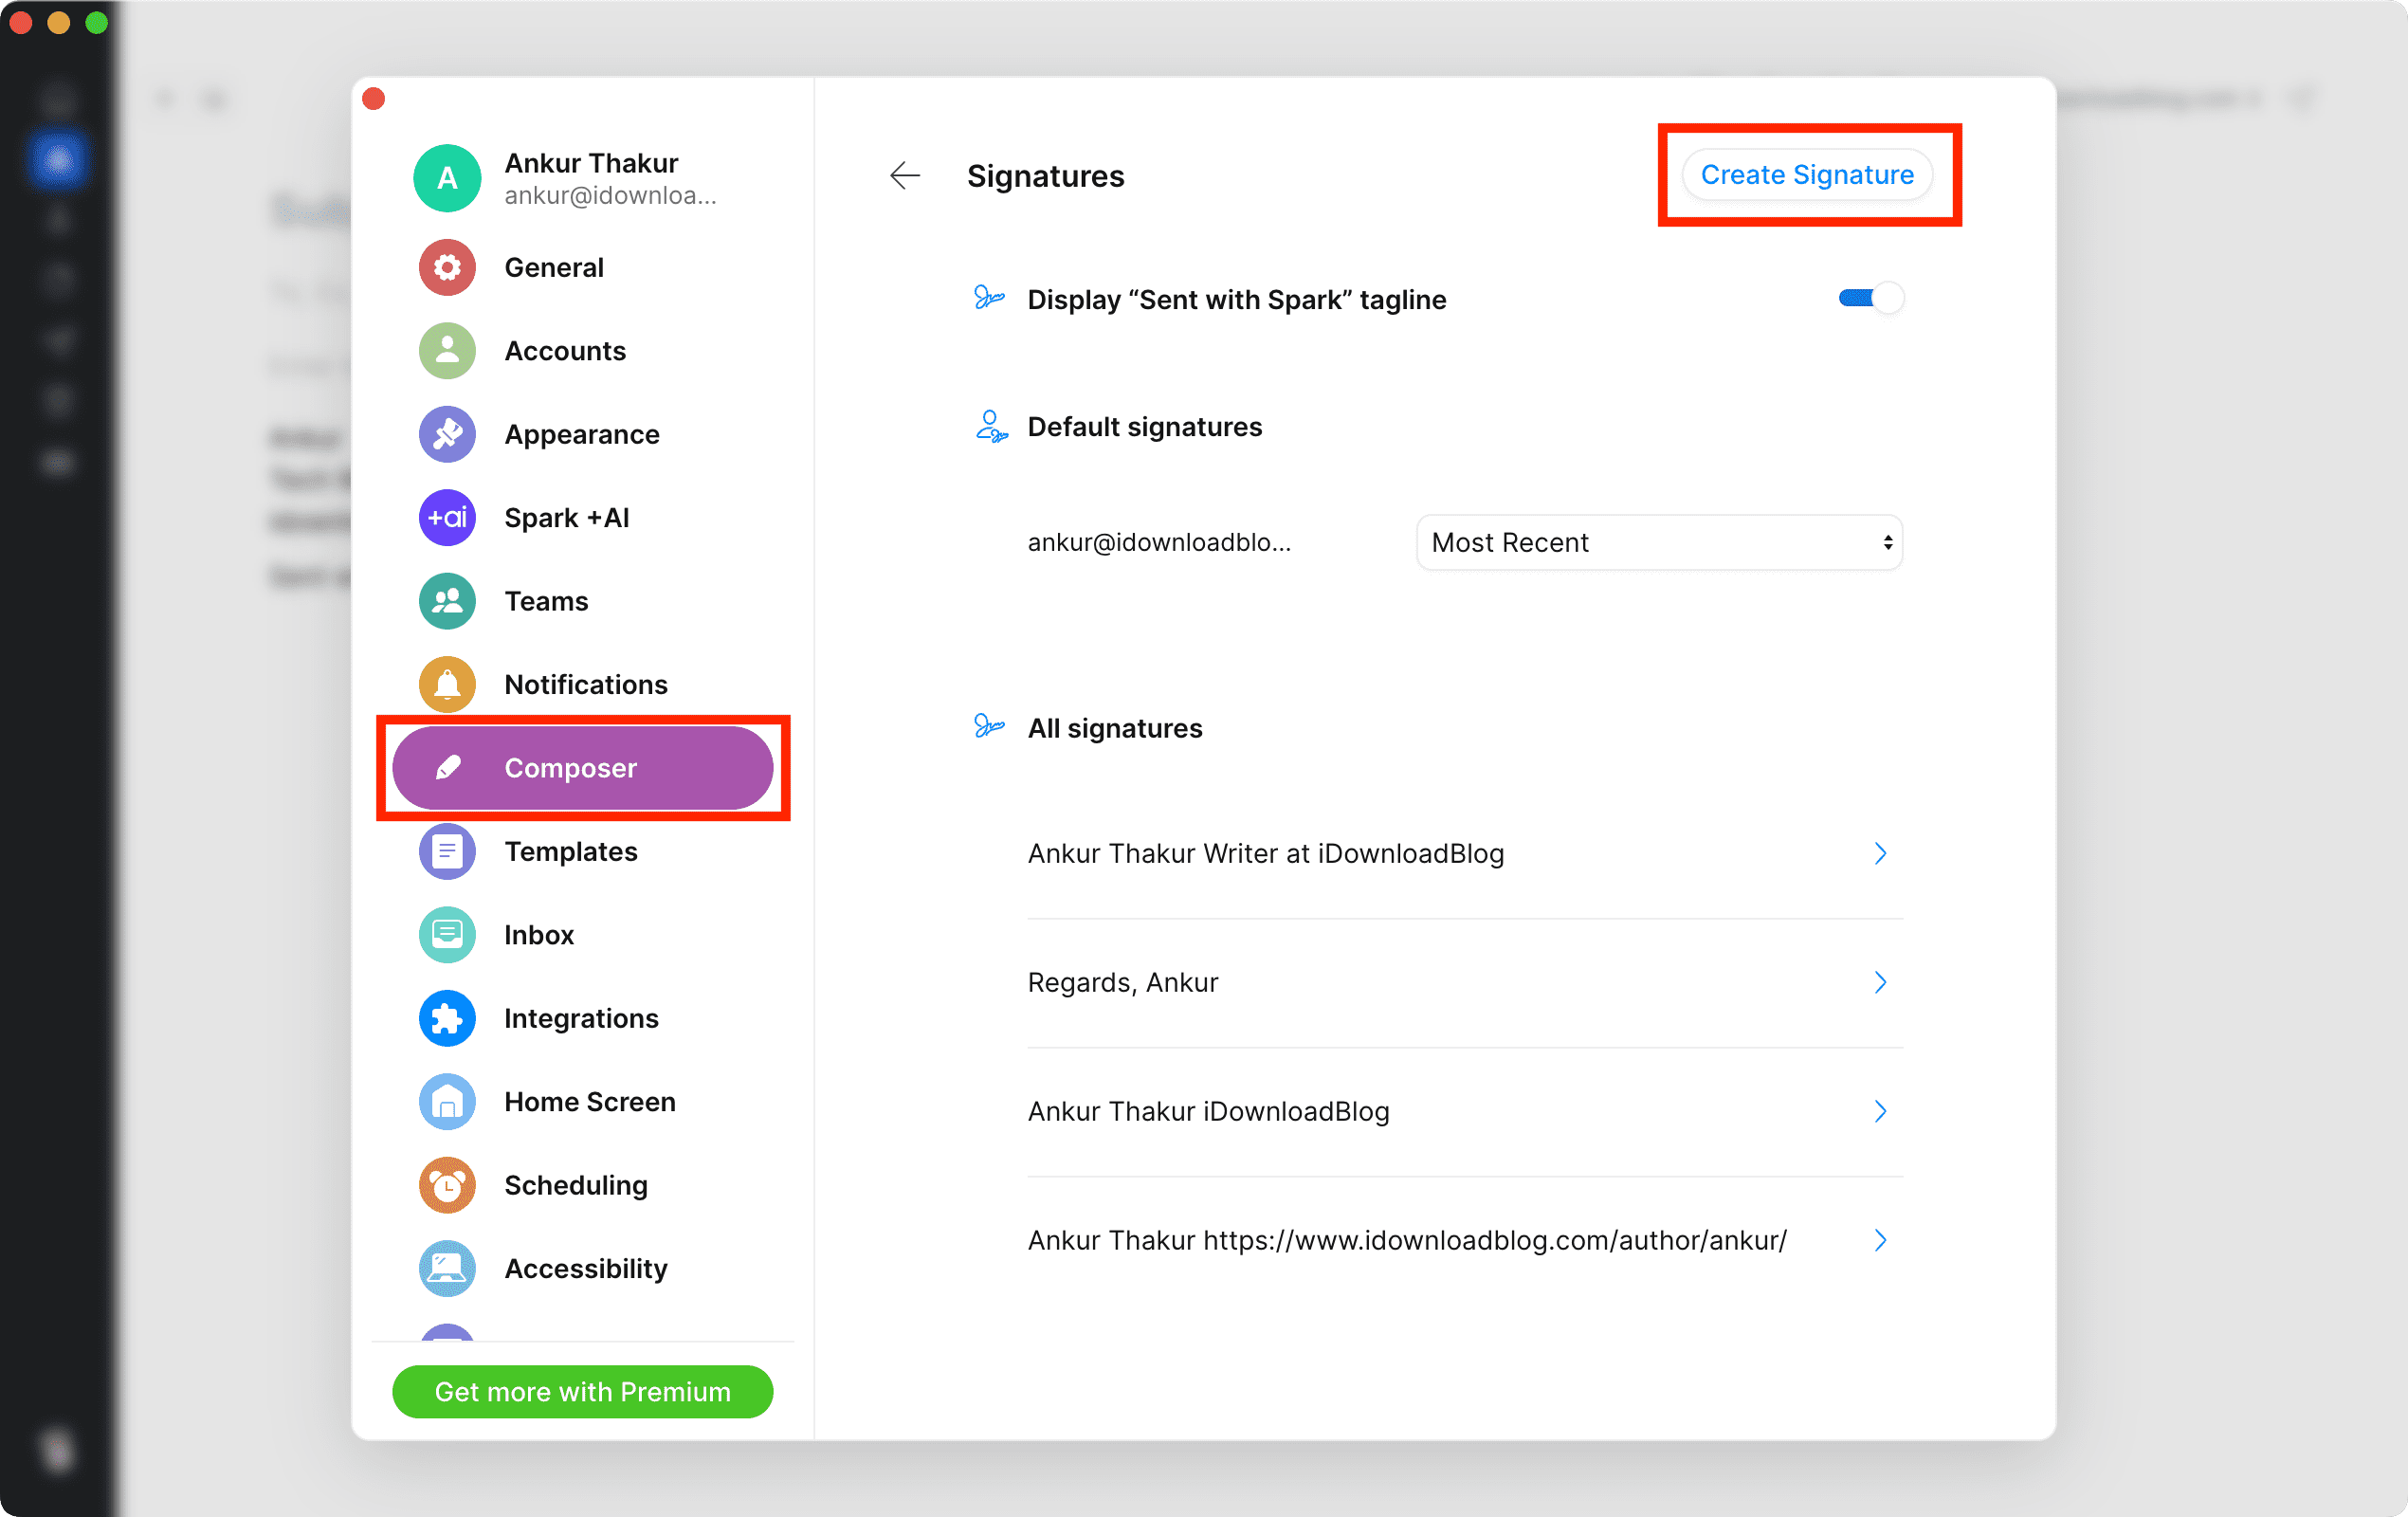
4) Create your signature in plain text or format it with HTML and hit Save.

Pick one of the signatures when composing an email
Once you create signatures in Spark and select the account they should each apply to, every email you send from that account will automatically have the corresponding signature. So, you don’t have to pick a signature each time, and you don’t have to type one in either. This saves time and lets you sign your messages consistently.
But you can very easily pick another of your added signatures when you tap the compose button to start a new email.
On iPhone or iPad
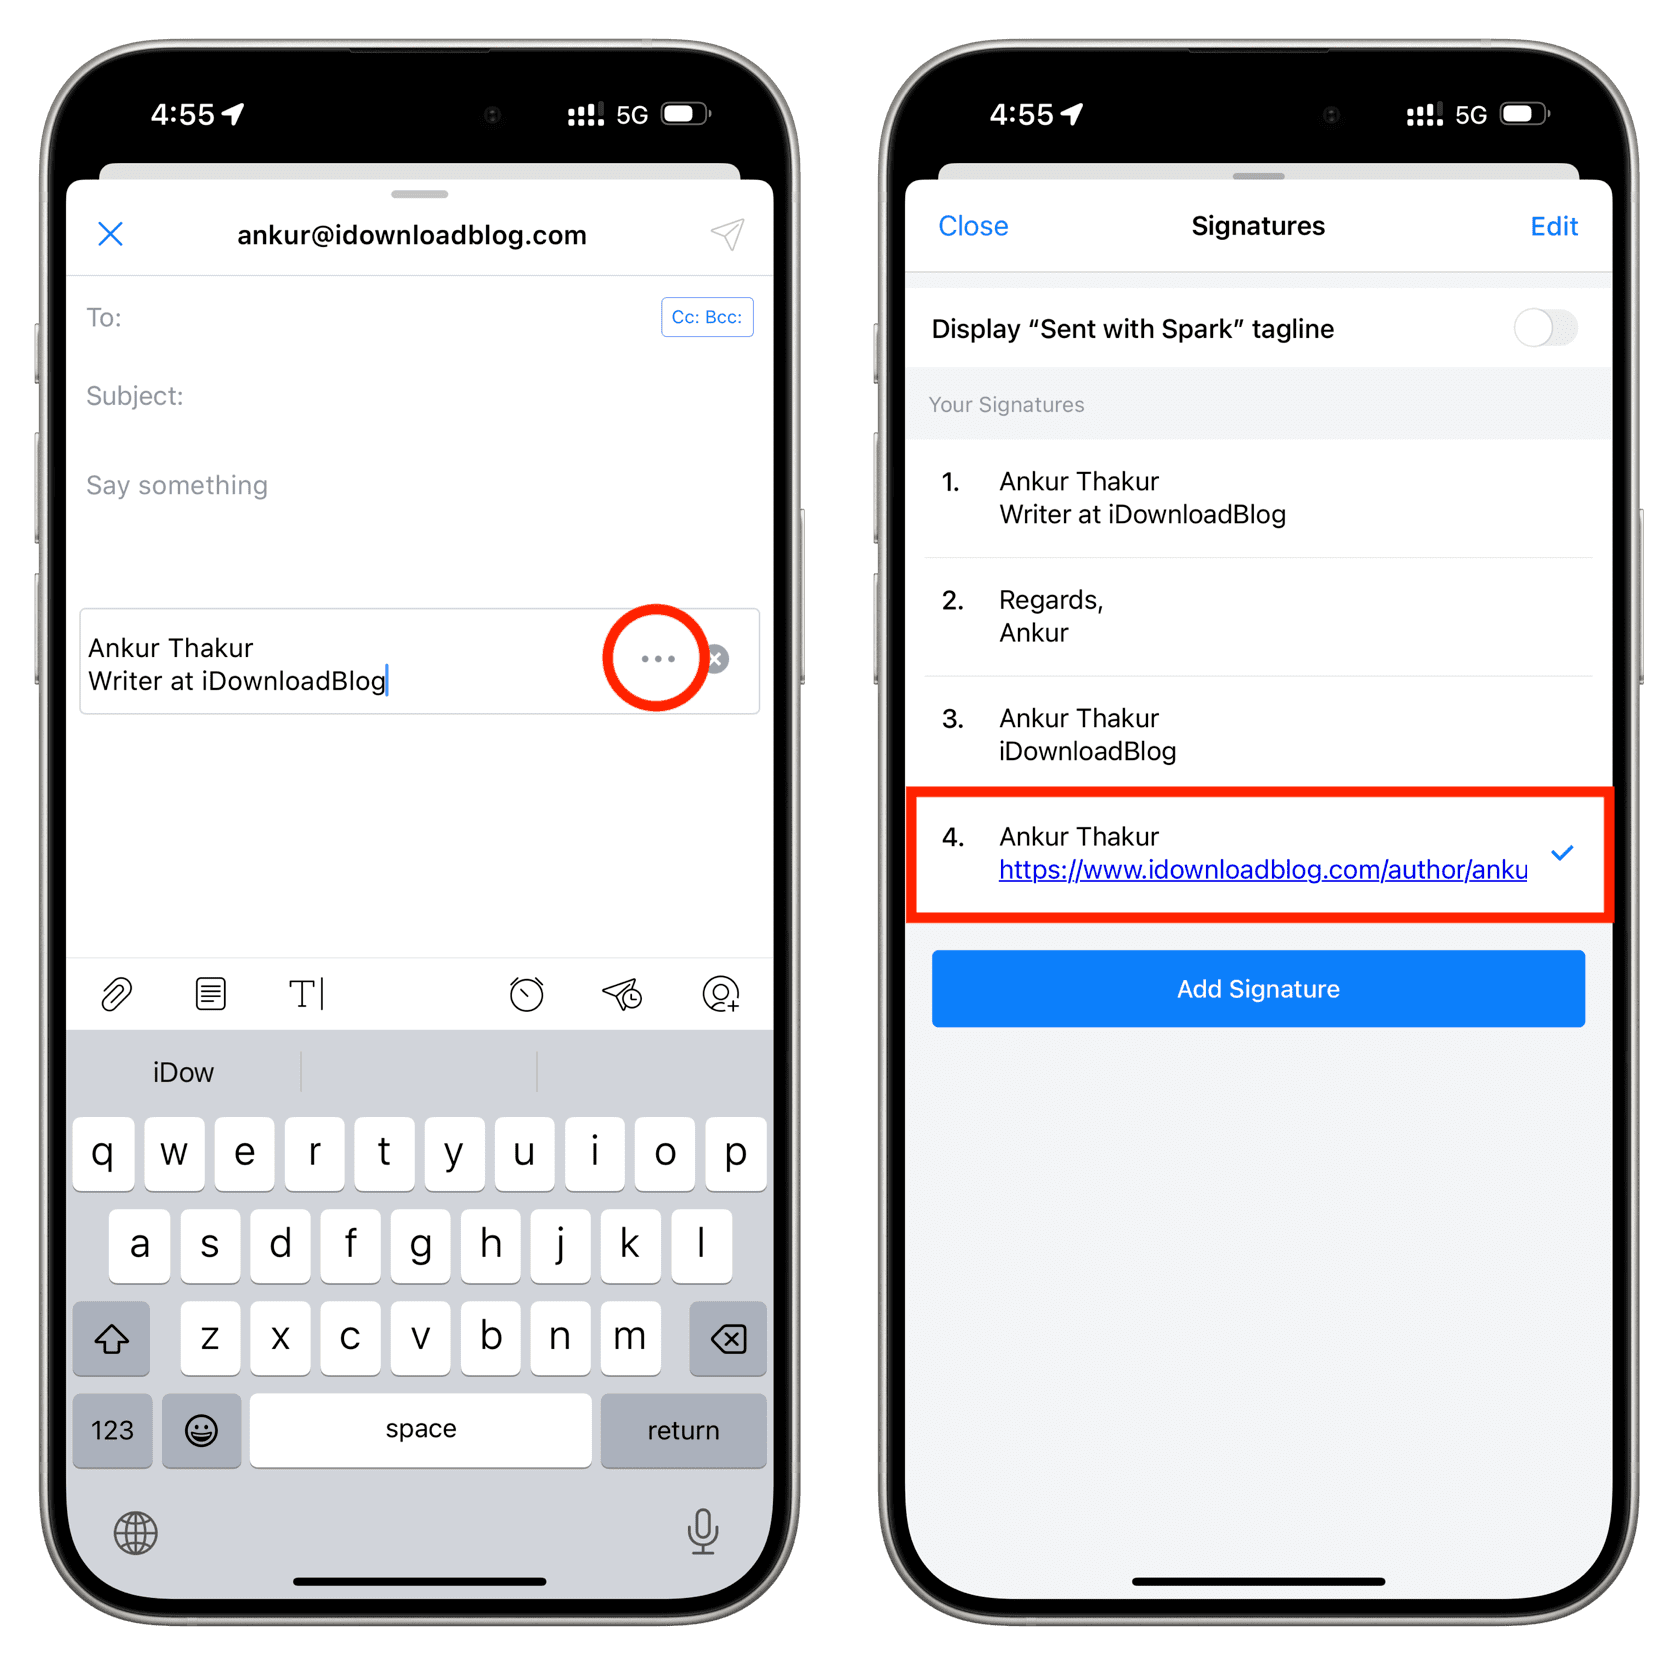
1) Tap the current signature and then hit the three dots icon.
2) Select another signature.
On Mac
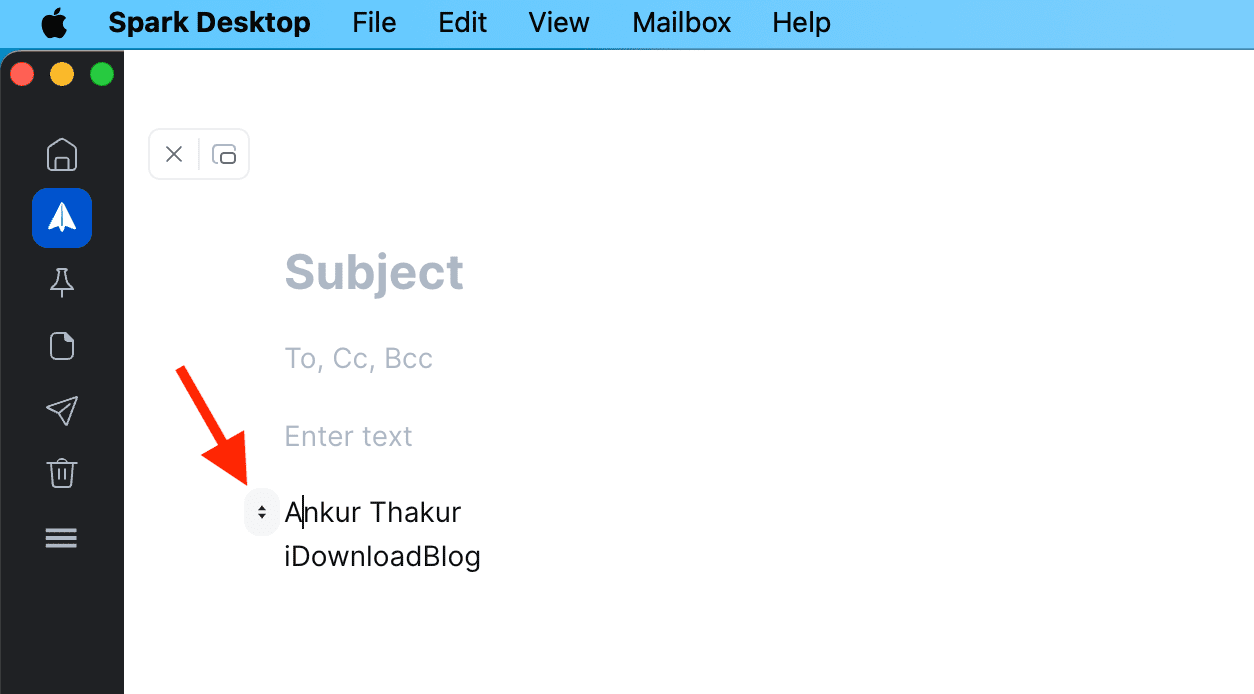
1) Click the tiny dropdown icon next to the existing signature in the Spark Classic or Spark AI app.
2) Select another signature.
On a related note: How to set up multiple email signatures in Apple Mail on iPhone, iPad, and Mac